GPO 162B User manual

USER GUIDE
CASSETTE
PLAYER/RECORDER
162B
V2 | July 2017


Content
Introduction ......................................................................................2
Location of Controls.........................................................................3
Power Source ..................................................................................4
Plyback.............................................................................................5
Recording .........................................................................................6
Cleaning ...........................................................................................7
Trouble Shooting ..............................................................................7
Product Support...............................................................................7
1

Introduction
2
Thanks for purchasing the GPO162B Cassette Player. You are
now the proud owner of a classic piece of British design – a
portable radio and cassette player. It’s time to dust off your old
cassettes, or to buy a blank tape or two to start recording your
favourite songs from the radio. It’s listening enjoyment the way it
always used to be.

3
Location of Controls
1
1
7 8
9
10
16
15
14
13
12
11
2 3 4 5 6
2
3
4
5
6
7
8
Battery door
Dc jack
Ext. Speaker jack
Ext. Mic jack
Ext. Mic remote jack
Volume control
Speaker
Cassette door
Cindenser mic
Handle
Record button
Play button
Rewind button
Fast foreward button
Stop/eject button
Pause button
9
10
11
12
13
14
15
16

4
Power Source
To use with batteries (DC power source)
Place four UM-2 batteries n the battery compartment, paying careful
attention to the polarity.
Note: Spent or discharged batteries must be recycled or
disposed of properly in compliance with all applicable laws.
For detailed information, contact your local county solid waste
management authority.
Power Supply By AC Adaptor
1. Connect the AC/DC adaptor to the DC Jack of the unit.
2. Connect the AC/DC adaptor to a properly installed wall socket.
Note: Whenever the adaptor is used, the batteries are automatically
disconnected.
Notes
a. Unplug the adaptor from the mains and the unit, when the unit
is not used for a longer period of time.
b. Adaptor shall be installed near the equipment and shall be
easily accessible.

5
Playback
- Push the STOP button.
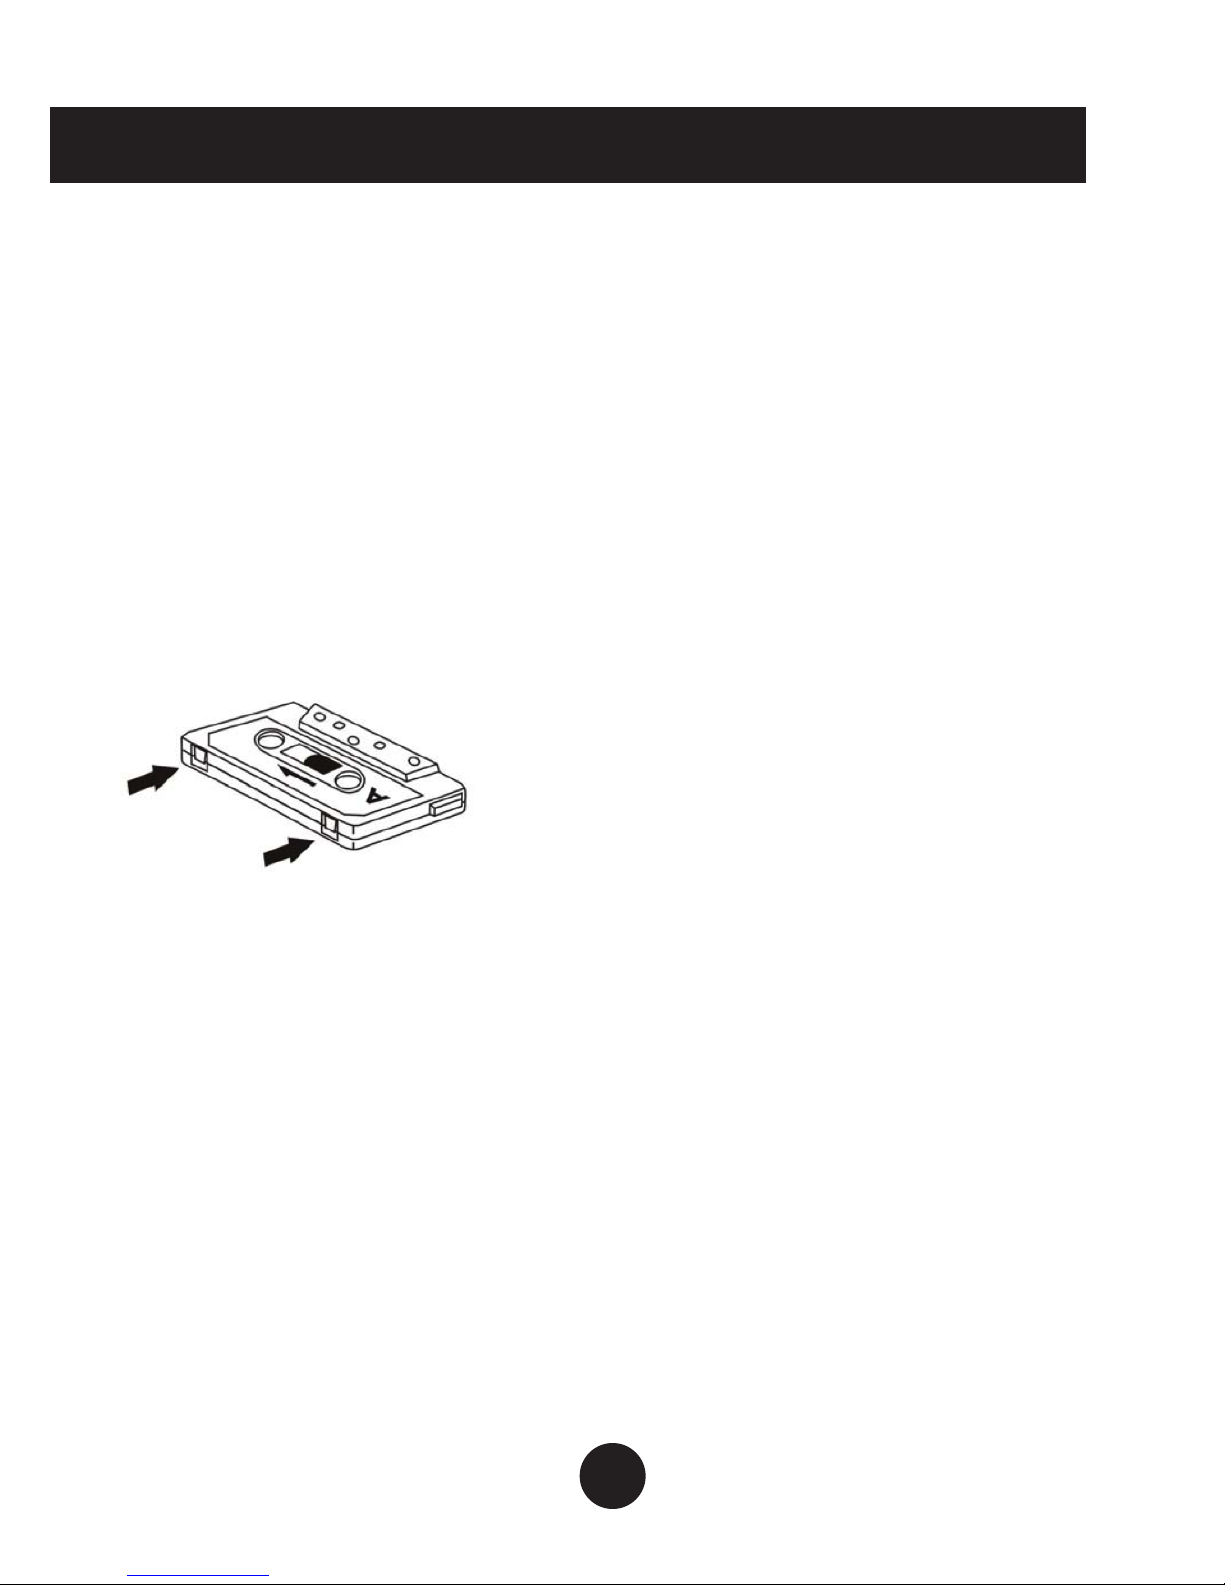
- Push the EJECT button to open the cassette compartment
cover. The cassette should be inserted so that the open part
(where the tape is exposed) is facing upward, and holding the
cassette with the wound tape on the left insert it completely
into the cassette holder completely.
- Push the PLAY button.
- Adjust the volume with the volume control.
- Press the PAUSE button to stop playing temporarily. Resume
normal play by pressing the PAUSE button again.
- To stop the tape, push the STOP/EJECT button once.
- Push the STOP/EJECT button again. The cover opens and
the cassette can then be removed or reversed.
- When the tape comes to an end, the unit stops, and the power
is turned off.
- Fast forward and Rewind
The tape can rapidly moved forward (to the right) by pushing
the FAST FORWARD button. The tape can be rapidly rewind (to
the left) by pushing the REWIND button.
- Automatic stop when the tape reaches its end during playback
or recording, tape recorder controls will return to their original
positions and the power will be automatically turned off.
Note: Even if the PLAY button is pushed after the automatic stop
system operates during playback or recording, the button will not
function. To continue to use the cassette, therefore it must be
rewind, or removed and turned over.

- Recording through the built in microphone.
- Push the RECORD & PLAY BUTTON together.
- Recordings can then be made through the built-in microphone.
- It is not necessary to use the microphone close to the mouth.
- The unit will be automatically turned off at the end of the tape.
- The unit can be, if desired, stopped at any time during recording.
- Erasure of recording.
Note: All previous recordings are automatically erased when a new
recording is made, and only the new recording remains.
Recording
6
Note: Make sure that the erase prevention
tab on top of the tape has not been cut
off. If these tabs have been removed, the
tape cannot be used for recording.

7
Q) The unit will not turn on
A) Ensure that the DC cable is properly connected to the unit and
plugged in to a working outlet. If you are running from battery power,
ensure that the batteries are fully charged and installed correctly.
For more advice or assistance, please visit www.gporetro.com, or call
our support team on 0845 521 4095.
Please note, for your personal safety you SHOULD NOT attempt to
open the unit’s casing. Opening the casing voids your warranty, and no
user serviceable parts are contained inside
Product Support
Troubleshooting
Cleaning the Unit
• The exterior casing of this unit may be cleaned with a dust cloth.
Use caution when cleaning and wiping any plastic parts.
• Mild soap and a damp cloth may be used to clean the front panel.
• The tape heads, capstan and pinch roller should be cleaned after
every 100 hours of use. Use a cotton swab moistened with head
cleaning solution or isopropyl alcohol, then carefully dry with
another cotton swab.
Note: Never use metal objects on or near the tape heads.
Do not allow any cleaning materials to fall into the tape assembly.


www.gporetro.com
IMPORTED AND DISTRIBUTED BY:
ProTelX Ltd, Unit 6, Park 17 Industrial Estate, Moss Lane,
Hereby ProtelX, declares that
this equipment (GPO 162B) is
in compliance with the essential
requirements and other relevant
provisions of Directive, you can
Conformity
Hiermit erklärt ProtelX, dass
dieses Gerät (GPO 162B) den
grundlegenden Anforderungen und
anderen relevanten Bestimmungen
der Richtlinie entspricht, Sie können
runterladen www.gporetro.com/
Par ProtelX, déclare que cet
équipement (GPO 162B) est
conforme aux exigences essentielles
et aux autres dispositions pertinentes
de la Directive, vous pouvez accéder
www.
Hierbij verklaart ProtelX dat
dit apparaat (GPO 162B) voldoet
aan de essentiële eisen en andere
relevante bepalingen van
de richtlijn, u kunt een exemplaar
Conformity
ProtelX, declara que este equipo
(GPO 162B) cumple con los
requisitos esenciales y otras
disposiciones pertinentes de la
Directiva, puede acceder a una copia
www.gporetro.
EN
DE
FR
NL
ES
Table of contents
Other GPO Cassette Player manuals