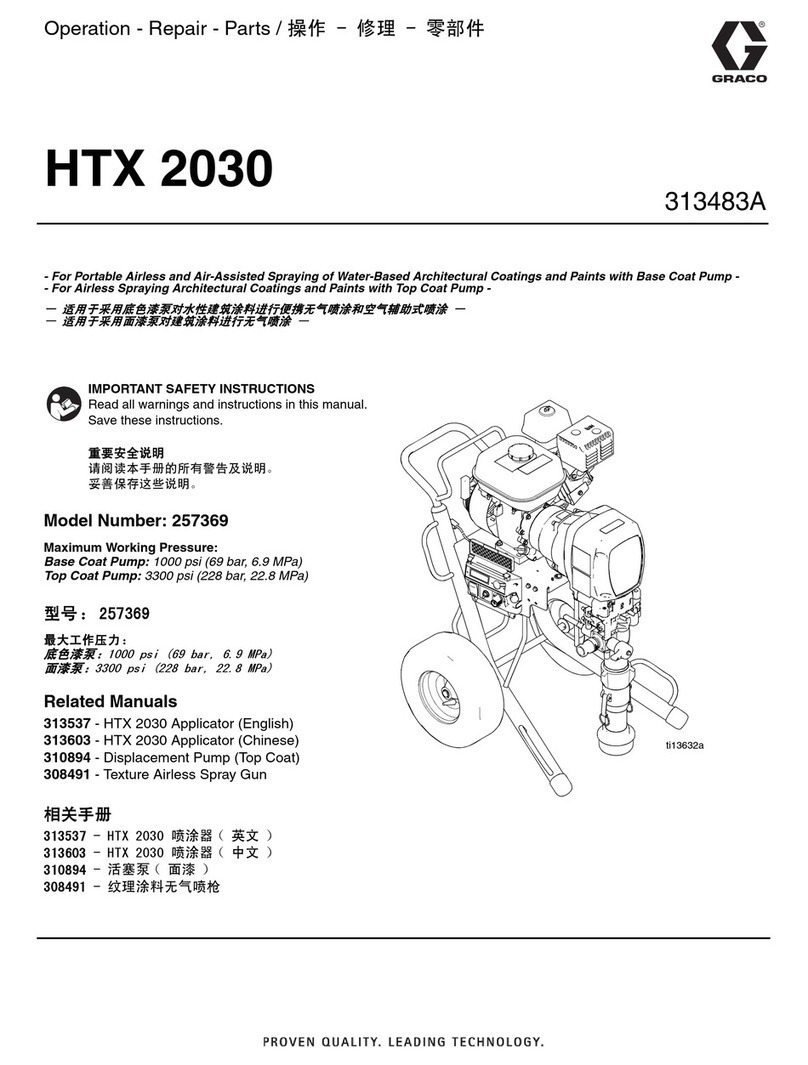
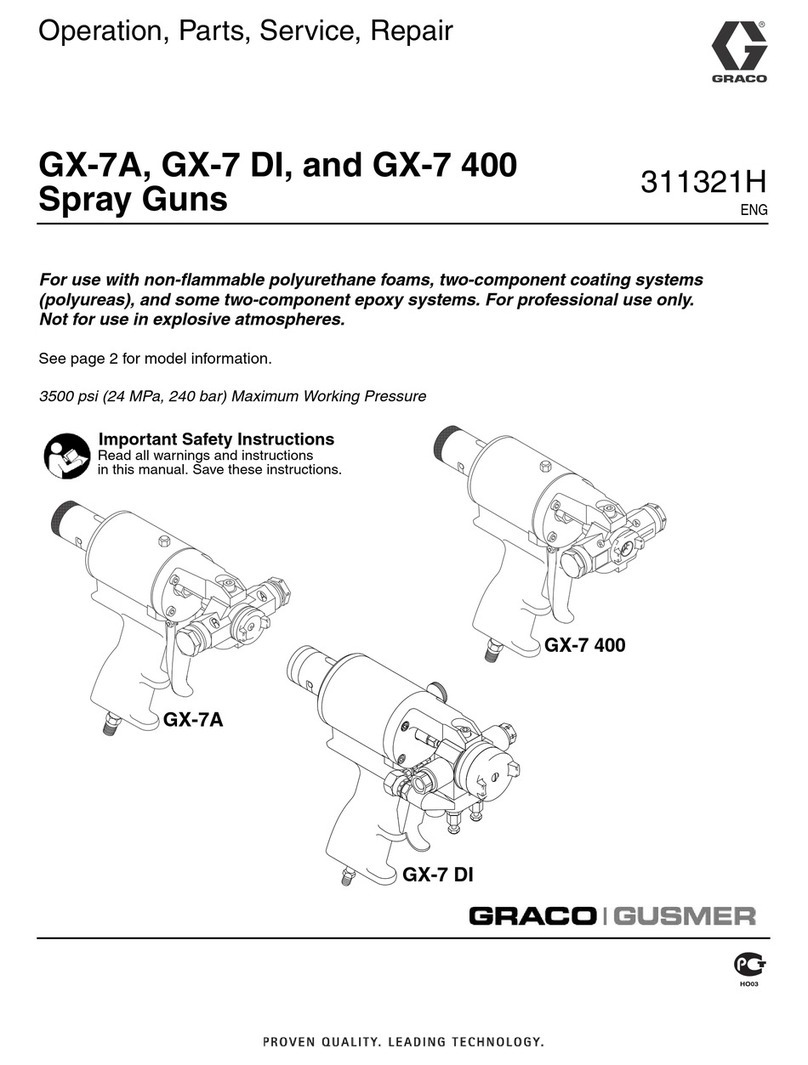
Graco 237 A Series Operation manual
Other Graco Paint Sprayer manuals
Graco
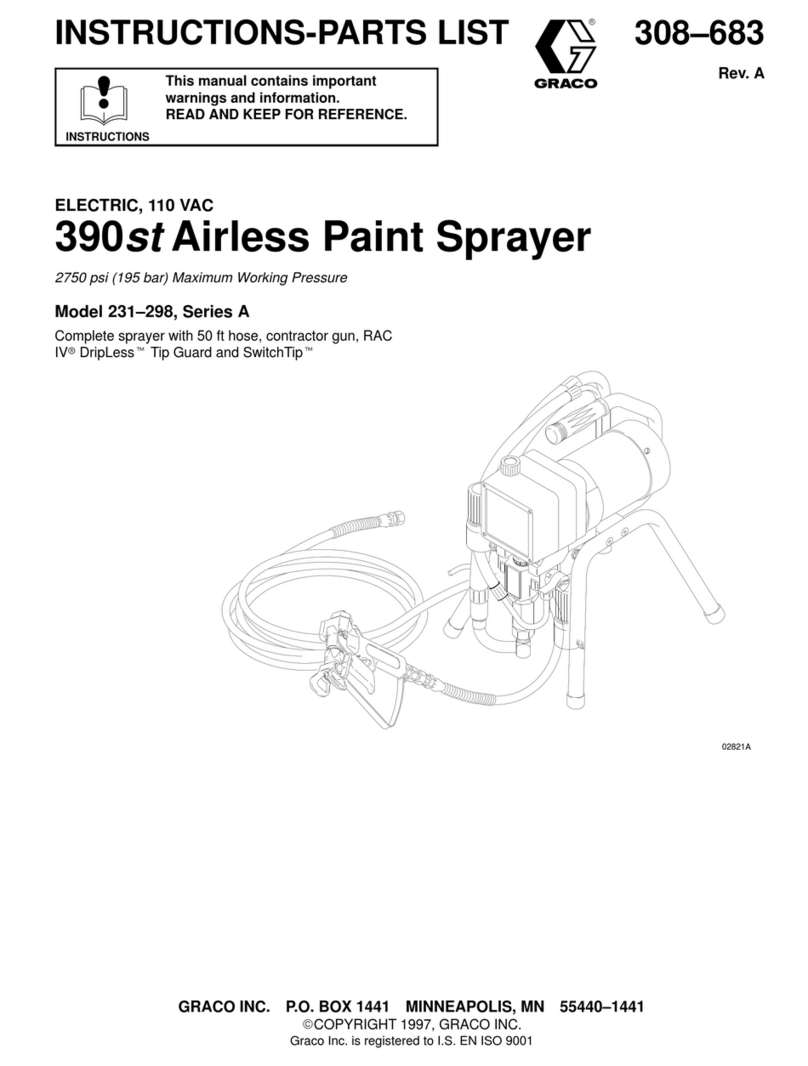
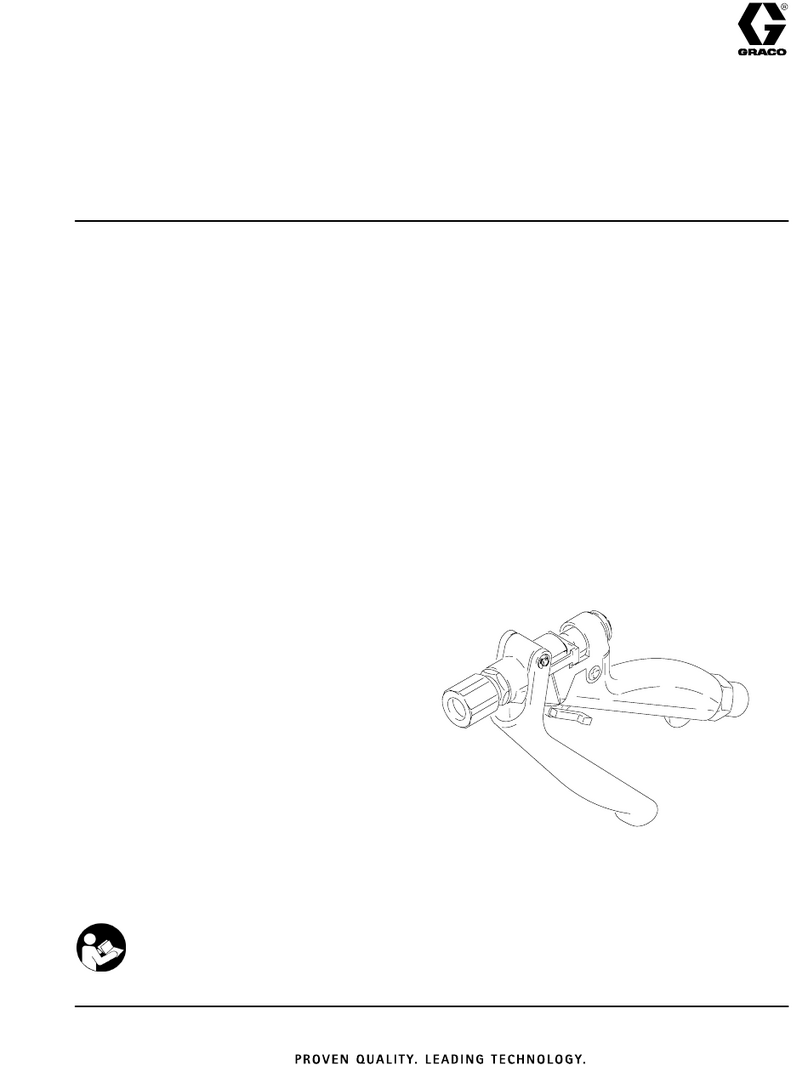
Graco 231-298 Operation manual
Graco
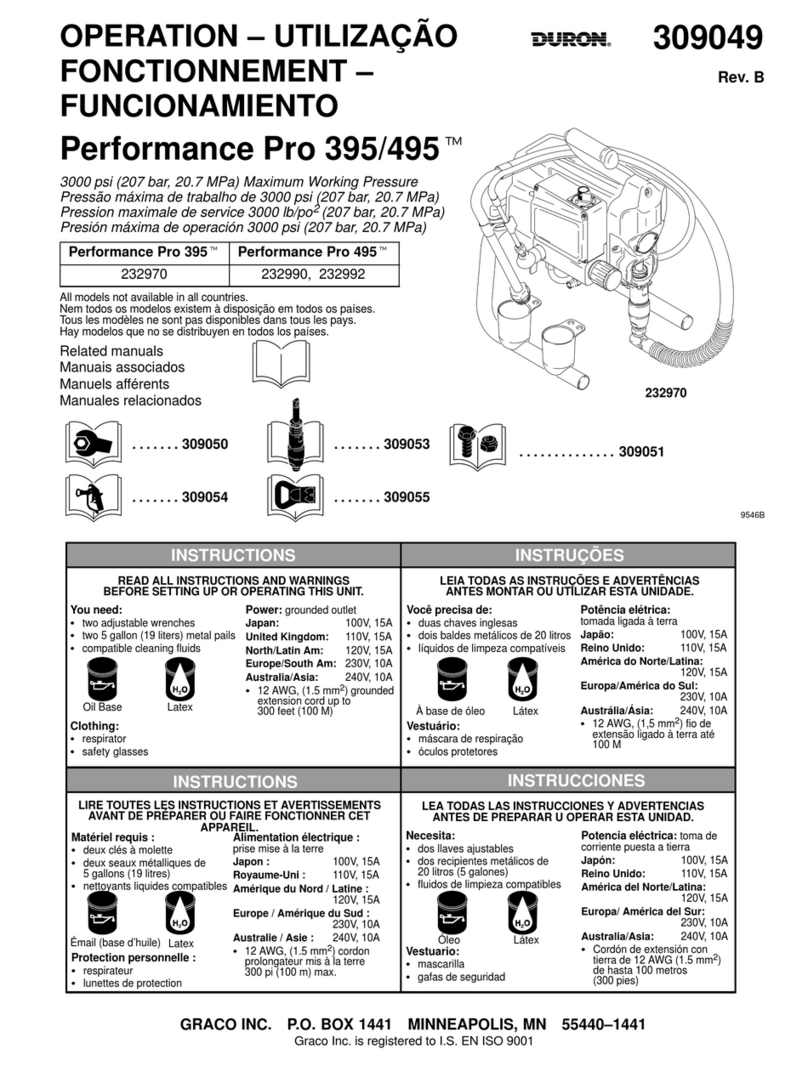
Graco performance pro 395 User manual
Graco
Graco Ultra-lite 235627 Datasheet
Graco
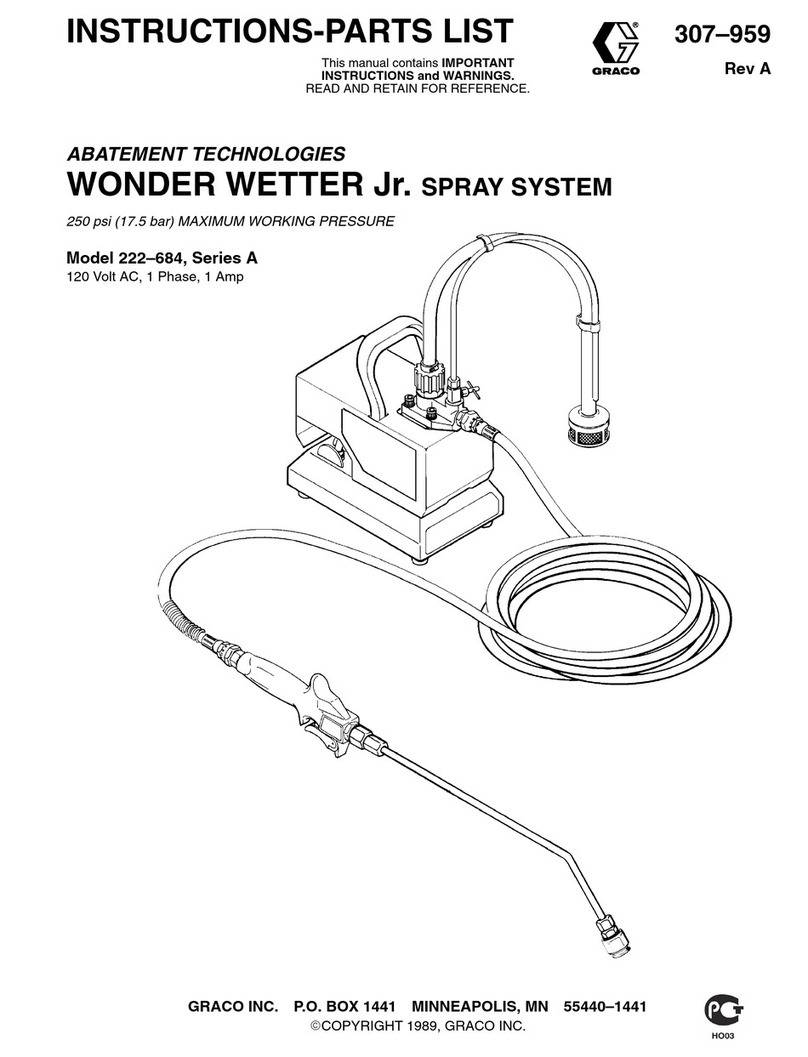
Graco WONDER WETTER Jr. 222-684 Operation manual
Graco
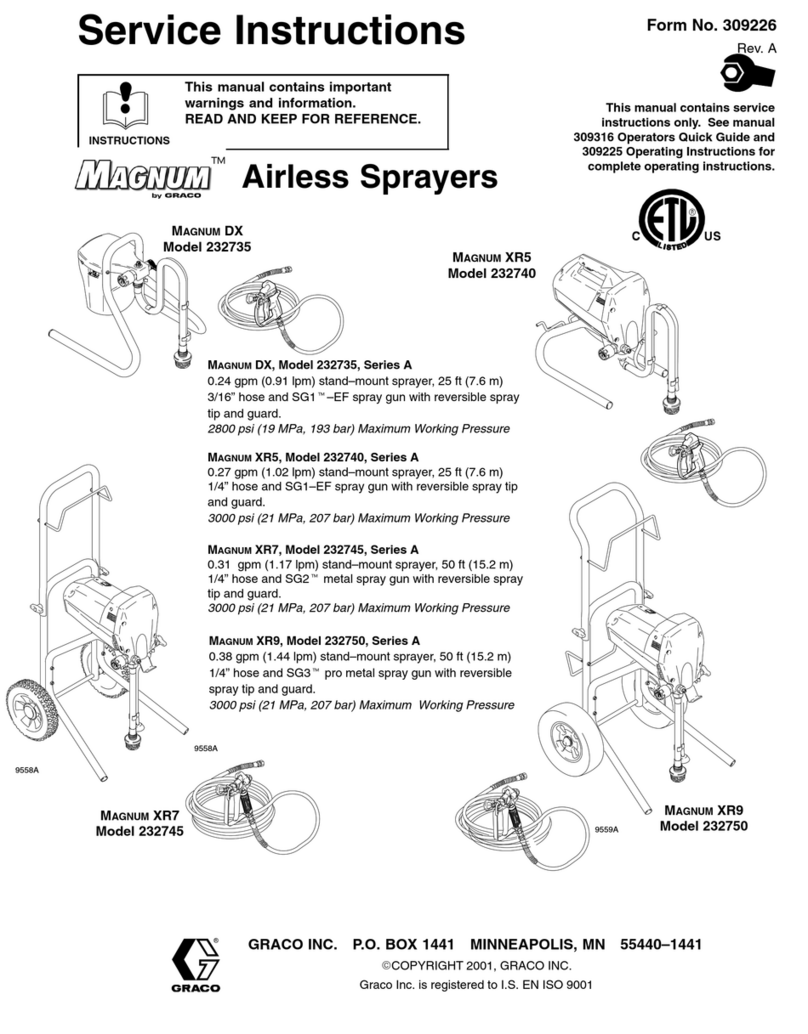
Graco Magnum DX 232735 Operating instructions

Graco
Graco PJR REACTOR E-8p Installation guide

Graco
Graco 231-576 Operation manual
Graco
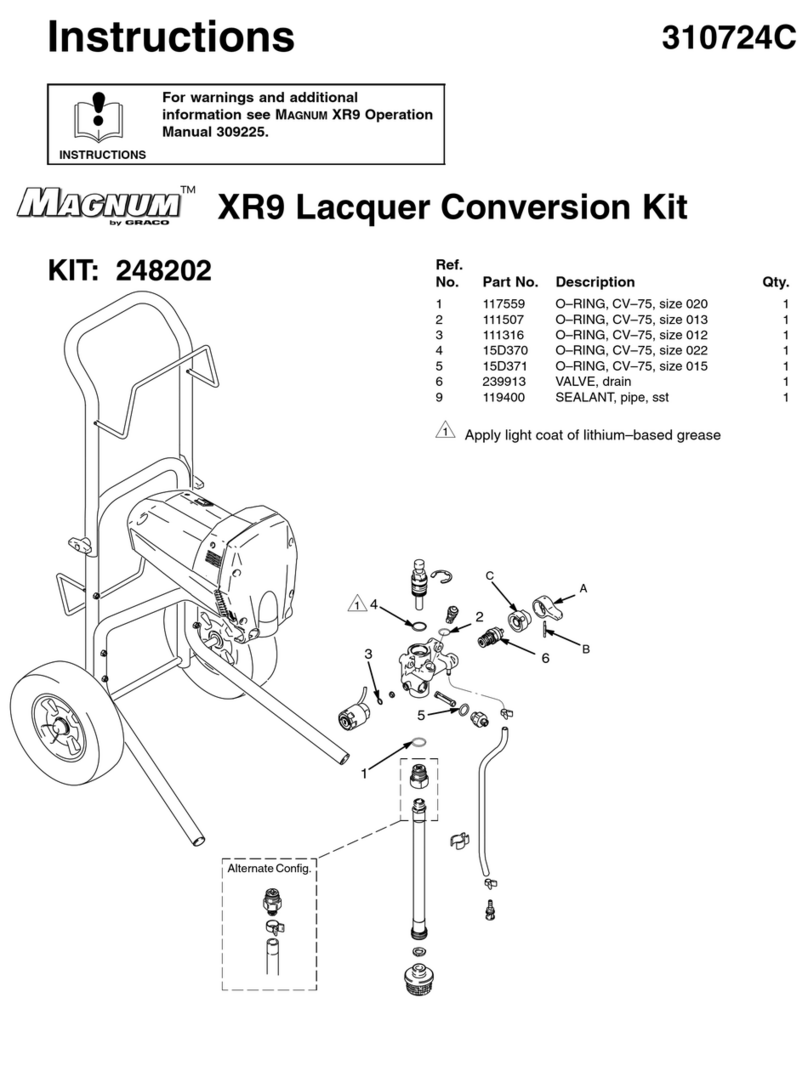
Graco Magnum XR9 User manual
Graco
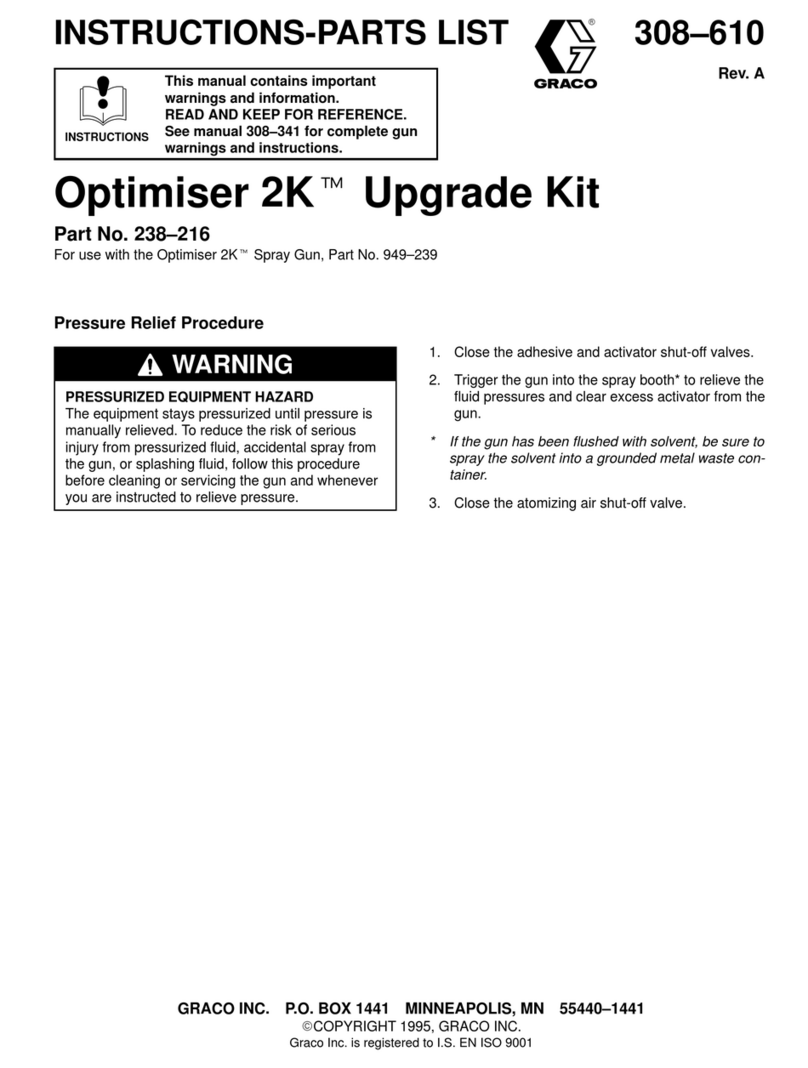
Graco Optimiser 2K Operation manual
Graco
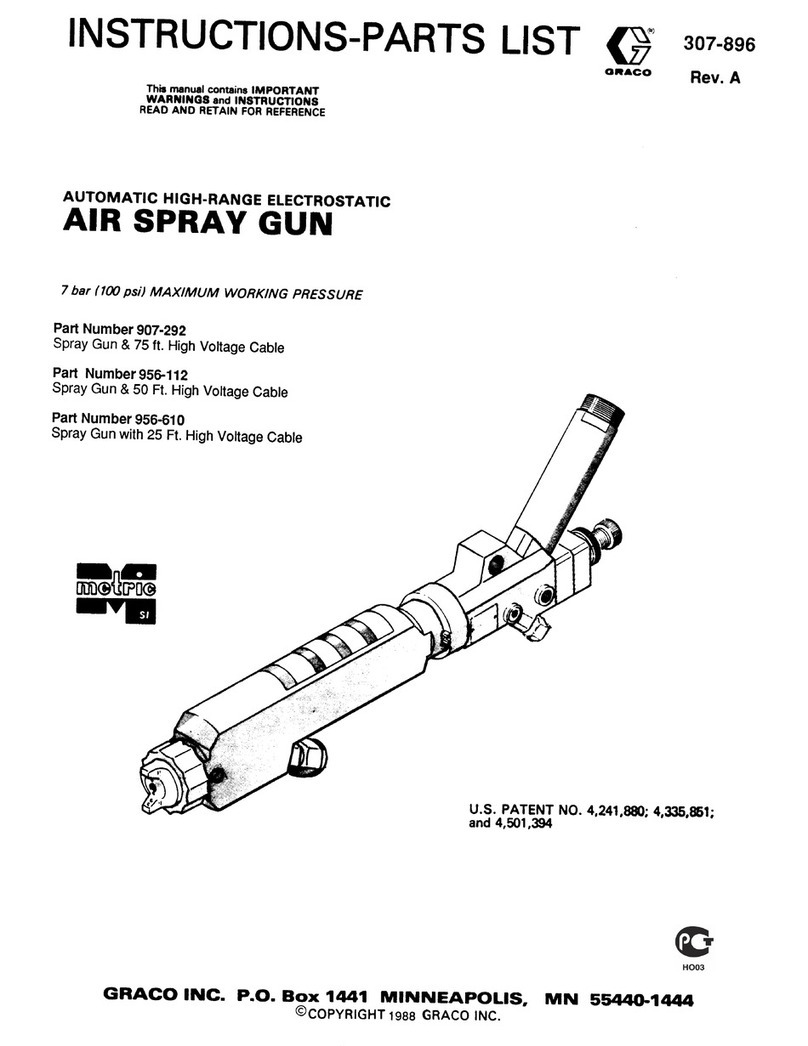
Graco 307-896 Operation manual
Graco
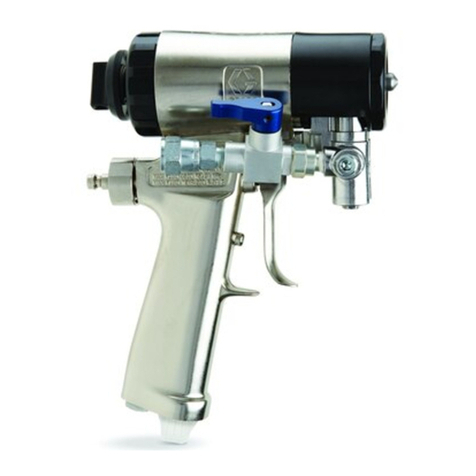
Graco Fusion CS Series User manual
Graco
Graco Xtreme 3Z9329L User manual
Graco
Graco Reactor A-25 Use and care manual
Graco
Graco Tradeworks 150 User manual

Graco
Graco 24V112 Instruction Manual
Graco
Graco 244925 User manual
Graco
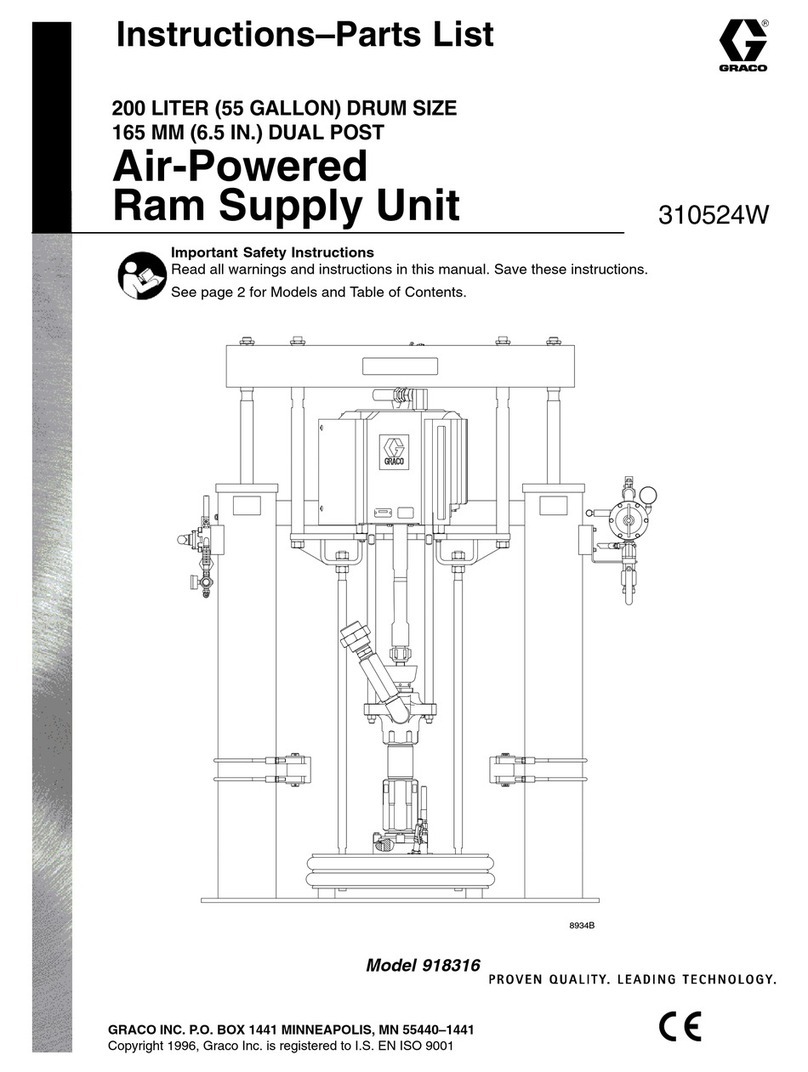
Graco 918316 Operation manual
Graco
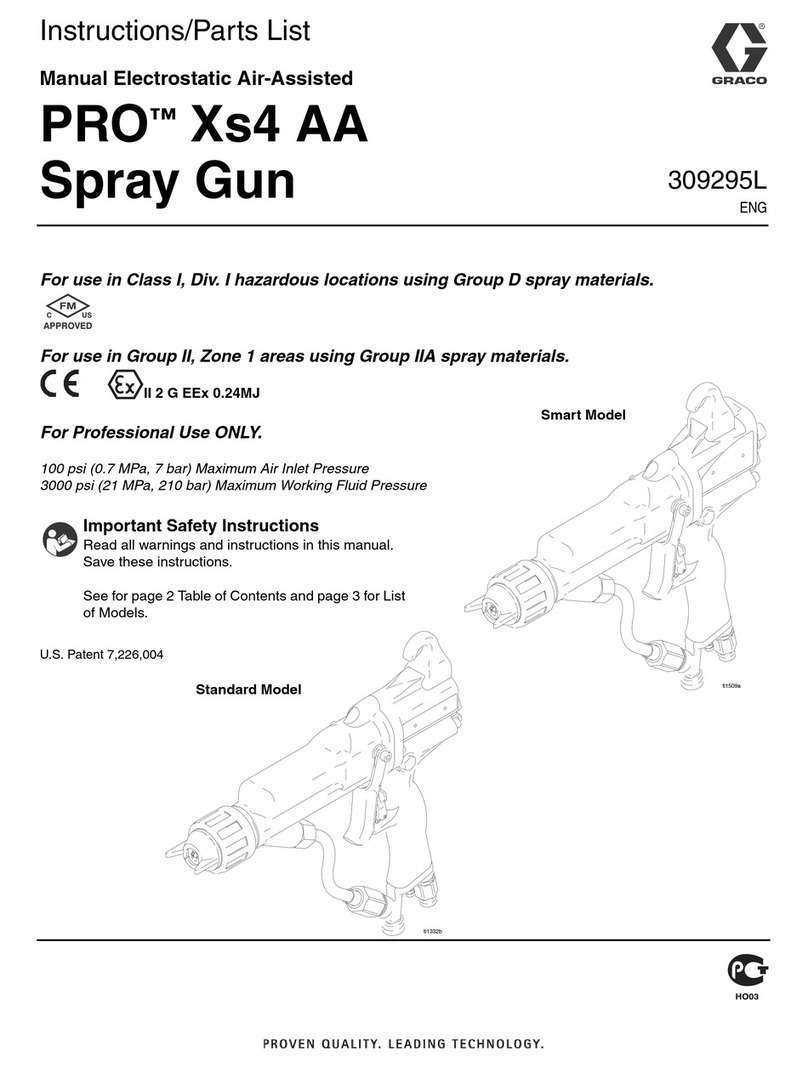
Graco PRO 244572 Operation manual

Graco
Graco 190ES 261825 User manual

Graco
Graco Reactor A-25 User manual
Popular Paint Sprayer manuals by other brands

zogics
zogics Z-DAS instruction manual

KISANKRAFT
KISANKRAFT KK-KBS-165 Operation manual

Matrix
Matrix SG 650 Translation of the original instructions

Anest Iwata
Anest Iwata SGA-3 Installation, use & maintenance instruction manual

paasche
paasche VV Instructions and parts list

Carlisle
Carlisle DeVilbiss JGA-510 Service manual
