manuals.online logo
Brands
  1. Home
  2. •
  3. Brands
  4. •
  5. Graco
  6. •
  7. Power Roller
  8. •
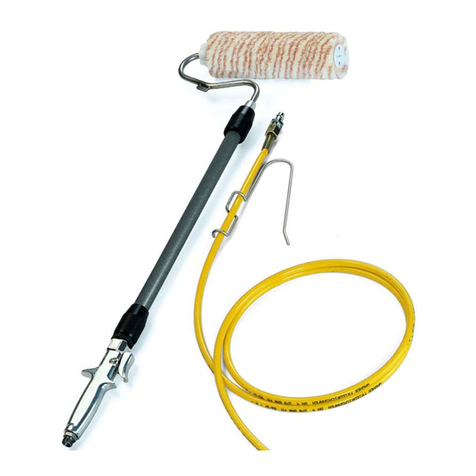
  9. Graco MAGNUM 243060 User manual

Graco MAGNUM 243060 User manual

Form No. 309048
Rev. A
To find your local Graco/MAGNUM authorized
service center
DCall us at 1–888–541–9788
DVisit our website at www.graco.com
DSee the Graco/MAGNUM Authorized Service
Service Centers list (Part No. 302367)
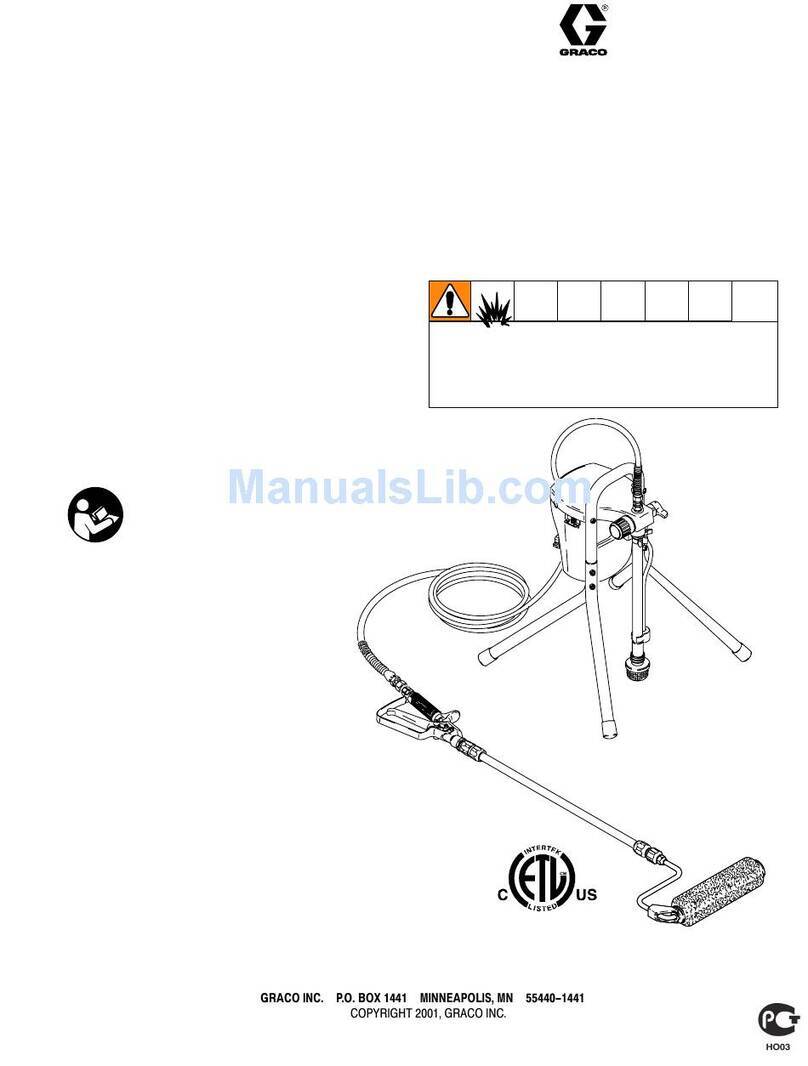
Airless spray
gun not included
9593A
Operating Instructions
INSTRUCTIONS
This manual contains important
warnings and information.
READ AND KEEP FOR REFERENCE.
Model 243060, Series A
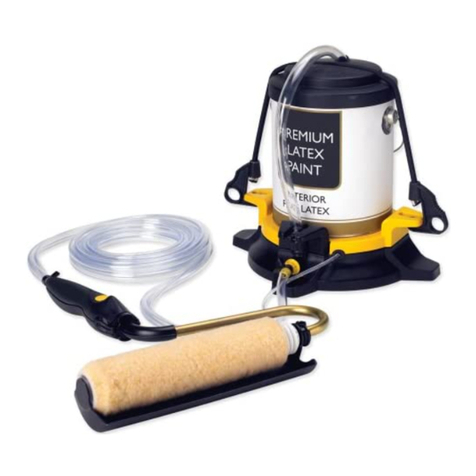
D20 in. (50 cm) heavy-duty extension
D45_swivel adapter
D9 in. (23 cm) roller frame
D1/2 in. (13 mm) nap roller cover
3600 psi (24.8 MPa, 248 bar) Maximum Fluid Inlet Pressure *
This maximum pressure is only possible if the roller frame is
completely plugged. The best operating pressure is the lowest
pressure that provides an even paint supply to the roller and
typically does not exceed 300 psi (2.1 MPa, 21 bar).
*
Pressure Roller
t
GRACO INC. P.O. BOX 1441 MINNEAPOLIS, MN 55440–1441
ECOPYRIGHT 1999, GRACO INC.
Graco Inc. is registered to I.S. EN ISO 9001
2 309048
Warnings and Cautions
Preventing Corrosion Damage and Freezing
CAUTION
Never leave water in the pump, gun, or pressure roller. Doing
so could cause corrosion and damage from freezing. For
storage, flush the system with Graco Pump Armortor
mineral spirits/paint thinner. See Flushing on page 3.
Installation
Assemble the pressure roller as shown in the Parts
Drawing on page 3.
Pressure Relief Procedure
WARNING
To help prevent injection injuries,
follow this procedure whenever
you stop painting.
psi/MPa/bar
1. Put gun trigger safety in SAFETY ON position.
2. Shut off power to pump.
3. Put pump prime/drain valve (required for pressure
relief) in DRAIN position to relieve pressure in
system.
4. Put gun trigger safety in SAFETY OFF position,
and trigger gun to relieve any pressure in hose.
5. Put gun trigger safety in SAFETY ON position, and
keep pump prime/drain valve in DRAIN position
until you paint again.
Operation
1. Follow pump priming instructions using lowest
pressure setting at which pump primes.
2. Put pump prime/drain valve in position that
delivers fluid to hose.
3. Disengage gun safety latch, and trigger gun briefly
until paint comes to roller.
4. Experiment with triggering gun and rolling paint.
NOTE: Trigger the gun briefly when you need
more paint. Determine how often you must trigger
the gun to maintain an even paint supply to the
roller.
5. Increase pump pressure only if triggering gun
cannot supply enough paint for your rolling speed.
See Pressure Relief
Procedure on page 2.
6. Whenever you stop painting, relieve the
pressure, and elevate roller end of extension tube
to prevent paint from draining out.
Flush the pump, gun, and pressure roller immediately
after each use to prevent paint from drying in the
pressure roller and damaging it. See Flushing on
page 3.
EQUIPMENT MISUSE HAZARD
Misuse can cause the equipment to rupture or
malfunction and result in serious injury.
To help prevent injury
DDo not modify the extension tube or roller
frame or use parts not designed for this
equipment.
DDo not use 1,1,1–trichloroethane, methylene
chloride, other halogenated hydrocarbon sol-
vents or fluids containing such solvents in this or
any other pressurized aluminum equipment.
Such use could result in a chemical reaction,
with the possibility of explosion.
ELECTROCUTION HAZARD
Failure to observe the electrical hazards described
below could result in serious injury, including burns
or electrocution.
To help prevent harmful electrical shock
DAvoid contact with power lines.
DFollow all grounding instructions in your
separate pump and gun instruction manual,
and comply with all local, state, and national
fire, electrical, and safety regulations.
DUse only MAGNUM or Graco paint hoses.
FLUID INJECTION HAZARD
If high-pressure fluid pierces your skin, the injury
might look like “just a cut”. But it is a serious
wound. Get immediate medical attention.
To help prevent injection
DKeep your hands and body away form the
roller frame when flushing. High pressure
fluid emitted from the holes in the frame
could cause an injection injury.
DAlways relieve pressure before you check or
repair leaks and when you turn off pump or stop
painting.
DNever use components rated less than system
Maximum Working Pressure.
INSTRUCTIONS
FIRE AND EXPLOSION HAZARD
Improper grounding, poor ventilation, open
flames or sparks can cause a hazardous
condition and result in a fire or explosion and
serious injury.
To help prevent injury from fire or explosion
DProvide fresh air ventilation to avoid the
buildup of flammable fumes from flushing
fluids or the coating being applied.
DKeep the application area free of debris,
including solvent, rags, and gasoline.
WARNING
309048 3
Flushing
This is the procedure for flushing the pressure roller.
The pump and gun you are using may have additional
flushing steps, such as cleaning filters and screens.
See the pump and gun flushing instructions.
NOTE: Leave the pressure roller attached to the gun
for this procedure.
See Pressure Relief
Procedure on page 2.
1.Relieve the pressure.
2. Remove roller cover (6) and diffuser from roller
frame as follows (see Parts Drawing at right):
a. Hold roller cover, and unscrew retaining nut.
b. Slide diffuser and roller cover off of roller fame.
c. Pull roller cover off of diffuser.
3. Clean roller cover with compatible fluid, and clean
diffuser by shaking vigorously in pail of compatible
fluid to remove wet paint. Use soft bristled brush to
remove any dried paint on diffuser.
4. Place roller frame (1) in empty waste pail.
5. Prime pump with flushing fluid compatible with
paint you are using, and use the lowest pressure
setting at which pump primes.
6. Put pump prime/drain valve in position that
delivers fluid to hose.
NOTE: Perform Step 7 at the lowest pressure
possible.
7. Trigger gun until flushing fluid coming out of roller
frame is relatively clear.
8. Shut off the pump, and relieve the pressure.
9. To prevent corrosion, lubricate paint holes in roller
frame with lightweight oil that does not contain
silicone.
Storage
If you are going to store the airless equipment for an
extended period of time after flushing with water-base
fluid, flush again with Graco Pump Armor or mineral
spirits/paint thinner. Leave the fluid in the system
during storage.
Additional Roller Covers
The following MAGNUM pressure roller covers are
available at your local distributor:
243062 9 in. (23 cm); 3/8 in. (9.5 mm) nap
243063 9 in. (23 cm); 1/2 in. (13 mm) nap
243064 9 in. (23 cm); 3/4 in. (19 mm) nap
243065 9 in. (23 cm); 1-1/4 in. (32 mm) nap
Parts Drawing
2
2*
4
5
6
7
diffuser
retaining nut
9593A
1
3
23
3*
HINT:
When replacing gasket (2*) and
o-ring (3*) in swivel adapter (7),
position o-ring first, then press
gasket into place.
MAGNUM Pressure Roller,
Model 243060, Series A
Parts List
Ref.
No. Part No. Description Qty.
1 243061 FRAME, roller 1
2 162863 GASKET, non-metallic 3
3 114049 PACKING, o-ring 3
4 243051 TUBE, extension; 20 in. (50 cm) 1
5Y195804 LABEL, warning 1
6 243063 COVER, roller;
9 in. (23 cm); 1/2 in. (13 mm) nap 1
7 243057 ADAPTER, 45_swivel 1
YCall 1–800–328–0211 for free extras.
4 309048
Limited Warranty
Graco Inc. warrants to the original retail purchaser (other than for purposes of resale or rental) all equipment
manufactured by Graco and bearing its name to be free from defects in material and workmanship if operated
in accordance with Graco’s printed recommendations and instructions. This warranty applies for one year from
the date of purchase.
This warranty does not cover and Graco shall not be liable for general wear and tear, or any malfunction,
damage or wear caused by improper use, accidents, user negligence, use of non-Graco component parts or
service or repair performed by anyone other than a Graco authorized service center.
IMPLIED WARRANTIES, INCLUDING THOSE OF MERCHANTABILITY AND FITNESS FOR A PARTICULAR
PURPOSE, ARE LIMITED TO ONE YEAR FROM THE DATE OF ORIGINAL PURCHASE.
GRACO SHALL NOT IN ANY EVENT BE LIABLE FOR ANY INCIDENTAL, INDIRECT, OR CONSEQUENTIAL
LOSS, DAMAGE OR EXPENSE OF ANY KIND, WHETHER FROM BREACH OF THIS WARRANTY OR ANY
OTHER REASON. Some states do not allow the exclusion or limitation of incidental or consequential damages,
so the above limitation or exclusion may not apply to you.
To make a claim under this warranty, return the product with proof of purchase, transportation prepaid, to any
Authorized Graco Service Center. Graco’s Authorized Service Center, at its option, will either repair or replace
the product and return it to you, postage prepaid. A listing of Authorized Graco Service Centers is enclosed
with this product. You may also find the nearest Authorized Graco Service Center by calling 1–888–541–9788
or by visiting our website at www.graco.com.
This warranty gives you specific legal rights and you may also have other rights which may vary from state to
state.
All written and visual data contained in this document reflect the latest product information available at the time of publication.
Graco reserves the right to make changes at any time without notice.
GRACO INC. P.O. BOX 1441 MINNEAPOLIS, MN 55440–1441
www.graco.com
PRINTED IN USA 309048 12/1999

Other Graco Power Roller manuals

Graco Magnum 244512 User manual

Graco

Graco Magnum 244512 User manual

Graco 150 RPX User manual

Graco

Graco 150 RPX User manual

Graco 309322D Datasheet

Graco

Graco 309322D Datasheet

Graco 244279 Datasheet

Graco

Graco 244279 Datasheet

Graco 245907 User manual

Graco

Graco 245907 User manual

Graco Series A User manual

Graco

Graco Series A User manual

Graco Series A Operation manual

Graco

Graco Series A Operation manual

Graco 218-938 Datasheet

Graco

Graco 218-938 Datasheet

Graco 307-713 Datasheet

Graco

Graco 307-713 Datasheet

Graco 220-240 Datasheet

Graco

Graco 220-240 Datasheet

Popular Power Roller manuals by other brands

Fayat Group DYNAPAC CA2500 instruction manual

Fayat Group

Fayat Group DYNAPAC CA2500 instruction manual

XPOtool 61581 Operation manual

XPOtool

XPOtool 61581 Operation manual

manuals.online logo
manuals.online logoBrands
  • About & Mission
  • Contact us
  • Privacy Policy
  • Terms and Conditions

Copyright 2025 Manuals.Online. All Rights Reserved.