IMPORTANT INFORMATION
The freezer contains the environment-friendly, non-ozone
depleting refrigerant R600a. As R600a is a flammable gas, it is
important to avoid damage to the refrigeration circuit during
transport and installation. If the refrigeration circuit is damaged,
avoid using naked flame in the vicinity of the freezer and
connecting power to freezer. Also make sure that there is good
ventilation in the room. If you are in doubt, please contact your
supplier.
This appliance is not intended for use by persons (including
children) with reduced physical, sensory or mental capabilities, or
lack of experience and knowledge, unless they have been given
supervision or instruction concerning use of the appliance by a
person responsible for their safety.
Children should be supervised to ensure that they do not play with
the appliance.
WARNING: Keep ventilation openings, in the appliance enclosure
or in the built-in structure, clear of obstruction.
WARNING: Do not use mechanical devices or other means to
accelerate the defrosting process, other than those recommended
by the manufacturer.
WARNING: Do not damage the refrigerant circuit.
WARNING: Do not use electrical appliances inside the food storage
compartments of the appliance, unless they are recommended by
the manufacturer.
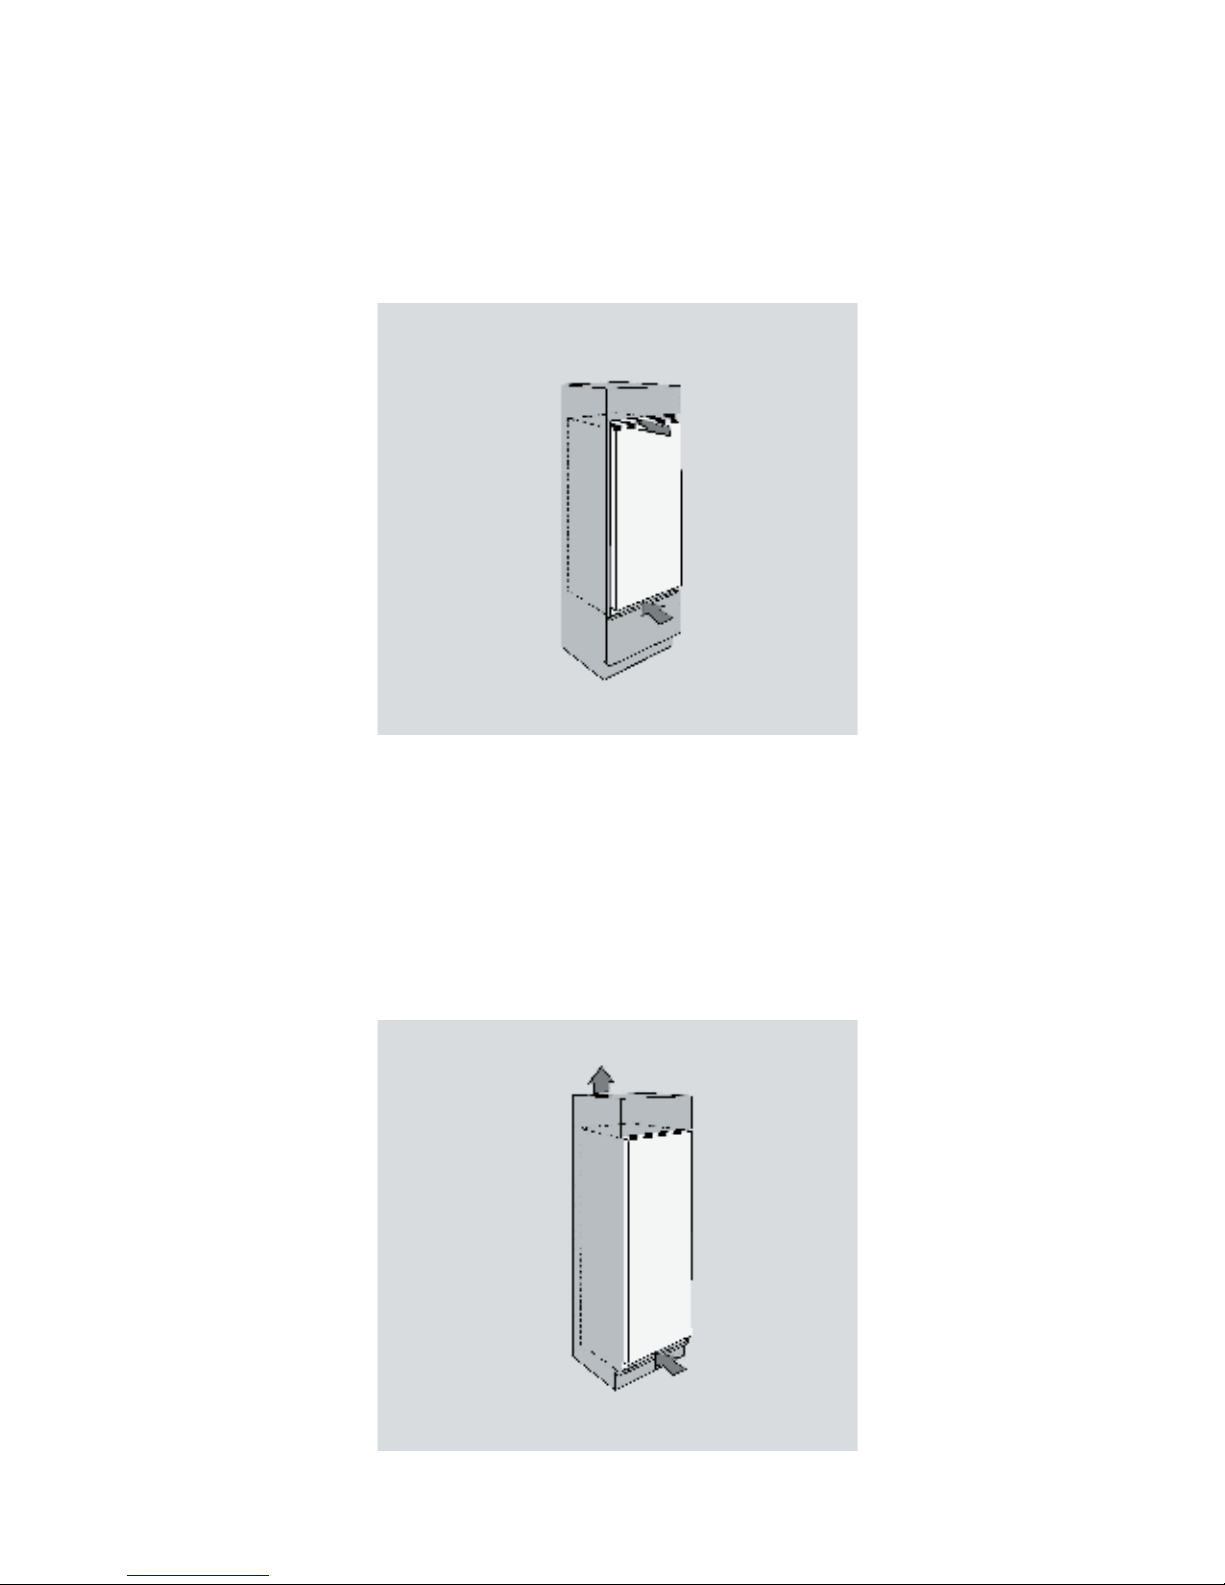
Transporting and moving the freezer
The freezer must always be moved in the vertical position. The
cabinet must not be tilted more than approx 40º. If the freezer has
been tilted more than 40º, the power supply must not be
connected until the appliance has stood upright for at least 2
hours.
4