Instruction Manual
Introduction
Our primary design goal with the UTP microphones has been to create a very thin microphone
But ease of use when preparing for measurements has also been a primary design goal. This is
Mounting
Mounting the 48LA and 48LX-1 microphones is fairly straightforward. Four mounting methods are
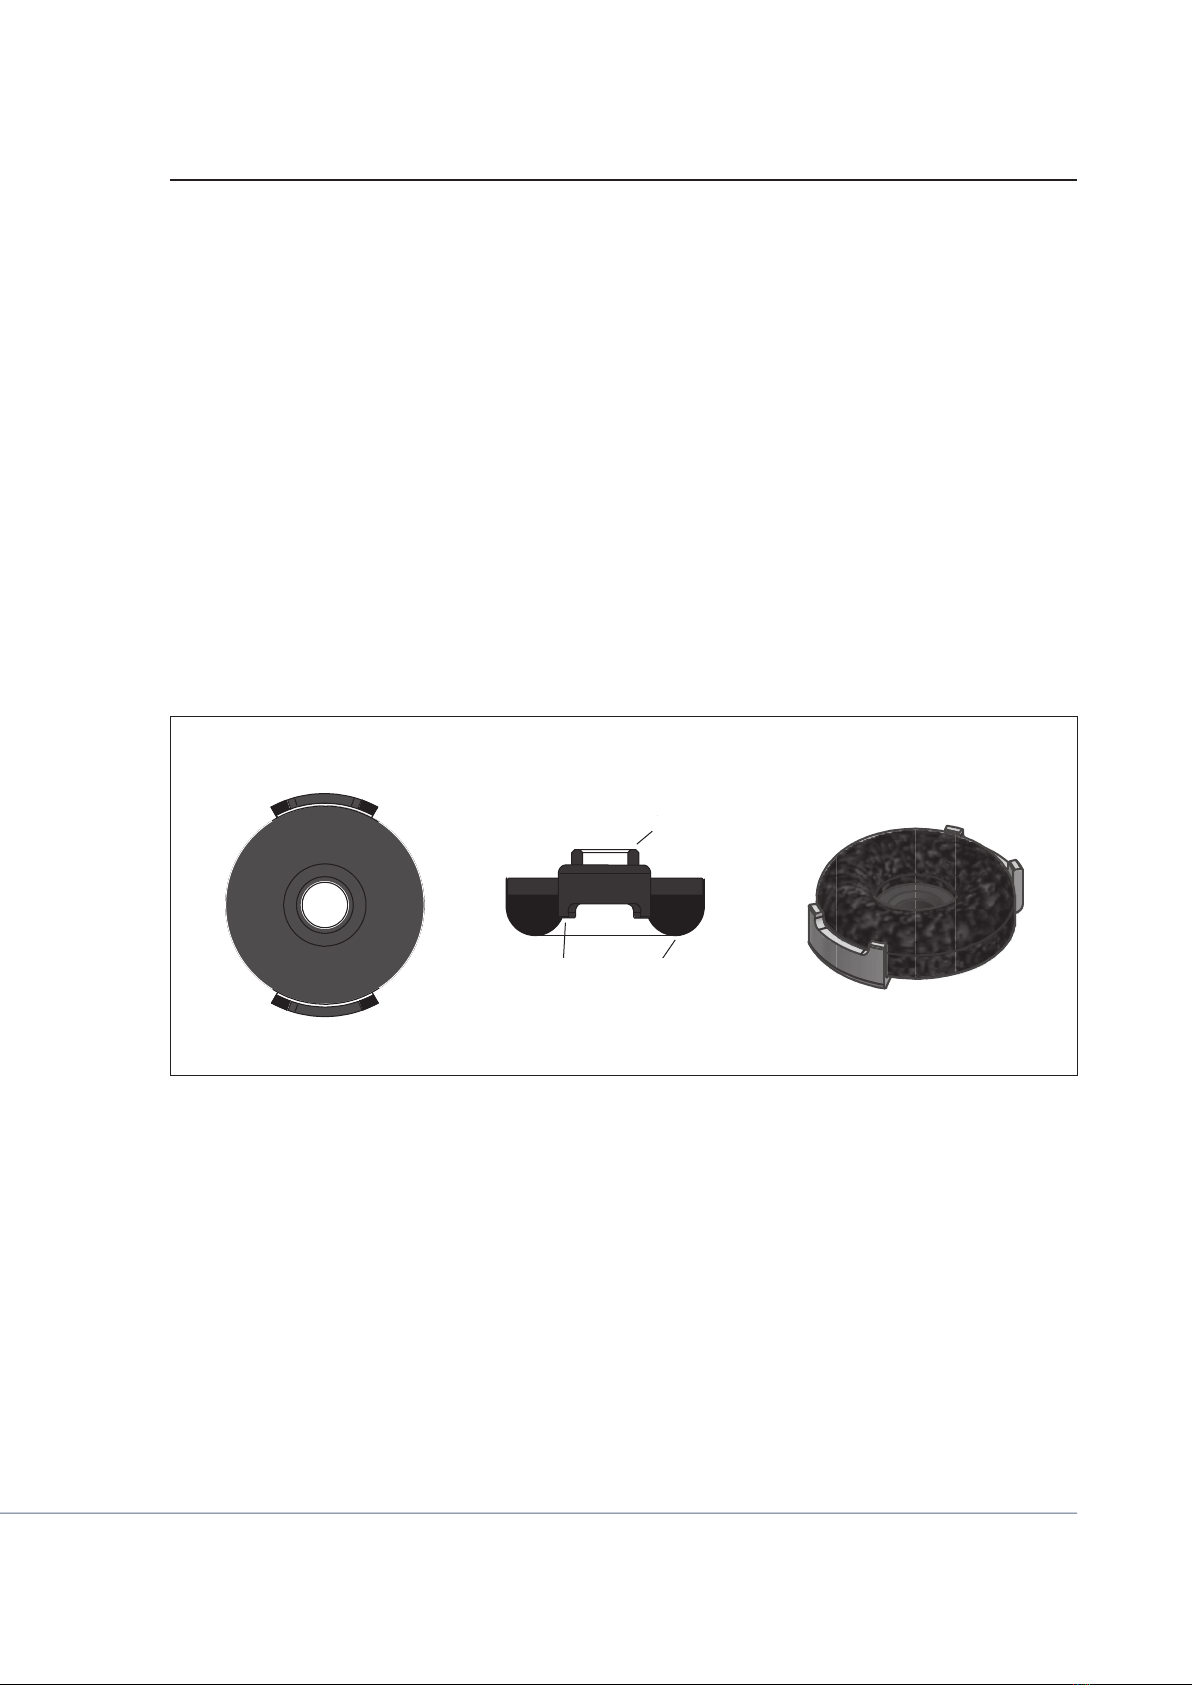
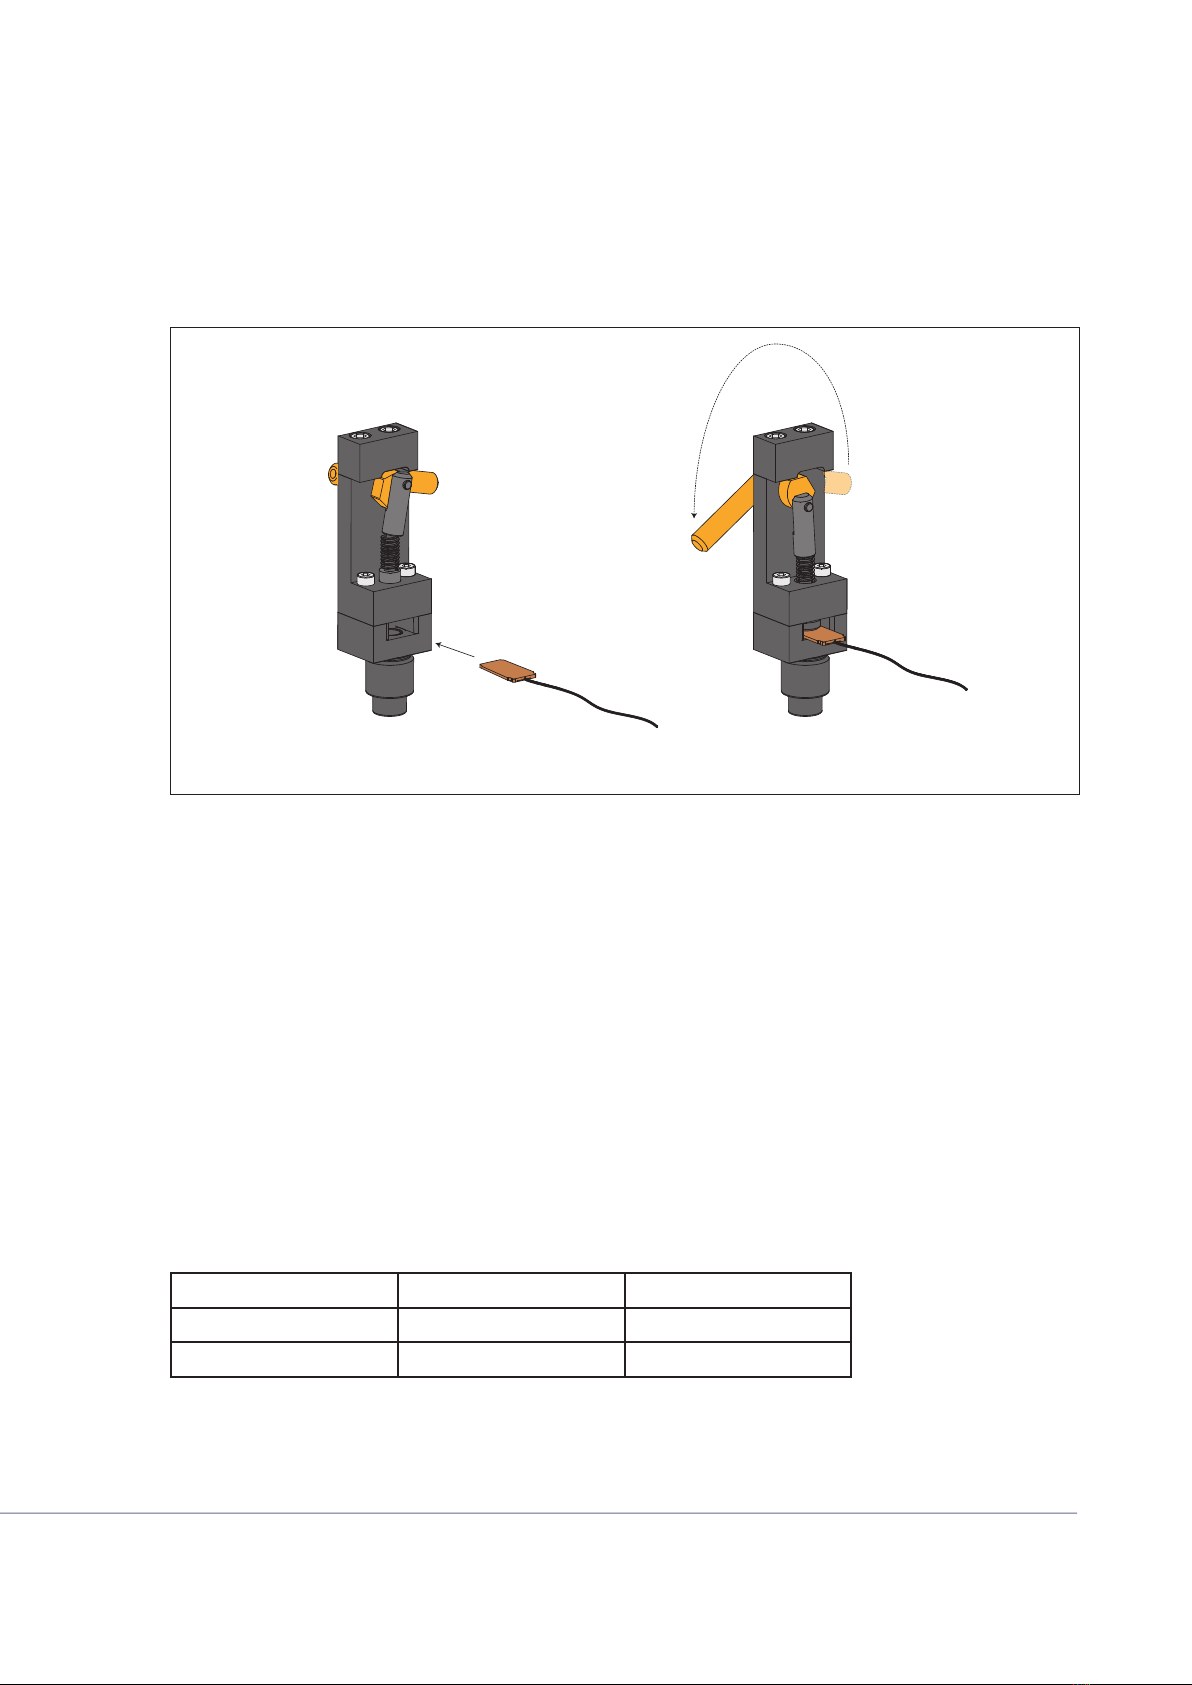
Mounting with Hard Fairing
This mounting method can be used on plain structures. The hard
fairing can be used as a mechanical docking station which allows
for easy insertion and removal. The fairing has an aerodynamical
design with angle of 7.5 degrees and a height of 1 mm.
See page 5.
Mounting with Soft Fairing
The soft fairing can be used for mounting on slightly curved sur-
faces. The microphone and fairing is secured with top-mounted
masking tape. The soft fairing has an angle of 6.5 degrees and a
height of 1 mm.
See page 6.
Mounting using Tape Only
Using one of the fairings has the advantage of introducing a
the microphone can be mounted directly using only the masking
tape.
See page 7.
Mounting with Hard Fairing and Top Tape
This method can be used to further smoothen a mounting with
the hard fairing.
See page 7.