3
LITHIUM BATTERY WARNING!
This product recommends the use of a lithium polymer
(LiPo) battery. Improper handling of a LiPo battery
could result in FIRE! A lithium battery re has the
potential to ignite surrounding areas and may cause property
damage or personal injury.
For safe LiPo handling, follow ALL of these guidelines:
MOST IMPORTANT! Never leave the battery or charger
unattended during charging or discharging.
WARNING: Read the entire instruction sheet included with
your motor batteries. Failure to follow the instructions could
cause permanent damage to the battery and its surroundings
and cause bodily harm!
ALWAYS follow the charging instructions included with your
charger for charging LiPo batteries. LiPo batteries can cause
serious damage or re if misused.
ALWAYS use a LiPo-approved charger.
ALWAYS set the charger’s output volts to match the
battery volts.
ALWAYS charge a LiPo battery in a reproof location.
ALWAYS balance charge the battery.
ALWAYS store and transport LiPo batteries in a reproof
container away from combustible materials.
ALWAYS KEEP OUT OF THE REACH OF CHILDREN.
ALWAYS keep LiPo batteries out of the reach of animals. A
punctured battery may cause a re.
ALWAYS disconnect the battery and unplug the charger
after the charge is complete.
ALWAYS keep a supply of sand accessible when charging
a LiPo battery. Dumping sand on the battery will assist in
extinguishing a LiPo chemical re.
ALWAYS remove the batteries from the plane after a crash.
Set them aside in a safe location for at least 20 minutes. If
the batteries are damaged in the crash, they could catch
re. If the battery starts to swell, quickly move the battery to
a safe location, preferably outside away from combustible
material. Place it in a bucket, covering the battery with sand.
NEVER use water to try and put out a LiPo re.
NEVER charge or use a battery that is deformed, bent,
crushed, swollen, or has any type of visible damage.
NEVER use a NiCd/NiMH peak charger to charge a
LiPo battery.
NEVER charge in excess of 4.20V per cell unless the battery
is rated for a higher voltage.
NEVER charge at currents greater than 1C unless the battery
is rated for a higher charge rate.
NEVER trickle-charge a LiPo battery.
NEVER allow the battery temperature to exceed 140°F (60°C).
NEVER disassemble or modify the pack wiring in any way
or puncture the cells, as this may result in a re.
NEVER discharge below 2.7V per cell. It is recommended
to not discharge below 3.7V per cell.
NEVER charge the battery or set the charger on combustible
materials.
NEVER charge the battery inside a vehicle or in a location
that could be damaged in the event of a LiPo re.
NEVER put a LiPo battery in the pocket of any clothing.
NEVER charge the batteries in the plane. Disconnect the
batteries and remove them from the plane immediately
after landing.
NEVER allow the battery to short circuit by touching exposed
wires together. This may cause a re.
NEVER operate or store batteries below 40˚F (4˚C) or above
110˚F (43˚C).
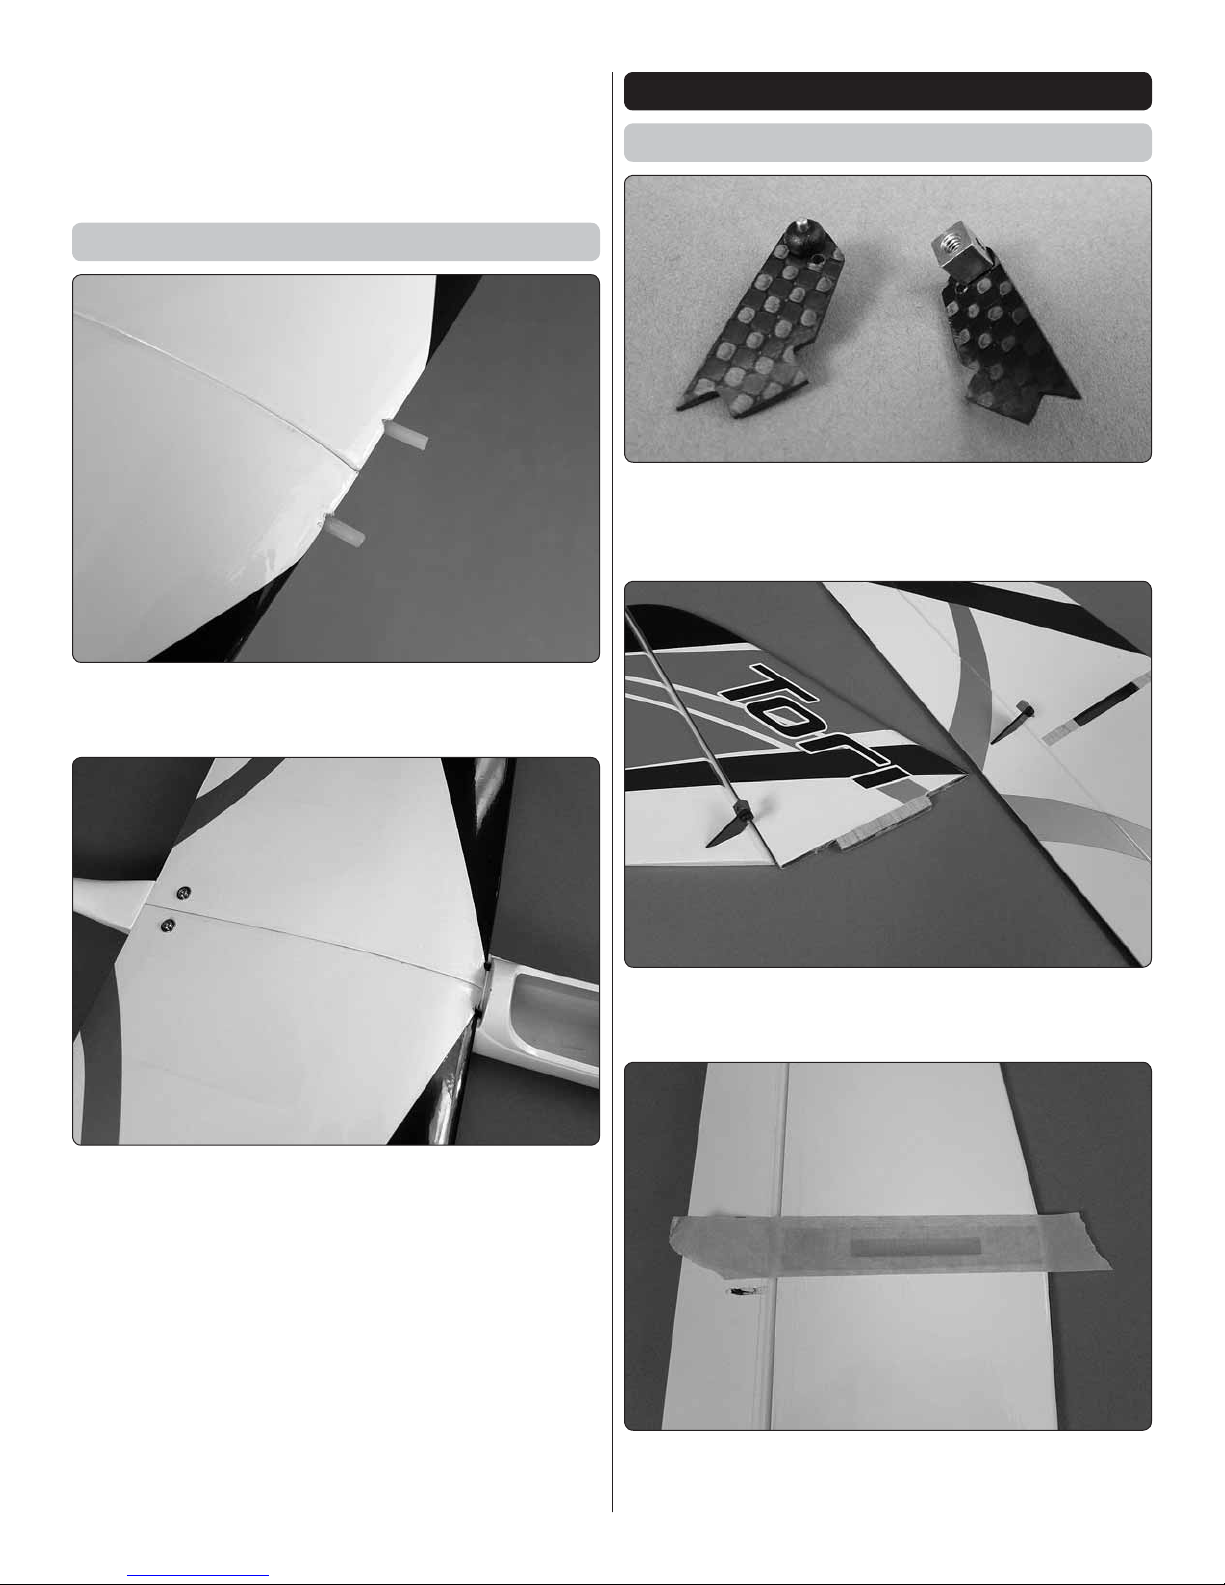
ADDITIONAL ITEMS REQUIRED
Radio/Servos
A minimum 4-channel radio is required to y the Tori. The
Tactic TTX660 is recommended because of its simple,
exible computer programming and multiple model memory.
The servo tray in the fuselage is sized for Tactic TSX5 micro
servos, but the cutout may be enlarged for other servos.
Because of the Tori’s capability to reach high altitudes, it
is also recommended to use a full-range, dual-diversity
receiver such as the Tactic TR625.
❍Tactic TTX660 6-channel programmable radio
(TACJ2660)
❍Tactic TR625 6-channel receiver (TACL0625)
❍(4) Tactic TSX5 micro high speed servos (TACM0205)
❍OPTIONAL*: Y-harness for ailerons (FUTM4130).
*If spoilerons are desired, 5-channels will be required and the
aileron servos will have to be connected to separate channels
in the receiver and mixed electronically through programming
in the transmitter. In this case a Y-harness is not used.
Motor , ESC, Battery
The Tori Rx-R includes the recommended RimFire motor and
an ESC with similar specications and performance to the
recommended ESC. With the included 12x6.5 folding propeller,
either version of the Tori may be own on a 2S or 3S battery.
The recommended motor, ESC and battery for the Tori:
❍Great Planes RimFire .10 35-30-1250 Outrunner
Brushless (GPMG4595)
❍Great Planes Programmable ESC 40A BL 2S-6S
(GPMM2140)
❍30C 3S 11.1V 1800mAh LiPo Star (ONXP2243)
OR 30C 2S 7.4V 2200mAh LiPo Star (ONXP2260)
LiPo Battery Charger
A charger capable of charging LiPo batteries is required.
The Triton EQ (GPMM3155) is a suitable charger as it has
plenty of power for charging the LiPos recommended for
the Tori (and larger LiPos as well). The Triton EQ is also
recommended for its versatility in charging all other types of
batteries used in RC and may be powered by either a 12V
DC power source or 110V AC.