Green-Go GGO-WAA User manual

Status LED
Push Button
mini USB
Neutrik Ethercon
Ethernet Connector
Overview
Ethernet connector: Supplies access to the network and PoE (Power over Ethernet)
mini USB connector: Supplies power when in standalone mode
Push button: The Push button is used for activating pairing mode
Status LED: Green Flash - Another network device with the same configuration is on the system
Red/Green Flash – No other network device with the same configuration on the system detected
Red - Slow Flash The antenna is ready to be paired with a belt-pack
The Green Go Antenna connects the wireless belt-packs to other Green Go Stations via ethernet.
It can also supply a Standalone setup, working as a connection between belt-packs.
Basic Functions
Pairing: An Antenna needs to be paired with a belt-pack for the two to connect.
An antenna can serve up to 4 paired belt-packs, but remember pairing with up to 6 belt-packs
Roaming: Belt-packs can be set to search (roam) for a better signal to other paired antennas
Standalone: Using one antenna to create a Green Go network. This allows for a maximum of 4 paired belt-packs.
Whats in the box: Wireless Antenna + Angled Bracket + 2 philips screws
1
User guide
Green Go Antenna
model nr. GGO-WAA

Pairing
2
Setting up
Connect to power PoE (Power over Ethernet) or miniSUB (for Standalone mode)
Pair the Antenna with one or more belt-packs
Mount the antenna. An angled bracket has been supplied for easy mounting.
It is recommended to place the antenna for the belt-packs ’line of sight’.
The antenna has a range of 50-300m depending on the environment.
To pair a belt-pack with an antenna:
- Press and hold the push button on the rear of the antenna for two seconds. The Status LED will begin to flash red.
and the Antenna will stay in pairing mode for 3 minutes or until pairing has been completed.
- On the belt-pack go to the Setup Menu/Connection/ and scroll to the slot you want to use for pairing the antenna.
- If the slot you want to use is occupied, you can delete that antenna registration by clicking on the slot
- scroll down to ‘delete antenna’
- click again.
- The Display will read ‘Delete’ and the antenna will disappear.
- Then click on the slot
- Scroll down to Start pairing
- Click Start pairing
- The display will read ‘Registering’
- When done the display will read ‘Registered’ and the Antenna will appear in that slot.
- It can take a few seconds for the display to update the slot.
When pairing a seventh beltpack to an antenna, it will replace the beltpack paired at slot no.6
This can be reorganized via the Green Go Update Connection software.
It is good practice to keep a standard setup of 4 beltpacks paired with one antenna, leaving room for two additional
pairings in case of emergencies or just one offs.
Status LED
Push Button
Antenna rear:
To clear registered beltpacks, you need to connect a computer to the network and run the Green-GO Update
Connection software.
Scan for the devices and select your antenna. In the Properties section/Registered Packs/ you can delete registration
by typing 0 in the field to the right of the RF ID A – F fields and press enter.
You will be asked to confirm the deletion of the paring.
Clearing can on also be performed manually on the Antenna. This will clear all pairings with the antenna.
1. Click the red pushbutton on the rear of the antenna for 2 seconds.
2. The Antenna will enter pairing mode and the indicator LED will start blinking red.
3. Click and hold the red pushbutton. (The indicator LED will start to blink fast).
4. Wait until the indicator LED stops blinking and just lights up red.
All pairings on the antenna has been cleared.
Clear pairing
User guide
Green Go Antenna model nr. GGO-WAA

Standalone mode
3
By pairing up to 4 belt-packs to 1 antenna and supplying the antenna with power via the usbMini connector
you can create a small standalone setup. The setup will work with all normal functions available between
wireless belt-packs.
When in standalone mode, the Status LED will flash Green/Red, as no other network device is visible.
2 standalone setups can be connected by adding an ethernet cable between the two antennas.
Status LED
mini USB
Updating firmware
The firmware can be uploaded via ethernet or miniUSB.
The latest firmware can be found at www.GreenGoDigital.com
Download the latest firmware and the Green Go Control and Connection software.
- start the software
- click Scan to search for the antenna on the network
- Next select the antenna or multiple antennas and click on Update.
This will open a file selection window, browse to select the firmware for the device and click on Open,
the updating of the firmware now starts.
After the update is successful, the device will reboot.
Roaming
If connection to an antenna is lost then the belt-pack will search for a new antenna and reconnect automatically
after a few seconds.
Settings for the minimum level of signal quality can be set in in the belt-pack setup menu/connection/roaming
Levels from 1-5 can be set and when getting below that level the Belt-Pack will start roaming(searching) for a
better connection to an Antenna registered on the Belt-pack.
This can also be done manually by shortly flicking the power switch on the beltpack.
This requires that you have enabled ‘Forced reconnect’ in the belt-pack setup menu/connection/Forced reconnect.
User guide
Green Go Antenna model nr. GGO-WAA

Specifications
4
Wireless:
Range: 50-300m depending on the environment
DECT: Supports EU-DECT (CAT-iq V2.0, v3.0 partly), DECT 6.0 for North America and Japan DECT
ETSI (EU-DECT) and FCC (DECT 6.0) certified
J-DECT pre-certified ETSI 300 444 (DECT GAP) compliant
RF: RF range: 1870 MHz to 1930 MHz
Receiver sensitivity: < -93 dBm
Transmit power: EU: 23 dBm: 1881 MHz - 1897 MHz
USA: 20 dBm: 1921 MHz - 1928 MHz
JP: 23 dBm: 1895 MHz - 1903 MHz
Physical:
Dimensions: 145mm x85mm x30mm
Weight: 200g
Connectors: 1x Neutrik Ethercon Ethernet, 1x miniUSB
Mounting: Right angled mounting bracket for microphone stands with a 3/8” thread
Power: Powered by PoE (802.3af Standard Power over Ethernet) from the ehernet port.
In standlone mode: miniUSB
Green-GO is designed and manufactured in the Netherlands by ELC Lighting
Worldwide sales: Anima Lighting, Le Bouveret, CP 46, CH-1895 Vionnaz
Troubleshooting
There is no signal or poor signal level to the belt-pack
- Check Pairing with Antenna
- Check you are within range (300 metres maximum with clean line of sight)
- Ensure that the antenna is vertically orientated
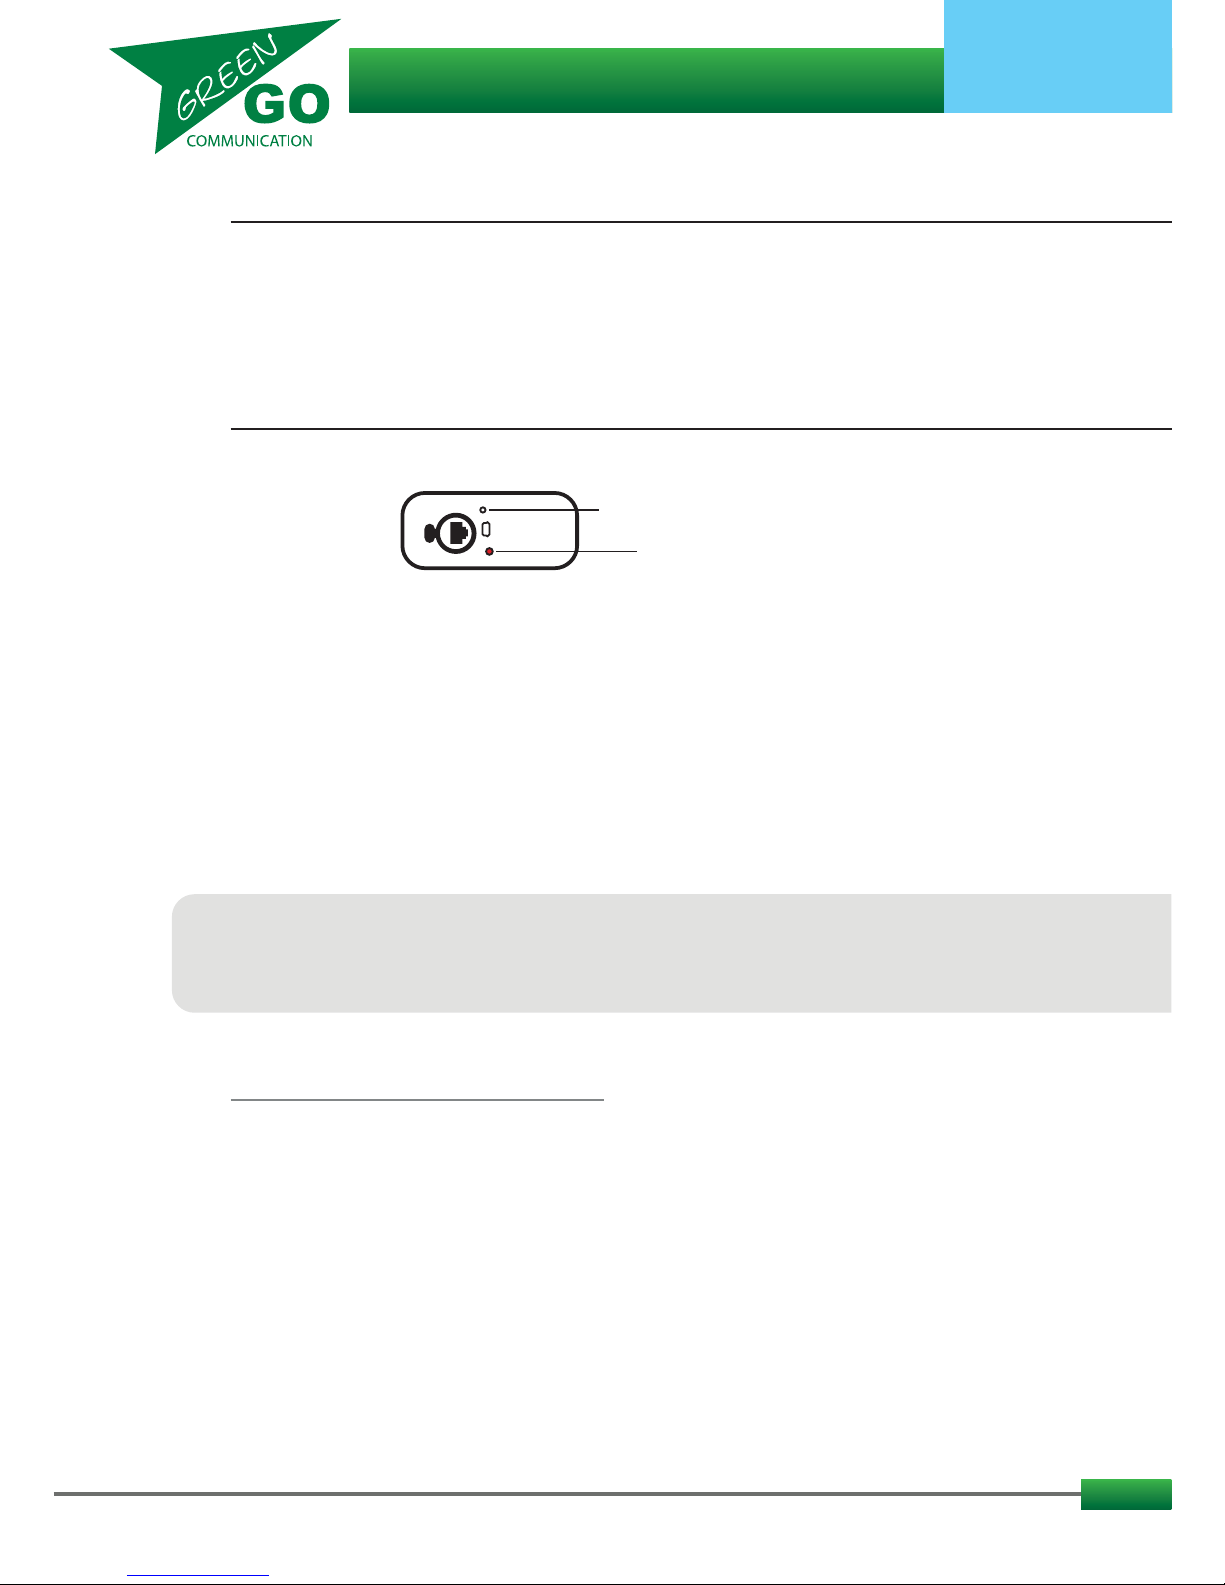
The antenna is not sending a signal
- Check that the LED is not flashing red and green.
This means that there is no other device on the system or that the antenna is not configured to the
network configuration.
I am unable to communicate with other units
- Make sure you are using the same configuration file on all units
- If you go to the setup menu/clone config and check to see if more than one config is available.
There is an echo on the system
- Establish if any microphones are open close to speakers.
I am trying to pair my beltpack over the air with more than one antenna, but it will only connect to the first one
- When doing over the air pairing make sure the beltpack is not connected to another antenna.
Switch of other antennas that it has been paired to.
My beltpack looses contact to the antenna when either the antenna or the beltpacks are very close together.
- Having 2 RF (radio frequency) devices next to one another can have an influence on RF behavior.
They should be at least1 meter (3 feet) apart.
www.greengocom.com
User guide
Green Go Antenna model nr. GGO-WAA
Table of contents
Popular Antenna manuals by other brands

M2 Antenna Systems
M2 Antenna Systems 248CP22A manual

D-Link
D-Link ANT24-1500 - 5.4 ft Antenna user guide

PNI
PNI ML90 quick start guide

Sea Tel
Sea Tel Cobham 4009-91 MK3 installation manual

REMO Electronics
REMO Electronics CORSAR BAS-1105 Quick user guide

Spiderbeam
Spiderbeam 160-18-4WTH Construction guide