6
GPI-100 TRAVELLING IRRIGATOR OPERATION MANUAL
To set the clock press and hold the
clock key. While holding the clock key,
cycle through the day, hour & minute
keys until the current day & time is set.
Note: The clock display is in 24-hour
time.
setting the clock
1. 7 Days - Monday to Sunday
2. Mondays only
3. Tuesdays only
4. Wednesdays only
5. Thursdays only
6. Fridays only
7. Saturdays only
8. Sundays only
9. Weekdays only – Monday to Friday
To set a program press the timer
key and use the day key to cycle
through functions 1 – 15 until the
desired function is indicated on the
LCD display, thus indicating that the
timer program is set. To exit program
setup, press the clock key.
programs
Setting Programs
The TM619 digital timer offers 15 programmable functions to suit automatic
switching needs for a wide variety of applications. These functions are recurring
events every week on the days in which the programs are set to function.
10. Weekends only – Saturday & Sunday
11. 6 days – Monday to Saturday
12. 3 days – Monday, Tuesday, Wednesday
13. 3 days – Thursday, Friday, Saturday
14. 3 days (alternate) – Monday, Wednesday,
Friday
15. 3 days (alternate) – Tuesday, Thursday,
Saturday
To set the timer press the timer key
once. The LCD display will show (1on
--:--). Using the hour & minute keys, set
the desired ‘Switch ON’ time. To set the
‘Switch OFF’ time, press the timer key
again, the display will show (1off --:--
). Again, using the hour & minute keys,
set the desired ‘Switch OFF’ time. The
TM619 digital timer has capacity to allow
16 separate on/off timer settings each
day to suit any application, repeat steps
for each on off application. To exit timer
setup, press the clock key.
Setting the Timer
to replace
TIMER battery
Please follow
the below
3Timer
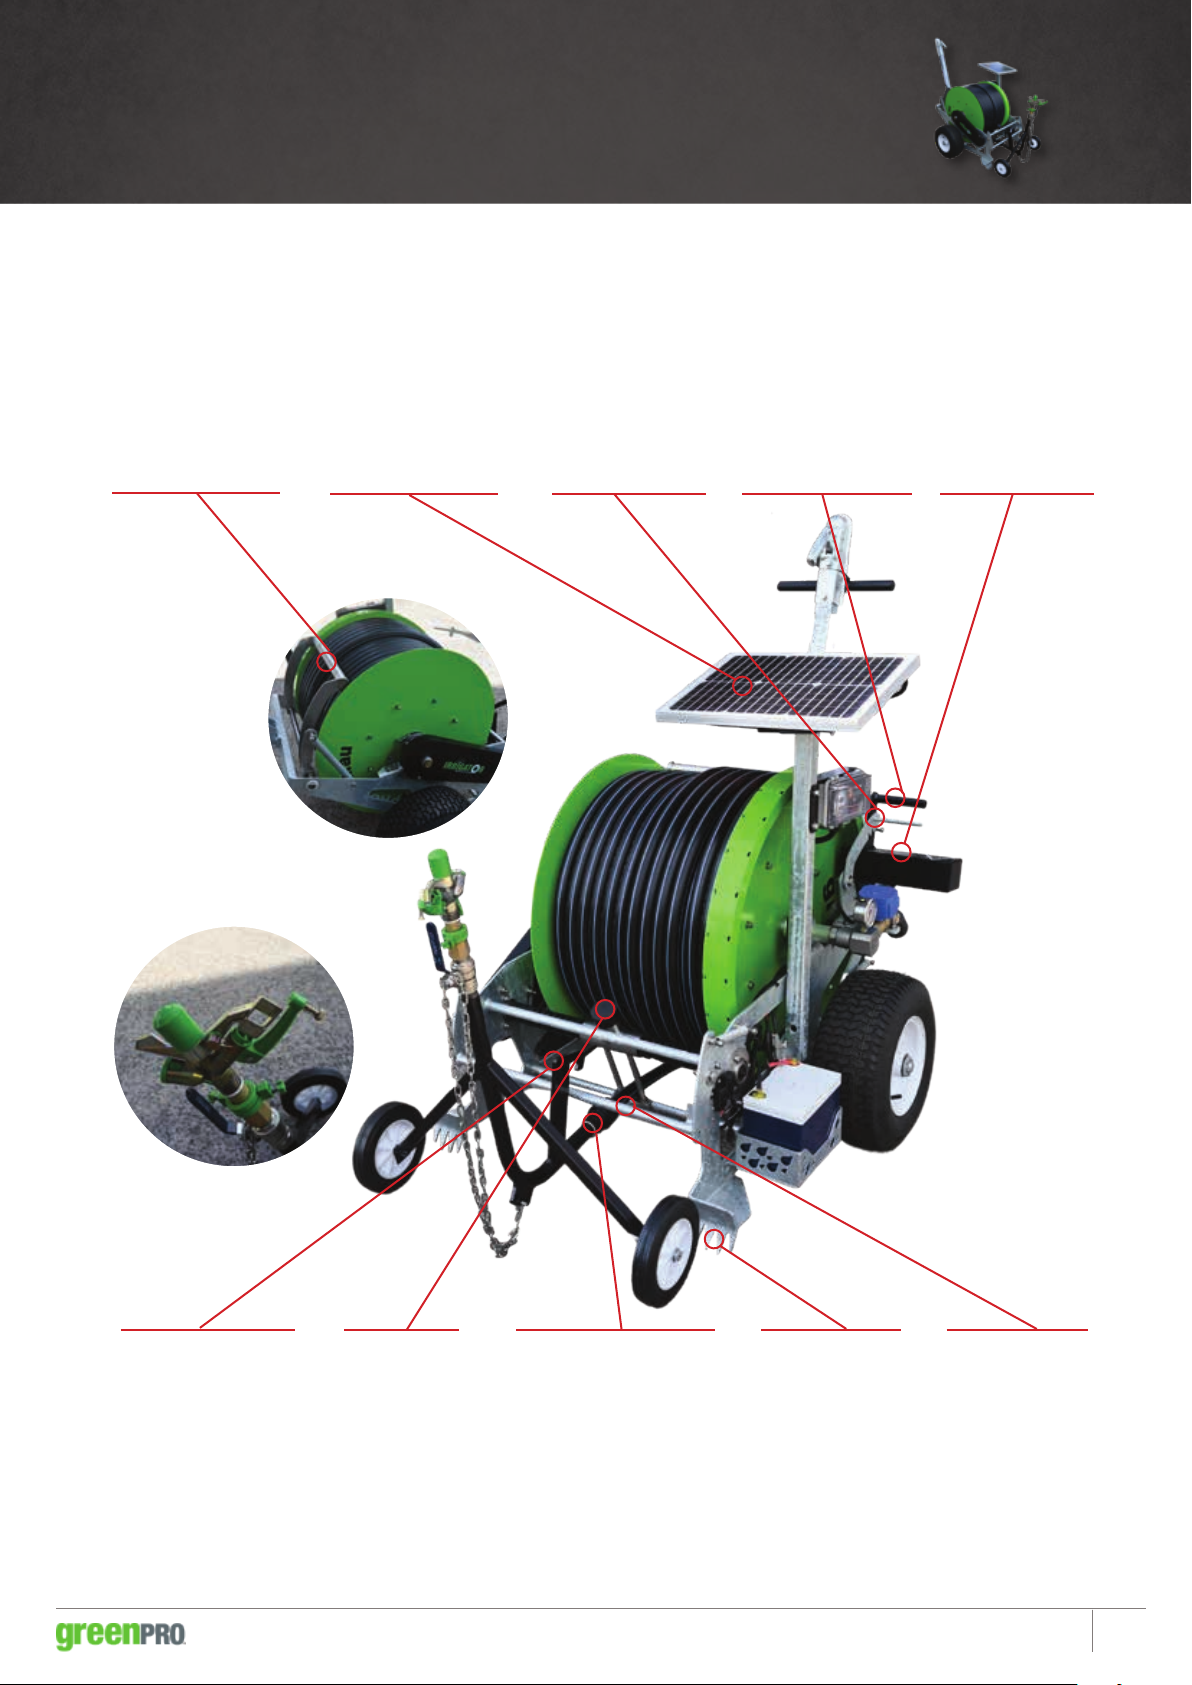
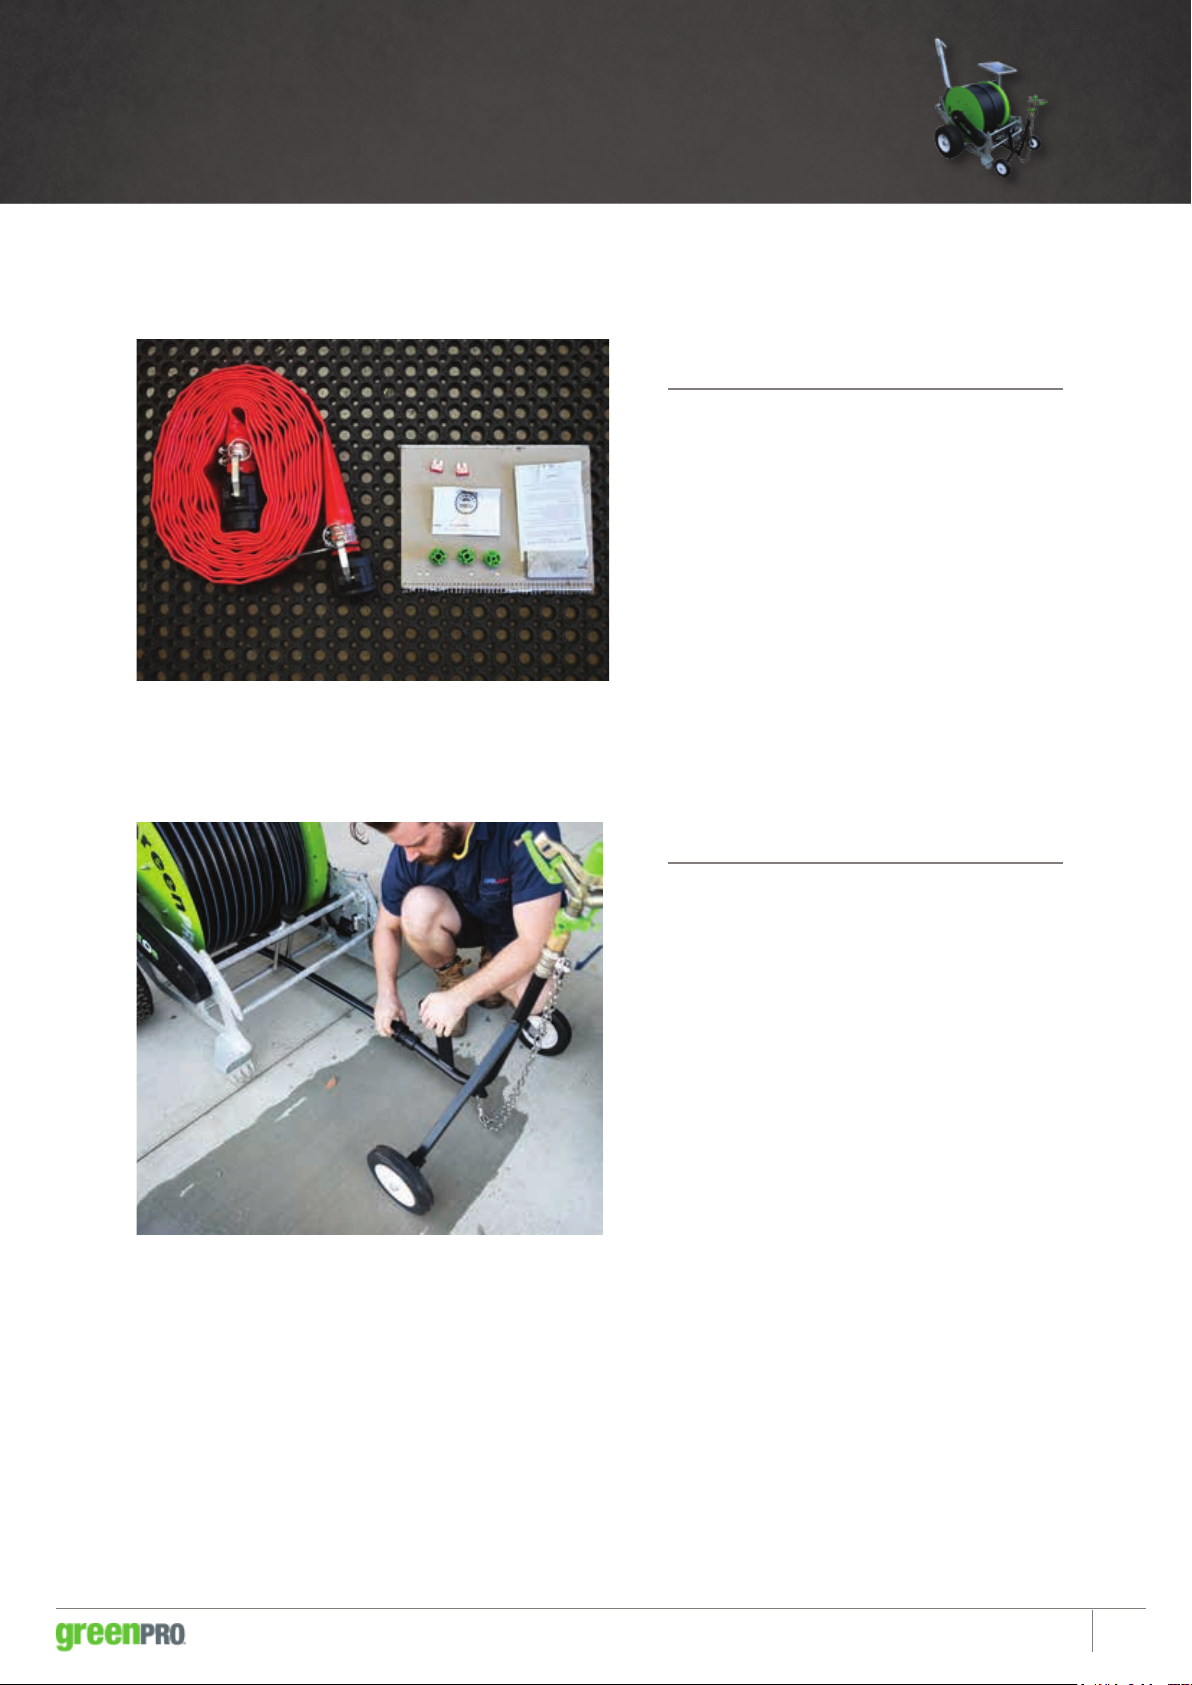
operating the irrigator
Note: The clock display is in 24-hour time.