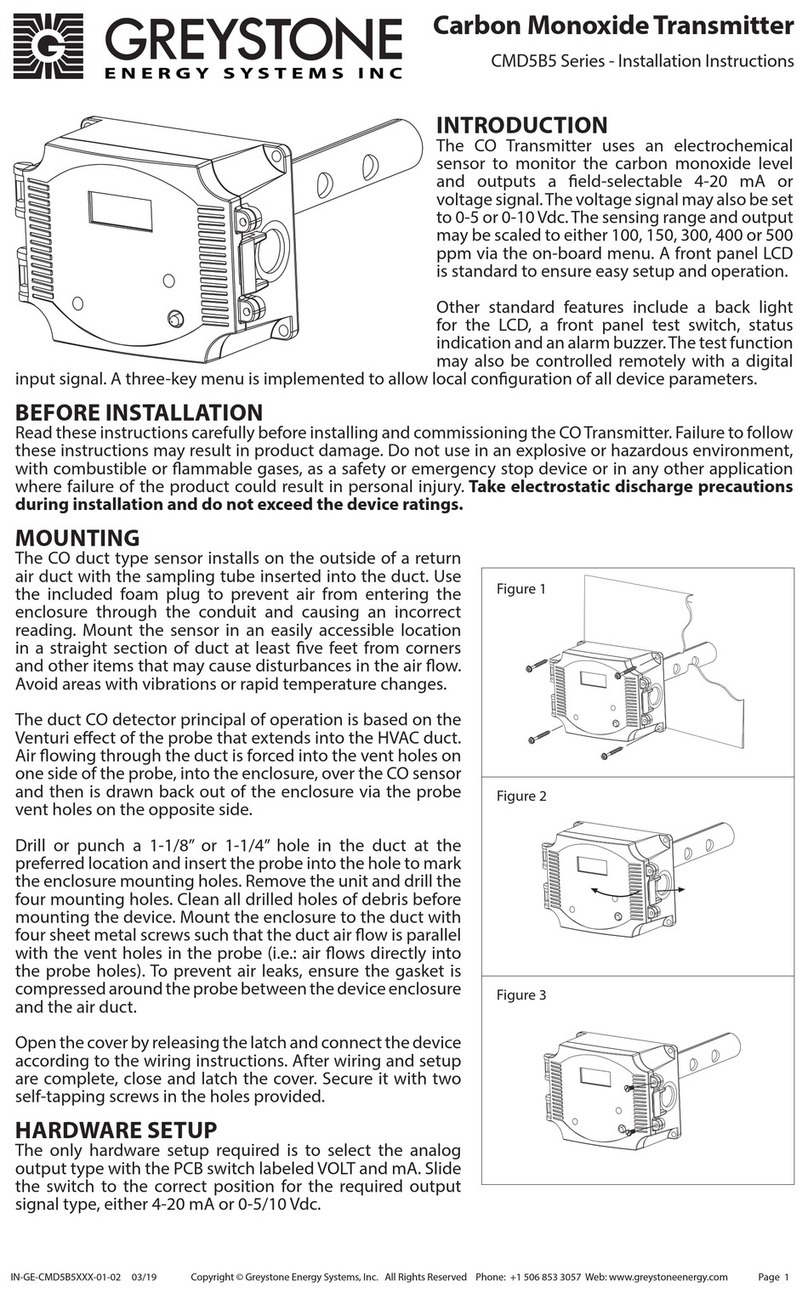
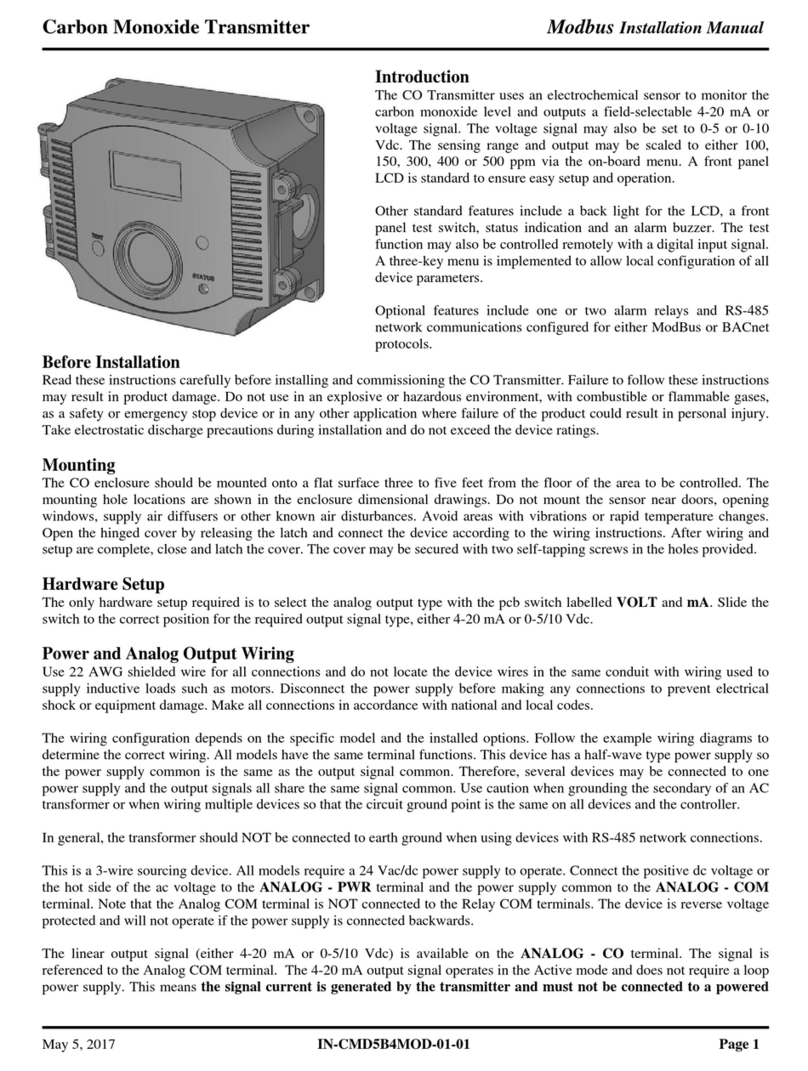
Greystone CMD5B1 Series User manual

Carbon Monoxide Transmitter Installation Manual
IN-CMD5B1-01-01 May 2, 2017 Page 1
Introduction
The CO Transmitter uses an electrochemical sensor to monitor the CO
level and outputs a 4-20 mA signal. The standard product features a 2-
wire loop-powered output. Optionally, the device may be configured with
an alarm relay and operates in 3-wire sourcing mode.
Before Installation
Read these instructions carefully before installing and commissioning the
CO transmitter. Failure to follow these instructions may result in product
damage. Do not use in an explosive or hazardous environment, with
combustible or flammable gases, as a safety or emergency stop device or
in any other application where failure of the product could result in
personal injury. Take electrostatic discharge precautions during
installation and do not exceed the device ratings.
Operation
In normal operation the sensor will measure the CO level in the surrounding air and output a proportional value on the 4-20
mA output. The CO measurement range is 0 to 300 ppm. An optional relay can be used to indicate an alarm condition. The
trip point for the relay can be programmed to three different settings with an on-board jumper. If the CO level exceeds the
trip point then the relay is activated. The relay will remain activated until the CO level drops below the (trip level –
hysteresis) where hysteresis is 3% or 9 ppm.
Start-up
Verify that the Carbon Monoxide Transmitter is properly wired according to the wiring diagrams and all connections are
tight. Apply power to the device and the sensor will begin reading the CO level and output the analog signal.
Mounting
The CO enclosure should be mounted on a flat surface three to five feet from the floor of the area to be controlled. Do not
mount the sensor near doors, opening windows, supply air diffusers or other known air disturbances. Avoid areas with
vibrations or rapid temperature changes.

Carbon Monoxide Transmitter Installation Manual
IN-CMD5B1-01-01 May 2, 2017 Page 2
Wiring
Use 22 AWG shielded wire for all connections and do not locate the device wires in the same conduit with wiring used to
supply inductive loads such as motors. Disconnect the power supply before making any connections to prevent electrical
shock or equipment damage. Make all connections in accordance with national and local codes.
Depending on the configuration (with or without an alarm relay), the product is either a 3-wire sourcing device or a 2-wire
loop-powered device. Follow the example wiring diagrams to determine the correct wiring for the product. All models have
the same terminal functions.
For 4-20 mA loop powered operation, only POWER and OUTPUT are required if a DC power supply is used. The
COMMON terminal is only used for AC power. Connect the positive dc voltage or the hot side of the ac voltage to the
terminal marked POWER. The AC power supply common is connected to the terminal marked COMMON. The device is
reverse voltage protected and will not operate if connected backwards.
For 3-wire operation of the relay model, connect either an AC or DC power supply to POWER and COMMON and the 4-20
mA signal is available on the OUTPUT terminal with respect to COMMON. The current output operates in the Active mode
and does not require a loop power supply. This means the signal current is generated by the transmitter and must not be
connected to a powered input or device damage will result. This is the typical operating mode of a “three-wire device”.
Check the controller Analog Input to determine the proper connection before applying power.
Ensure the controller Analog Input (AI) matches the transmitter output signal type before power is applied. The current signal
has a maximum load that it will drive. Follow the ratings in the Specification section or inaccurate readings may result.
If equipped, the relay output is available on the NO, NC and R.COM terminals. The relay R.COM terminal is NOT
connected to the signal or power supply COMMON terminal. The relay output is completely isolated and has both Normally
Open (NO) and Normally Closed (NC) signals. These signals can be used to directly control alarms, ventilation fans or may
be connected to digital inputs of the B.A.S. for status monitoring.

Carbon Monoxide Transmitter Installation Manual
IN-CMD5B1-01-01 May 2, 2017 Page 3
Verifications/ Calibration
The transmitter features a simple snap-mount sensor pcb that is pre-calibrated. This means that the entire sensor pcb can
simply be replaced with a new calibrated pcb if desired without having to remove the enclosure. This sensor swap requires no
tools and can be completed in seconds. Simply disconnect the device wiring, remove the old sensor pcb, snap in the new pcb
and reconnect the device power. There is no need to make any adjustments or apply gas to the transmitter using the sensor
swap method.
The device may also be calibrated or verified with CO gas if required. This requires a field calibration kit consisting of a
bottle of gas (250 ppm CO in air for example), a tank pressure regulator with flow restrictor and the necessary tubing with a
calibration cap to cover to the sensor. Calibration can be done at 20-27 C.
Verification
Verification with gas can be done without removing the device cover. Simply apply gas using the calibration cap attached
directly to the port on the cover and monitor the output signal.
Verify With Cover In Place
Calibration
The device cover must be removed to perform an actual calibration. In this case, the gas calibration cap attaches to the sensor
fixture inside the enclosure. Calibrate With Cover Removed

Carbon Monoxide Transmitter Installation Manual
IN-CMD5B1-01-01 May 2, 2017 Page 4
The sensor must be continuously powered for at least 1/2 hour prior to calibration.
For local display, an ammeter can be placed in series of the output. Disconnect the signal wire from the OUT terminal of the
CO sensor. Connect the + lead of the ammeter to the OUT terminal of the CO sensor and connect the COM lead of the
ammeter to the removed signal wire. Set ammeter to porper setting to read a 20 MA signal.
Calibrate the sensor first in clean air with no CO gas present. Simply adjust the ZERO pot on the sensor board until a 4 mA
output is obtained.
Then attach the gas supply. Turn the regulator on/off knob fully off and attach it to the 250 ppm gas bottle and firmly tighten
it by hand. Moisten the sponge and squeeze out any excess water. Place the sponge in the cap so that it will not touch the
sensor but does not plug the hole in the side of the cap. Attach the cap to the fixture over the sensor. Slowly turn the valve
knob on the regulator to let the gas begin flowing.
The regulator will restrict the flow rate to the specified 200 ml/min and the sponge will ensure the gas is in the right humidity
range. Wait for 5 minutes and then adjust the SPAN pot on the sensor board until the output reads 250 ppm. Close the valve
on the tank and take the cap off from the sensor. Calibration is complete.
If the gas cap is too loose on the fixtures, simply place a wrap of electrical tape around the cap to tighten it up.
Once calibration is complete, remove ammeter and reconnect signal wire to OUT terminal of the CO sensor.

Carbon Monoxide Transmitter Installation Manual
IN-CMD5B1-01-01 May 2, 2017 Page 5
Common Specifications
Measurement . . . . . . . . . . . . . . . . . Electrochemical
Sample Method . . . . . . . . . . . . . . . Diffusion
Measurement Range . . . . . . . . . . . 0-300 ppm
Accuracy . . . . . . . . . . . . . . . . . . . . 5 ppm or 5% of reading (whichever is greater)
0-50 C (32-122 F), 15-90 %RH
Agency Approvals . . . . . . . . . . . . Sensor is UL Recognized for ANSI/UL-2034 and UL-2075, E240671
Operating Conditions . . . . . . . . . . -20-50 C (-4 -122 F), 15-90 %RH, 0.9-1.1 atm
Stability . . . . . . . . . . . . . . . . . . . . . < 5% signal loss/year
Response Time . . . . . . . . . . . . . . . < 35 seconds for 90 % step change
Typical Area Coverage . . . . . . . . . 700 m2(7500 ft2) or 15 m (50 ft) radius
Wiring Connections . . . . . . . . . . . Screw terminal block (14 to 22 AWG)
Enclosure . . . . . . . . . . . . . . . . . . . 2.8”w x 4.1”h x 1.9”d (71 x 104 x 48 mm)
2-Wire Loop-Powered Model
Power Supply . . . . . . . . . . . . . . . . 24 Vdc ± 20% or 24 Vac ± 10% (non-isolated half-wave rectified)
Consumption . . . . . . . . . . . . . . . . . 20 mA max
Output Signal . . . . . . . . . . . . . . . . 4-20 mA loop-powered
Output Drive Capability . . . . . . . . 550 ohms max @ 24 Vac/dc
3-Wire Relay Model
Power Supply . . . . . . . . . . . . . . . . 24 Vdc ± 20% or 24 Vac ± 10% (non-isolated half-wave rectified)
Consumption . . . . . . . . . . . . . . . . . 50 mA max
Output Signal . . . . . . . . . . . . . . . . 4-20 mA sourcing
Output Drive Capability . . . . . . . . 550 ohms max @ 24 Vac/dc
Relay Contacts . . . . . . . . . . . . . . . Form C contacts (N.O. and N.C.), 5 Amps @ 250 Vac, 5 Amps @ 30 Vdc
Relay Trip Point . . . . . . . . . . . . . . 25, 60 or 150 ppm jumper selectable
Relay Hysteresis . . . . . . . . . . . . . . 3% or 9 ppm
Table of contents
Other Greystone Transmitter manuals
Popular Transmitter manuals by other brands

Harris
Harris Platinum Series Technical manual

Community Controls
Community Controls CHAMELEON 318LIPW4CK quick start guide

Vaisala
Vaisala Drycap DMT142 user guide

Altinex
Altinex TP115-110 user guide

Dakota Alert
Dakota Alert BBT-2500 user guide

Cardin Elettronica
Cardin Elettronica TXQPRO486 quick start guide