1. To fill water:
The foot-spa is provided with a single hot and cold mixing valve located on the front of your spa(far left).
This is a pressure balance valve that requires you to lift the handle to start the water flow and to adjust to the
temperature that is desired. The clean jet motor must be completely submerged in water.
CAUTION: DO NOT USE FOAMING, SUDSING OR MINERAL OIL BASED ADDITIVES IN THE WATER.
2. To start whirlpool:
Press the button that is situated next to the water fill lever. This will start your Clean Jet motor. You may stop
the whirlpool function at any time by pressing the button again.
3. The foot-spa is equipped with a hand held sprayer. To activate the hand shower, pull the hand shower
from the receptacle and depress the thumb control on the sprayer handle. This will turn on the water. When you
release pressure on the thumb control this will turn the water off.
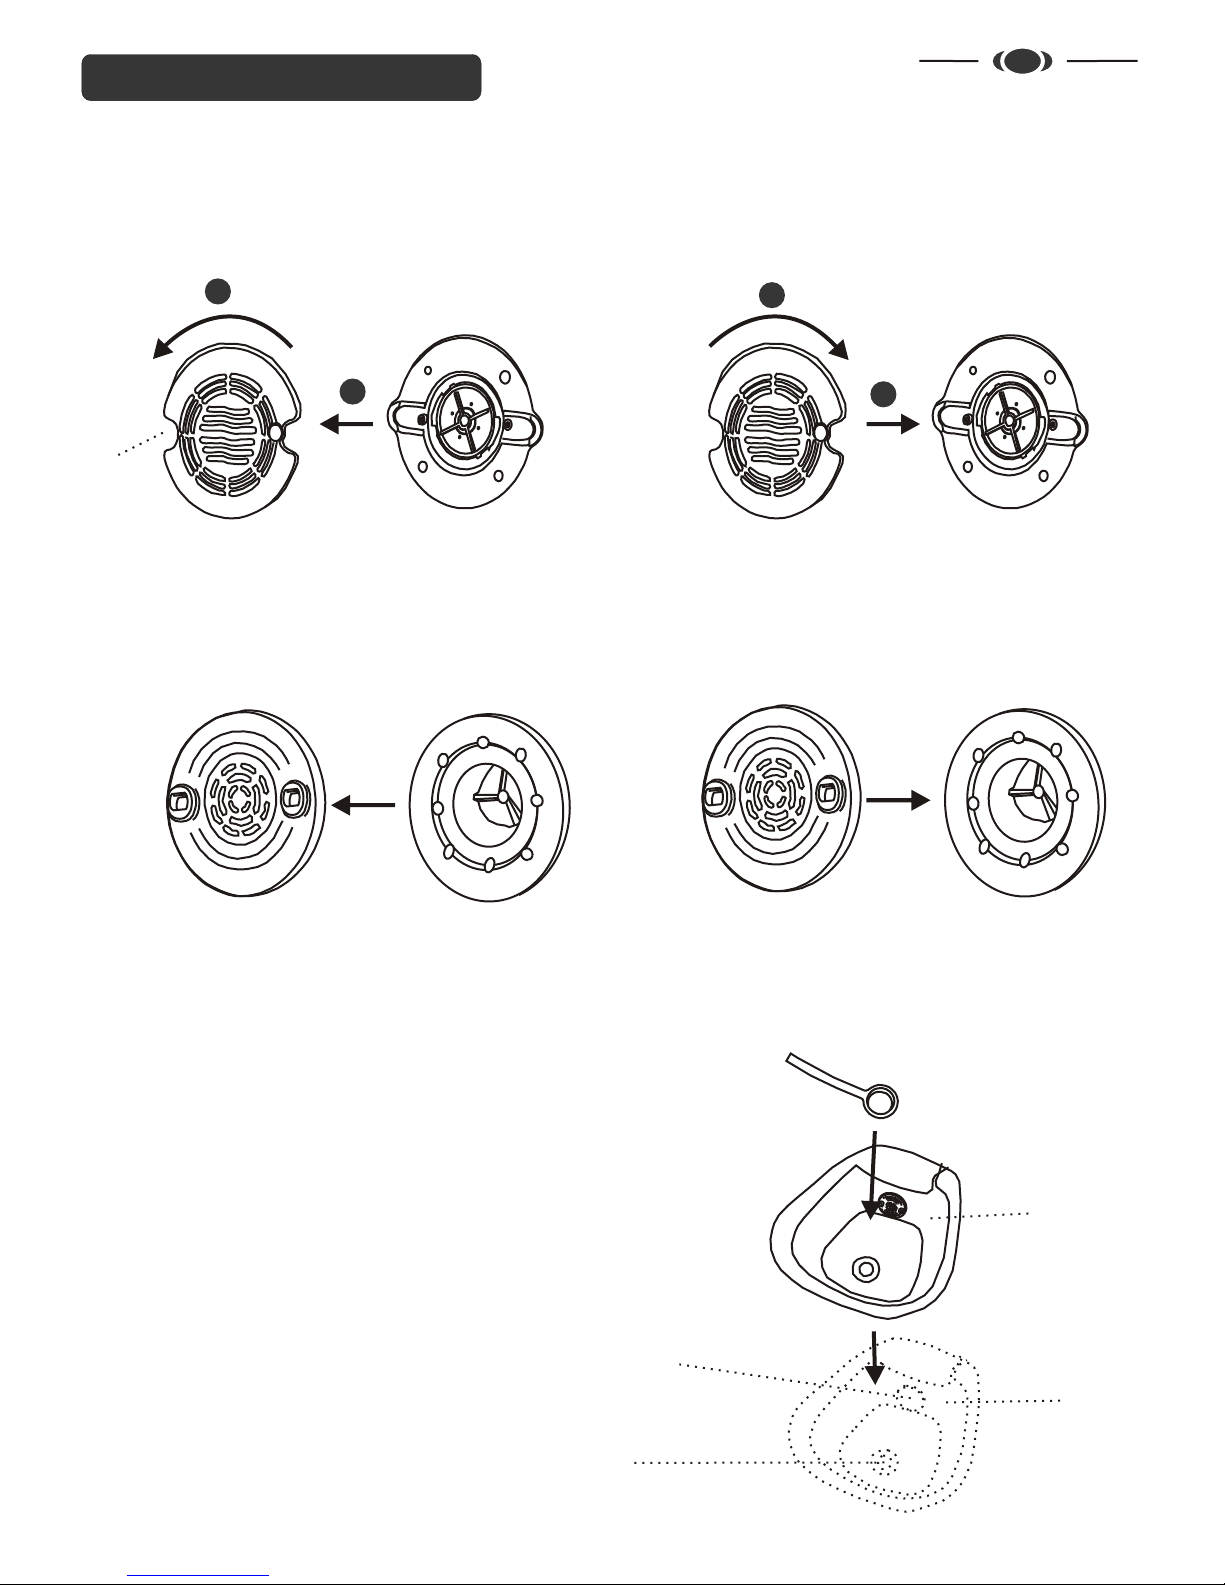
4. To drain whirlpool tub:
The spa is equipped with a built in optional discharge pump. Open the drain plug
by turning the control knob with which is situated at the far right of the spa base. Press discharge pump timer button
situated far left on front of base (pump will run for approx. 2 min.) Average time for drain 1 minute.
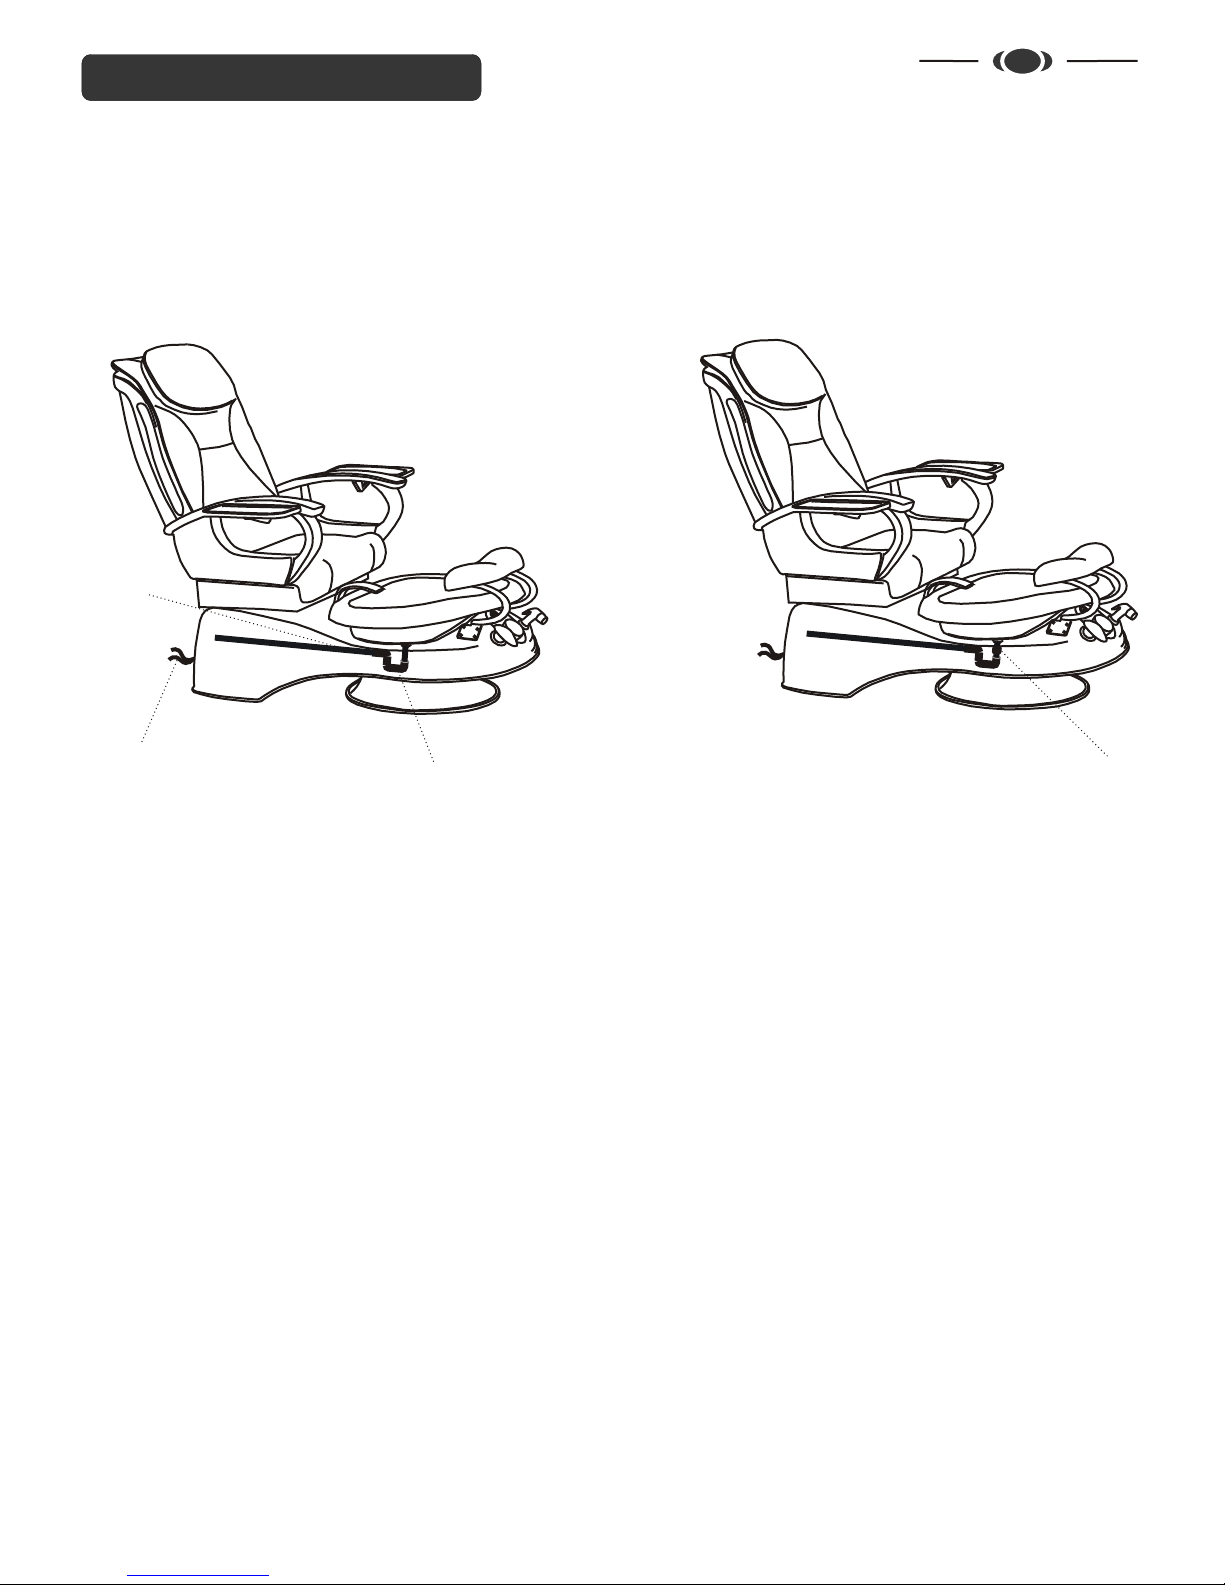
5. 9600 & 9700 chairs Shiatsu Roller back massage is equipped with a state of-the-art massage system. The
massage system is easy to use; the remote has a one touch power that starts select your own massage. You can
also adjust the front to rear position of the chair and the reclining back. By using the remote your client can adjust the
back to the most comfortable position.
13
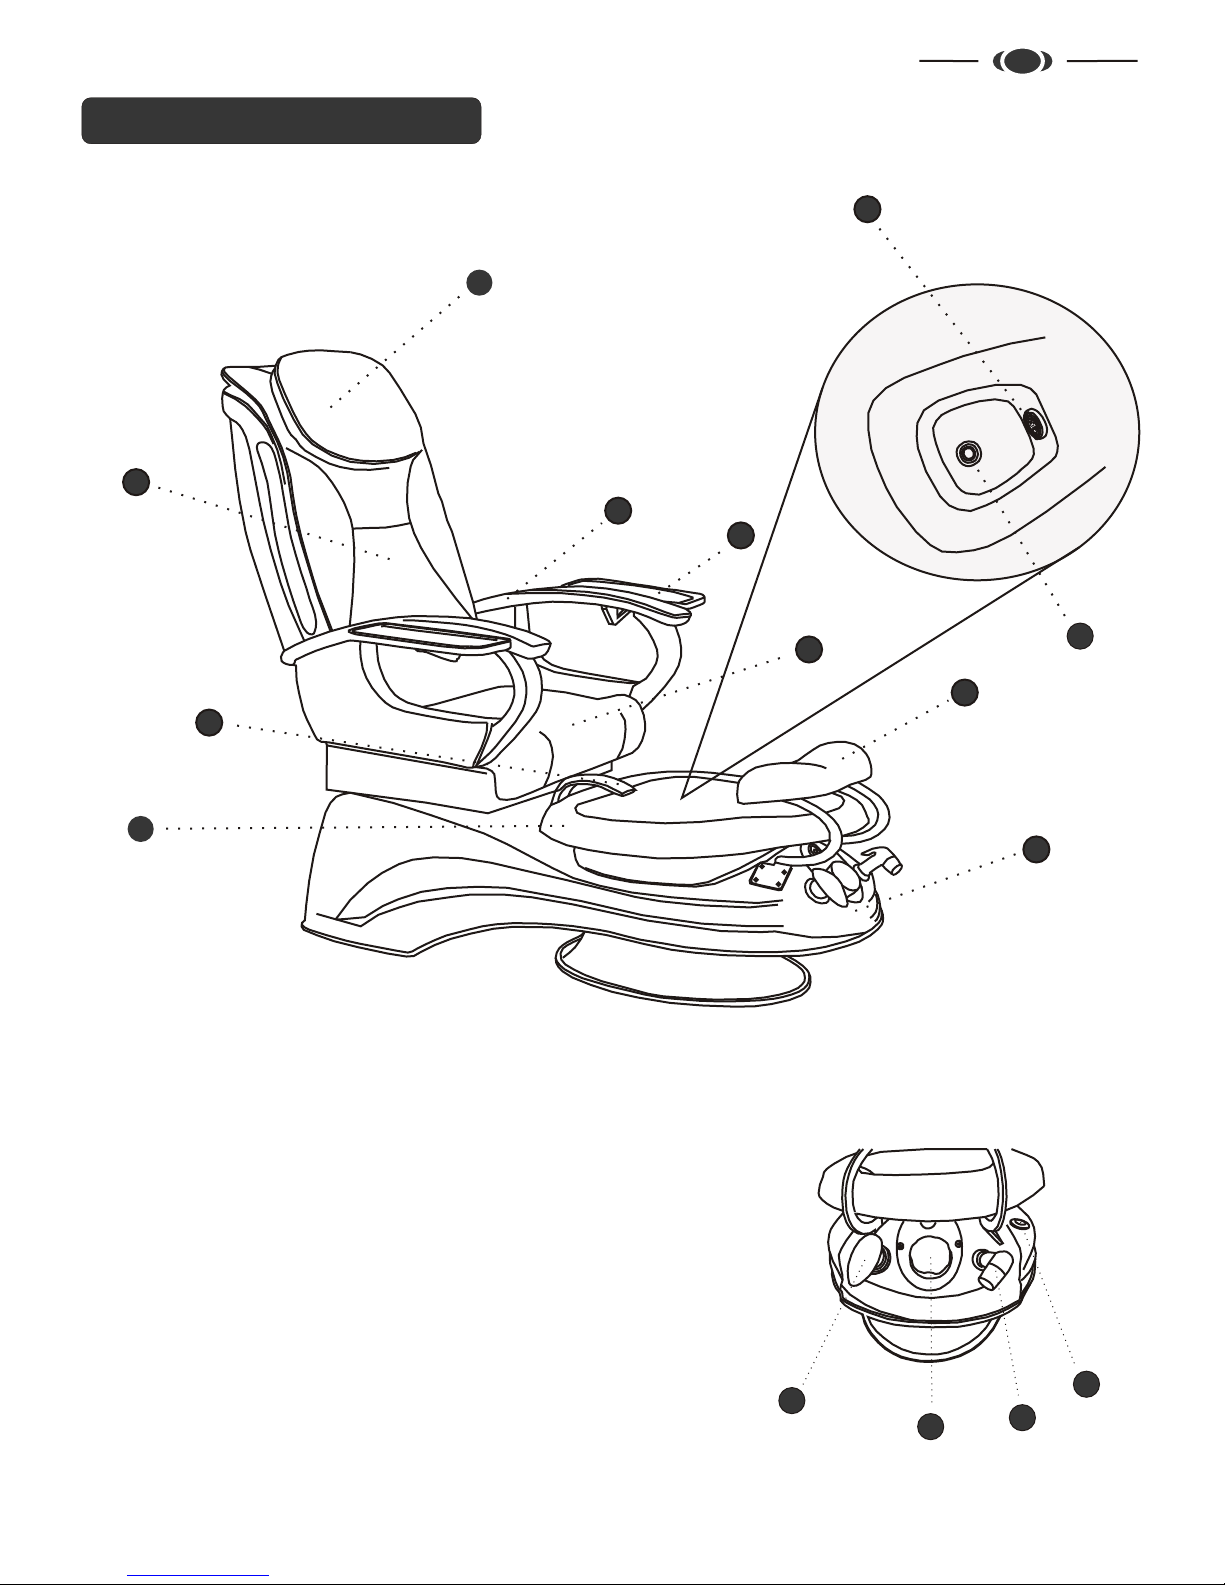
Control Panel
Jet (On/Off)
Water Control
Drain Control
Hand Spray
OPERATIONS & USE 8
BASIC PRECAUTIONS SHOULD ALWAYS BE OBSERVED, INCLUDING THE FOLLOWING:
1. Read and follow all instructions
2. DANGER. To reduce the risk of injury, do not permit children to use this unit unless they are supervised at all
times
3. Use this unit only for its intended use as described in this manual. Do not use attachments that are not
Recommended by the manufacturer.
4. Never drop or insert any object into any opening.
5. Do not block jets during whirlpool operation.
6. The unit must be connected to an electrical supply circuit that is protected by a ground fault circuit interrupter.
7. The clean jet motor is magnetically driven and is insulated twice. Therefore it does not require to be bonded.
Save these instructions