Gunter & Hauer EOM 973 TL User manual

Gunter & Hauer
Instruction Manual
BUILT-IN ELECTRIC OVEN
EOM 973 TL
..


Content
Warning………………………………………4
Product Description……………..………….8
Operation Instructions……..….…………...10
Accessories………………………………...12
Installation………………………………….14
Cleaning and Maintenance……………....15

WARNING
When the oven is first switched on, it may give off
an unpleasant smell. This is due to the bonding
agent used for the insulating panels within the oven.
Please run up the new empty product with the
conventional cooking function, 250 ℃, 90 minutes
to clean oil impurities inside the cavity.
During the first use, it is completely normal that
there will be a slight smoke and odors. If it does
occur, you merely have wait for the smell to clear
before putting food into the oven.
Please use the product under the open environment.
The appliance and its accessible parts become hot
during use. Care should be taken to avoid touching
heating elements. Children less than 8 years of age
shall be kept away unless continuously supervised.
If the surface is cracked, switch off the appliance to
avoid the possibility of electric shock.
This appliance can be used by children aged from 8
years and above and persons with reduced
physical, sensory or mental capabilities or lack of
experience and knowledge if they have been given
4

supervision or instruction concerning use of the
appliance in a safe way and understand the
hazards involved. Children shall not play with the
appliance. Cleaning and user maintenance shall not
be made by children without supervision.
During use, the appliance becomes very hot. Care
should be taken to avoid touching heating elements
inside the oven.
Do not allow children to go near the oven when it is
operating, especially when the grill is on.
Ensure that the appliance is switched off before
replacing the oven lamp to avoid the possibility of
electric shock.
The means for disconnection must be incorporated
in the fixed wiring in accordance with the wiring
specifications.
Children should be supervised to ensure that they
do not play with the appliance.
This appliance is not intended for use by persons
(including children) with reduced physical, sensory
or mental capabilities, or lack of experience and
knowledge, unless they have been given
supervision or instruction concerning use of the
appliance by person responsible for their safety.
Accessible parts may become hot during use.
Young children should be kept away.
An all-pole disconnection means must be
incorporated in the fixed wiring in accordance with
the wiring rules.
5

If the supply cord is damaged, it must be replaced
by the manufacturer, its service agent or similarly
qualified persons in order to avoid a hazard.
Do not use harsh abrasive cleaners or sharp metal
scrapers to clean the oven door glass since they
can scratch the surface, which may result in
shattering of the glass.
A steam cleaner is not to be used.
The appliances are not intended to be operated by
means of an external timer or separate remote-
control system.
The instructions for ovens that have shelves shall
include details indicating the correct installations of
the shelves.
The fixed wiring must be protected.
6

SAFETY HINTS
Do not use the oven unless you are wearing something on your feet. Do not touch the oven
with wet or damp hands or feet.
For oven: Oven door should not be opened often during the cooking period.
The appliance must be installed by an authorized technician and put into use. The producer is
not responsible for any damage that might be caused by defective placement, and installation
by unauthorized personnel.
When the door or drawer of oven is open do not leave anything on it, you may unbalance your
appliance or break the door.
Some parts of appliance may keep its heat for a long time; it is required to wait for it to cool
down before touching onto the points that are exposed to the heat directly.
If you will not use the appliance for a long time, it is advised to plug i off.
FITTING THE OVEN INTO THE KITCHEN UNIT
Fit the oven into the space provided in the kitchen unit; it may be fitted underneath a work top or into
an upright cupboard. Fix the oven in position by screwing into place, using the two fixing holes in the
frame. To locate the fixing holes, open the oven door and look inside. To allow adequate ventilation,
the measurements and distances adhered to when fixing the oven.
IMPORTANT
If the oven is to work properly, the kitchen housing must be suitable. The panels of the kitchen unit
that are next to the oven must be made of a heat resistant material. Ensure that the glues of units
that are made of veneered wood can with stand temperatures of at least 120 ºC. Plastics or glues
that cannot withstand such temperatures will melt and deform the unit, once the oven has been
lodged inside the units, electrical parts must be completely insulated. This is a legal safety
requirement. All guards must be firmly fixed into place so that it is impossible to remove them without
using special tools. Remove the back of the kitchen unit to ensure an adequate current of air
circulates around the oven. The hob must have a rear gap of at least 45 mm.
DECLARATION OF COMPLIANCE
When you have unpacked the oven, make sure that it has not been
damaged in any way. If you have any doubts at all, do not use it: contact a
professionally qualified person. Keep packing materials such as plastic
bags, polystyrene, or nails out of the reach of children because these are
dangerous to children.
t
5
7

PRODUCT DESCRIPTION
8
Symbol Function description
Child lock
Reservation
Temperature
Time
Increase
Decrease
Confirm or start
Cancel or stop
Breathing light

9
Symbol Function description
Bottom heat with fan: Bottom heating element and the fan keep the oven
warm. This is ideal for slow cooking dishes such as casseroles, stews,
pastries and pizzas where a crispy base is desired. The temperature can
be set within the range of 60-120℃. The default temperature is 60℃.
Convention with fan: Combination of the fan, top and bottom heating
element provides more even heat penetration, saving up to 30-40% of
energy. Dishes are lightly browned on the outside and still moist on the
inside. Note: This function is suitable for grilling or roasting big pieces of
meat at a higher temperature. The temperature can be set within the range
of 50-250℃The default temperature is 220℃
Radiant grilling: The inner radiant element switches on and off to maintain
temperature. The temperature can be set within the range of 180-240℃.
The default temperature is 210℃.
Conventional cooking: The top and bottom work together to provide
convectional cooking. The temperature can be set within the range of
50 250℃. The default temperature is 220℃
Defrost: The circulation of air at room temperature enables quicker thawing
of frozen food, (without the use of any heat). It's a gentle but quick way to
speed up the defrosting time and thawing of ready-made dishes and cream
filled produce etc.
Convection: An element around the convection fan provides an additional
source of heat for convection style cooking. In convection mode the fan
automatically comes on to improve air circulation within the oven and
creates an even heat for cooking. The temperature can be set within the
range of 50 240℃. The default temperature is 180℃
Grilling with fan: The inner radiant element and top element are working
with fan. The temperature can be set within the range of 50-200℃. The
default temperature is 190℃.
Double grilling: The inner radiant element and top element are working.
The temperature can be set within the range of 180-240℃. The default
temperature is 210℃
Radiant grilling with rotisserie motor: The inner radiant element switches to
maintain temperature. The temperature can be set within the range of
180-240℃. The default temperature is 210℃.
.
.
.
.
.

2.Press button, go from cooking time setting to cooking temperature setting, press button,
go from cooking temperature setting to cooking time setting.
3.Once the oven start to cook, cooking function,time and temperature can not be changed. If you want
to change cooking function,time or temperature,cancel the cooking and start function setting from the
beginning.
10
OPERATION INSTRUCTIONS
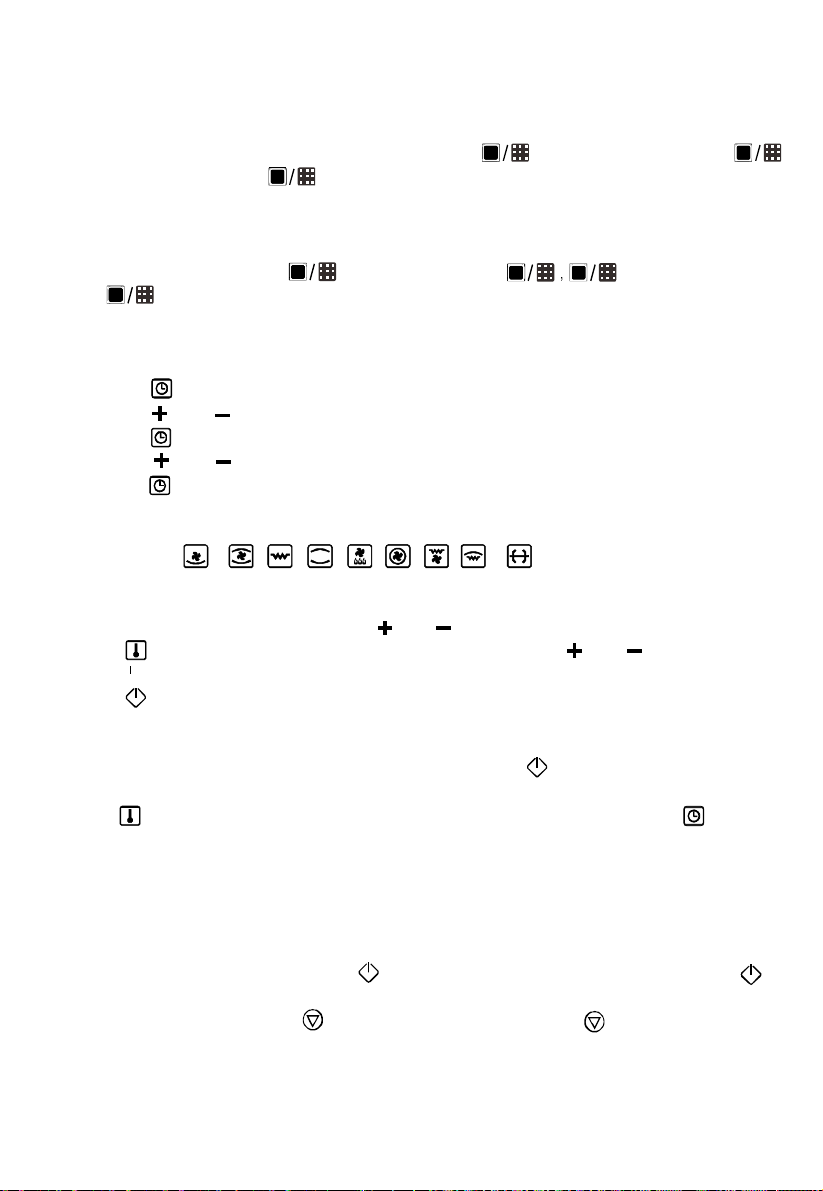
Once your new appliance has been connected, the symbol lights up in the display and
will dynamically show, press button, and then the oven is ready to use. 00:00 appears in the
display, the background light of all the buttons and two decorative lines turn on.
Notes: If no button is touched in 5 minutes and no cooking is set, the oven goes to standby mode, all
light will turn off. You can press button to wake up the
will dynamically show.
Press button again and then the
oven is ready to use.
00:00 appears in the display, the
background
light of all the buttons and two decorative lines turn on.
Setting the clock
1. Press the button, the hour of the clock flashes.
2. Press the or button to set the hour. (Time should be within 0--23)
3. Press the button, the minute of the clock flashes.
4. Press the or button to set the minute. (Time should be within 0-59)
5. Press the button. The current time is saved.
Function Setting
Function button:
1. Press Function button to select one function you need and the background light of other function
buttons will turn off.
2. The cooking time will start to flash, press or button to set cooking time.
3. Press
button, the cooking temperature will start to flash, press or button to set the
cooking temperature.
4. Press button, then the oven starts to cook.
Notes:
1. If you skip the second and third step, select function and press button directly, the temperature
is default and the time is 9:00.
Start/Pause/Cancel
1. If the cooking time has been set, press
to start cooking. If the cooking is paused, press
to resume cooking.
2. During cooking process, press once to pause the cooking. Press twice to cancel the
cooking.

11
Reservation function
1. To use reservation function, clock must be set in advance.
2. Set the function according to Function setting, but do not press button.
3. Press button, the hour of the reservation time flashes.
4. Press the or button to set the hour. (Time should be within 0--23)
5. Press the button, the minute of the clock flashes.
6. Press the or button to set the minute. (Time should be within 0-59)
7. Press the button to finish reservation setting. The clock will be on the screen.
Notes:
1. Press button, to inquire the reservation time.
2. When the reservation time arrives, the oven start to cook.
Inquiring function
During cooking process, you can use inquiring function, after 3 seconds return to the current working
state.
1. During cooking mode, press button to see the clock time.
2. If the reservation function is set, press button to see the time of reservation.
Child lock function
1. To lock : press button for 3 seconds, there will be a long "beeping" sound
and the appears.
2. Lock quitting : press button for 3 seconds, there will be a long "beeping"
sound and the disappears.
Notes:
1. The oven lamp will be on for all functions.
2. Once the cooking setting has been set and the button is not pressed within 5 minutes, the oven
goes back to the situation that no cooking was set. The setting will be invalid.
3. The buzzer sounds when effectively pressed, if not effectively pressed there will be no response.
4. The buzzer will sound five times to remind you when cooking has finished.

Wire shelf : For grill .dishes, cake pan with items for
roasting and grilling.
Slider bracket : These shelf support rails on the right and left
sides of the oven can be removed for cleaning oven walls.
Universal pan: For cooking large quantities of food such
as moist cakes, pastries, frozen food etc,or for collecting
fat/ spillage and meat juices.
Telescopic runner: Some of models might with telescopic
runners to facilitate the use of oven.
cleaning by unscrew the screws use to fix it.
These telescopic runners could be disassembled for
ACCESSORIES
ROTISSERIE SKEWER:
The average speed of the motor heat the food evenly.
At the same time,it can guarantee the nutrition of the food.
(only for specific modles)
12

BULB REPLACEMENT
For replacement, process as follows:
1>.Disconnect power from the mains outlet or switch off the circuit breaker of the unit's mains outlet.
2>.Unscrew the glass lamp cover by turning it counter-clockwise (note, it may be stiff) and replace
the bulb with a new one of the same type.
3>.Screw the glass lamp cover back in place.
NOTE: Only use 25-40W/220V-240V , T300°C halogen lamps.
SECURING THE OVEN TO THE CABINET
1. Fit oven into the cabinet recess.
2. Open the oven door.
3. Secure the oven to the kitchen cabint with two distance
holders "A" which fit the holes in the oven frame and fit
the two screws "B".
USE OF ROTISSERIE ACCESSORIES
The rotisserie works in combination with the grill element to heat the food equally.
At the same time, it can guarantee the nutrition of the food.
OR
OR
13
SHELF PLACEMENT WARNING:
To ensure the oven shelves operate safely, correct placement of the shelves between the side rail
is imperative. Shelves and the pan only can be used between the first and fifth layers.
The shelves should use with the right direction, it will ensure that during careful removal of the shelf
or tray, hot food items should not slide out.

NOTE: The number of accessories included depends on the particular appliance purchased.
INSTALLATION
C575
B595
A595
G560
F570
min. H560
D606
E600
80
250
100
Remark:
1.Only plus deviations are admissible for all dimension.
2.The cabinet is not include the power switch or socket.
CONNECTION OF THE OVEN
L
N
VENTILATING OPENINGS
When cooking is finished or in pause state or in waiting state, if the oven's center temperature is
over 75 degree, the cooling fan will continue working for 15 minutes. Or when the oven's center
temperature becomes lower than 75 degree, the cooling fan will stop in advance.
Ventilating openings
14

For the sake of a good appearance and reliability, keep the unit clean. The modern design of the unit
facilitates maintenance to a minimum. The parts of the unit which come into contact with food have to
be cleaned regularly.
Before any maintenance and cleaning, disconnect the power.
Set all controls in the OFF position.
Wait until the inside of the unit is not hot but only slightly warm- cleaning is easier than when warm.
Clean the surface of the unit with a damp cloth, soft brush or fine sponge and then wipe dry.
In case of heavy soiling, use hot water with non- abrasive cleaning product.
For cleaning the glass of the oven door,do not use abrasive cleaners or sharp metal scrapers, these
can scratch the surface or lead to the glass being damaged.
Never leave acidic substances (lemon juice, vinegar) on stainless steel parts.
Do not use a high pressure cleaner for cleaning the unit. The baking pans may be washed in mild
detergent.
This appliance is marked according to the European directive 2012/19/EU on Waste Electrical and
Electronic Equipment(WEEE).
By ensuring this product is disposed correctly, you will help prevent potential negative consequences for
the environment and human health,which could otherwise be caused by inappropriate waste handling
of this product. The symbol on the product indicates that this product may not be treated as household
waste. Instead it shall be handed over to the applicable collection point for the recycling of electrical
and electronic equipment. Disposal must be carried out in accordance with local environmental
regulations for waste dispoasl.For more detailed information about treatment, recovery and recycling of
this product, please contact your local city office, your household waste disposal service or the shop
where you purchased the product.
CLEANING AND MAINTENANCE
15

Mühlenstrasse 8a, Berlin,14167, Germany
www.gunter-hauer.eu
e-mail: info@gunter-hauer.de
Table of contents
Other Gunter & Hauer Oven manuals
Popular Oven manuals by other brands

Smalvic
Smalvic S60 SERIES Use, installation and maintenance instructions

Duke
Duke DSO 500 Service manual

Baumatic
Baumatic P460SS instruction manual

DeDietrich
DeDietrich DOP760XS user guide

Zanussi Electrolux
Zanussi Electrolux ZCM 8021 Instruction booklet

Tricity Bendix
Tricity Bendix BD 985 Operating and installation instructions