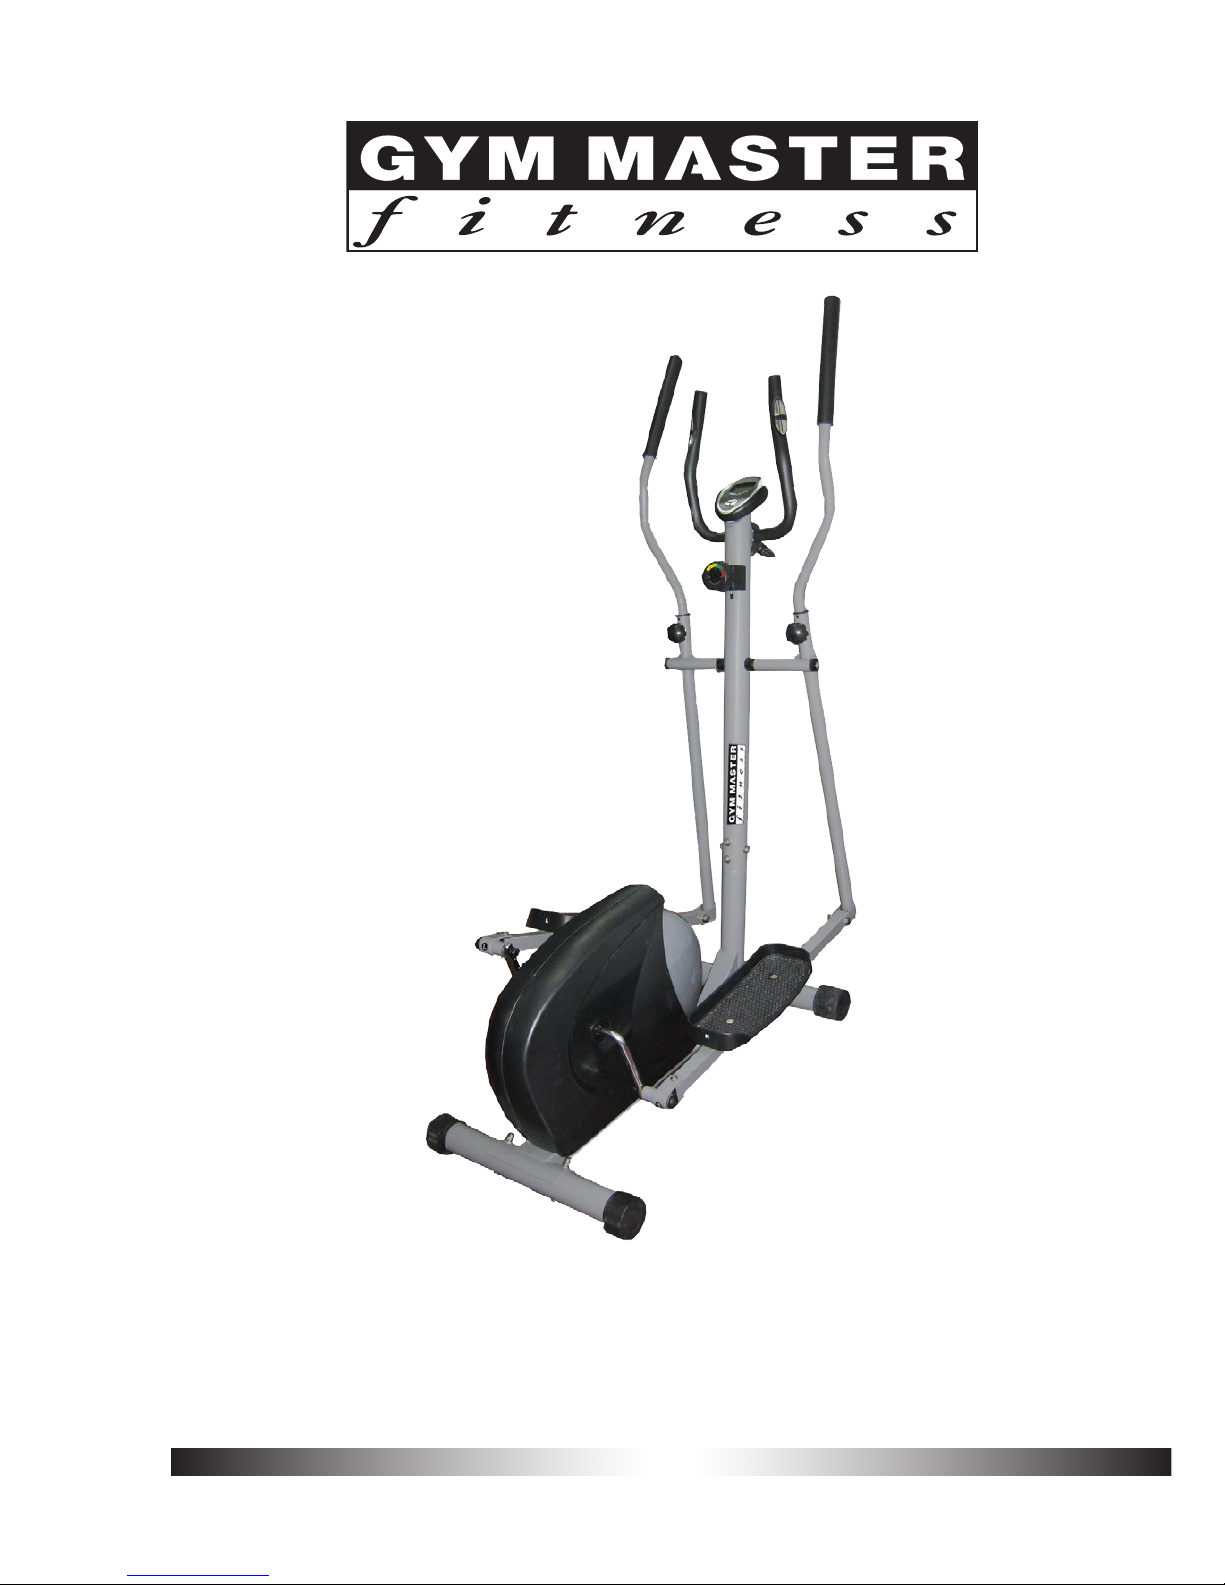
EXERCISE INSTRUCTIONS
Using your Elliptical trainer will provide you with several benefits, it will improve your
physical fitness, tone muscle and in conjunction with calorie controlled diet help you lose
weight.
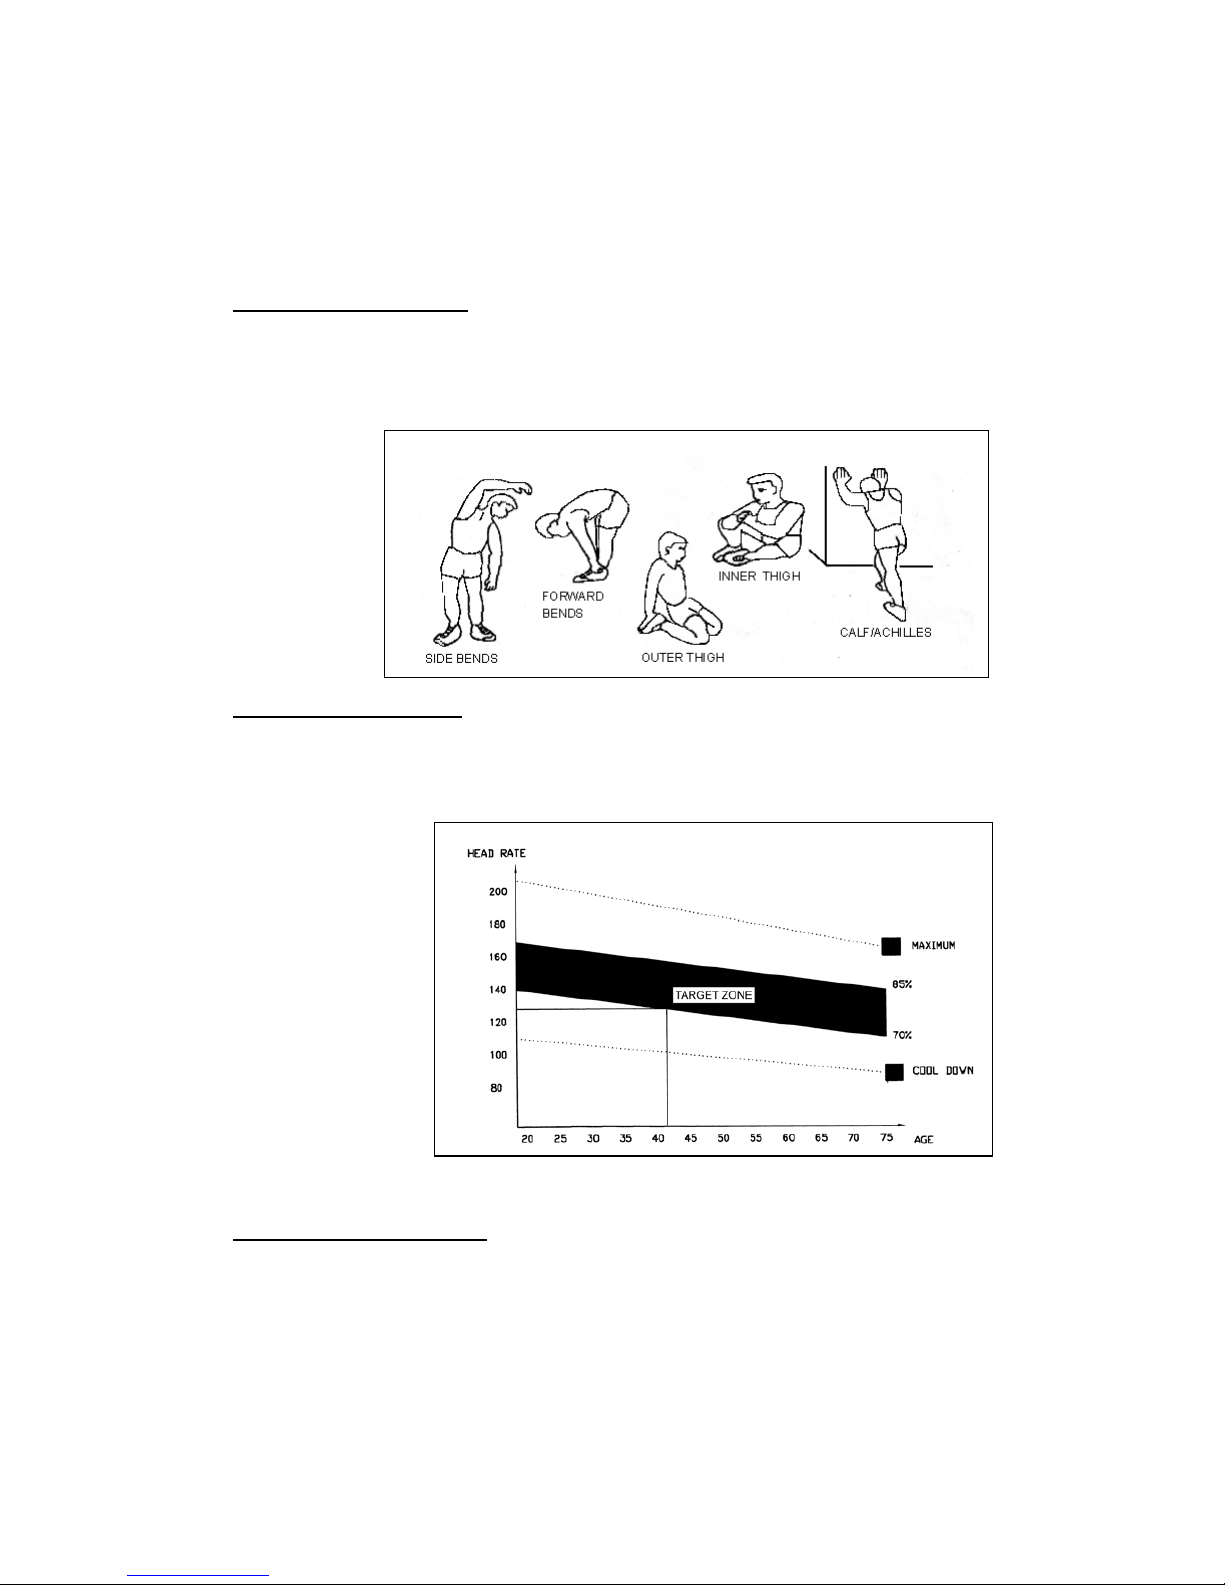
1.The Warm Up Phase
This stage helps get the blood flowing around the body and the muscles working properly. It will also reduce
the risk of cramp and muscle injury. It is advisable to do a few stretching exercises as shown below. Each
stretch should be held for approximately 30 seconds, do not force or jerk your muscles into a stretch –if it
hurts, STOP.
2.The Exercise Phase
This is the stage where you put the effort in. After regular use, use muscles in your legs will become more
flexible. Work to your own pace but it is very important to maintain a steady tempo throughout. The rate of
work should be sufficient to raise your heart beat into the target zone shown on the graph below.
This stage should last for a minimum of 12mihutes though most people start at about 15-20 minutes.
3.The Cool Down Phase
This stage is to let your Cardio-vascular System and muscles wind down. This is a repeat of the warm up
exercise e.g. reduce your tempo, continue for approximately 5 minutes. The stretching exercises should now
be repeated, again remembering not to force or jerk your muscles into the stretch.
As you get fitter you may need to train longer and harder. It is advisable to train at least three times a week,
and if possible space your workouts evenly throughout the week.
EXERCISE INSTRUCTIONS
Using your Elliptical trainer will provide you with several benefits, it will improve your
physical fitness, tone muscle and in conjunction with calorie controlled diet help you lose
weight.
1.The Warm Up Phase
This stage helps get the blood flowing around the body and the muscles working properly. It will also reduce
the risk of cramp and muscle injury. It is advisable to do a few stretching exercises as shown below. Each
stretch should be held for approximately 30 seconds, do not force or jerk your muscles into a stretch –if it
hurts, STOP.
2.The Exercise Phase
This is the stage where you put the effort in. After regular use, use muscles in your legs will become more
flexible. Work to your own pace but it is very important to maintain a steady tempo throughout. The rate of
work should be sufficient to raise your heart beat into the target zone shown on the graph below.
This stage should last for a minimum of 12mihutes though most people start at about 15-20 minutes.
3.The Cool Down Phase
This stage is to let your Cardio-vascular System and muscles wind down. This is a repeat of the warm up
exercise e.g. reduce your tempo, continue for approximately 5 minutes. The stretching exercises should now
be repeated, again remembering not to force or jerk your muscles into the stretch.
As you get fitter you may need to train longer and harder. It is advisable to train at least three times a week,
and if possible space your workouts evenly throughout the week.
INSTRUCCIONES PARA LOS EJERCICIOS
La utilización de esta bicicleta elíptica le ofrece múltiples beneficios ya que mejorará su estado físico,
tonificará sus músculos y, junto a una dieta baja en calorías, le ayudará a perder peso.
1. Fase de calentamiento
Esta fase ayuda a que la sangre fluya alrededor del cuerpo y que los músculos funcionen correcta-
mente. También ayuda a reducir el riesgo de que se produzca un calambre o daños a los músculos.
Se recomienda efectuar algunos ejercicios de estiramiento como se muestra más abajo. Cada
ejercicio de estiramiento debe mantenerse durante aproximadamente 30 segundos. No fuerce ni
exija demasiado sus músculos durante el ejercicio de estiramiento. Si se siente dolor, DETENGA el
ejercicio
EXERCISE INSTRUCTIONS
Using your Elliptical trainer will provide you with several benefits, it will improve your
physical fitness, tone muscle and in conjunction with calorie controlled diet help you lose
weight.
1.The Warm Up Phase
This stage helps get the blood flowing around the body and the muscles working properly. It will also reduce
the risk of cramp and muscle injury. It is advisable to do a few stretching exercises as shown below. Each
stretch should be held for approximately 30 seconds, do not force or jerk your muscles into a stretch –if it
hurts, STOP.
2.The Exercise Phase
This is the stage where you put the effort in. After regular use, use muscles in your legs will become more
flexible. Work to your own pace but it is very important to maintain a steady tempo throughout. The rate of
work should be sufficient to raise your heart beat into the target zone shown on the graph below.
This stage should last for a minimum of 12mihutes though most people start at about 15-20 minutes.
3.The Cool Down Phase
This stage is to let your Cardio-vascular System and muscles wind down. This is a repeat of the warm up
exercise e.g. reduce your tempo, continue for approximately 5 minutes. The stretching exercises should now
be repeated, again remembering not to force or jerk your muscles into the stretch.
As you get fitter you may need to train longer and harder. It is advisable to train at least three times a week,
and if possible space your workouts evenly throughout the week.
Flexiones laterales
Flexiones hacia
adelante
Muslo externo
Muslo interno
Pantorrilla / Talón
2. Fase de ejercicios
Esta es la fase en la que usted debe poner más esfuerzo. Después de un período de regularidad, los
músculos de sus piernas se volverán más flexibles. Efectúe los ejercicios a su propio ritmo, pero es
muy importante que se mantenga un ritmo constante durante todo el tiempo. El nivel de los ejercicios
debe ser suficiente como para elevar el ritmo cardiaco dentro del área objetivo como se muestra en
el gráfico más abajo.
Esta fase debe durar por lo menos 12 minutos aunque la mayoría de gente comienza con una
duración de 15 a 20 minutos.
3. Fase de enfriamiento
Esta fase permite que su sistema cardiovascular y sus músculos se relajen y se enfríen. Esta es una
repetición de los ejercicios de calentamiento, es decir, es una reducción del ritmo continuando duran-
te aproximadamente 5 minutos. Los ejercicios de estiramiento deben repetirse en esta fase siempre
recordando no forzar o exigir demasiado sus músculos al momento de efectuar el estiramiento.
Conforme su condición física mejore, será necesario llevar a cabo el entrenamiento durante más
tiempo y a un nivel de dificultad más alto. Se recomienda hacer ejercicios por lo menos tres veces a
la semana, y si es posible distribuir sus rutinas de ejercicios de manera pareja durante la semana.