732.28.426
HDE 27.07.21
6/10
en
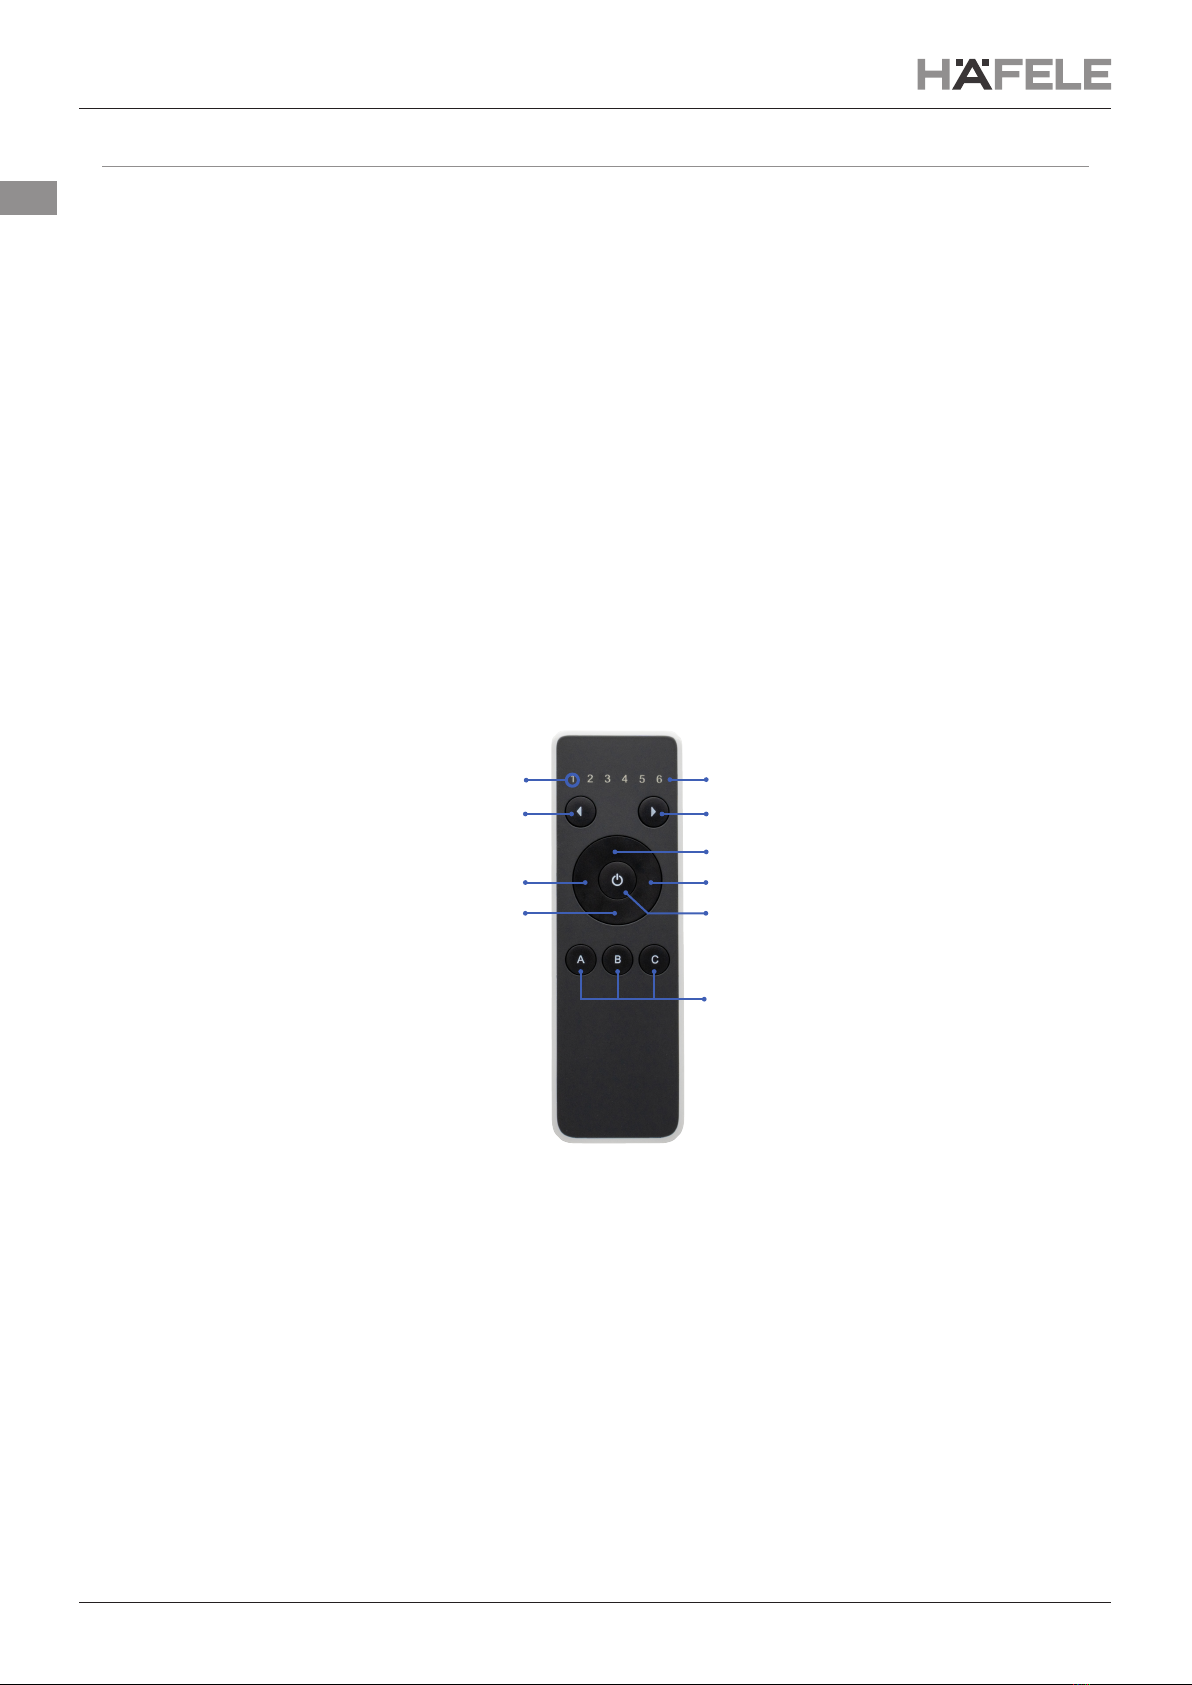
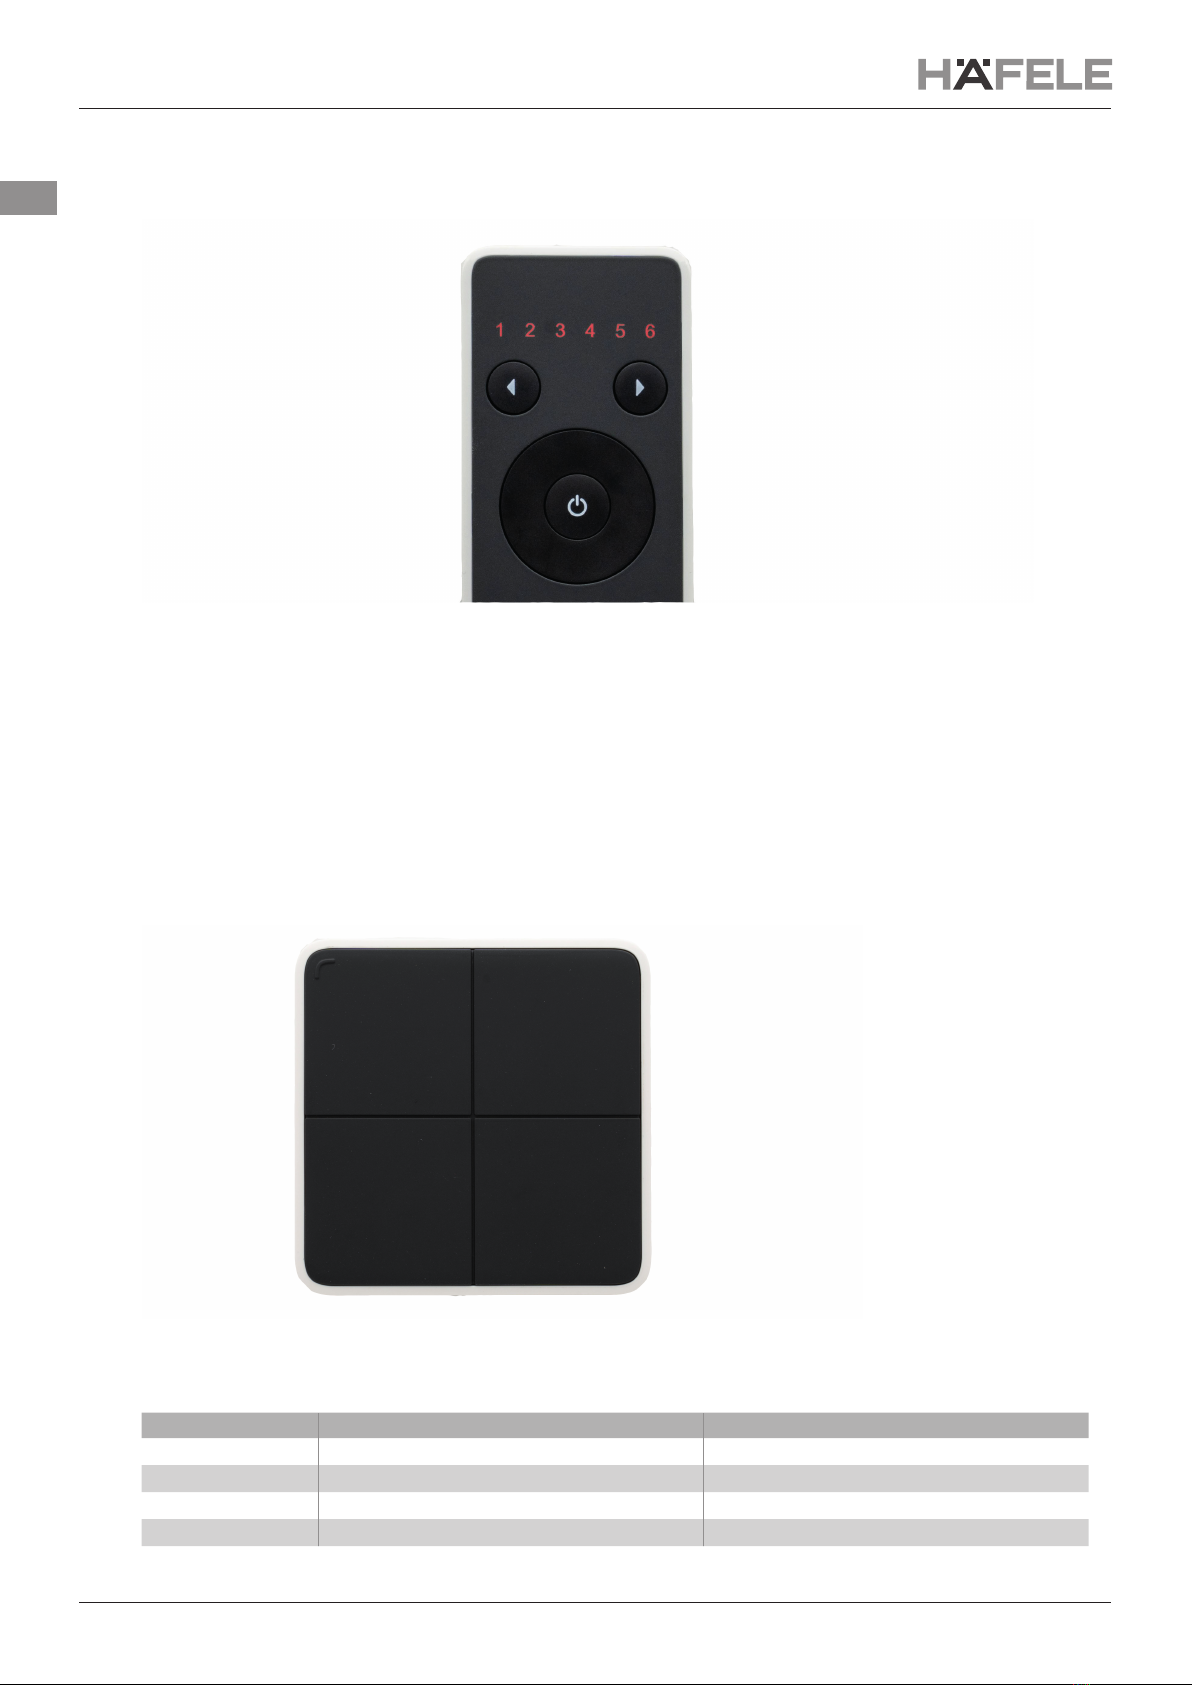
2.5. Changing the Channels
Every Connect Mesh Remote Control has 6 channels symbolized by the 6 numbers on top. Each channel can be
individually assigned to a group in the Häfele Connect Mesh App and allows to control all devices in the group
afterwards.
Use the buttons on top to change the active channel of your Connect Mesh Remote Control. Press on the „<“ button
to switch to the previous channel. Use the „>“ button to switch to the next channel. The LED always shows the
currently selected channel.
EXAMPLES
A typical use case could be for example:
– Group with all lights assigned to channel 1
– Group with all ceiling light assigned to channel 2
– Group with all furniture lights assigned to channel 3
– Group with all footer lights assigned to channel 4
– Group with all multi-white (tunable white) lights assigned to channel 5
– Group with all RGB lights assigned to channel 6
2.6. Switching a Group On/O
You can toggle the active channel/group by pressing the ON/OFF power button.
2.7. Changing Brightness / Saturation
You can control the brightness of devices in the same group by keeping “up” and “down” button pressed. “Up”
increases the brightness, while “down” reduces the brightness until the lights turns o completely.
To control the saturation of RGB lights, you can double press and hold “up” to increase the saturation and double
press and hold “down” to reduce it.
2.8. Changing Temperature / Hue (Color)
You can control the temperature of devices in the same group by keeping “left” and “right” button pressed. “Right”
makes the light temperature colder, while “left” makes the temperature warmer. Releasing the press will set and lock
the current state of the lights.
To control the hue (color) of RGB lights, you can double press and hold “right” to increase the hue and double press
and hold “left” to reduce it.
2.9. Scenes
The scene buttons A, B and C allow to save and restore three individual scenes. By default, the scenes triggered by
“A”, “B” and “C” are the same scenes as available as the rst three scenes of the selected group that you dened in
the App.
Activating Stored Scenes
Press A/B/C to activate a scene that was previously saved on this scene-button. Please note, that the scene is
applied only to the devices that are in the currently selected group (channel 1 to 6).
Saving New Scenes
Press a scene button longer than 2 seconds to store the current lighting-settings on this button.