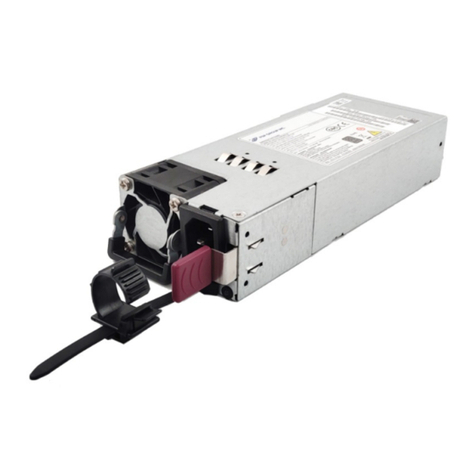
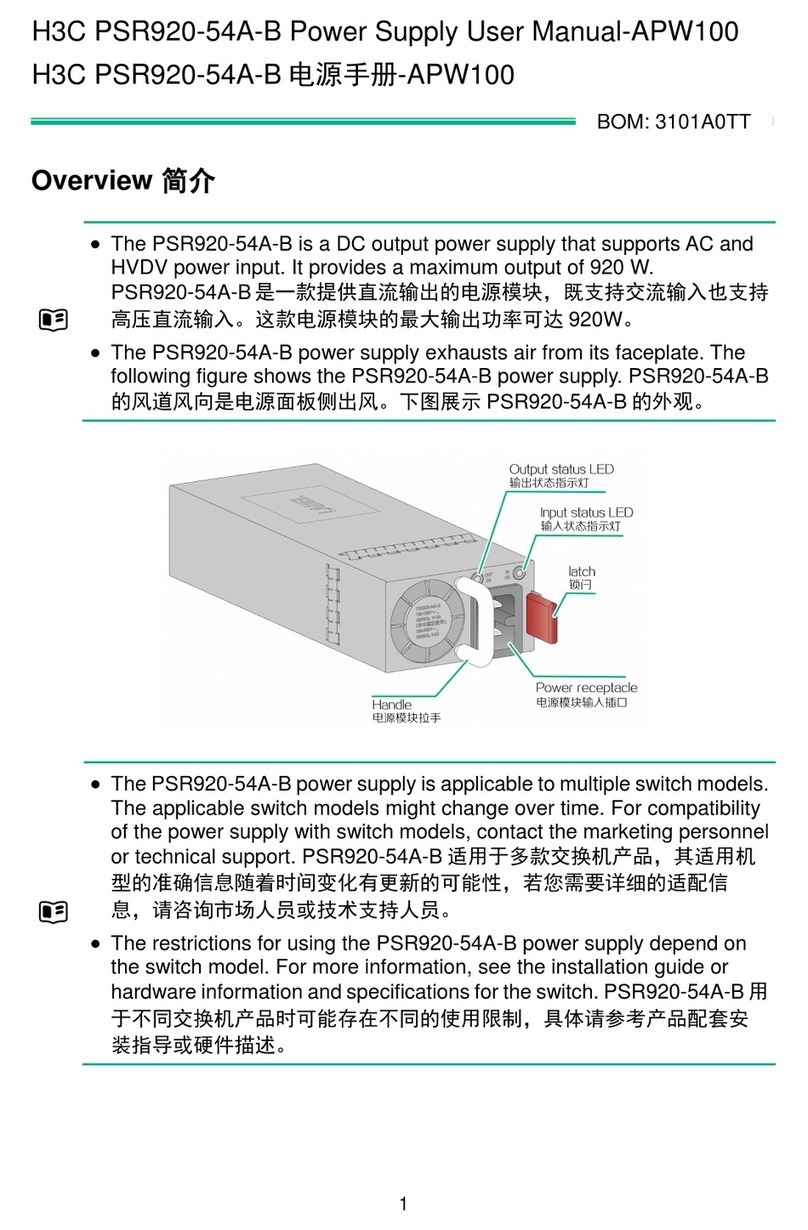
H3C PSR2500B-12AHD-F User manual

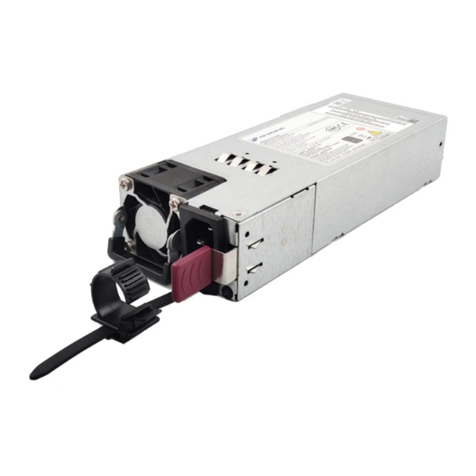
H3C PSR2500B-12AHD-F
Power Supply Manual
New H3C Technologies Co., Ltd.
http://www.h3c.com
Document version: APW100-20200515

Copyright © 2020, New H3C Technologies Co., Ltd. and
its licensors
All rights reserved
No part of this manual may be reproduced or transmitted in any form
or by any means without prior written consent of New H3C
Technologies Co., Ltd.
Trademarks
Except for the trademarks of New H3C Technologies Co., Ltd., any
trademarks that may be mentioned in this document are the property
of their respective owners.
Notice
The information in this document is subject to change without notice.
All contents in this document, including statements, information, and
recommendations, are believed to be accurate, but they are
presented without warranty of any kind, express or implied. H3C shall
not be liable for technical or editorial errors or omissions contained
herein.
Environmental protection
This product has been designed to comply with the environmental
protection requirements. The storage, use, and disposal of this
product must meet the applicable national laws and regulations.
Documentation feedback
You can e-mail your comments about product documentation to
We appreciate your comments

i
Contents
About the PSR2500B-12AHD-F power supply ·· 1
Front panel ···································································· 2
Technical specifications ··················································· 3
LEDs············································································ 3
Power cords··································································· 5
Power supply configuration ··············································· 7
Installing and removing the power supply ········8
Installing the power supply················································ 8
Installing the power supply ··········································· 9
Connecting the power cord··········································10
Removing the power supply ·············································12
Removing the power cord············································13
Removing the power supply·········································14

1
About the PSR2500B-12AHD-F
power supply
The PSR2500B-12AHD-F power supply supports single-phase AC
input (220 VAC) and high-voltage DC input (240 VDC or 380 VDC). It
is hot swappable and provides a maximum output of 2500 W.
Table 1 PSR2500B-12AHD-F power supply features
Feature Description
Protection
Provide protection against input undervoltage,
input overvoltage, output overvoltage, output
short circuit, output overcurrent, and
overtemperature conditions.
Hot swapping You can install or remove the power supply
when the device is operating.
Redundancy
Multiple power supplies can be connected in
parallel to achieve N+1 or N+N redundancy.
For more information, see “Power supply
configuration.”
CAUTION:
•The PSR2500B-12AHD-F power supply cannot work with
power supplies of other models on the same device.
•The power supply shuts down automatically when its
temperature exceeds the acceptable range. When the
temperature returns to the acceptable range, the power
supply automatically restarts.

2
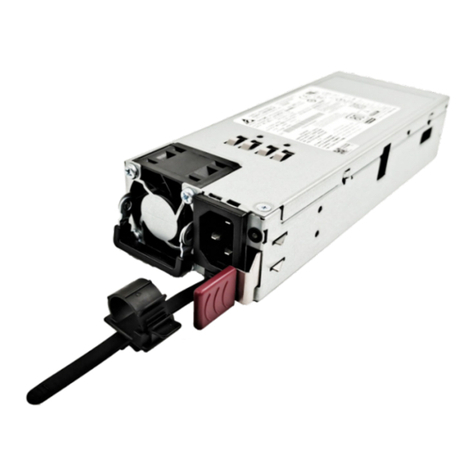
Front panel
Figure 1 Front panel
(1) Captive screw (2) Handle
(3) Power receptacle (4) Power output LED (OUT/FLT)
(5) Power input LED (IN) (6) Air inlet vents
CAUTION:
•Make sure no obstacles block flow of air into the air inlet
vents of the power supply.
•Keep the air inlet vents of the power supply free of dust,
metal, and other conductive particles. These particles might
be drawn into the power supply, causing malfunction of the
power supply.

3
Technical specifications
Item Specifications
AC input
Rated input
voltage 100 to 240 VAC @ 50 or 60 Hz
Max. input
current 16 A
High-voltage
DC input
Rated input
voltage 240 to 380 VDC
Max. input
current 16 A
Output voltage 12 V
Max. output current
•100 A @ 90 to 180 VAC
•208 A @ 180 to 290 VAC or
180 to 400 VDC
Max. output power
•1200 W @ 90 to 180 VAC
•2500 W @ 180 to 290 VAC or
180 to 400 VDC
Dimensions (H × W × D) 41 × 102 × 391 mm (1.61 × 4.02 ×
15.39 in)
Net weight 2.75 kg (6.06 lb)
Ambient
temperature Operating –10°C to +50°C (14°F to 122°F)
Storage –40°C to +85°C (–40°F to +185°F)
LEDs
The power supply has two LEDs.

4
Table 2 LED description
LED Mark Color Description
Power
input
LED IN
Green Normal power input.
Off
No power input.
Low input voltage, and the power
supply has entered protection
state.
Power
output
LED
OUT/F
LT
Green Normal power output.
Red
Abnormal power output.
(An output short circuit, output
overcurrent, output overvoltage,
input undervoltage, or remote
shutdown has occurred and the
power supply has entered
protection state.)
Orange An overtemperature condition has
occurred.
CAUTION:
•When the device is operating correctly with sufficient power,
the output LED of the power supply that has no power input
is red.
•After the circuit breaker for the power supply is switched off,
the LEDs on the power supply will remain on for a while.

5
Power cords
The PSR2500B-12AHD-F power supply must use a compatible
power cord. The power cords as shown in Figure 2, Figure 3,
and Figure 4 are available for the power supply. Determine the power
cord based on the power source conditions.
Figure 2 High voltage DC power cord (High voltage DC power
source)
(1) Plug (2) Cable (3) Connector

6
Figure 3 AC PDU power cord (AC or high voltage DC power
source)
(1) Plug (2) Cable (3) Connector
Figure 4 AC power cord (AC or high voltage DC power source)
(1) Plug (2) Cable (3) Connector

7
Power supply configuration
Determine the total number of power supplies based on the actual
power consumption.
•In an environment with two mains power inputs, you can
configure the power supplies in N+N redundancy.
•In an environment with only one mains power input, you can
configure the power supplies in N+1 or N+N redundancy.
•Configure a circuit breaker for each power input. The rated
current of the circuit breaker must be greater than 20 A.
NOTE:
The value of N depends on the number of power supply slots in
the device. N+1 or N+N must not be greater than the total
number of power supply slots.

8
Installing and removing the power
supply
Installing the power supply
To avoid bodily injury and device damage, follow the procedure
in Figure 5 strictly to install the power supply.
Figure 5 Power supply installation procedure
NOTE:
A
device needs a minimum of one power supply for power input.
Typically, a device comes with a power supply slot empty. To
install a power supply in the empty slot, skip the procedure of
removing the filler panel.
Remove the filler panel
Install the power supply
Connect the power cord
Turn on the circuit breaker

9
Before the installation, prepare an ESD wrist strap and a Phillips
screwdriver yourself.
Installing the power supply
A power supply slot can be vertical or horizontal. The power supply
installation method is similar for vertical and horizontal power supply
slots. This procedure installs the power supply in a vertical slot.
To install the power supply:
1. Wear an ESD wrist strap, and make sure the wrist strap makes
good skin contact and is reliably grounded.
2. Use a Phillips screwdriver to loosen the captive screw on the
filler panel in the target slot, and then remove the filler panel.
3. Unpack the power supply.
4. Correctly orient the power supply according to the diagram
printed on the filler panel.
5. Holding the power supply handle with one hand and supporting
the power supply bottom with the other, slide the power supply
along the guide rails into the slot.

10
Figure 6 Installing the power supply into a vertical slot
6. Press the handle back into the notch of the power supply.
7. Use a Phillips screwdriver to fasten the captive screw on the
power supply.
Connecting the power cord
WARNING!
•Make sure each power cord has a separate circuit breaker.
•Before connecting a power cord, turn off the circuit breaker
for it.

11
To connect the power cord:
1. Unpack the power cord and verify that the power cord model is
as required.
Use a 16 A AC power cord or high voltage DC power cord for the
power supply.
2. Connect the plug of the power cord into the receptacle of the
power supply.
3. Use a releasable cable tie to secure the power cord to the power
cord management bracket.
NOTE:
The power cord management bracket position varies by device
model. Route the cable as required.
•To secure the power cord connected to a vertically-installed
power supply, see Figure 7.
•To secure the power cord connected to a
horizontally-installed power supply, see Figure 8.
Figure 7 Securing the power cord connected to a
vertically-installed power supply

12
Figure 8 Securing the power cord connected to a
horizontally-installed power supply
4. Connect the other end of the power cord to the power source,
and turn on the circuit breaker.
5. Verify that the power input LED is ON.
{If the LED is on, the power cord is correctly connected.
{If the LED is OFF, verify the installation and fix the issue.
Removing the power supply
To avoid bodily injury and device damage, follow the procedure
in Figure 9 strictly to remove the power supply.

13
Figure 9 Power supply removal procedure
Before removing a power supply, prepare an ESD wrist strap and a
Phillips screwdriver yourself.
Removing the power cord
1. Turn off the circuit breaker for the power cord.
2. Wear an ESD wrist strap, and make sure the wrist strap makes
good skin contact and is reliably grounded.
3. Remove the cable tie, and pull the power cord plug out.
CAUTION:
A
fter the circuit breaker of the power supply is switched off, the
LEDs on the power supply will remain on for a while.
Turn off the circuit breaker
Remove the power cord
Remove the power supply
Install the filler panel

14
Removing the power supply
1. Use the Phillips screwdriver to loosen the captive screw on the
power supply.
2. Hold the captive screw on the power supply handle and pull out
the handle.
3. As shown in Figure 10, holding the handle with one hand, pull
the power supply part way out. Supporting the power supply
bottom with the other, pull the power supply slowly out of the slot
along the guide rails.
Figure 10 Removing the power supply
4. Place the removed power supply on an antistatic mat.

15
5. Install the filler panel back in the power supply slot, and fasten
the captive screw.
CAUTION:
Before installing a removed power supply into a power supply
slot, make sure the LEDs on the power supply are off.
Table of contents
Other H3C Power Supply manuals

H3C
H3C PS-2801-9L3 User manual

H3C
H3C XE 200/2000 IP User manual

H3C
H3C External PoE Power System PSE2500-A3 User manual

H3C
H3C RPS500-A3 User manual

H3C
H3C DPS-800W-12A-48V User manual

H3C
H3C PSR920-54A-B User manual

H3C
H3C PSR1200B-12A1-F User manual

H3C
H3C PSR1200-12A User manual

H3C
H3C RPS1000-A3 User manual

H3C
H3C DG-240-55 Operating and maintenance manual
Popular Power Supply manuals by other brands

Smitec
Smitec ICOS-PS 3160 Series Installation, use and maintenance manual

Allied Telesis
Allied Telesis AT-PBPWRDC Quick install guide

Nemtek
Nemtek druid LCD Installer manual

Effectrode
Effectrode Atomic owner's manual

Delta Electronics
Delta Electronics 33W Family datasheet

NCR
NCR 7761-K120 Kit instructions