1
Configuring the OAP module
The Open Application Architecture provides an open interface for third-party vendors to develop and
integrate value-added applications into H3C products. The hardware platforms for these applications
can be devices or modules. H3C has developed the application-specific modules called Open
Application Platform (OAP) modules shown in Table 1.
OAP modules have their own operating systems. You can log in to the operating system of an OAP
module to install features. For example, you can install security features and voice features on the
OAP module operating system to provide security and voice services for users.
OAP modules exchange data, status information, and control information with hosting devices
through internal interfaces.
Table 1 OAP modules
OAP module Module type Number of internal interfaces
LSU1FWCEA0
Firewall card
Four 10G Ethernet interfaces
LSU3FWCEA0 Four 10G Ethernet interfaces
LSUM1FWCEAB0 Four 10G Ethernet interfaces
LSUM1FWDEC0 Three 40G Ethernet interfaces
LSQM1FWDSC0 One 40G Ethernet interface
LSQM1IPSDSC0 IPS card One 40G Ethernet interface
LSU1IPSBEA0 Four 10G Ethernet interfaces
LSU1NSCEA0
NetStream card
Four 10G Ethernet interfaces
LSUM1NSDEC0 Three 40G Ethernet interfaces
LSQM1NSDSC0 One 40G Ethernet interface
LSU3WCMD0
High performance access
controller module
Two 10G Ethernet interfaces
LSU1WCME0 Four 10G Ethernet interfaces
LSUM1WCMX20RT Two 10G Ethernet interfaces
LSUM1WCMX40RT Four 10G Ethernet interfaces
LSQM1WCMX40 Four 10G Ethernet interfaces
LSQM1ACGDSC0 Application control gateway
module
One 40G Ethernet interface
LSQM2ACGDSC0 One 40G Ethernet interface
LSUM1ACGDEC0 Three 40G Ethernet interfaces
LSQM1ADEDSC0 Application delivery engine
module One 40G Ethernet interface
LSU1ADECEA0 Four 10G Ethernet interfaces
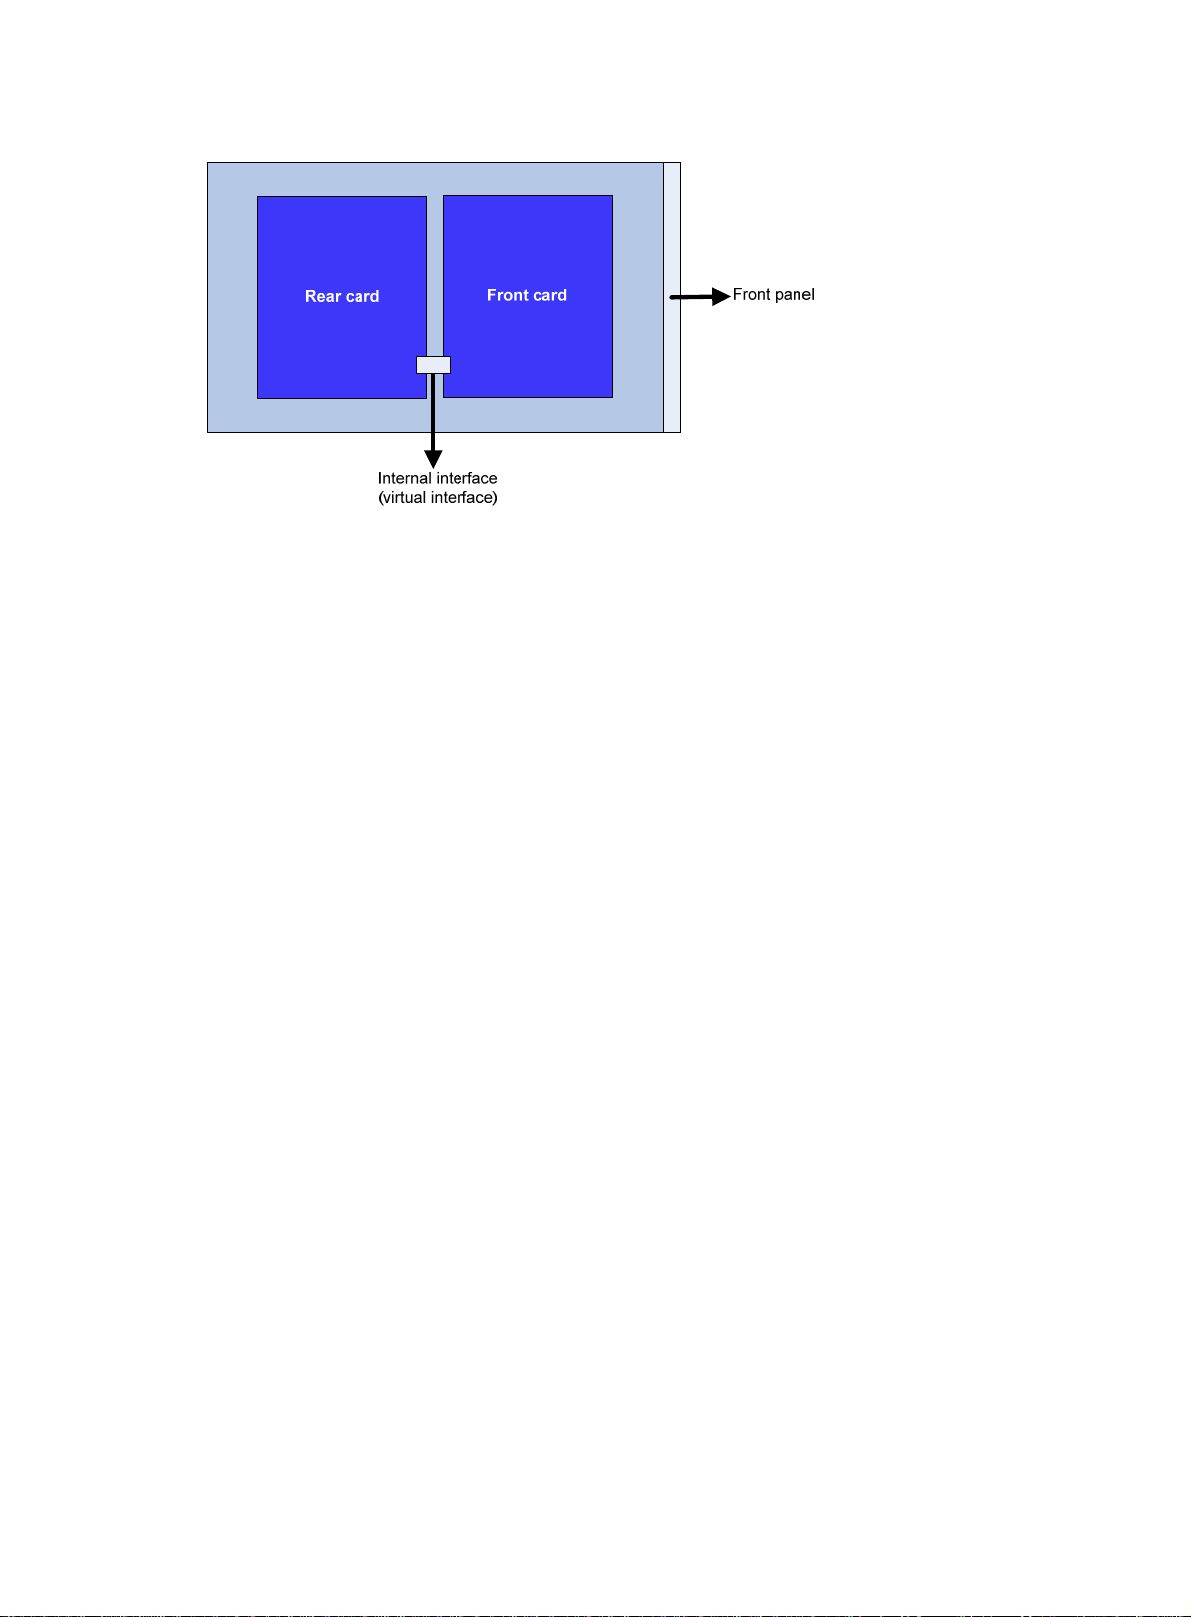
Internal interfaces for OAP modules
An OAP module integrates a front card and a rear card. The front card provides value-added security
services, such as firewall, intrusion prevention, and application control. The rear card is responsible
for data exchange between the front card and the switch. The rear card communicates with the front
card through the internal interface, as shown in Figure 1.