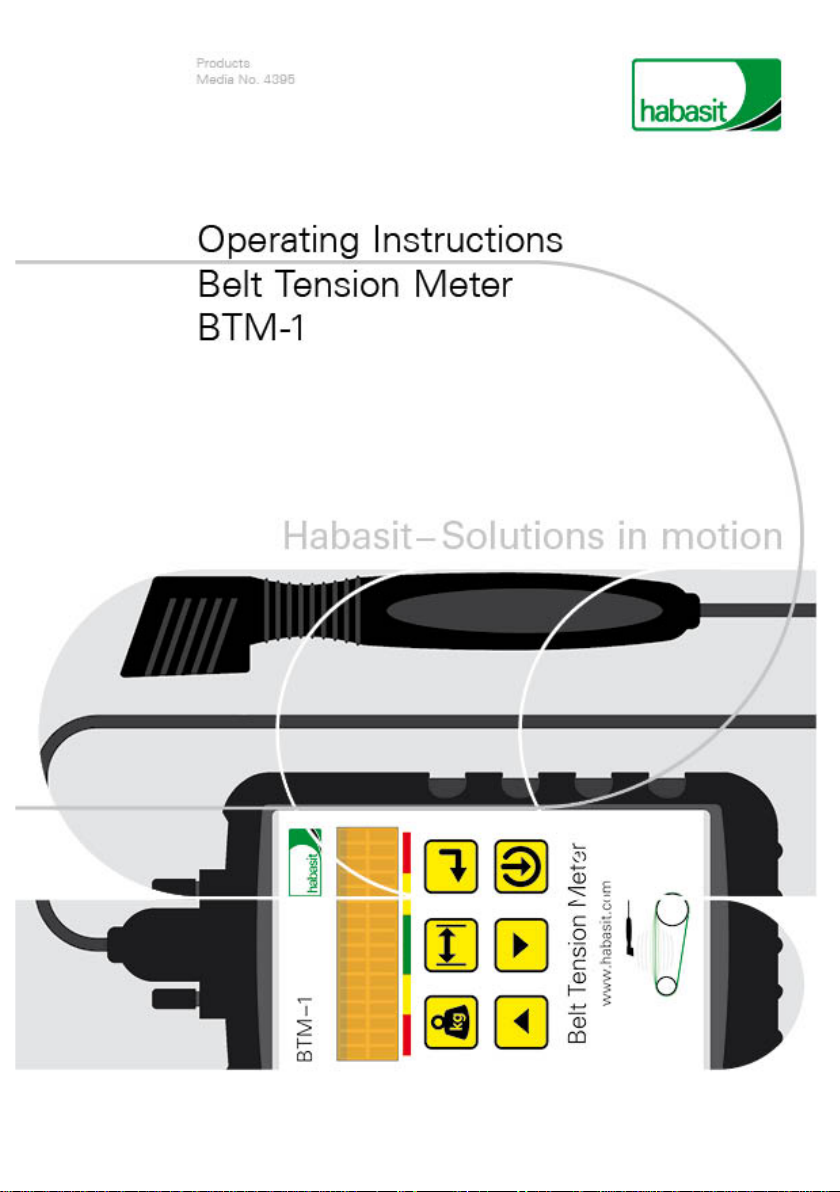
Operating instructions – Belt tension meter BTM-1
Version 1.0
3
Contents
Introduction................................................................................................... 4
Safety guidelines................................................................................ 4
Notes on batteries/rechargeable batteries......................................... 5
Care Instructions................................................................................ 6
Maintenance....................................................................................... 6
Disclaimer .......................................................................................... 6
Intended use ...................................................................................... 7
Delivered items .................................................................................. 7
Product advantages........................................................................... 7
Preparation measures.................................................................................. 8
Connecting the measurement probe.................................................. 8
Operational elements................................................................................... 8
Operating buttons .............................................................................. 8
Checking Calibration.................................................................................... 9
Operation.................................................................................................... 10
General information on "belt tension“ .............................................. 10
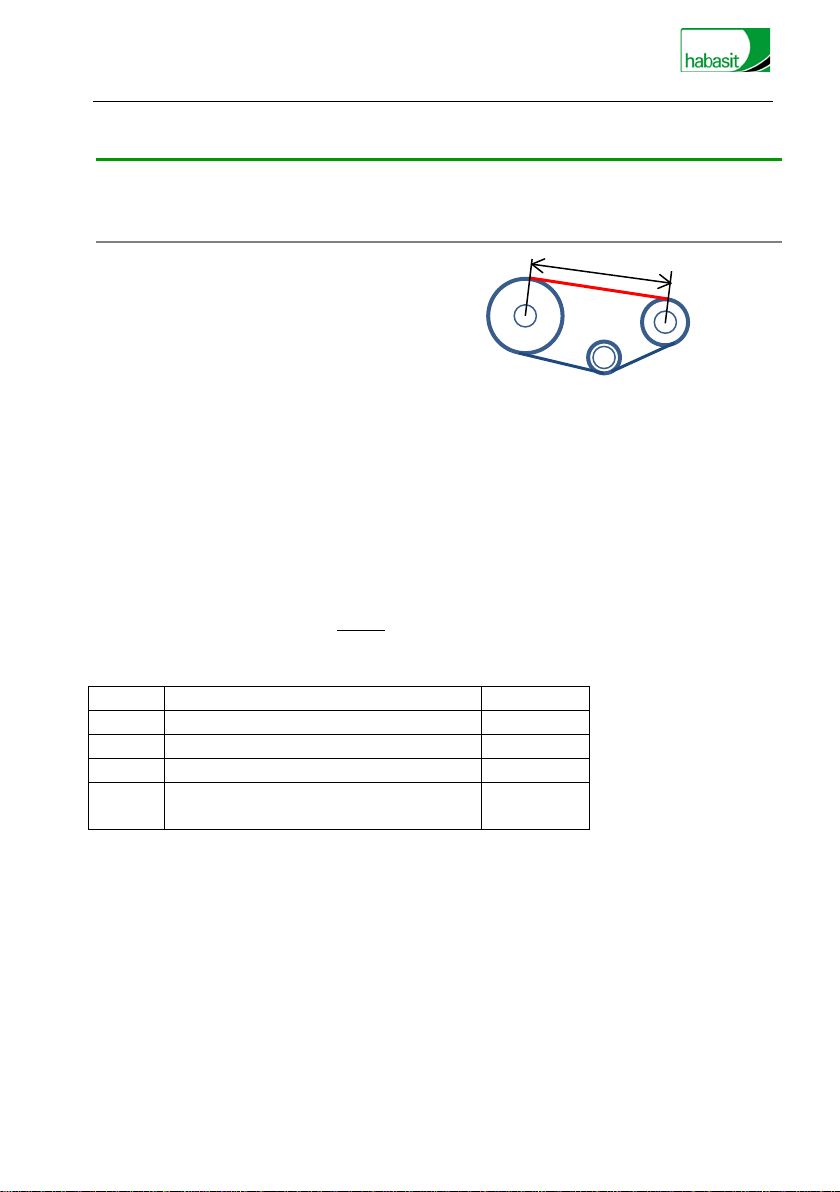
Measuring procedure....................................................................... 11
Positioning of the measurement probe............................................ 12
Belt Selection................................................................................... 13
How to get belt weight information?................................... 13
Step by Step: .............................................................................. 14
Procedure: .................................................................................. 14
Input of calculated value in the BTM-1............................... 14
Measurement Procedure ................................................................. 15
Storing measurements..................................................................... 16
Calling up stored measurements..................................................... 16
Procedure: .................................................................................. 16
Switching off the instrument........................................................ 16
Specifications ............................................................................................. 17
Menu structure ........................................................................................... 18
Problem solving.......................................................................................... 19