3.4 Product hazards
CAUTION
Chemical exposure hazard. Obey laboratory safety procedures and wear all of the
personal protective equipment appropriate to the chemicals that are handled. Refer to
the current safety data sheets (MSDS/SDS) for safety protocols.
CAUTION
Chemical exposure hazard. Dispose of chemicals and wastes in accordance with local,
regional and national regulations.
Section 4 Preparation for use
Prepare the probe for calibration and measurement as follows.
1. Remove the sensor protection cap from the probe.
2. Rinse the probe with deionized water. Blot dry with a lint-free cloth.
3. Condition the probe before use. To condition the probe, soak the probe in approximately 25 mL of
the lowest concentration standard solution used for calibration for 30 to 60 minutes. Do not add
the ISA to the standard solution.
Note: Condition the probe each day for 15 to 30 minutes or for 30 to 60 minutes after long-term storage.
4. Make sure that the meter has the correct date and time settings. The service-life time stamp in
the probe comes from the date and time settings in the meter.
Note: Some meters automatically open the date and time settings when the meter starts for the first time, or
after battery replacement.
5. Connect the probe to the meter.
Section 5 Calibration
The procedure that follows is applicable to meters that can connect to Intellical ISE probes. Refer to
the applicable meter documentation for meter operation and probe-specific settings.
5.1 Calibration notes
Read the notes that follow before calibration.
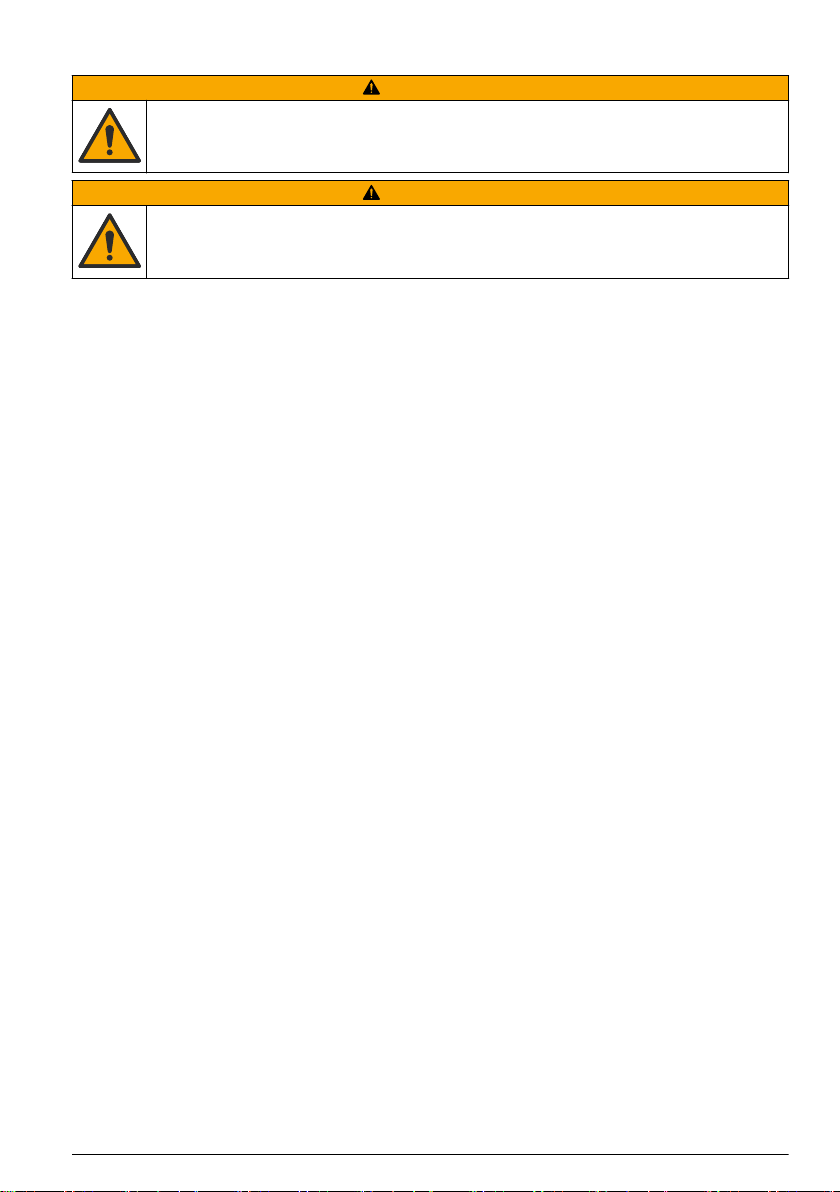
• Use plastic containers during calibration and measurements. Glass containers can cause
inaccurate measurements.
• Measure the standard solutions from lowest to highest concentration for best results.
• Keep all of the solutions (standard solutions and samples) at the same temperature (± 2 °C
(± 3.6 °F)) for best results.
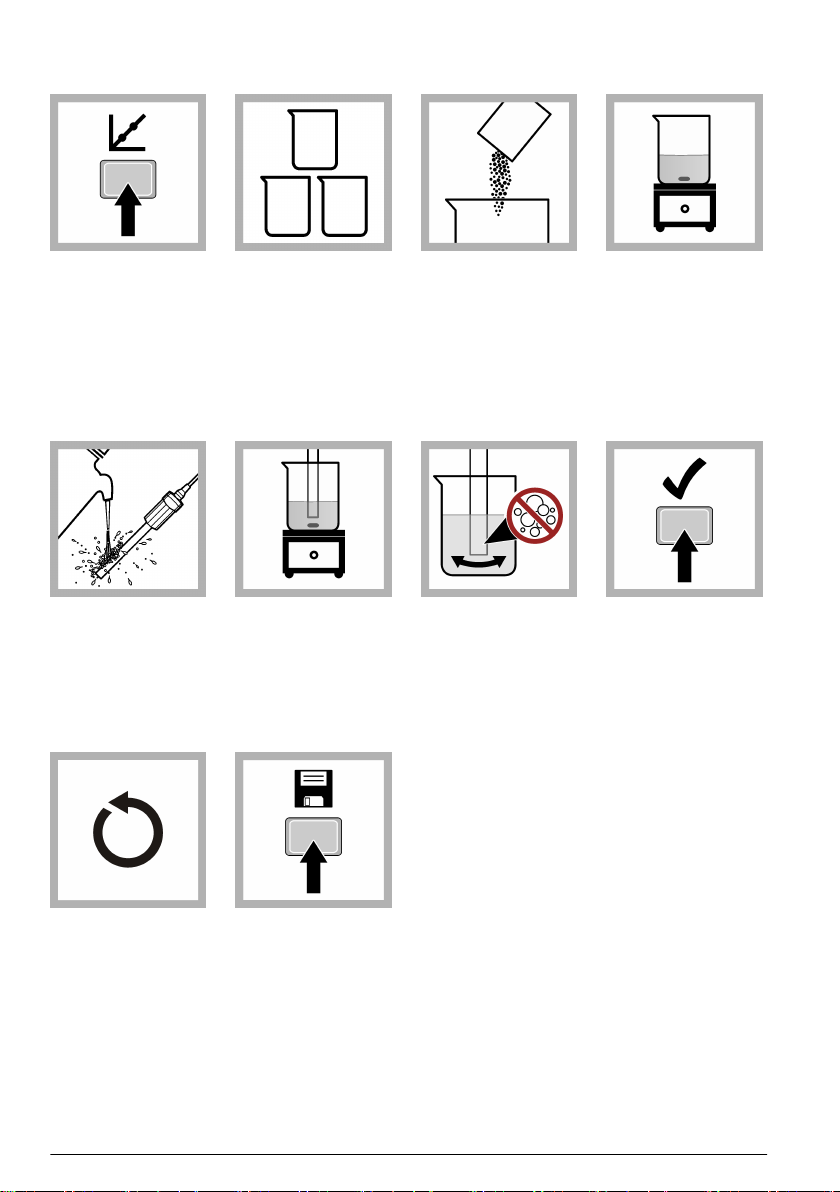
• Stir the standards and samples at a slow and constant rate to prevent the formation of a vortex.
• Use the default calibration options or change the options in the probe settings menu.
• Use the single display mode for calibration when more than one probe is connected to the meter (if
applicable).
• Calibrate the probes and verify the calibration regularly for best results. Use the meter to set
calibration reminders.
• The calibration data is stored in the probe. When a calibrated probe is connected to a different
meter with the same calibration options, a new calibration is not necessary.
• Air bubbles below the sensor when in solution can cause a slow response or error in the
calibration. Make sure to remove air bubbles during calibration.
English 5