Hafco Woodmaster BP-430A User manual

OPERATION MANUAL
Edition No : BP-430A,480A-1
Date of Issue : 11/2020
Models
BP-430A BP-480A
Order Code W4330, Order Code W4340
WOOD BAND SAW

2
OPERATION MANUAL
NOTE:
In order to see the type and model of the machine, please see the
specication plate. Usually found on the back of the machine. See
example (Fig.1)
Fig.1
WOOD BAND SAW
MACHINE
MODEL NO.
SERIAL NO.
DATE OF MANF.
NOTE:
This manual is only for your reference. Owing to the continuous improvement of the HAFCO
machines, changes may be made at any time without obligation or notice. Please ensure
the local voltage is the same as listed on the specication plate before operating this
electric machine.
DistributeD by
WWW.MACHINERYHOUSE.CO.NZ
MACHINE DETAILS

3
OPERATION MANUAL
C O N T E N T S:
1. GENERAL MACHINE INFORMATION
1.1 Specications.............................................................. 4
1.2 Identication............................................................... 5
2. SAFETY
2.1 General Wood Working Machine Safety............ 6
2.2 Specic Safety For Drill/Mill................................... 9
3. POWER SUPPLY
3.1 Electrical Installation................................................ 9
3.2 Full Load Current....................................................... 9
4. SETUP
4.1 Unpacking.................................................................... 11
4.2 Clean Up........................................................................ 11
4.3 Site Preparation.......................................................... 11
4.4 Lifting Instructions.................................................... 11
4.5 Anchoring To The Floor............................................ 12
4.6 Machine Leveling....................................................... 12
4.7 Assembly....................................................................... 13
4.8 Tensioning The Blade............................................... 15
4.9 Blade Tracking............................................................. 16
4.10 Table Stop Calibration.............................................. 17
4.11 Test Run......................................................................... 17
5. OPERATION
5.1 Operation Overview................................................. 18
5.2 Blade Information...................................................... 19
5.3 Changing The Blade.................................................. 20
5.4 Adjusting The Speed................................................ 20
5.5 Tilting The Table......................................................... 21
5.6 Adjusting Support Bearings.................................. 22
5.7 Blade Guide Adjustments....................................... 22
6. MAINTENANCE
6.1 Troubleshooting........................................................ 23
6.2 Wheel Alignment....................................................... 24
Spare Parts.............................................................................. 25
Risk Assessment Sheets..................................................... 47

4
OPERATION MANUAL
1.1 SPECIFICATION
Order Code W4330 W4340
MODEL BP-430A BP-480A
Wheel Diameter (Ø) (mm) 430 480
Throat Capacity (mm) 410 462
Height Capacity (mm) 300 300
Max. Cutting with Rip Fence (mm) 370 422
Table Size (mm) 585 x 435 680 x 480
Table Tilt Left (deg) 10 10
Table Tilt Right (deg) 45 45
Saw Blade Speed (m/m) 488 / 1010 488 / 1010
Motor Power (kW / hp) 1.5 / 2 1.5 / 2
Voltage / Amperage (V / amp) 240 / 10 240 / 10
Blade Code (Suits) W433A, W433B, W433C W434A, W434B
Blade Size (L x W x T) (mm) 3340 x 12 x 0.80 3630 x 19 x 0.80
Blade Width Range (mm) 6 - 25 6 - 25
Dust Chute Diameter (Ø) (mm) 100 100
Floor Space (W x D x H) (mm) 850 x 830 x 1860 915 x 762 x 1980
Shipping Dimensions (L x W x H) (mm) 762 x 508 x 2000 864 x 508 x 2160
Nett Weight (kg) 156 185

5
OPERATION MANUAL
1.3 IDENTIFICATION
Become familiar with the names and locations of the controls and features shown below to
better understand the instructions in this manual.
AUpper Wheel Cover ITop Wheel Adjuster
BLifting Point JBlade Tension Adjuster
CGuide Post Hand Wheel KFence
DUpper Ball Bearing Guide LTable Tilt Adjuster
ETable MMotor
FDust Ports NFence Position Lock
GUpper Bearing Support Lock OON/OFF Buttons
HQuick Change Blade Lever PBlade Tension Window
Q Tracking Window
AB
C
D
E
F
G
H
I
J
K
L
M
N
O
P
Q

6
OPERATION MANUAL
DO NOT use this machine unless you have read this manual and have been instructed in the use
of this machine in its safe use and operation
This manual provides safety instructions on the proper setup, operation, maintenance, and
service of this machine. Save this manual, refer to it often, and use it to instruct other operators.
Failure to read, understand and follow the instructions in this manual may result in re or
serious personal injury—including amputation, electrocution, or death.
The owner of this machine is solely responsible for its safe use. This responsibility includes, but
is not limited to proper installation in a safe environment, personnel training and authorization
to use, proper inspection and maintenance, manual availability and comprehension, of the
application of the safety devices, integrity, and the use of personal protective equipment.
The manufacturer will not be held liable for injury or property damage from negligence,
improper training, machine modications or misuse.
WARNING
2.1 GENERAL WOODWORKING MACHINE SAFE PRACTICES
Exposure to the dust created by power sanding, sawing, grinding, drilling and other
construction activities may cause serious and permanent respiratory or other injury,
including silicosis (a serious lung disease), cancer, and death. Avoid breathing the
dust, and avoid prolonged contact with dust. Some examples of these chemicals are:
q Lead from lead-based paints.
q Crystalline silica from bricks, cement and other masonry products.
q Arsenic and chromium from chemically-treated timber.
Always operate tool in well ventilated area and provide for proper dust removal. Use
a dust collection system along with an air ltration system whenever possible. Always
use properly tting approved respiratory protection appropriate for the dust
exposure, and wash exposed areas with soap and water.
Always wear safety glasses or goggles and protective footwear.
Wear dust masks when required.
Wear hearing protection that is suitable for the level and frequency of the noise you are
exposed to in the woodworking area. If you have trouble hearing someone speak from
three feet away, the noise level from the machine may be hazardous.
Use gloves to protect hands from splinters when handling wood but do not wear them near
rotating blades and other machinery parts where the gloves can catch.

7
OPERATION MANUAL
Make sure the guard that is in position is in good working condition, and guards the
machine adequately before operating any equipment or machine. Check and adjust all other
safety devices.
Make sure the equipment is properly grounded before use.
Check that keys and adjusting wrenches are removed from the machine before turning on
the power.
Inspect stock for nails or other materials before cutting, planning, routing or carrying out
similar activities.
Make sure that all machines have start and stop buttons within easy and convenient reach
of an operator. Start buttons should be protected so that accidental contact will not start
machine.
Ensure that all cutting tools and blades are clean, sharp, and in good working order so that
they will cut freely, not forced.
Turn the power o and unplug the power cord (or lock out the power source) before
inspecting, changing, cleaning, adjusting or repairing a blade or a machine. Also turn the
power o when discussing the work.
Use a “push stick” to push material into the cutting area. Jigs are also useful in keeping hands
safe during cutting procedures. Keep hands out of the line of the cutting blade.
Always use a push stick for pieces less than 30 cm in length, or for the last 30 cm of a longer
cut. Use a push stick to remove the cut piece from between the fence and the blade.
Clamp down and secure all work pieces when drilling or milling.
Use good lighting so that the work piece, cutting blades, and machine controls can be seen
clearly. Position or shade lighting sources so that they do not shine in the operator’s eyes or
cause any glare and reections.
Ensure that the oor space around the equipment is sucient to enable you to machine
the size of work piece being processed safely without bumping into other workers or
equipment.
Woodworking machines should be tted with ecient and well-maintained local exhaust
ventilation systems to remove sawdust or chips that are produced.
Electric power cords should be above head level or in the oor in such a way that they are
not tripping hazards.
Keep work area free of clutter, clean, well swept, and well lit. Spills should be cleaned up
immediately. Floor areas should be level and non-slip. Good housekeeping practices and
workplace design will reduce the number of injuries and accidents from slips, trips, and falls.
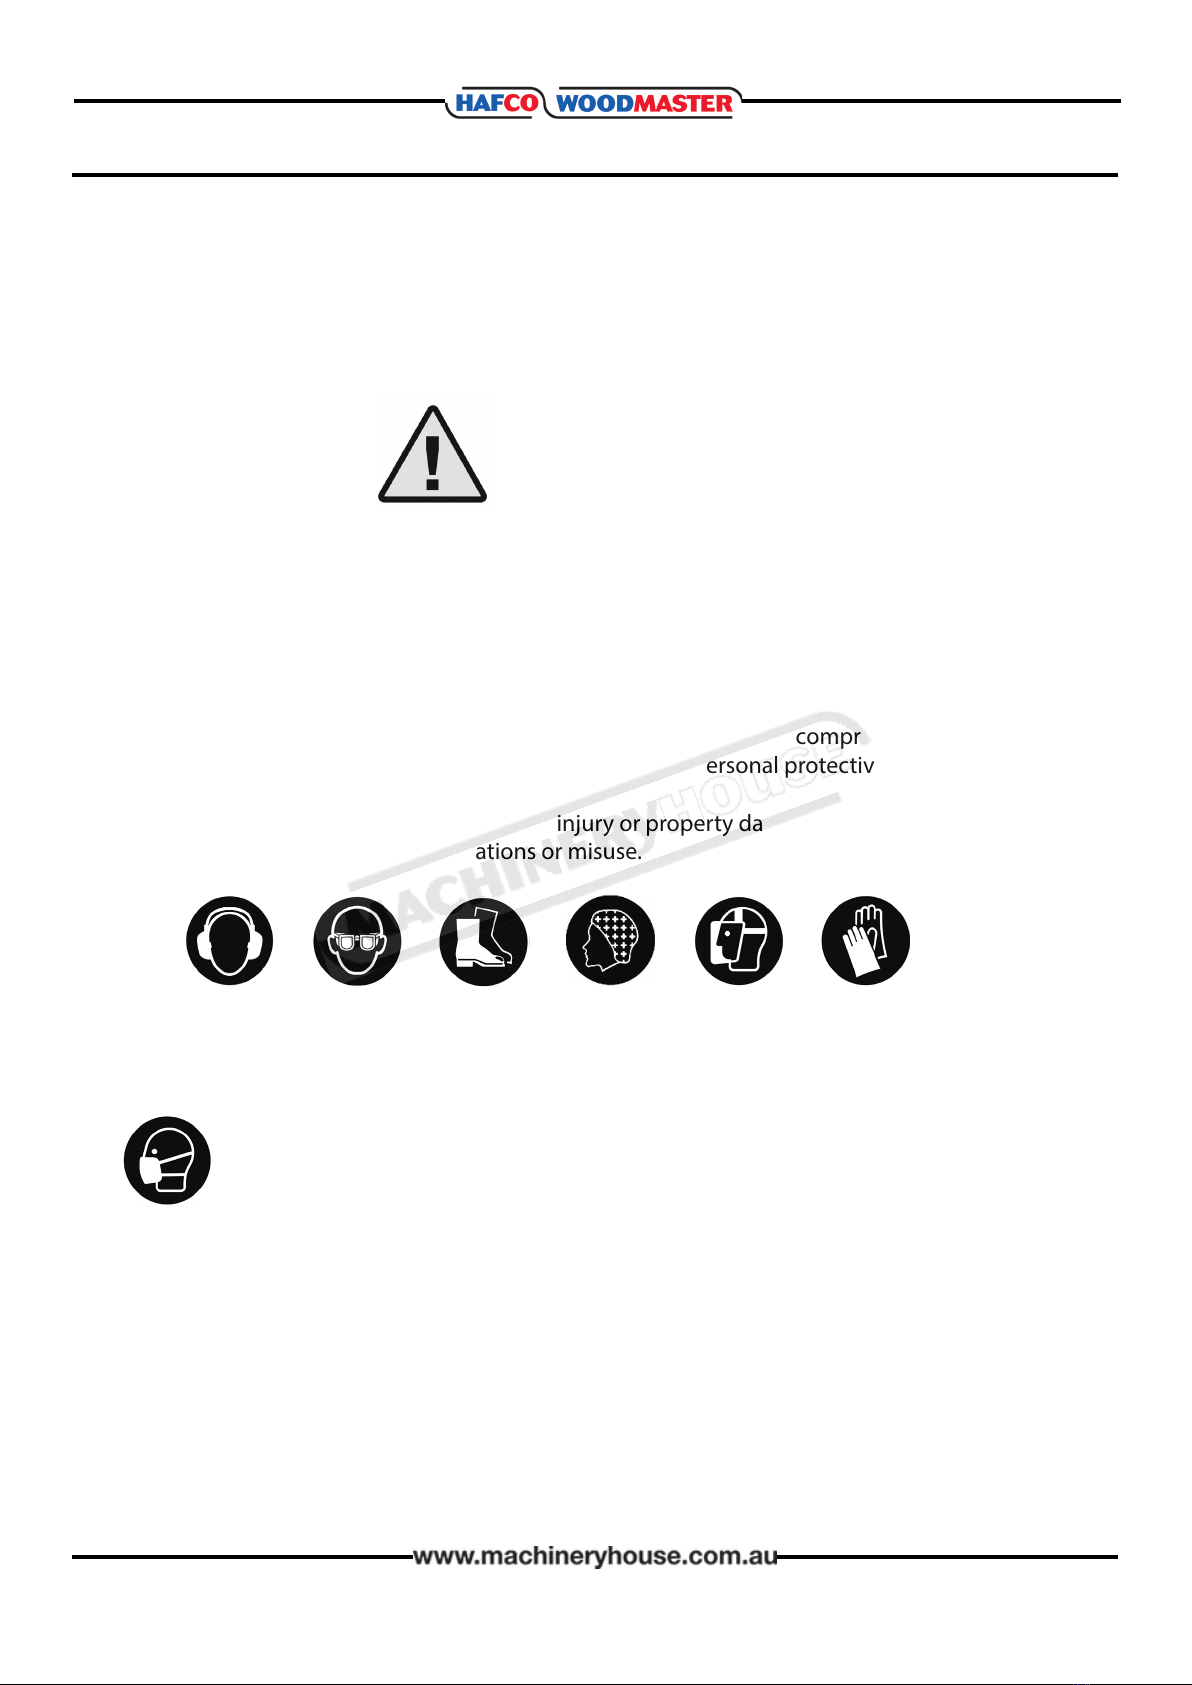
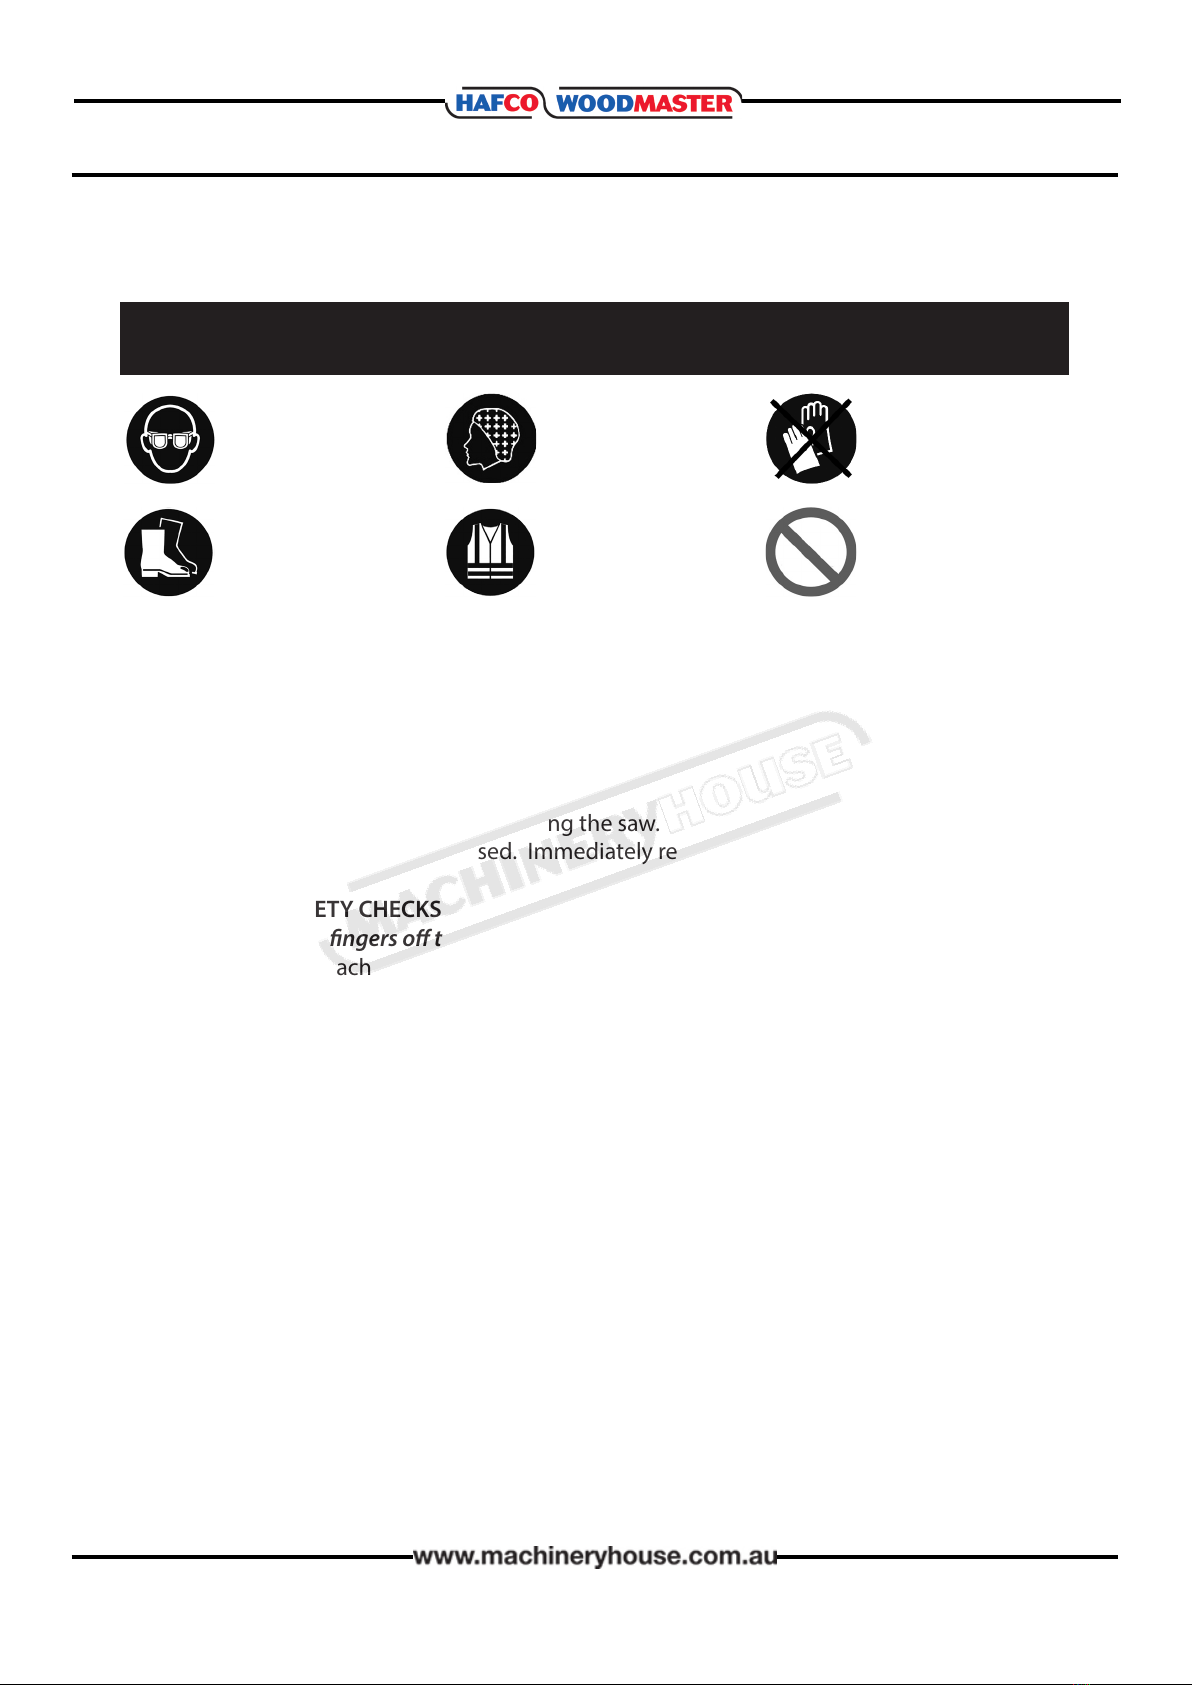
Do not wear loose clothing, work gloves, neckties, rings, bracelets or other jewelry that can
become entangled with moving parts. Conne long hair.
Avoid awkward operations and hand positions where a sudden slip could cause your hand
to move into the cutting tool or blade.
Do not remove sawdust or cuttings from the cutting head by hand while a machine is
running. Use a stick or brush when the machine has stopped moving.
Do not use compressed air to remove sawdust, turnings, etc. from machines or clothing.
Do not leave machines running unattended (unless they are designed and intended to be
operated while unattended). Do not leave a machine until the power o is turned o and
the machine comes to a complete stop.
2.1 GENERAL WOODWORKING MACHINE SAFE PRACTICES

8
OPERATION MANUAL
HAZARDS ASSOCIATED WITH MACHINES INCLUDE, BUT ARE NOT LIMITED TO:
2.1 GENERAL WOODWORKING MACHINE SAFE PRACTICES.
• Being struck by ejected parts of the machinery
• Being struck by material ejected from the machinery
• Contact or entanglement with the machinery
• Contact or entanglement with any material in motion
HEALTH HAZARDS (other than physical injury caused by moving parts)
• Chemicals hazards that can irritate, burn, or pass through the skin
• Airborne substances that can be inhaled, such as oil mist, metal fumes, solvents, and dust
• Heat, noise, and vibration
• Ionizing or non-ionizing radiation (X-ray, lasers, etc.)
• Biological contamination and waste
• Soft tissue injuries (for example, to the hands, arms, shoulders, back, or neck) resulting
from repetitive motion, awkward posture, extended lifting, and pressure grip)
OTHER HAZARDS
• Slips and falls from and around machinery during maintenance
• Unstable equipment that is not secured against falling over
• Safe access to/from machines (access, egress)
• Fire or explosion
• Pressure injection injuries from the release of uids and gases under high pressure
• Electrical Hazards, such as electrocution from faulty or ungrounded electrical
components
• Environment in which the machine is used (in a machine shop, or in a work site)
Machines are safeguarded to protect the operator from injury or death with the placement of
guards. Machines must not be operated with the guards removed or damaged.
Do not try to free a stalled blade before turning the power o.
Do not distract or startle an operator while he or she is using woodworking equipment.
Horseplay should be prohibited. It can lead to injuries.

9
OPERATION MANUAL
2.2 SAFE WORK PROCEDURE FOR BAND SAWS
DO NOT use this machine unless you have been instructed in its safe use and
operation and have read and understood this manual
Safety glasses must
be worn at all times
in work areas
Long and loose hair
must be contained.
Gloves must not be
worn when using this
machine.
Sturdy footwear must
be worn at all times in
work areas
Close tting
protective clothing
must be worn
Rings and jewelery
must not be worn.
PRE-OPERATIONAL SAFETY CHECKS
1. Ensure no slip/trip hazards are present in workspaces and walkways.
2. Locate and ensure you are familiar with the operation of the ON/OFF starter and E-Stop.
3. Check that all guards are in position.
4. Ensure push stick is available.
5. Lower the blade guide and guard to full eect.
6. Start the dust extraction unit before using the saw.
7. Faulty equipment must not be used. Immediately report suspect machinery.
OPERATIONAL SAFETY CHECKS
NOTE : Keep your ngers o the line of the cut at all times.
1. Never leave the machine running unattended.
2. The work piece should be fed forward evenly and held rmly on the table to ensure eective
control during cutting whilst keeping hands in a safe position.
3. Use a push stick when feeding material past the blade.
4. Do not force a wide blade on a cut of small radius. Use relief cuts when cutting sharp curves.
5. Before making adjustments switch o the saw and bring the machine to a complete stand
still.
6. Stop the machine before attempting to back the work away from the blade.
7. Stop the saw immediately if the blade develops a ‘click’. Report it to your supervisor
AFTER OPERATION
1. Switch o the saw and reset all guards to a fully closed position.
2. Leave the machine in a safe, clean and tidy state.
DO NOT
Attempt to cut very small item
Cut cylindrical or irregular stock
Leave the machine running unattended

10
OPERATION MANUAL
The full-load current rating is the amperage a machine draws when running at 100% of the out-
put power. Where machines have more than one motor, the full load current is the
amperage drawn by the largest motor or a total of all the motors and electrical devices that
might operate at one time during normal operations.
Full-Load Current Rating for these machine at 240V is 5 Amps
It should be noted that the full-load current is not the maximum amount of amps that the
machine will draw. If the machine is overloaded, it will draw additional amps beyond the
full-load rating and if the machine is overloaded for a long period of time, damage, overheating,
or re may be caused to the motor and circuitry.
This is especially true if connected to an undersized circuit or a long extension lead. To reduce
the risk of these hazards, avoid overloading the machine during operation and make
sure it is connected to a power supply circuit that meets the requirements.
3.2 FULLLOAD CURRENT RATING
Place the machine near an existing power source. Make sure all power cords are protected from
trac, material handling, moisture, chemicals, or other hazards. Make sure there is access to a
means of disconnecting the power source. The electrical circuit must meet the requirements for
240V.
NOTE : The use of an extension cord is not recommended as it may decrease the life of electrical
components on your machine.
3.1 ELECTRICAL INSTALLATION
ELECTRICAL REQUIREMENTS BP-430A BP-480A
Nominal Voltage......................... 240V 240V
Cycle.............................................. 50 Hz 50Hz
Phase............................................. Single Phase
Power Supply Circuit.................. 10 Amps 10 Amps
Full Load Current........................ 5 Amps 5 Amps
(Full load current rating is also on the specication plate on the motor.)
3. POWER SUPPLY

11
OPERATION MANUAL
4.1 UNPACKING
This machine was carefully packaged for safe transport. When unpacking, separate all enclosed
items from packaging materials and inspect them for shipping damage. If items are damaged,
please contact your distributor.
NOTE: Save all the packaging materials until you are completely satised with the machine and
have resolved any issues with the distributor, or the shipping agent.
When unpacking, check the packing list to make sure that all parts shown are included. If any
parts are missing or broken, please contact the your distributor.
4 SETUP
The unpainted surfaces of the machine have been coated with a waxy oil to protect them from
corrosion during shipment. Remove the protective coating with a solvent cleaner or a citrus
based degreaser.
Optimum performance from your machine will be achieved when you clean all moving parts or
sliding contact surfaces that are coated with rust prevented products.
It is advised to avoid chlorine based solvents, such as acetone or brake parts cleaner, as they
will damage painted surfaces and strip metal should they come in contact. Always follow the
manufacturer’s instructions when using any type of cleaning product.
4.2 CLEAN UP
4.3 SITE PREPARATION
When selecting the site for the machine, consider the largest size of workpiece that will be
processed through the machine and provide enough space around the machine for operat-
ing the machine safely. Consideration should be given to the installation of auxiliary equip-
ment. Leave enough space around the machine to open or remove doors/covers as required
for the maintenance and service as described in this manual.
It is recommended that the machine is anchored to the oor to prevent tipping or shifting. It
also reduces vibration that may occur during operation.
4.4 LIFTING INSTRUCTIONS
On the day that the machine arrives, make sure that a forklift or lifting device, with sucient
capacity is available to unload the machine from the vehicle. Ensure access to the chosen site
is clear and that doors and ceilings are suciently high and wide enough to receive the
machine.
This machine is extremely heavy.
Serious personal injury may occur if safe moving methods are not
followed. To be safe, you will need assistance and power equip-
ment when moving the shipping crate and removing the machine
from the crate.

12
OPERATION MANUAL
Fig. 4.2
OPTIONS FOR MOUNTING
The machine is best mounted on a concrete slab.
Masonry anchors with bolts are the best way to anchor
machinery, because the anchors sit ush with the oor
surface, making it easy to unbolt and move the machine
later, if needed. (Fig. 4.2)
4.5 ANCHORING TO THE FLOOR
To set your machine up so that it operates to optimum
performance, apply the following procedure
After your machine has been anchored to a concrete slab
oor, it then needs to be leveled. Loosen the hold down
bolts and place a level on the surface of the working table.
Metal shims need to be placed under corner of the base of
the machine until level. Once level then tighten the hold
down bolts. (Fig. 4.3).
NOTE: The machine must not rest on supports other than
those dened in Fig. 4.3
4.6 MACHINE LEVELLING
Metal shiM
holD Down bolt
Fig. 4.3
Fig. 4.1
An eye bolt lifting point has been provided on the top
of the machine. (Fig.4.1)
When lifting the machine only certied lifting slings
should be used.
Ensure that when lifting, the machine does not tip over.
Check that the lifting slings do not interfere with the
parts of the machine that may be damaged.
LIFTING POINT
4.4 LIFTING INSTRUCTIONS CONT.

13
OPERATION MANUAL
4.7 ASSEMBLY
The machine must be fully assembled before it can be oper-
ated. First clean any parts that are coated in rust preventative
to ensure the assembly process can proceed smoothly.
INSTALLING THE GUIDE POST HAND WHEEL
1. Attach the guide post hand wheel onto the shaft making
sure that the grub screw will locate on the at on the
shaft. (Fig. 4.4)
INSTALLING THE TABLE
The table is heavy and will require the assistance of another
person. To make the installation easier, rst remove the saw
blade
To install the table
1. Release the blade tension on the saw blade move the
blade tension lever to the left. (Fig. 4.5)
2. Adjust the upper and lower blade guides so that the
blade is free to move.
3. Once the blade is removed with the help of another
person, lift the table on to the trunnion support bracket
and secure it with the four M8 x 16mm bolts, and M8 at
and spring washers. (Fig. 4.6)
4. Remove the table insert and the table pin and slide the
blade through the table slot, making sure that the teeth
are facing down. (Fig. 4.7)
5. Place the blade between the upper and lower guides and
place the blade over the upper and lower wheels.
6 Tighten the quick release tension lever, then install the
table insert and table pin.
7. Don’t adjust the upper and lower blade guides until the
the blade tracking and tension have been adjusted.
Fig. 4.4
Hand
Wheel
Fig. 4.5
ïð
loosen tighten
Fig. 4.6
Fig. 4.7
table
insert
table Pin

14
OPERATION MANUAL
Fig. 4.9
hex heaD
bolts
INSTALLING THE FENCE
Fig. 4.8
Mounting
screws
1. Attach the back support square tube to the back of the
table with the two M6 x 16 socket head cap screws,
making sure that the rail is parallel to the table. (Fig. 4.8)
2. Attach the front rail to the table with the two M6 x 20
hex head bolts, 6mm lock washers, and 6mm at washers.
(Fig. 4.9)
3. Install an M8 hex nut on the fence handle, then thread the
handle into the fence assembly, and tighten the hex nut
against the fence pivot block to secure the handle.
(Fig. 4.10)
4. Adjust the rail pad screw on the back end of the fence to
and check that the fence locks at both ends. (Fig. 4.11)
NOTE: The fence upright can be tted in the low or in the high
position depending on the workpiece being worked.
Fig. 4.10
lock nut
Fig. 4.11
CONNECTING THE DUST HOSE:
Fit the 4” dust hose over the dust port and secure it in place
with a hose clamp making sure it will not come o.(Fig 4.12)
These band saws create substantial
amounts of wood dust when operating, and should not be
used without an adequate dust collection system. Failure to
use a dust collector may result in short and longterm
respiratory illness. Fig. 4.12

15
OPERATION MANUAL
A properly tensioned blade is essential for making accurate
cuts and is necessary before making other band saw
adjustments. (For blade change instructions see Page 20)
To tension the blade:
1. DISCONNECT THE MACHINE FROM THE POWER SUPPLY
2. Raise the upper blade guide assembly as high as it will go,
(Fig.4.13) and adjust the upper and lower guide blocks
approximately 0.5mm away from the blade. (Fig. 4.14)
3. Ensure the blade tension quick-release lever is in the tighten
position
4. Adjust the blade tension hand wheel. Turning the tension
hand wheel clockwise will increase the blade tension and
tuning the tension hand wheel counter-clockwise reduces
the blade tension.
NOTE: This procedure will not work if the guide blocks have any
contact with the blade.
5. Check the tension by pushing with a nger against the side
of the blade, halfway between table and upper guide, (the
blade should ex approximately 6mm)
6. Turn the band saw ON, and very slowly release the tension
one quarter of a turn at a time. When you see the band saw
blade start to utter, stop decreasing the tension.
7. Now, slowly increase the tension until the blade stops
uttering, then tighten the tension another quarter of a
turn.
8. Note what the tension gauge reads. Use that as a guide for
tensioning that specic blade in the future.. (Fig. 4.15)
WARNING: Too much tension can cause the band saw blade to
break. Too little tension can cause the driven band saw wheel to
slip and the saw blade to stop.
9. Re-adjust the blade guides as described in Blade Guide
Adjustment beginning on Page 22
4.8 TENSIONING THE BLADE.
Fig. 4.13
blaDe tension
hanD wheel
Fig. 4.15
Fig. 4.14

16
OPERATION MANUAL
To operate correctly, the saw blade does needs to run in the centre of the rubber tyre. If the
blade rides in the centre of the upper wheel and is centred on the peak of the wheel crown,
then the band-saw is tracking correctly and no adjustment is needed. If the blade does not
ride in the centre of the upper wheel and is not centred on the peak of the wheel crown, then
adjustment is required.
To check or adjust the tracking:
4.9 BLADE TRACKING
Fig. 4.16
locking
lever
aDjusting
knob
Quick tension
lever
Fig. 4.17
1. DISCONNECT THE MACHINE FROM THE POWER
2. Open the upper and lower covers. (Fig. 4.16)
3. Adjust the top and bottom guides so that are
not touching the blade.
4. Make sure that the blade has been tensioned as
per the instructions on Page 15.
The cast iron spokes of the upper
wheel may have sharp burrs and the blade teeth may
extend beyond the edge of the wheel, creating a lac-
eration hazard. Be careful when turning the wheels by
hand.
5. Turn the upper wheel by hand around two to three
times to see how the blade is tracking.
6. Loosen the lock lever (Fig. 4.17) so that the blade
tracking knob can rotate.
7. Manually rotate the upper wheel, taking care not to
touch the blade. At the same time turn the
adjusting knob (Fig. 4.17) clockwise or anticlock
wise until the saw blade tracks centred on the
rubber tyre.
8. After adjustment, re-tighten the tracking lock
lever and close the cover.
Fine Trackig Adjustment
During setup, the blade was tracked without the
machine connected to power. In this procedure, the
bandsaw is turned ON to perform ne blade tracking.
Make small changes with the blade tracking knob as
you monitor the eect on the blade tracking.
Close the wheel covers and turn the bandsaw ON.
Observe the blade tracking path through the clear
window on the right edge of the bandsaw, (Fig. 4.18)
Using the tracking controls, adjust the blade so that it
tracks on the center of the wheel. Tighten the tracking
lock to secure the setting. Fig. 4.18

17
OPERATION MANUAL
4.11 TEST RUN
Once the assembly is complete, test run your machine to make sure it runs properly. If, during
the test run, you cannot easily locate the source of an unusual noise or vibration, stop the
machine immediately, then review the Troubleshooting section on Page 23.
If you still cannot remedy a problem, contact your distributor. The test procedure is as follows.
1. Make sure you have read the safety instructions at the beginning of the manual and that
the machine is set up properly, including Blade Tracking above.
2. Make sure all tools and objects used during setup have been cleared away from the machine.
3. Connect the machine to the power source.
4. Turn the machine ON.
5. Listen and watch for abnormal noises or actions. The machine should run smoothly with little
or no vibration or rubbing noises. — Strange or unusual noises must be investigated and
corrected before operating the machine further. Always disconnect the machine from power
when investigating or correcting potential problems.
6. Turn the machine OFF
4.10 TABLE STOP CALIBRATION
After tilting the table the adjustable positive stop allows
the table to be reset 90˚ to the blade.
To set the positive stop:
1. DISCONNECT BAND SAW FROM POWER!
2. Adjust the blade tension see Page 15 until the blade
tension is correct or matches the predetermined
settying on the tension scale.
3. Loosen the hex nut that locks the positive stop bolt in
place and loosen the table tilt hand knobs.
4. Raise the guide post and place a machinist’s square on
the table next to the side of the blade, as illustrated in
Fig. 4.19. Adjust the table square with the blade, then
secure with the table tilt knobs.
5. Adjust the positive stop bolt to the table. (Fig. 4.20)
6. Secure the positive stop bolt by tightening the hex nut
against the trunnion bracket.
7. Check the adjustment for accuracy once you have
tightened the hex nut.
blaDe
Fig. 4.19
Positive stoP
bolt
Fig. 4.20

18
OPERATION MANUAL
5. OPERATION
5.1 Basic Controls
Use the descriptions below to become familiar with
the basic controls of your machine.
Blade Tension Hand Wheel: Adjusts the tension on
the blade. (Fig. 5.1)
Blade Tracking Adjustment Knob: Adjusts the
blade tracking. (Fig. 5.2)
Blade Tension Quick Release: Quickly tensions or
releases the blade without losing its setting.
(Fig.5.2)
Guide Post Adjustment Knob: Raises and lowers
the blade guide post. (Fig. 5.3)
Guide Post Locking Knob: Locks the blade guide
post. (Fig. 5.3)
ON/OFF Switch: Starts and stops the blade motor.
(Fig. 5.4)
Mitre Gauge Lock Handle: Locks the mitre gauge at
the current setting. (Fig. 5.5)
Fence Lock Lever: Locks the fence at its current
position. (Fig. 5.5)
blaDe tension
hanD wheel
blaDe tension
Quick release
guiDe Post
aDjustMent
hanD wheel
on/oFF
switch
Fence lock lever
Mitre gauge
lock hanDle
locking knob
blaDe tracking
aDjustMent knob
Fig. 5.1
Fig. 5.2
Fig. 5.3
Fig. 5.4
Fig. 5.5

19
OPERATION MANUAL
5.2 BLADE INFORMATION
Selecting the right blade requires a knowledge of
the various blade characteristics mentioned below,
the type of material you plan to cut, and the type of
cut you are going to perform.
Blade Length
The blade length is measured by the circumference.
Blade lengths re usually unique to the brand of your
band saw and the distance between wheels. The
chart below displays the blade length for the
model and available blades.
NOTE: “Available Blades” lists the stocked blades
but other sizes and blade teeth are available from
most local saw blade manufacturers
MoDel blaDe length available blaDes.
bP-430a 3340MM
6 tPi sku: w433a
3 tPi sku: w433b
3 tPi narrow sku: w433c
bP-480a 3630MM
6 tPi sku: w434a
3 tPi sku: w434b
Blade Width
Measured from the back of the blade to the tip of
the blade tooth (the widest point), blade width is of-
ten the rst consideration given to blade selection.
Blade width dictates the largest and smallest
curve that can be cut, as well as how accurately it
can cut a straight line.
Curve Cutting:
View the chart in Fig. 5.6 to determine the correct
blade width for curve cutting. Determine the small-
est radius curve that will be cut on the work piece
and use the corresponding blade width. (Fig. 5.6)
Straight Cutting:
Use the largest width blade available. (See speci-
cations on Page 4 for the maximum width for the
model)
Tooth Style
When selecting blades, another option
to consider is the shape, gullet size, teeth
set and teeth angle—otherwise known as
“Tooth Style.” As shown Fig.5.7
Raker: Considered to be the standard
because the tooth size and shape are the
same as the tooth gullet.
Skip: This style is similar to a raker blade
but is missing every other tooth. Skip
toothed blades have a larger gullet, and cut
faster.
Hook: This teeth type have a positive angle
(downward) allows them to dig into the
material. The gullets are usually rounded
for easier waste removal. Excellent for the
tough demands and ripping thick material.
Fig. 5.6
Fig. 5.7

20
OPERATION MANUAL
5.3 CHANGING THE BLADE
To remove the blade:
1. DISCONNECT POWER FROM THE BAND SAW
2. Release the blade tension by turning the blade
tension hand wheel (Fig. 5.8) or turn the quick release
lever to the left.(Fig. 5.9)
4. Remove the table insert and the table pin. Adjust the
upper and lower guide bearings as far away as
possible from the blade.
5. Open the upper and lower wheel covers, (Fig. 5.10)
Put on leather gloves and slide the blade o both
wheels.
6. Rotate the blade 90˚ and slide it through the slot in
the table.
7. Take the new blade and slide it through the table
slot, ensuring that the teeth are pointing down
toward the table.
NOTE: If the teeth will not point downward in any
orientation, the blade is inside-out. Put on leather
gloves, and remove the blade, and twist it right side-out.
8. Slip the blade through the guides, and mount it on
the upper and lower wheels.
9. Tighten the blade tension quick release.
10.Apply tension to the blade by turning the tension
control knob. Rotate the upper wheel slowly by hand
as tension is applied to allow the blade to centre
itself on the wheel. Adjust tracking if needed.
11.Adjust tension as described Page 15.
12.Adjust the upper/lower guide bearings and the
support bearings.
13.Close the wheel covers.
14.Replace the table insert and table pin, being sure not
to use excessive force when inserting the table pin.
All saw blades are dangerous
and may cause personal injury. To reduce the risk of
being injured, wear leather gloves when handling saw
blades.
Fig. 5.8
Fig. 5.9
Fig. 5.10
This manual suits for next models
3
Table of contents
Other Hafco Woodmaster Saw manuals

Hafco Woodmaster
Hafco Woodmaster BP-305 User manual

Hafco Woodmaster
Hafco Woodmaster BP-480 User manual

Hafco Woodmaster
Hafco Woodmaster MJ2325D User manual

Hafco Woodmaster
Hafco Woodmaster BP-255 User manual

Hafco Woodmaster
Hafco Woodmaster TAFE-BP-480 User manual

Hafco Woodmaster
Hafco Woodmaster SB-12 User manual

Hafco Woodmaster
Hafco Woodmaster TAFE-BP-480 User manual

Hafco Woodmaster
Hafco Woodmaster W4346 User manual