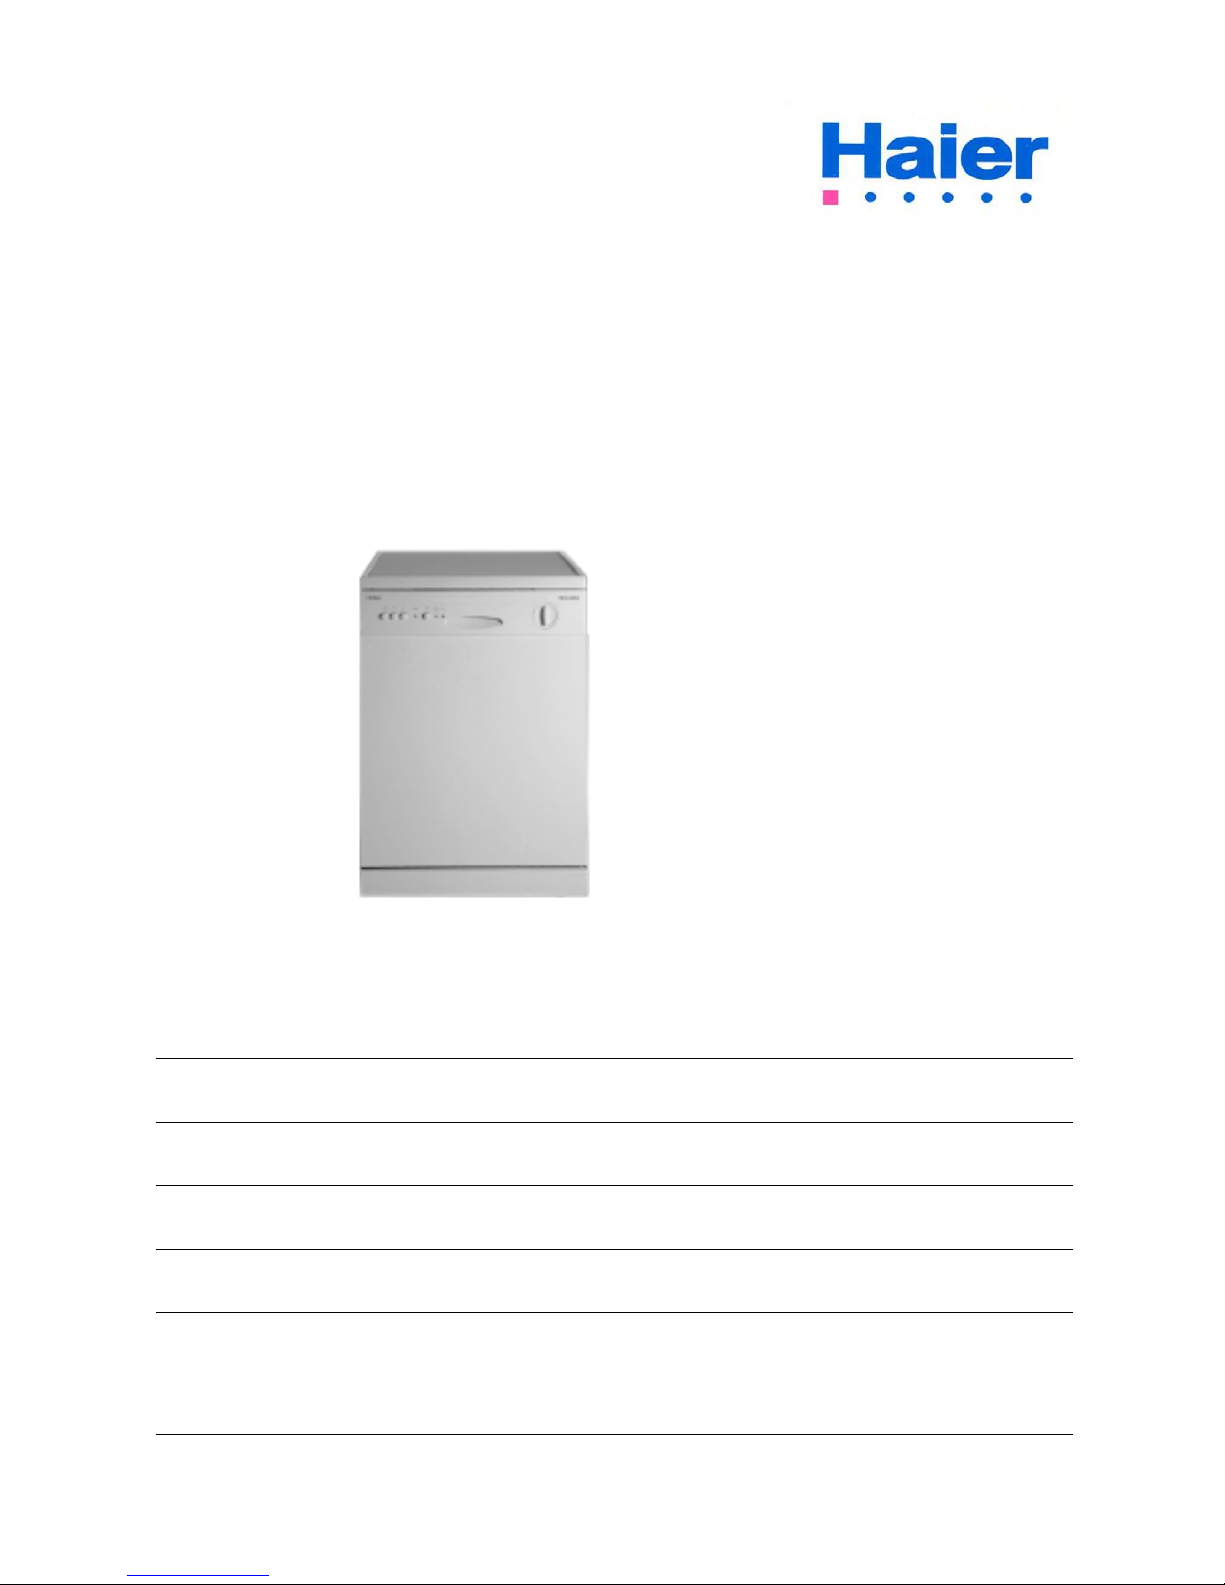
Haier DW12-AFM4 User manual

DW12-AFM4
Dishwasher
Service Manual
Models:
Features
A grade for energy consumption of European standard
Economic Washing
Overflow Protection Function
Water softener for descaling
Super-capacity for 12 settings
Haier Group
Manual code: 0120501921 Edition:2003.01.01

Contents
1. Product Code illumination and Series introduction …………..………….………...3
2. Features………………………………………………… ……………………………….4
3. Specifications…………………………………………… ……………………..….…….5
4. Safety Precaution………………………………………… …………………….….…...8
5. Warning and Cautions………………………………… ……………………...……….10
6. Net Dimension…………………………………………………………………………...12
7. Installation and Accessory Parts…………………… …………………………………12
8. Parts and Functions………………………………… ………….. ………………...…..15
9. Function Schedule……………………………………………………………………....18
10. Program Diagram………………………………………………………………………..19
11. Maintenances Service and Trouble Shooting……… ………………………………..20
12. Circuit Diagram……………………………… ………………………………….….…...23
13. Exploded View…………………………………… ……………………………………..24
14. List of Parts………………………………………… ……………………………………26
- 2 -

Product Code illumination and Series Introduction
1.Product Code Illurmination and Series Introduction
Model Identification
DW 12─□□□□
A B C D E F
A: Abbreviation of DishWasher
B: Code name of Nominal capacity
C: Series of factory design
D: Freestanding/Built –in/semi-Built-in
E: Mechanical/Electronic
F: The second series of factory design code name described/outer side material
Example:
DW12-AFM4
It represents mechanical freestanding dishwasher, the cavity capacity is 12 standard
sets.
- 3 -

Features / Specifications
2.Features
2.1 This product is provided with economic washing mode that users can select
optionally.
2.2 This product can contain 12 sets of eating utensils, applicable to big family.
2.3 Water softening function is provided which can prevent incrustation forming.
2.4 Detergent and rinse aid automatic dispenser is provided and can add them properly
that ensured the brightness and cleanness of eating utensils.
2.5 Water overflow protection is provided.
- 4 -

3.Specifications
DISH WASHER Free
Last update 2003-2-10 2003-2-10
Revision 00.01 00.01
Supplier Type N°. DW12-AFM4
Suppliers bar code N°. EAN
Sales Brand / Model GXCH
Sales bar code N°. EAN
1. Key-features
Energy efficiency Class A
Washing efficiency Class B
Drying efficiency Class B
Noise level power / pressure dB(A) 55/-
Energy consumption* kWh / y 383
kWh/24h 1.05
Water consumption* l 17
Duration of programme (Based on 65° normal prog.) mins. 137
Place settings (international standard) 12
Programs n°. 5
Programme selection single dial / electronic / -
Washing temperatures °C 50/60/65
Spray levels n°. 3
Certification's (CE / LGA / ISO 9001 / ISO 9002) CE / ISO 9001
2. Technical equipment
Work top / -removable - /
Decor frame / optional /
Water heating element hidden / open - /
Refill spy-lamps salt / rinse aid /
Program progress indicator LED / visual - / -
Inner door S= stainless steel / P= plastic S
Interior S= stainless steel / P= plastic S
Dispenser system Detergent / Rinse aid /
Water softening system / n°. of water hardness levels /4
Electronically controlled water hardness -
Easy clean filter system / self cleaning micro filter /-
Upper Basket Full load ajustable/Height adjustable - /
LowerBasket Folding/Notfolding - /
Pates Rack On Upper Basket -
Cuttlery Basket can be separated for half wash /inseparated - /
Height adjustable top basket
Cuttlery slidingtray/removablebasket /
Plates sizes bottom basket / uper basket cm 19-26/14
Water inlet hose cold water / hot water /-
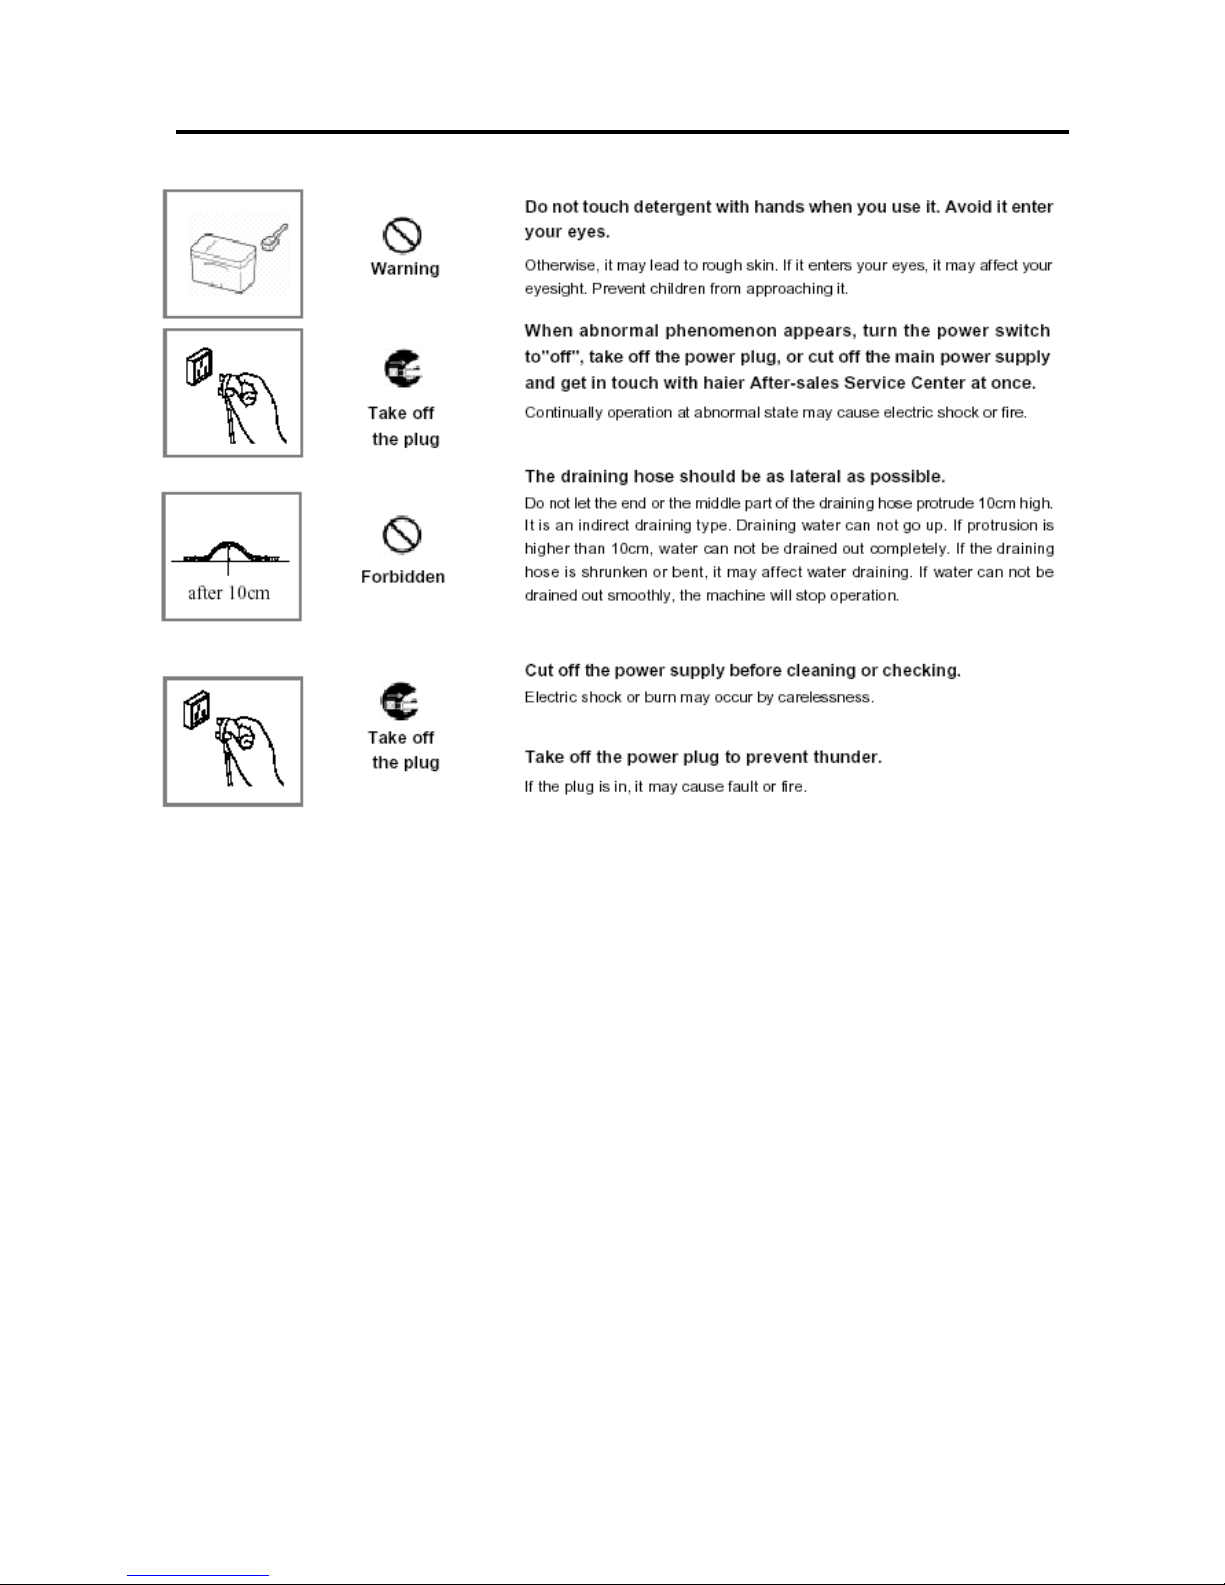
Water drain hose / -hose support /
- 5 -

Drying system Condenser / Turbo vented Natural
Height adjustable feet n°. / max. mm 4/20
Delay timer (from - to) h
-
3. Safety systems
Child resistant door lock CDL -
Anti flood system AFS
Waterproof anti leak system ALS
Water return protection WRP
Acqua Stop kit -
4. Programs
Normal C° 60
Intensive C° 60
Economic C° -
Delicate or Light wash C° -
Rinse C° 65
Glasses C° 60
Rapid C°
Pre-wash (soak) C° Cold water
Strong C° -
5. Additional program settings (optional function keys)
Half load
Economic (50)
Rapid
Delicate glasses -
Pots -
6. Technical data
Voltage/frequency V/Hz
220-240V~/50Hz
Nominal power W 2100
Main fuse (intensity) A 13
7. Product dimensions
Unitdimensions (HxWxD) cm 85X60X60
Depth with open door cm 116
Net weight kg 43
8. Built-In
Requested measures of niche (H x W x D) cm
Dimensions of door panel (H x W) cm
9. Packing .
Dimensionsofpacking (HxWxD) cm 88X66X67.5
Weight of packing (all materials) kg 48
10. Informations for importer
14,5 m (84 CBM.) Truck load capacity pcs -
Jumbo (120 CBM.) Truck load capacity pcs -
40' Container load capacity pcs -
40' HC load capacity pcs 162
Max. failure rate (12 Months after sales to end customer) pc/% -
- 6 -

11. Packing materials / Recycling symbols RS REzY
Carton
(weight) g
4,600
Polistyren
(weight) g 1,518
Polyetylene foil
(weight) g
65
Otherpackingmaterials (weight) g 55
Wood
(weight) kg
0.15
12 Delivery Time of First Batch Jan. 2003
- 7 -

Safety Precaution / Warning and cautions
4. Safety Precaution
- 8 -

Safety Precuation
- 9 -

5.Warning and cautions
1.Shelf(The container which dishes are put in is called shelf)
2.Put the shelf into the washing box
3.Put in detergent
4.End of cycle
- 10 -

Warning and Cautions
5.Weekly maintenance
-
- 11 -

Net dimension / Installations and Accessory Parts
6. Net dimension
7. Installations and Accessory Parts
7.1 Positioning the Appliance
Position the appliance in the desired location. The back should rest against the wall behind
it, and the sides, along the adjacent cabinets or wall. The dishwasher is equipped with water
supply and drain hoses that can be positioned on the right or the left to facilitate proper
installation.
7.2 Leveling the Appliance
Once the appliance is positioned, adjust the feet (screw them in or out) to adjust the
dishwasher, making it level. In any case, the appliance should not be inclined more than 2°.
If the appliance is level, it will help ensure proper performance.
- 12 -

Installation and Accessory Parts
7.3 Cold Water Connection
Connect the cold water supply hose to a threaded 3/4(gas) connector, inserting the small
filter supplied with the dishwasher and making sure that it is fastened tightly in place (see
Fig.1) If the water pipes are new or have not
been used for an extended period of time, let
the water run to make sure that the water is
clear and free of impurities. If this precaution is
not taken, there is a risk that the water inlet
can get blocked and damage the appliance.
7.4 Hot Water Connection
The water supply to the appliance can also be
connected to the
house's hot water line (centralised system,
heating system), as long as it does not exceed a temperature of 60℃. In this case, the
wash cycle time will be shortened by about 15 minutes and the wash efficiency slightly
reduced.
7.5 Drain Hose Connection
Insert the drain hose into a drain pipe with a minimum diameter of 4cm,or let it run into the
sink, making sure to avoid bending or crimping it. Use the special plastic support that comes
with the appliance (see Fig.2). The free end of the hose must be at a height between 40 and
100 cm and must not be immersed in water.
7.6Electrical Connection
After making sure that the voltage and frequency values for the current in the home
correspond to those on the rating plate (located on the stainless steel inner door of the
appliance) and that the electrical system is correct for the maximum voltage on the rating
plate, insert the plug into an electrical socket which is earthed properly (the earthing of the
appliance is a safety requirement mandated by law). If the electrical socket to which the
appliance must be connected is not appropriate for the plug, replace the plug ,rather than
using adpators or the like as they could cause overheating and burns.
- 13 -

Parts and Functions
8. Parts and functions
- 14 -

Parts and functions
Salt
The hardness of the water varies from place to place. If hard water is used in the
shwasher,deposits will form on the dishes utensils.
The appliance is equipped with a special softener that uses a salt specifically designed to
eliminate lime and minerals from the water.
Loading the Salt into the Softener
Always use salt intended for use with dishwashers.
The salt container is located beneath the lower rack and should be filled as follows:
- Remove the lower rack and then unscrew and remove the cap from the salt container;
- If you are filling the container for the first time, fill it with water;
- Place the end of the funnel(supplied) into the hole and introduce about 2 kg of salt.It is
normal for a small amount of water to come out of the salt
container.
- Carefully screw the cap back on.
The salt container must be filled when the "low salt"
indicator light (located on the control panel) comes on.
To prevent the formation of rust, load the salt just before
beginning a wash cycle.
Adjusting Salt Consumption
The dishwasher is designed to allow for
adjusting the amount of salt consumed based
on the hardness of the
water used. This is
intened to optimize and
customize the level of
salt consumption so
that it remains at a
minimum. Your local
Water Board can
supply the degree of hardness of the water in
your area.
To adjust salt consumption, proceed as follows:
- Unscrew the cap from the salt container;
- There is a ring on the container with an arrow on it (see figure to the side), If necessary,
rotate the ring in the anticlockwise direction from the "-" setting towards the "+" sign, based
on the hardness of the water being used. It is recommended that adjustments be made in
accordance with the following scheme:
- 15 -

Parts and functions
Detergent
Detergent specifically intended for use with dishwashers must be used.The dispenser must
be refilled before the start of each wash cycle following the instructions provided in the
"Wash Cycle Table." The detergent dispenser is located on the inside panel the door.
Loading the detergent
To open the "A" cover on the dispenser,press the "B" button.The detergent for the wash
cycle should be poured into the "C" compartment.
After the detergent has been placed in the dispenser, close the cover and press down until it
clicks in place.
Notice:To facilitate closing the cover, remove any e
xcess detergent on the edges of the dispenser.
Rinse Aid
This product makes dishes sparkle and
helps them to dry without spotting.The
dispenser is located on the inside panel of
the door and should be filled after every
80 wash cycle (or when the rinse aid
indicator light comes on for those models
with this feature).
Loading the Rinse Aid
To open the dispenser,turn the "C" cap in the anti-clockwise direction and then pour in the
rinse aid,making sure not to overfill.The amount of rinse aid used for each cycle can be
regulated by turning the "F" dose adjustor ,located beneath the "C" cap, with a
screwdriver.There are 6 different settings; the normal dosage setting is 3.
Important
Proper dosage of the rinse aid improves
drying.
If drops of water remain on the dishes or
spotting occurs,the dosage adjustor should
be turned to a higher setting.
If the dishes have white streaks,turn the
dosage adjustor to a lower setting.
- 16 -

Parts and functions
- 17 -

Function Schedule
9. Function Schedule
1、Intensive wash
Pre-wash 10min Hot rinse 35min
60℃Main-wash 55min
Pre-wash 26min
2、Normal wash
3、Rinse wash
4、Glasses wash
5、Pre-wash(soak)
6、Intensive wash and economic button
7、Normal wash and economic button
8、Rinse wash and economic button
9、Glasses wash and economic button
Dr
y
in
g
37min
Hot rinse 35min Dr
y
in
g
37min
Cold rinse 8min
60℃Main-wash 55min Hot rinse 35min Dr
y
in
g
37min
Pre-wash 10min Hot rinse 25min
50℃Main-wash 45min
Pre-wash 26min
Dr
y
in
g
9min
Hot rinse 25min
60℃Main-wash 33min
Pre-wash 10min
Dr
y
in
g
37min
Pre-wash 10min Dr
y
in
g
37min
Hot rinse 25min
50℃Main-wash45min
Dr
y
in
g
37min
Hot rinse 25min
Dr
y
in
g
9min
Hot rinse 15min
50℃Main-wash 23min
10、Glasses wash and rapid button
9min
Cold rinse 5min
60℃Main-wash 23min
11、Glasses wash and rapid button and economic button
9min
Cold rinse 5min
50℃Main-wash 23min
- 18 -

Program Diagram
10. Program Diagram
- 19 -

Maintenances Services and Trouble Shooting
11. Maintenances Services and Trouble Shooting
11.1 Maintenances Services
It may occur that the dishwasher does not function or does not function properly Before
calling for assistance,Iet us see what can be done first :have you forgotten to press one of
the buttons or to perfom an essential operation?
11.2 Troubleshooting
Door switch trouble
Phenomenon: the dishwasher does not work
Check:
N
Whether door is closed close the door
Y
N
Open the door and check if door flap is OK change the door flap
Y
Dismantle the door case and using avometer to N change the
measure if the two terminals of door switch is on. Door switch
Y
Cable or program controller is broken
- 20 -
Other manuals for DW12-AFM4
1
Table of contents
Other Haier Dishwasher manuals

Haier
Haier DW12-EFETME User manual

Haier
Haier ESD 300 Series User manual

Haier
Haier DW9-AFES User manual

Haier
Haier DW12-EFMME User manual

Haier
Haier DW12-CBE4 User manual

Haier
Haier HDW9-AFM User manual

Haier
Haier DW12-BFE ME User manual

Haier
Haier DW12-EFET User manual

Haier
Haier DW12-CFE SS User manual

Haier
Haier WQP12-HFM ME User manual

Haier
Haier DW12-TFE5 User manual

Haier
Haier DW12-CBE7 User manual

Haier
Haier WQP12-HFE User manual

Haier
Haier HDW9SST User manual

Haier
Haier DW12-HFE2ME User manual

Haier
Haier DW45BI User manual

Haier
Haier DW12-CBE6 IS User manual

Haier
Haier HDW100WHT User manual

Haier
Haier DW12-ABM4 User manual

Haier
Haier ESD210 User manual