6
Setup TIMESetup TIME
1.Press MENU three times, then enter the CLOCK menu.
2.TIME, selected item will highlight to red;
3.Use VOL+ to adjust minute and use VOL- to adjust hour.
4.Press CH+ and CH- to change the selected parameter
as you wish; Similarly, you can set a Time On/Time
Off/Reminder/Choice;
5.You can also set a time on a channel you want, enter the
channel menu, press VOL+ or VOL- to change the
number of the channel.
Setup PRESETSetup PRESET
1.Press the MENU four times, then enter the PRESET menu.
2.Channel: press VOL+ to change the channel you want to
preset.
3.Add/Erase: use CH+ and CH- to select the option, press
VOL+ and VOL- to add or erase TV channels to/from the
program.
4.Antenna: the default parameter is Air, which indicates
the signal receiving method is through the antenna of the
TV. Use VOL+ to change it to CABLE if you are using
cable service.
5.AUTO SEARCH: press the VOL+ or VOL-, it will
automatically search for TV channels. (When
available signal is detected, the channel locked in will
release the lock, press VOL+, and the search resumes).
Setup V-CHIPSetup V-CHIP
Pressing Rating onyour remote controllerwill bringPressing Rating onyour remote controller will bring
V-CHIP to set updisplay on TV. You willsee theV-CHIP to set updisplay on TV. You willsee the
following onyour TV screen.following onyour TV screen.
This function enables you to block certain TV
channels in according to the V-CHIP requirements
established by the FCC.
Follow the procedure below to set the V-CHIP:
Press the Rating button, you will see the V-CHIP
menu on your TV screen:
1. Press CH+ and CH- to go up and go down the menu.
2. Press VOL+ and VOL- to enter password and then
go into TV Rating and Movie Rating menu.
3. Press VOL+/- to set the Block On and Block Off.
When TV Rating is selected, press VOL+, then you
will find you need enter password, after entering the
default password 0000, you will see the following
rating table on your TV screen.
Note: When block On is selected, you will see B
instead of U. When block Off is selected,
you will see U instead of B.
When MPAA Rating is selected, press VOL, then you
will find you need enter password, after entering the
default password 0000, you will see the following
rating table on your TV screen.
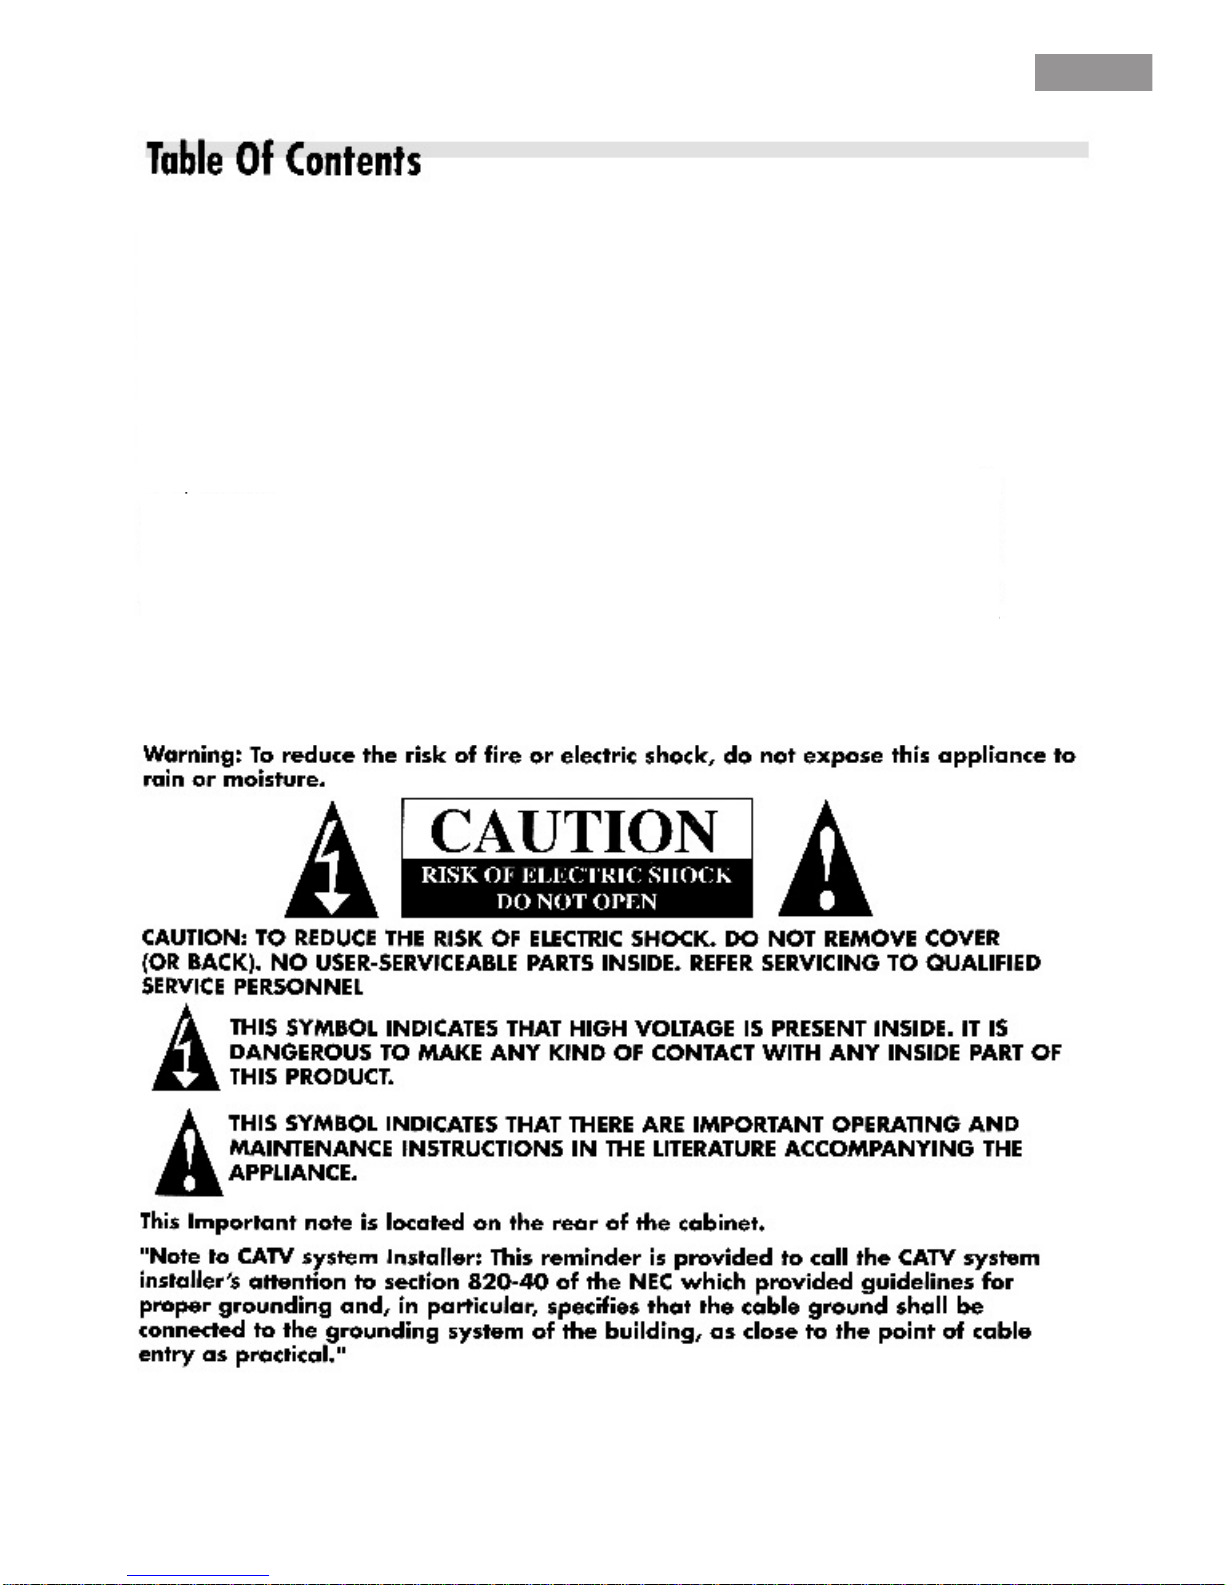
CLOCKCLOCK
Time 0:00Time 0:00
On Time --:--On Time --:--
Off Time --:--Off Time --:--
Reminder --:--Reminder --:--
Choice --:--Choice --:--
On Channel -On Channel -
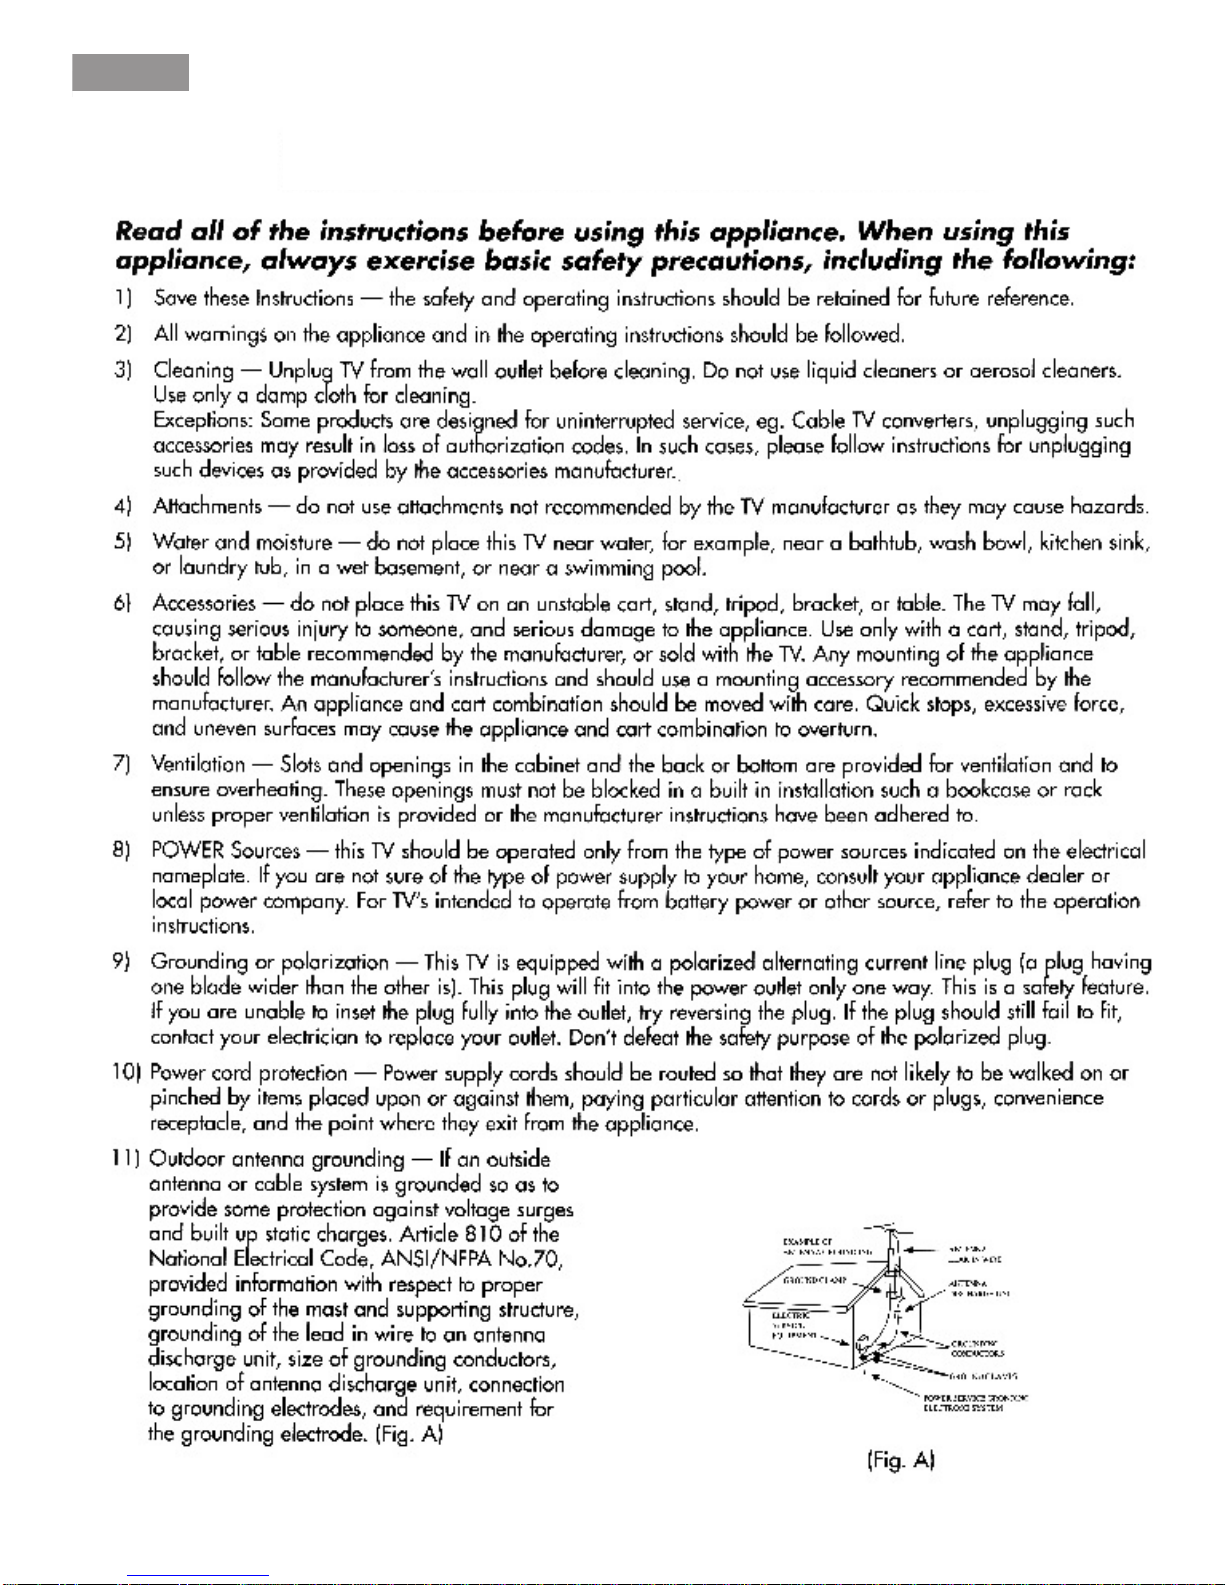
PRESETPRESET
Channel 69Channel 69
Add/Erase AddAdd/Erase Add
Antenna AirAntenna Air
Auto SearchAuto Search
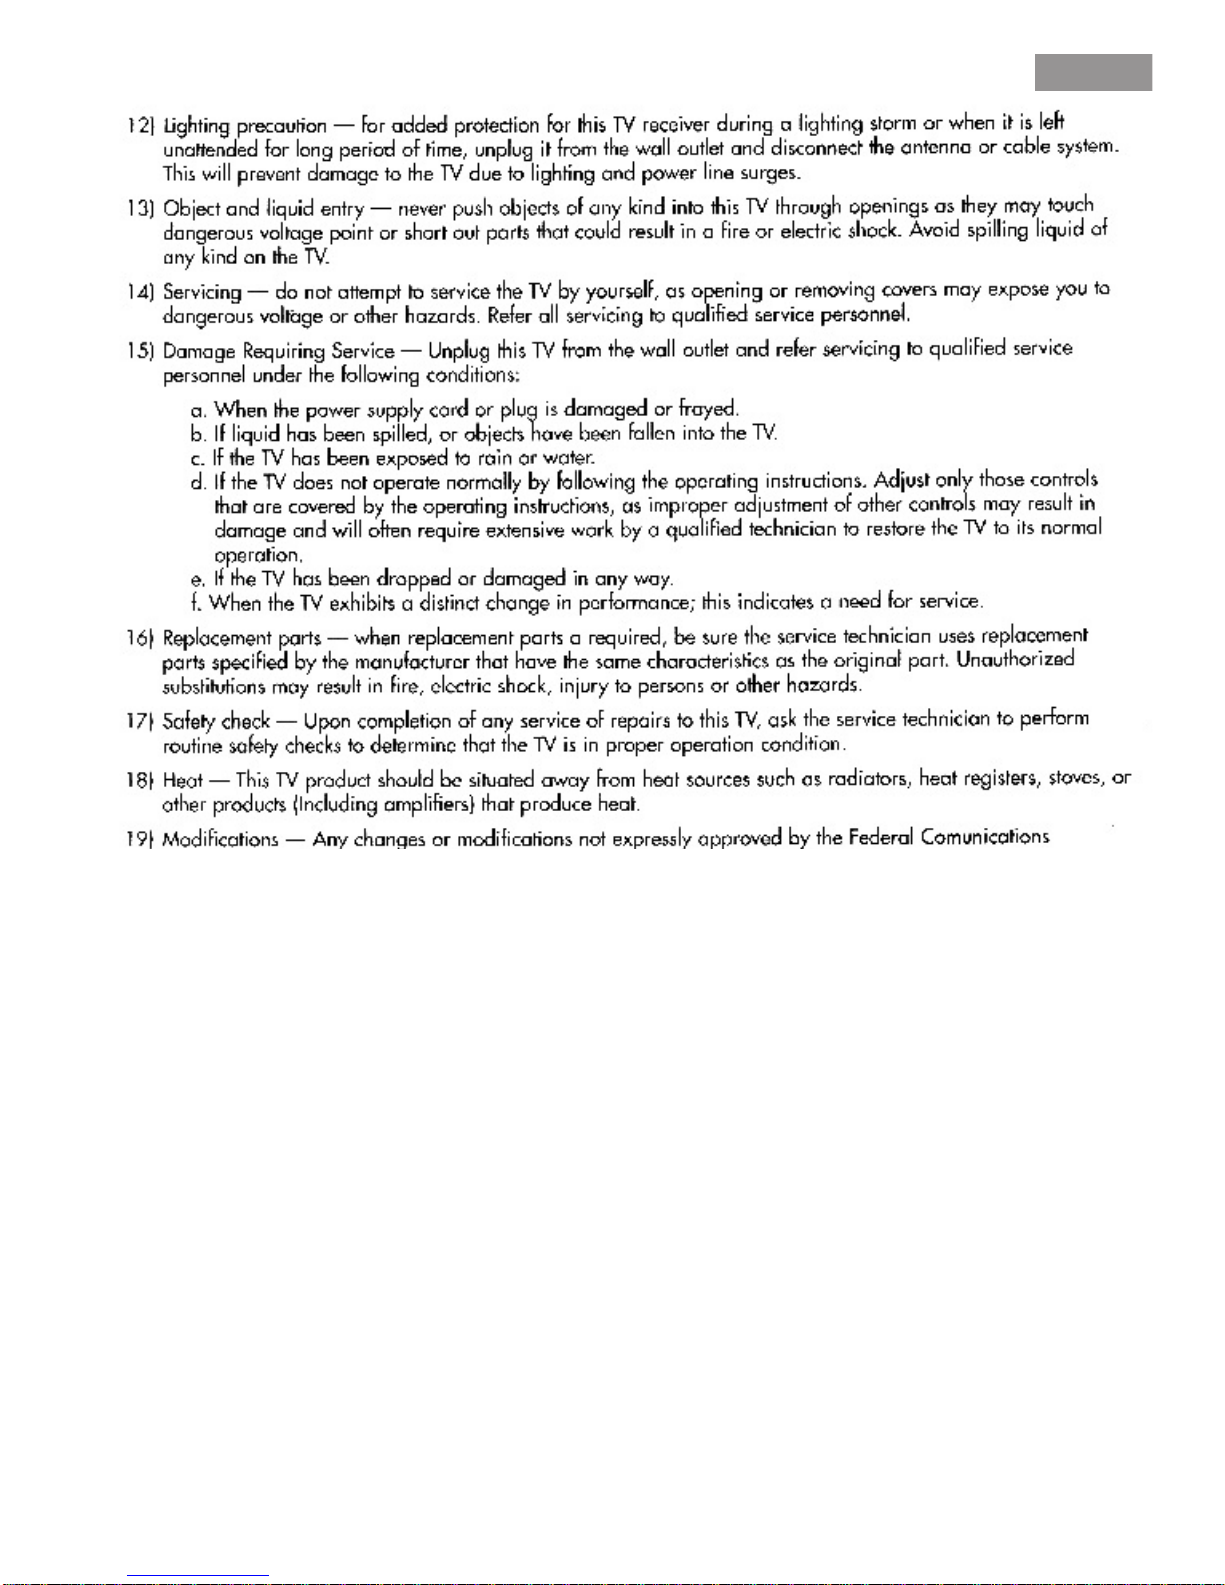
V-CHIP
Block Off
TV Rating
MPAA Rating
Change Password
V-CHIP
Block Off
TV Rating
MPAA Rating
Change Password
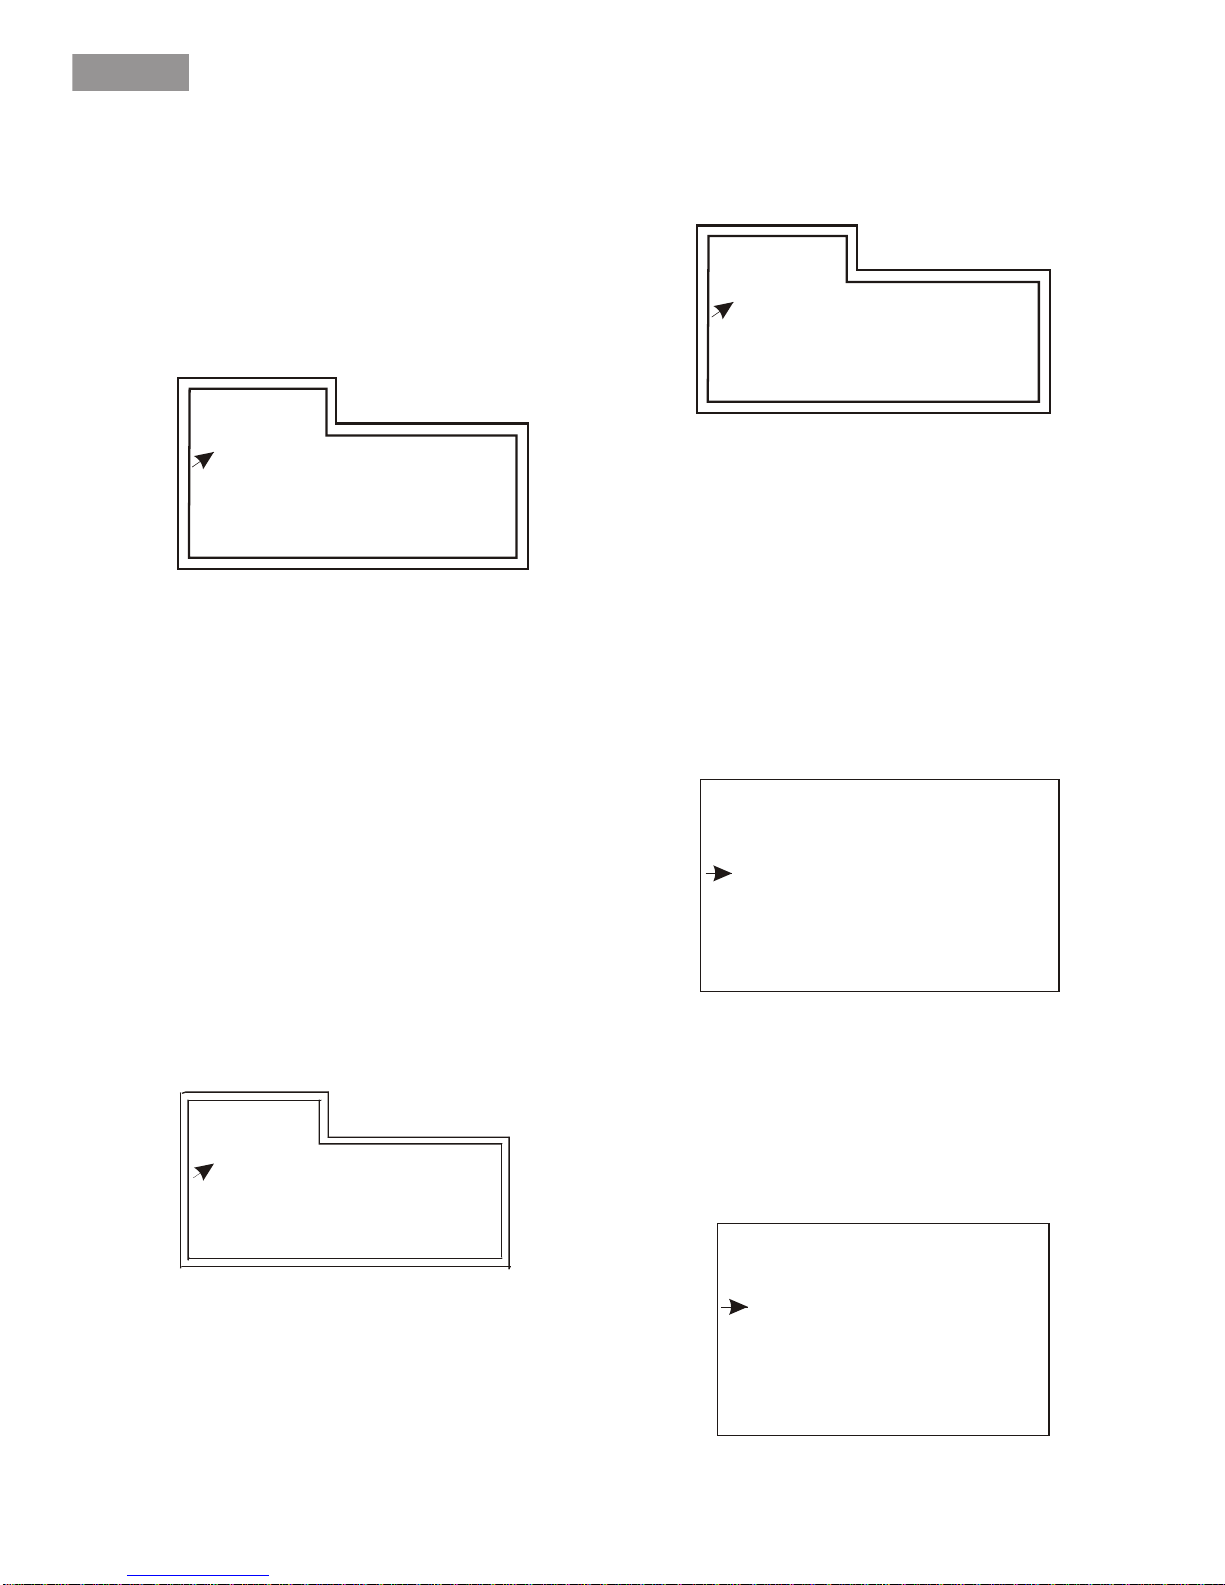
MPAA RatingMPAA Rating
Movie RatingMovie Rating
G UG U
PGPG UU
PG-13PG-13 UU
RR UU
NC-17NC-17 UU
XX UU
Age Based RatingAge Based Rating
Note: When block On is selected, you will see B
instead of U. When block Off is selected,
you will see U instead of B.
Note: When block On is selected, you will see B
instead of U. When block Off is selected,
you will see U instead of B.
EnglishEnglish
-
Rating FV D L S VRating FV D L S V
TV RatingTV Rating
TV-YTV-Y UU
TV-Y7TV-Y7 UU
TV-GTV-G
TV-PGTV-PG UUUUUUUU
TV-14TV-14 UUUUUUUU
TV-MATV-MA UUUUUU
UU
UU
UU
UU
UU
-
Age Based RatingAge Based Rating


 User manual")