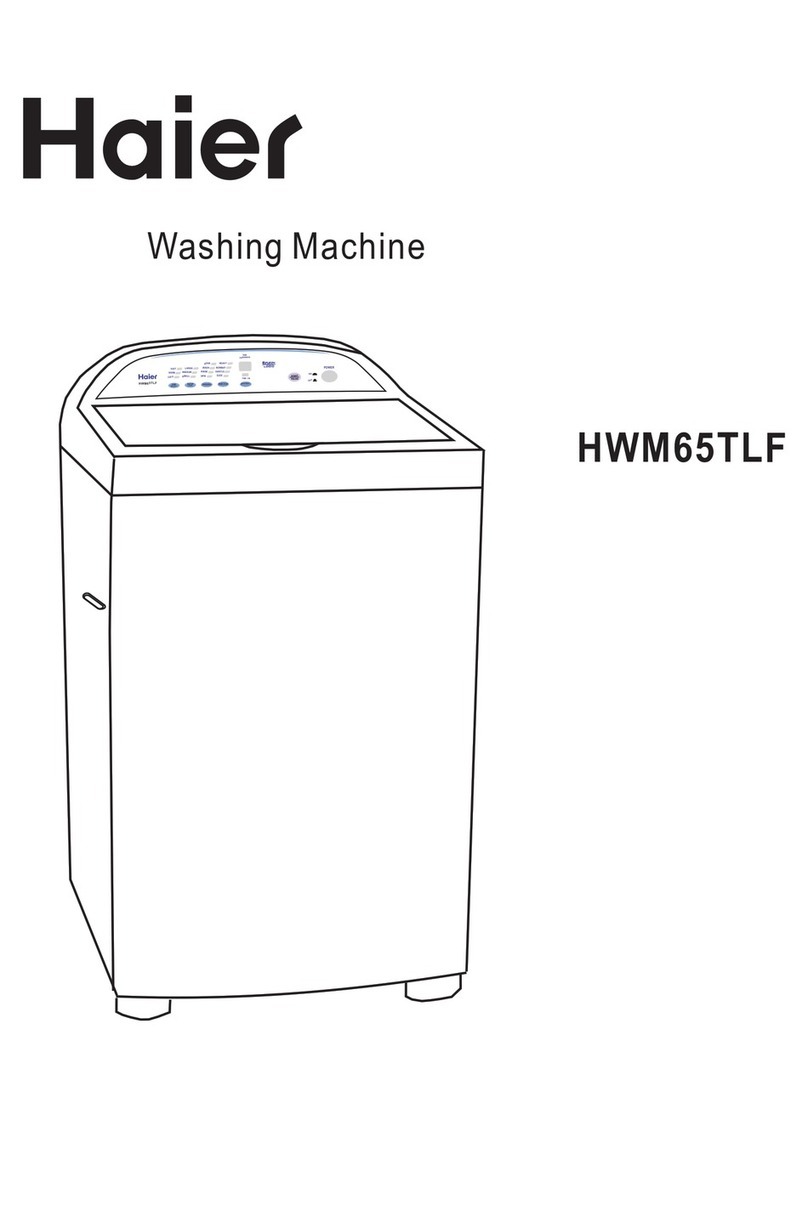
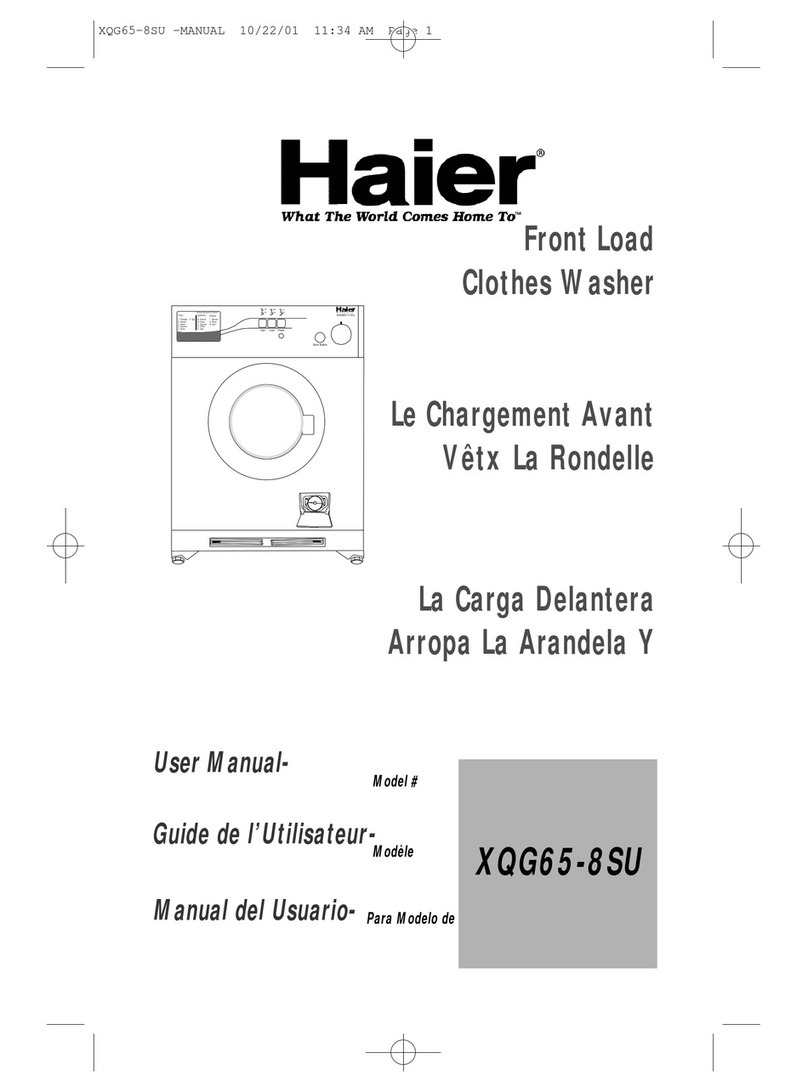
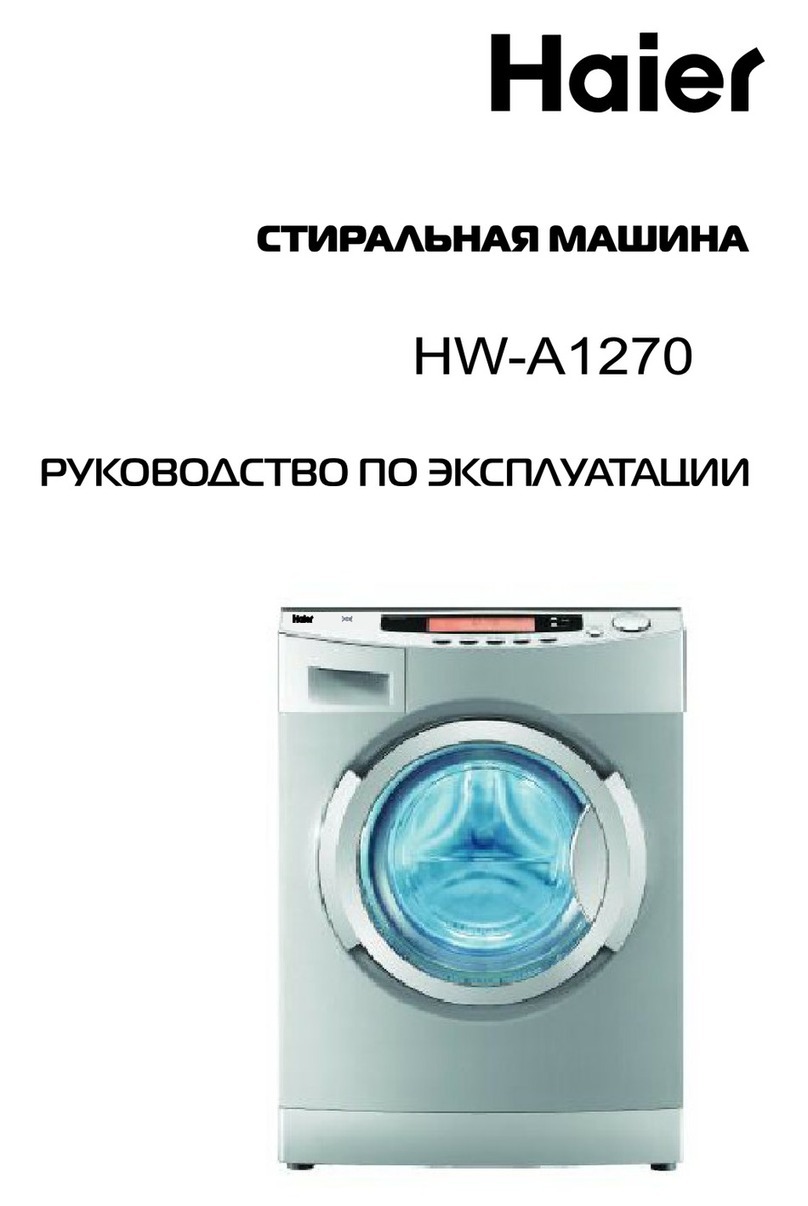
manuals.online logo
Brands
  1. Home
  2. •
  3. Brands
  4. •
  5. Haier
  6. •
  7. Washer
  8. •
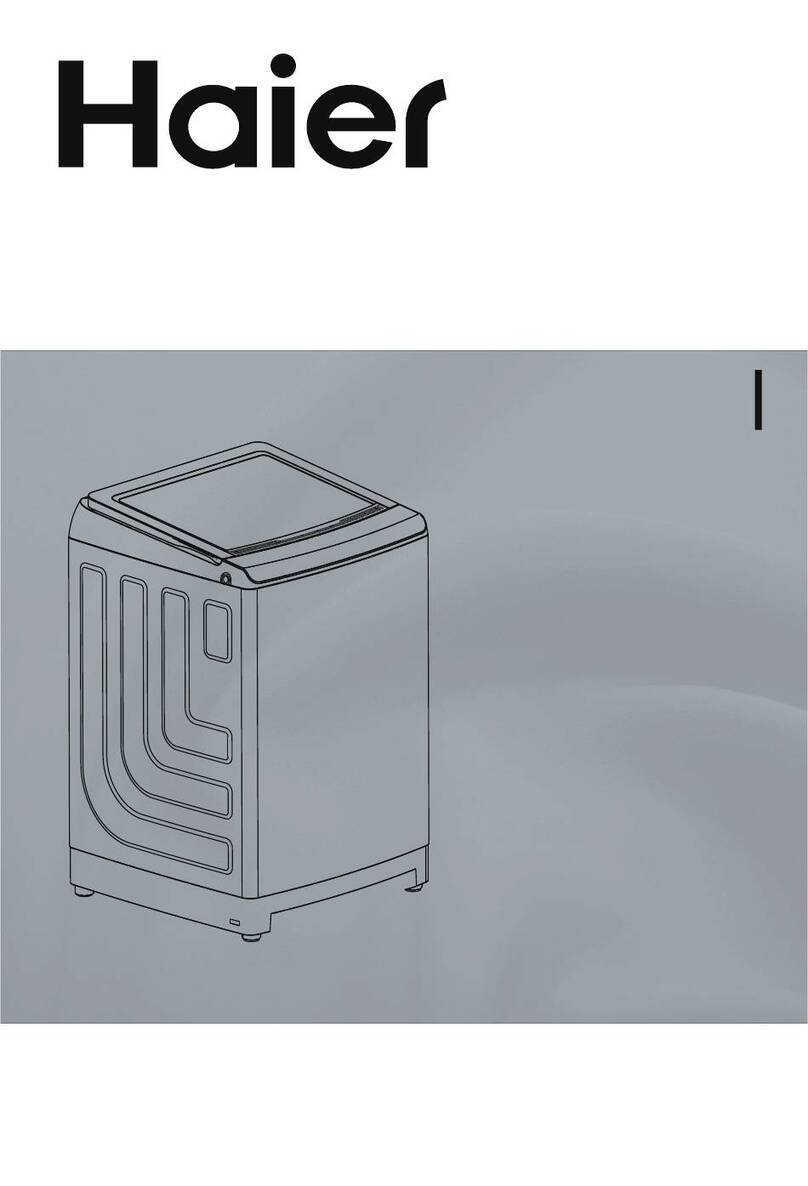
  9. Haier HWM138VA User manual

Haier HWM138VA User manual

Safety precautions
Installation and adjustment
Preparation before washing
Usage of the detergent
Washing sequence
Names of the parts
Packing list
Trouble-Shooting
Specification
SEMI AUTO WASHING MACHINE
HWM138VA
USER Manual
WASHING MACHINE CONTENTS
Maintenance
Do s and don ts
(If there's breakdown, please pull off the power plug before checking) The following
phenomena are not breakdowns sometimes. Please confirm again before sending
it to repair. If there are real breakdowns, please come to the special maintenance
department or after-sale service department of our company. Do not repair it by yourself.
Trouble-shooting
Phenomena
Use it when the power is on.
Insert the power plug tightly.
Remove the foreign materials.
Put down the drain hose.
Remove the foreign material.
Please contact the after-sales
service department.
Level the machine properly.
Pressed the gland evenly.
Remove the laundries.
Remove a little laundries.
The reason How to settle
The machine does
not function.
Is there power failure?
Is the power plug loose?
Is the pulsator twisted by
foreign materials?
Has the drain hose being
laid down?
Is the drain hose blocked
by foreign material?
Are there any laundries
trapped at the outer side
of the spin tub?
There's abnormal
sound during
washing
Remove the hair pin, coins or
metal items.
Are there hair pin, coins
or metal items brought
inside the tub?
Is the machine slanting?
Is the gland pressed evenly?
Are there any laundries trapped
at the outer side of the spin tub?
Are the laundries in spin tub over
loaded?
There's abnormal
sound and violent
vibration during
spinning
The draining does
not function
14
If the laundries fall to the outer side of the spin tub,
Please contact the after-sales service department.
If the laundries fall to the outer side of the spin tub
Wipe the complete unit with soft
cloth twisted dry.
Wipe with neutral detergent if too dirty
Do not wash it directly by water
After washing, dismount the water inlet
hose.
Do not store water in the tub for long
period. Discharge the water immediately
after each using.
Pull off the power plug and hang up the
power cord.
Hang up the drain hose.
Wipe off the water drops on the surface
and inside the tub with clean soft cloth.
Open the cover of the wash tub and the
inner/outer cover of the spin tub for
some time (about one hour), then close
them.
Disposal of the complete unit
Thinner
Alcohol
Petrol
13
Water inlet hose
Gland
Packing list
Semi Auto washing machine
Name Quantity
User's manual One piece
One piece
One piece
One set
Warranty card One piece
Specification
Water level Water quantity estimated (L)
Maximum/89 Medium/75 Minimum/63
Injection pressure(MPa) 0.02~0.2
Spinning capacity(kg) 6.0
Rated voltage frenquency 220-240 50HzV
Specifications may be subject to change
without prior notice
*
Cleaning the overflow filter
2. Take off the corrugation pipe.
Dismantle the upper part of the
corrugation pipe inside the
overflow filter ( as indicated in
Figure 1).
3. Cleaning the overflow filter
Clean the lint around the filter
and flush with tap water.
4. Install the overflow filter.
(1).Install the corrugation pipe.
(2).Insert the mounting plate at
the bottom of the filter into
the valve cover.
(3).Hang up the hook at the left
upper side.
(4).Push the upper part in as
indicated in Figure 2.
Figure 1
Figure 2
Hook
Washing capacity(kg) 13.0
Water level
adjusting lever
Corrugation
pipe
Major frame
Base frame
Water-filling entrance
Wash selector
Wash timer
Control panel
Water level adjusting lever
Pulsator
Wash tub
Wash tub cover
Drain hose
Valve cover
Outer cover of the spin tub
Inner cover of the spin tub
Spin tub
Cabinet
Notes: All illustrations in this manual are given for reference only. Your products and
accessories may show differences from these illustrations due to our
continuous improvement.
Spin timer
Filter frame
Lint filter
Maintenance
12
After using, please clean the lint and eyewinker of the lint filter and
overflow filter in time. Otherwise it may influence your using the machine.
Please first pull off the power plug from the receptacle before cleaning.
Cleaning the overflow filter
1
Meaning and description of the symbols
Warning sign
Forbidding sign
Contents marked with that symbol are related
to the safety of the product and the personal
safety of the users. Please operate in strict
conformity to the contents, otherwise it may
cause damage of the machine or injure the
personal safety of the user.
Contents marked with that symbol are actions
forbidden to perform. Performing of those
actions may result in damage of the machine
or injure the personal safety of the user.
Please check if the power receptacle has good earthing
condition before using to guarantee your safety.
Names of the parts
The lint filter must be used during washing.
It must be cleaned in time after each using.
Cleaning the lint filter
1. Press the elastic piece at upper end of lint filter to
release the tab from the filter cover
2. Remove lint
Pull the lower end of lint filter rear cover outward
to disassemble it from the lint filter front cover.
Remove lint completely with clear water. (See
Figure 2).
3. Install lint filter
, and pull the lint
filter outward to remove it. (See Figure 1).
Figure 1
Figure 2
Lint filter rear cover
Lint filter front cover
Assemble
Disassemble
Drain selector
1 Take off the overflow filter.
As indicated in the figure, nip the elastic fixing
claw and pull it to the direction of the arrow to
take it off.
Too much lint on the overflow filter will influence
the normal usage of the machine. Please
clean it every two months. Elastic fixing
claw
2
Safety precautions
11
Spinning
1.Put the laundries into the spin tub evenly and smoothly.
2.Press the gland in the tub properly. Close the inner and
outer cover of the spin tub.
3.Spin
Select suitable spin time according to the laundries, and do spinning.
During spinning, if there is abnormal sound, it is generally owing to
slanting placement of the laundries. Please stop the machine and
reorder the laundries.
In spinning, it will pause the work if you open the outer cover of the
spin tub. Close it to resume the spinning.
To do spinning and draining and rinse
with water-filling together, please first
do spinning for around 1 minute, then
do draining or rinse with water-filling .
Otherwise the spinning will stop owing
to too much water stored in the spin tub.
Please insert the power cord into
special receptacle with rated vol-
tage.Be sure to use single-phase
three pins receptacle.The earthing
terminal of the receptacle must be
earthed reliably.If possible,please
adopt electric leakage protector.
When the machine is normally
using, please put the power plug
at the location easily to be insert-
ed and extracted by hand. Be sure
to pull the plug off when there's
power failure, or the machine is
being moved, cleaned or when it
is idle.
Do not put the machine at damp
place like the bathroom . Never
wash it with water. Do not place
wet laundries on the control panel.
Do not wash water-proof laundries like
the raincoat, bike covers etc. to avoid
abnormal vibrations.
Do not let the machine share one receptacle
with other electric appliances. If the power
plug is damaged, or the plugging into the
receptacle is loose, do not use the plug any
more.
Ventilation hole at
the bottom of the
washing machine
If the supply cord is damaged,it must be replaced
by the manufacturer or its service
agent or a similarly qualified person
in order to avoid a hazard.
Do not use water hotter than 65 C .
For washing machine with ventilation
openings in the base, that a carpet
must not obstruct the openings.
3
Do not stretch hands into the working
machine. It is dangerous even if the
rotation is slow. Take special care of
the children.
Safety precautions
Do not put any hot or heavy items
( such as the kettle with hot water )
on the washing machine.
Do not decompose, repair or alter the
machine by yourself.
Handicapped or children without care
shall not use the machine.
Keep the machine away from direct
sunlight and heat source like the
heater.
Do not wash laundries with volatile
materials (such as thinner, petrol etc.).
Petrol
Thinner
To protect your laundries and wash-
ing machine, please take out all of the
coins, buttons, sand, hairpin and
other foreign materials before washing.
Please check if the connection of the
water inlet pipe is proper.
It is suggested to use foamless washing
powder.
Rinse with stored water
1. Put the laundries into the wash tub. Select suitable current according to
the laundries.
2. Fill water to preset water level.
3. Rinse
Adjust the wash timer to 2-3 minutes to do rinsing.
When the laundries quantity is few, please use "Standard" current.
If you use "Strong" current, it may splash.
Rinsing
(Repeat the midway spinning and rinsing with stored water
for 2-3 times)
10
Rinse with water-filling
1.Put the laundries
Put the laundries into the wash tub. Select suitable current according
to the laundries.
2.Adjust the water level
Set the water level with water level adjusting lever according to the
laundries quantity. Then fill suitable water continuously.
3.Rinse
Adjust the wash timer to 5-7 minutes to do rinsing.

Other Haier Washer manuals

Haier XQG50-600SW User manual

Haier

Haier XQG50-600SW User manual

Haier XPB90-0713S User manual

Haier

Haier XPB90-0713S User manual

Haier HW-E1270TVE User manual

Haier

Haier HW-E1270TVE User manual

Haier XQG50-AB1100CTX User manual

Haier

Haier XQG50-AB1100CTX User manual

Haier HLC1700AXS User manual

Haier

Haier HLC1700AXS User manual

Haier HW80-F1401 User manual

Haier

Haier HW80-F1401 User manual

Haier RWT300AW User manual

Haier

Haier RWT300AW User manual

Haier XPB70-0713S User manual

Haier

Haier XPB70-0713S User manual

Haier HW50-1010W User manual

Haier

Haier HW50-1010W User manual

Haier XQBM22-C User manual

Haier

Haier XQBM22-C User manual

Haier HWM70-1201 User manual

Haier

Haier HWM70-1201 User manual

Haier HW60-1203D User manual

Haier

Haier HW60-1203D User manual

Haier HWM100-287S User manual

Haier

Haier HWM100-287S User manual

Haier HWF10BW1 User manual

Haier

Haier HWF10BW1 User manual

Haier HW120-BP14959S8 User manual

Haier

Haier HW120-BP14959S8 User manual

Haier AC-8888-07 User manual

Haier

Haier AC-8888-07 User manual

Haier HW-D1470TVE ME User manual

Haier

Haier HW-D1470TVE ME User manual

Haier HWMSP60 User manual

Haier

Haier HWMSP60 User manual

Haier HWM75-78 User manual

Haier

Haier HWM75-78 User manual

Haier HWM70-113S User manual

Haier

Haier HWM70-113S User manual

Haier GE Profile UltraFresh GFW650S Configuration guide

Haier

Haier GE Profile UltraFresh GFW650S Configuration guide

Haier HL1206TXV User manual

Haier

Haier HL1206TXV User manual

Haier HW-D1470TVE ME User manual

Haier

Haier HW-D1470TVE ME User manual

Haier B1000TX User manual

Haier

Haier B1000TX User manual

Popular Washer manuals by other brands

Zanussi ZWF 14080 W user manual

Zanussi

Zanussi ZWF 14080 W user manual

Zanussi FV 825 N Instruction booklet

Zanussi

Zanussi FV 825 N Instruction booklet

LG WM8000HVA Specifications

LG

LG WM8000HVA Specifications

Whirlpool 3RGSC9400 Use and care guide

Whirlpool

Whirlpool 3RGSC9400 Use and care guide

Zanussi TJ 1284 H instruction manual

Zanussi

Zanussi TJ 1284 H instruction manual

AEG KO-LAVAMAT 74740 User information

AEG

AEG KO-LAVAMAT 74740 User information

Beko WSRE7512PRA user manual

Beko

Beko WSRE7512PRA user manual

Whirlpool LA5OOOXP Use and care guide

Whirlpool

Whirlpool LA5OOOXP Use and care guide

Miele PW 6207 operating instructions

Miele

Miele PW 6207 operating instructions

GE GE Profile WWSE3160AAA Specifications

GE

GE GE Profile WWSE3160AAA Specifications

Bush WMNB712EB instruction manual

Bush

Bush WMNB712EB instruction manual

ALLIANCE UW60AV Information manual

ALLIANCE

ALLIANCE UW60AV Information manual

Bosch WAN280H3 User manual and installation instructions

Bosch

Bosch WAN280H3 User manual and installation instructions

Maytag MAT15MNAW installation instructions

Maytag

Maytag MAT15MNAW installation instructions

LG T2109VSAL owner's manual

LG

LG T2109VSAL owner's manual

Indesit IWC 61481 Instructions for use

Indesit

Indesit IWC 61481 Instructions for use

Electrolux EWF12843 user manual

Electrolux

Electrolux EWF12843 user manual

Indesit WIN 70 Instructions for use

Indesit

Indesit WIN 70 Instructions for use

manuals.online logo
manuals.online logoBrands
  • About & Mission
  • Contact us
  • Privacy Policy
  • Terms and Conditions

Copyright 2025 Manuals.Online. All Rights Reserved.