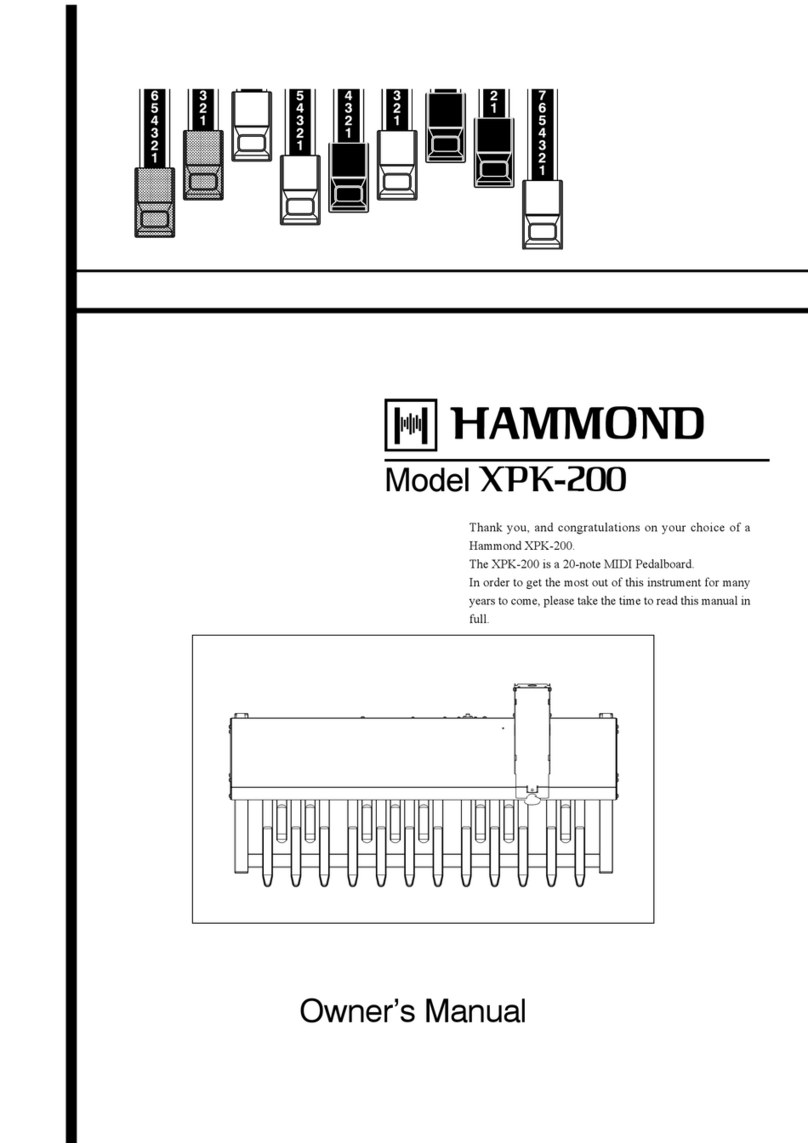
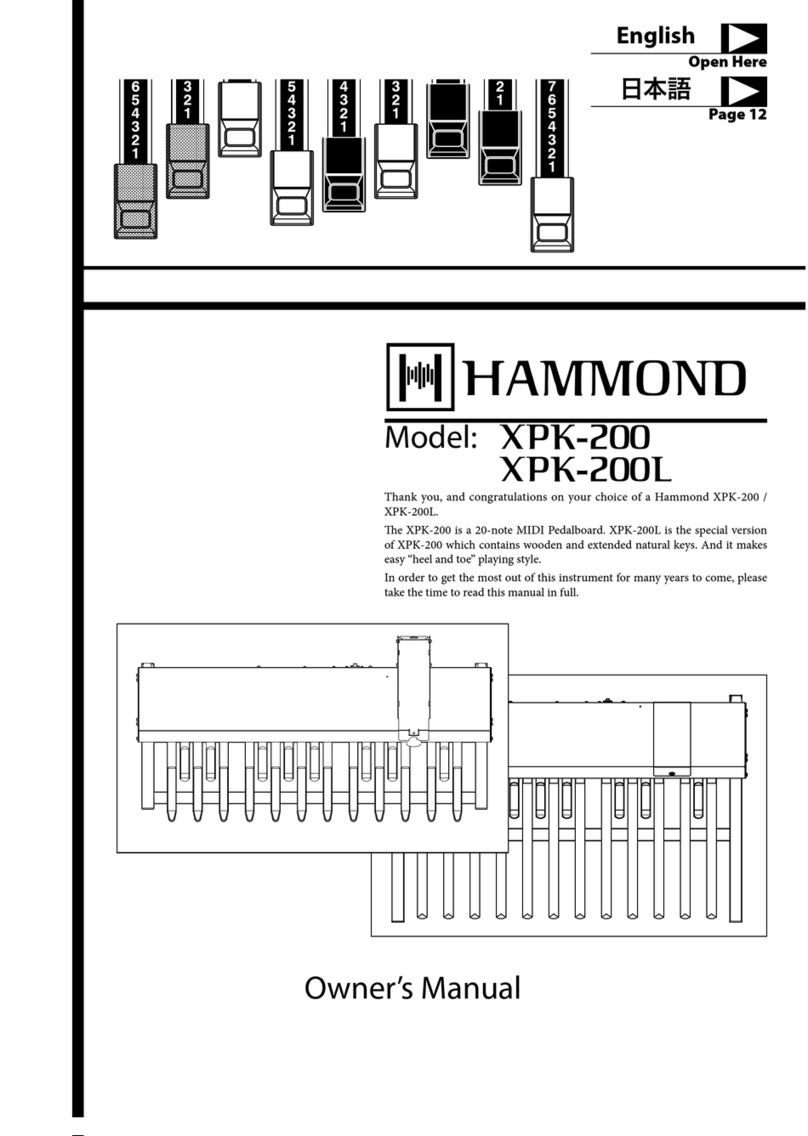
Hammond XPK-130G User manual

IMPORTANT SAFETY
INSTRUCTIONS
P.2
NAMES AND
FUNCTIONS
P.4
MOUNTING THE
EXPRESSION PEDAL
P.5
MAKING THE
CONNECTIONS
P.6
USING THE INTERNAL
SOUND GENERATOR
P.8
MIDI CHANNEL, MERGE
P.9
ADVANCED OPERATION
P.10
OTHERS
P.12
Contents
Model:
Owner’s Manual
Thank you, and congratulations on your choice of a Hammond
MIDI sound pedalboard!
The XPK-130G has 13 pedals (C to C), while the XPK-200G and
XPK-200GL both have 20 pedals (C to G). In addition, the XPK-200GL has
wooden naturals of extended length, to make “heel and toe” playing style
easier.
In addition to the MIDI capabilities, these units also contain 5 built-in Pedal
Voices, allowing you to use them as “stand-alone” units.
In order to get the most out of this instrument for many years to come,
please take the time to read this manual carefully and in its entirety.
MIDI SOUND PEDALBOARD

2IMPORTANT SAFETY INSTRUCTIONS
Before using this unit, please read these instructions carefully.
Please be sure to keep this manual at hand even after reading it once.
This “Safety Instructions” section contains very important points for securing your safety. Strictly observe the instructions, please.
In this manual, the degrees of dangers and damages are classied and explained as follows:
WARNING
CAUTION
This sign shows there is a risk of death or severe injury if this unit is not properly
used as instructed.
This sign shows there is a risk of injury or material damage if this unit is not properly
used as instructed.
*“Material damage”is dened as damage to the room, furniture or animals / pets
WARNING
Do not open (or modify in any way) the unit or its AC
adaptor.
Do not attempt to repair the unit, or replace parts in
it (expect when this manual provides specic instruc-
tions directing you to do so). Refer all servicing to
your retailer, the nearest Hammond, or authorized
Hammond distributor, as listed on the “Service” page.
Never use or store the unit in places that are:
Subject to temperature extremes (e.g., direct sun-
light in an enclosed vehicle, near a heating duct, on
top of heat-generating equipment)
Damp (e.g., baths, washrooms, on wet oors)
Humid
Exposed to rain
Dusty
Subject to high levels of vibration.
Be sure to use only AC adaptor supplied with the unit.
Also, make sure the line voltage at the installation
matches the input voltage specied on the AC adap-
tor’s body. Other AC adaptors may use a dierent po-
larity, or be designed for a dierent voltage, so their
use could result in damage, malfunction, or electric
shock.
Do not excessively twist or bend the power cord, nor
place heavy objects on it. Doing so can damage the
cord, producing severed elements and short circuits.
Damaged cords are re and shock hazards!
Do not allow any objects (e.g., ammable material,
coins, pins); or liquids of any kind (water, so drinks,
etc.) to penetrate the unit.
Immediately turn the power o, remove the AC adap-
tor from the outlet, and request servicing by your re-
tailer, the nearest Hammond, or authorized Hammond
distributor, as listed on the “Service” page when:
e AC adaptor, the power-supply cord, or the plug
has been damaged; or
If smoke or unusual odor occurs
Objects have fallen into, or liquid has been spilled
onto the unit; or
e unit has been exposed to rain (or otherwise has
become wet); or
e unit does not appear to operate normally or ex-
hibits a marked change in performance.
In households with small children, an adult should
provide supervision until the child is capable of follow-
ing all the rules essential for the safe operation of the
unit.
Protect the unit from strong impact.
(Do not drop it!)
Do not force the unit’s power supply cord to share an
outlet with an unreasonable number of other units. Be
especially careful when using extension cords - the to-
tal power used by all units you have connected to the
extension cord’s outlet must never exceed the power
rating (watts/amperes) for the extension cord. Exces-
sive loads can cause the insulation on the cord to heat
up and eventually melt through.
Before using the unit in a foreign country, consult with
your retailer, the nearest Hammond, or an authorized
Hammond distributor, as listed on the “Service” page.
Do not put anything that contains water (e.g., ower
vases) on this unit. Also, avoid the use of insecticides,
perfumes, alcohol, nail polish, spray cans, etc., near the
unit. Swily wipe away any liquid that spills on the unit
using a dry, so cloth.

3
Owner’s Manual
CAUTION
e unit and the AC adaptor should be located so their
location or position does not interfere with their prop-
er ventilation.
Always grasp only the plug on the AC adaptor cord
when plugging into, or unplugging from, an outlet or
this unit.
At regular intervals, you should unplug the AC adap-
tor and clean it by using a dry cloth to wipe all dust
and other accumulations away from its prongs. Also,
disconnect the power plug from the power outlet
whenever the unit is to remain unused for an extended
period of time. Any accumulation of dust between the
power plug and the power outlet can result in poor in-
sulation and lead to re.
Try to prevent cords and cables from becoming en-
tangled. Also, all cords and cables should be placed so
they are out of the reach of children.
Never climb on the top of, nor place heavy objects on
the unit.
Never handle the AC adaptor or its plugs with wet
hands when plugging into, or unplugging from, an
outlet of this unit.
Before moving the unit, disconnect the AC adaptor
and all cords coming from external units, and also re-
move the accessories attached to the unit.
When transporting the unit, do not li the unit by the
pedals, which may cause damage. Use the frame to li.
Do not stand this unit with the cables connected to it,
which may cause damage to jacks and cables.
Before cleaning the unit, turn o the power and unplug
the AC adaptor from the outlet.
Whenever you suspect a possibility of lightning in your
area, disconnect the AC adaptor from the outlet.

❷
❶
❹❺❻❼
❽❾❿ ⓫ ⓬ ⓮⓭
(❸)
⓯
⓱⓲⓳⓴
⓰
4NAMES AND FUNCTIONS
❶Pedal keyboard
Velocity-sensitive pedal keyboard. XPK-130G has 13 keys,
XPK-200G/200GL both have 20 keys.
❷LED
Lights when the power is “ON,” and indicates when a pedal
is pressed (light will glow brighter).
❸Knob bolts(2)
Use these to fasten the ⓱Expression Bracket 1.
❹POWER switch
Switches the power of this unit “ON” or “OFF.” Press to
turn the power “ON,” press and hold for about 1 second to
turn the power "OFF."
❺Cord hook
Use this hook to provide strain relief for the AC Adaptor
Cord.
❻DC IN jack
Connect the ⓯AC Adaptor (AD2-1210 or AD3-1210) to
this jack.
❼RELEASE knob
Allows you to adjusts the rate at which notes decrease to
silence aer key release.
❽CUTOFF knob
Allows you to change the sound or tone quality of the
built-in Pedal Voices.
❾VOLUME knob
Controls the total or maximum volume of the built-in
Pedal Voices (LINE OUT jack).
❿VOICE selector
Selects the built-in Pedal Voice to be sent out the LINE
OUT jack.
⓫LINE OUT jack
Allows you to hear the sound output from the built-in Ped-
al Voices through an external amplier or powered speak-
er. Connect an audio cable from LINE OUT to the input
connectors of an external amplier or powered speaker.
⓬SOUND IN jack
Use this MIDI IN jack to play the built-in Pedal Voices of
this unit from an external MIDI connection.
⓭MERGE IN jack
MIDI signals received at this input will be merged with
the playing information from the pedalboard, and sent out
from the MIDI OUT jack.
⓮MIDI OUT jack
Use this jack to send playing information of the pedal-
board as well as any merged information coming from the
MERGE IN jack.
ACCESSORIES
⓯AC adaptor AD2-1210 / AD3-1210
DC 12V power supply which provides electrical power to
this unit.
⓰MIDI Cable (2.0m)
Use this cable to connect this unit to external MIDI instru-
ments.
ACCESSORIES(XPK-200G/200GL only)
⓱Expression Bracket 1
is bracket is a base for mounting the optional Expres-
sion Pedal EXP-100F, EXP-50/50J, EXP-20 or V-20R.
⓲M4 x 5mm screws (2)
Use these screws for attaching the Expression Pedal EXP-
100F or EXP-50/50J to ⓱Expression Bracket 1.
⓳ø4 x 8mm screws (2)
⓴Bracket Spacer
Expression Bracket 2
Use these 3 parts together with the ⓱Expression Bracket 1
for attaching an EXP-20 or V-20R Expression Pedal.
TOP PANEL REAR PANEL
ACCESSORIES
ACCESSORIES(XPK-200G/200GL only)

5
Owner’s Manual
MOUNTING THE EXPRESSION PEDAL
You can mount Hammond Expression Pedals to the
XPK-200G or XPK-200GL. Please read the instructions
below on how to mount your particular Hammond Ex-
pression Pedal.
Mounting the EXP-100F/50/50J
①Remove the screw as shown from the bottom of the
Expression Pedal using a #2 Phillips screwdriver.
②Place the Expression Pedal on top of the Expression
Bracket 1.
③Fasten the Expression Pedal to the front of the bracket
as shown using the two supplied M4 x 5mm screws.
④Using the screw that you previously removed, fasten
the Expression Pedal to the bottom of the bracket as
shown.
⑤Place the Expression Bracket 1 on top of the XPK-200G/
200GL as shown.
⑥Fasten the Bracket to the XPK-200G/200GL by turning
the two supplied knob bolts clockwise.
Be sure to screw the knob bolts vertically into the panel sur-
face. Attempting to screw into the holes diagonally may cause
damage to the tapped holes.
Be sure that the Expression Pedal is securely fastened before
playing this unit, or damage may result.
③Place the Expression Pedal on top of the Expression
Bracket 1 and route the cord through the hole in the
Bracket as shown.
④Place the Bracket Spacer on the Expression Bracket 1 as
shown and fasten the spacer to the bracket with a
#2 Phillips screwdriver and the 2 supplied 4 x 8mm
screws.
⑤Fasten the Expression Pedal to the Expression Bracket
1 by sliding the Expression Bracket 2 onto the Expres-
sion Pedal assembly as shown and turning the supplied
knob bolt clockwise.
XPK-200G/200GL only
Mounting the EXP-20 or V-20R
①Place the Expression Bracket 1 on top of the XPK-200G/
200GL as shown.
②Fasten the Bracket to the XPK-200G/200GL by turning
the two supplied knob bolts clockwise.
Be sure to screw the knob bolts vertically into the panel sur-
face. Attempting to screw into the holes diagonally may cause
damage to the tapped holes.
Be sure that the Expression Pedal is securely fastened before
playing this unit, or damage may result.
EXP-100F/50/50J
ExpressionBracket1
knobbolts
knobbolts
EXP-20/V-20R
BracketSpacer
ExpressionBracket2
φ4x8mmscrews
M4x5mmscrews
re-attachthe
removedscrew
temporarilyremove
thisscrew
This manual suits for next models
2
Table of contents
Other Hammond Music Pedal manuals


