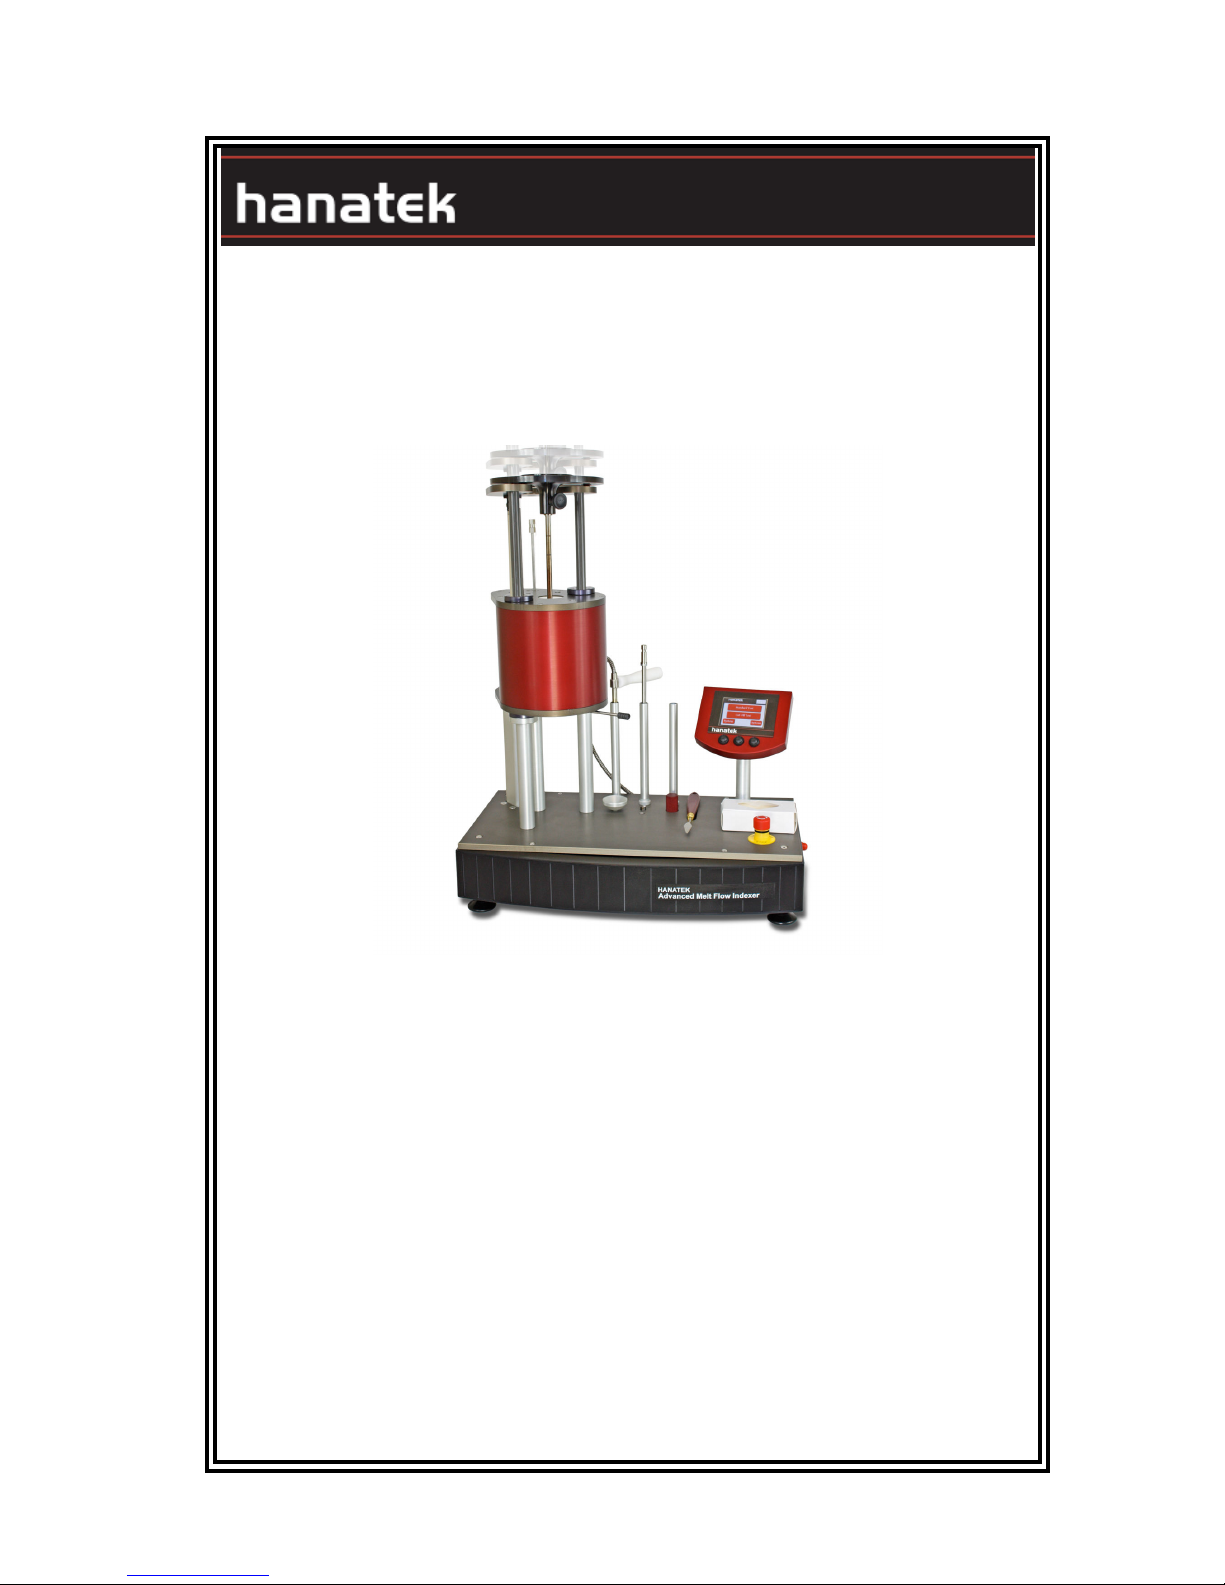
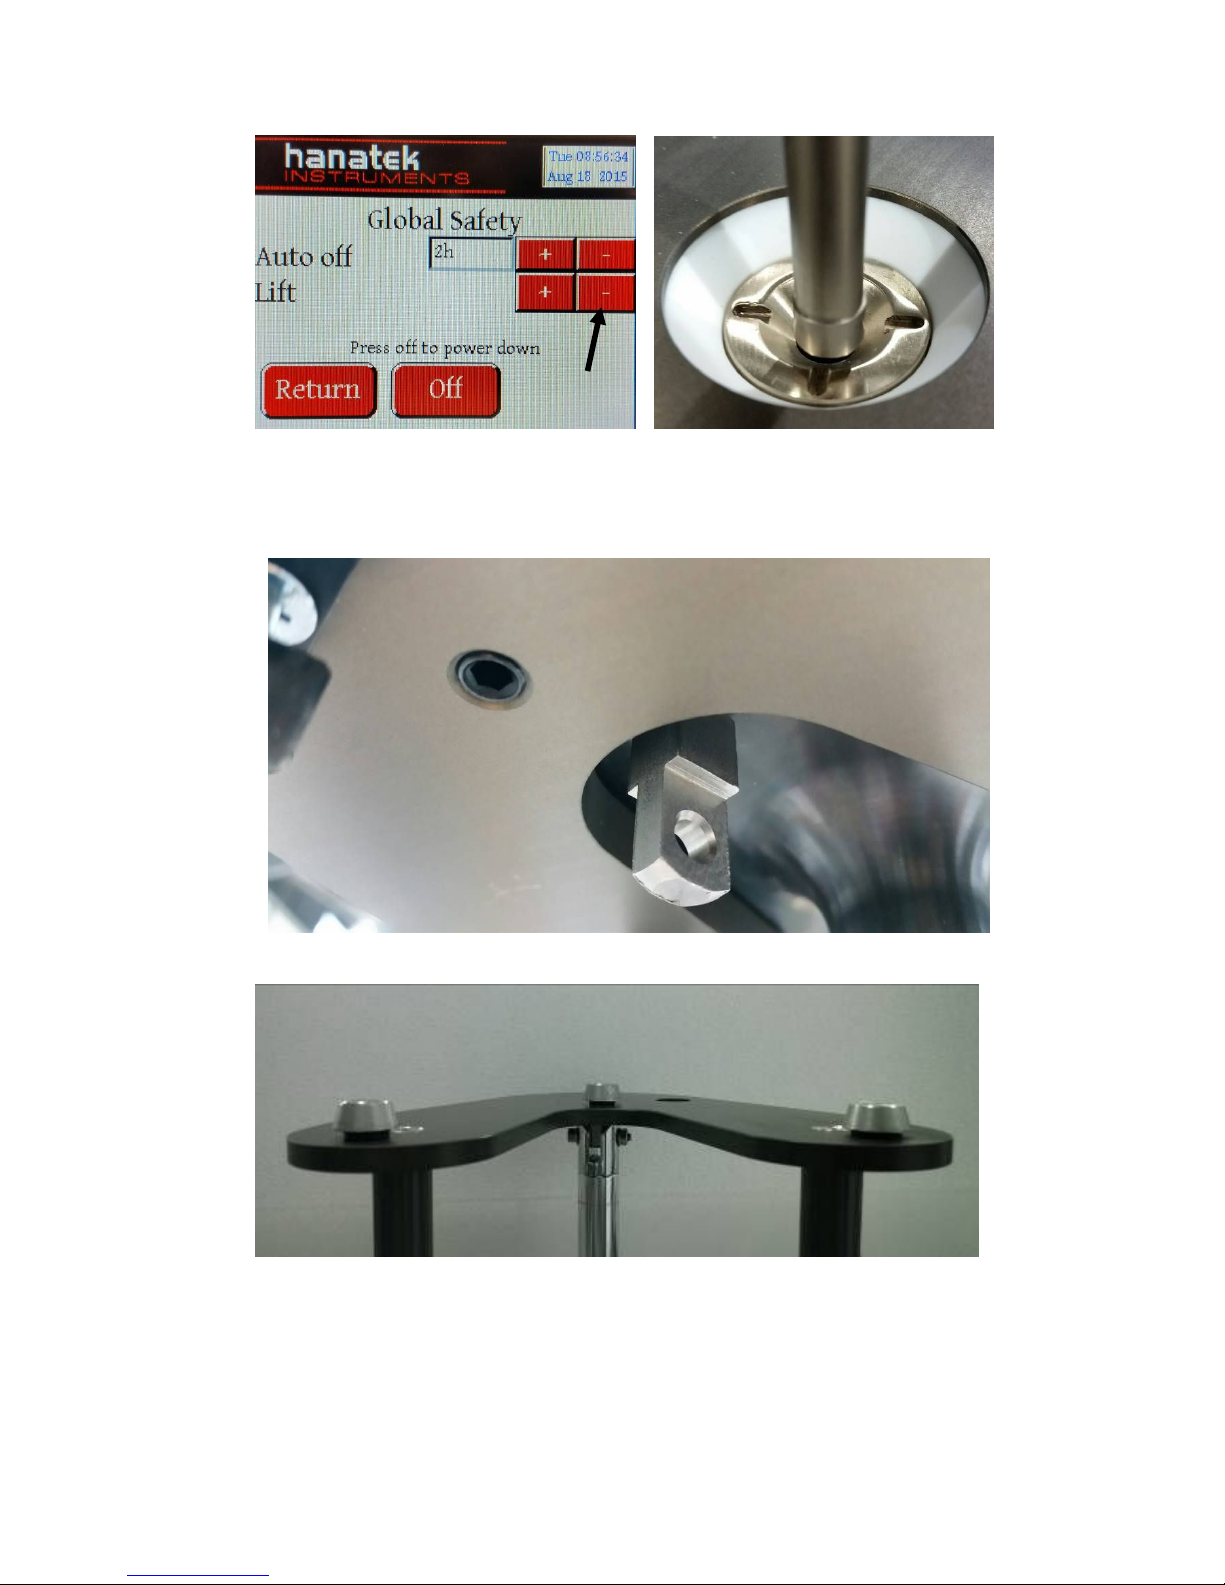
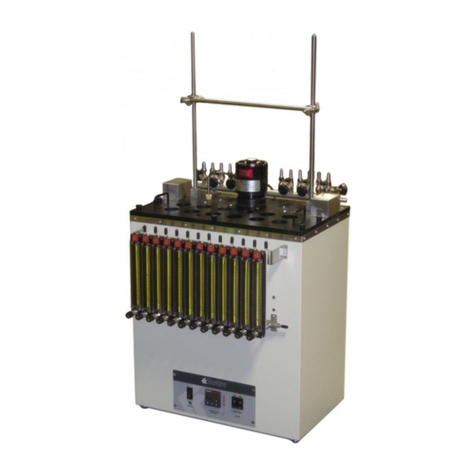
Hanatek MFI 4050 User manual

MFI 4050 Manual Issue V1.4
Jan 2016
MELT FLOW INDEXER
MODEL MFI 4050
OPERATING MAN AL V 1.3
Rhopoint Instruments
Leonards-on-Sea, East Sussex, TN38 9AG, UK
Tel. No. +44 (0)1424 739623
Fa No. +44 (0)124 730600
www.hanatekinstruments.com

MFI 4050 V1.3
2
INTRODUCTION TO MELT FLOW MEASUREMENT
MELT MASS-FLOW RATE AND MELT VOLUME-FLOW RATE
The measured flow of a thermoplastic material through a die following specified
conditions of length, diameter, temperature and pressure is known as either its
Melt Mass-Flow Rate (MFR) or Melt Volume-Flow Rate (MVR).
Differing standard conditions of extrusion temperatures and pressures are used
for the varying polymer types, however, for comparison purposes different
samples of the same polymer should be tested under identical conditions.
The MFR/MVR apparatus should be regarded as a simple rheometer operating
at conditions of low shear. Although the applied shear stresses and the resultant
shear rates are very much lower than those utilised in most processes, the
results obtained do provide useful data and an indication as to the relative ease
with which the materials will flow when processed.
Should a process require a relatively high rate of shear, (typically injection
moulding) then a polymer of high MFR/MVR is generally selected as this is an
indication of easier flow than one of low MFR/MVR.
The MFR/MVR is also a measure of the molecular weight of a sample and is,
therefore, indicative of the mechanical strength of the material. Average
molecular weight and MFR/MVR are indirectly proportional, so that although a
sample will process more readily, its strength and resistance to stress is likely to
be poor.
The Melt Flow Indexer has other test uses i.e. by performing the MFR/MVR test
under two or more differing loads, the useful data on the rheological properties of
the material can be determined.
A useful measure of the shear stress/shear rate relationship can be made by
measuring the samples MFR/MVR at the standard and at the higher load.
Increasing the test load (for polythene’s) from the standard 2.16 kgs to 21.6 kgs
increases the level of shear rate by a factor between 50 and 100:1, depending on
the MWD of the sample and the arithmetic ratio: MFR 21.6 kgs/MFR 2.16 kgs
gives a measure of flow parameters.
Depending on the MFR at 2.16kg load, the value at 21.6kg load can be
equivalent to the shear rates of more than 100 secs-1 coming possibly into the
range of extrusion processes. The facility also exists to measure flow
parameters at different temperatures, giving an insight as to the temperature
sensitivity of the sample.

MFI 4050 V1.3
3
It is wrongly assumed that two polymer samples having the same MFR/MVR will
behave in the same way with respect to output (shear rate) when tested under
the same set of conditions. They could, however, behave quite differently when
subjected to higher pressure (shear stress) as required for moulding or extrusion
process.
Should the samples have differing MOLEC LAR WEIGHT DISTRIB TIONS
(MWD) the increase in shear stress will differ as well. Generally speaking, a
larger MWD corresponds with greater shear sensitivity, i.e. a higher rate of
change in shear rate per unit increase in shear stress.
Further information available from Melt Indexers are the measurement of “Die
Swell” and “Drawdown”.
Die Swell is the arithmetic ratio between the cooled extrudate at ambient
temperature and the die diameter.
Drawdown is the extending of the polymer extrudate by its own weight as it is
extruded.
Both these factors provide useful information for the blow Moulding Industry.

MFI 4050 V1.3
4
THE HANATEK MELT FLOW INDEXER
The HANATEK Melt Flow Indexer has been designed in accordance with ISO
1133, ASTM D1238 (Part A, B & C), BS 2782, ASTM 3364
The unit comprises a cylindrical barrel with a precise honed bore of 9.55mm
diameter. The barrel is fully insulated minimising heat transfer from barrel to
casing.
The barrel is heated by three differing wattage heater elements, each with
independent temperature control and a PT100 sensor. This enables temperature
stability to be reached within approximately 15 minutes and the total barrel length
to be controlled to + / - 0.2 deg. C.
The HANATEK piston is made of solid steel and built precisely to the standard.
The insulting sleeve and piston together are tarred to precisely 100gms.
HANATEK dies are made from tungsten carbide and are built precisely to the
standard. The standard die has a polished bore measuring 2.0955mm. Further
dies including ½ size dies are available on request.

MFI 4050 V1.3
5
WARNING
DURING SET UP, TESTING AND CLEANING THE HANATEK MFI HAS
HOT AREAS AROUND THE BARREL THAT CONSTITUTE BURNING
HAZARDS- CARE SHOULD BE TAKEN AT ALL TIMES.
SUITABLE PROTECTIVE EYEWEAR/CLOTHING/HEATPROOF
GLOVES SHOULD BE WORN WHERE NECESSARY.
CARE SHOULD ALSO BE TAKEN WHEN HANDLING WEIGHTS
ASSEMBLY
1. npack the unit carefully and check the contents against the packing list.
2. Place the instrument on a suitable sturdy bench- AWAY FROM STRONG
DRA GHTS
3. It is very important to ensure the instrument is level before use.
se the included bulls’ eye spirit level and adjust the feet until the spirit
level bubble remains central. This is important and must be periodically
checked and adjusted every time the equipment is moved.
4. Plug the mains power cable into the socket on the rear of the instrument.
5. Plug the temperature probe into the instrument and place the probe in the
holder.

MFI 4050 V1.3
6
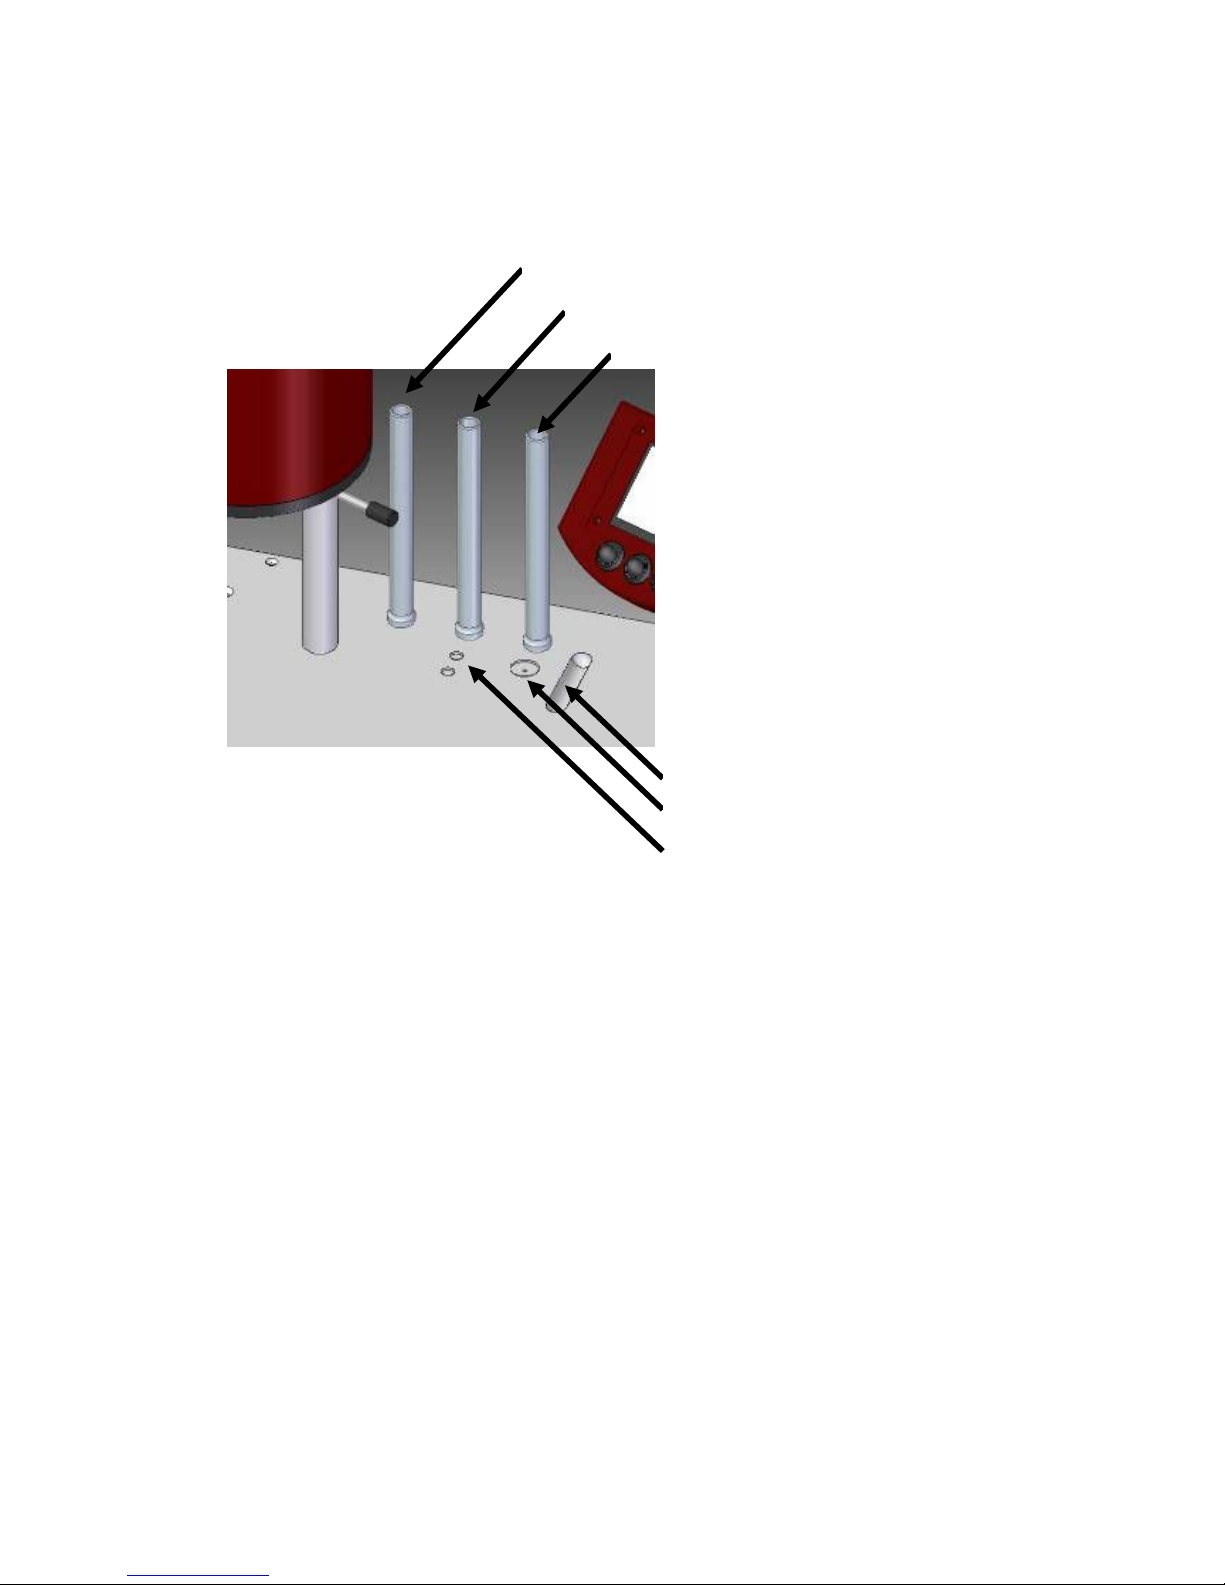
6. npack the remainder of the test accessories and place them in the tool
holders located on the top plate of the instrument.
Temperature Probe
Test Piston
Cleaning Probe
Cut Off Knife
Die Cleaning Broach
Testing Die + Optional Spare

MFI 4050 V1.3
7
Checking Piston Alignment
It is very important to ensure the instrument barrel and test piston is aligned
before use. This should also be checked again after changing to a different test
mass.
1. First use the included bulls’ eye spirit level as described previously to ensure
the instrument is level.
2. Fit the test mass onto the weight lift platform. The 2.06kg or optional 1.1kg
test mass fits on the instrument first and has three holes that line up with the
cone shaped locating posts on the weight lift platform.
3. Fit the test Piston to the first weight by pulling on the ring-pull to retract the
securing clip. Push the piston into the weight and release the ring-pull to lock
it into place.
4. Select System from the main screen.
5. Press the – button next to Lift to manually lower the piston towards the
opening of the barrel.

MFI 4050 V1.3
8
6. If the alignment needs adjusting the locating cones on the weight platform are
threaded allowing them to be adjusted up and down. This will fine tune the
piston to barrel alignment. se an Alan Key to move the supporting cones up
and down.
7. Once aligned press the + button next to the text Lift to raise the lift platform
back to the top.

MFI 4050 V1.3
9
SET UP
1.0 Check the barrel, piston, die and weights are clean and undamaged
before use.
DAMAGED DIES MUST BE REPLACED IMMEDIATELY- THIS
ENSURES CONSISTENT TEST RESULTS THAT COMPLY WITH THE
RELEVANT STANDARDS.
2.0 Ensure the die retaining slide plate is in position.
3.0 Place the die in the barrel.
The die and die retaining slide in position- ready to begin testing.
4.0 Place the test weight on to lift mechanism. Lift the displacement sensor is
attached to the weight.

MFI 4050 V1.3
10
Power UP
1.0 Power up the instrument by switching on the red mains power buttons at
the rear of the instrument. Then press and hold the round push button at
the side of the instrument until the screen turns on.
2.0 Touch the screen to continue.

MFI 4050 V1.3
11
3.0 The instrument displays serial number the date it was last certified and
firmware details. It is recommended that the instrument is calibrated
annually to ensure all tests made are within the relevant standard. If the
instrument has not been calibrated within the last 12 months a reminder
screen will be displayed.
Test Selection
4.0 Before proceeding to the test menus, the operator should check the
options. This is where the die type and test weight are selected. The
instrument is pre-set for the standard test conditions- 2.16 KG weight and
2.0950mm die.
Calibration Reminder screen

MFI 4050 V1.3
12
There are also 2 check box options, Lift operated and Temperature
verification.
Temperature Verification
Selecting this option will prompt the user to verify the temperature
of the barrel with the probe before commencing every test.
5.0 Test selection screen
Standard Test
The Standard test should be used for any material where the exact melt
density is known. This test calculates MFI, MVF, Shear Stress and Shear
Rate.

MFI 4050 V1.3
13
Cut-Off Test
The cut off test should be used for any material where the exact melt
density is unknown; this test calculates the material MD in addition to MFI,
MVF, Shear Stress and Shear Rate.
The test involves manually cutting the extrudate and weighing on an
accurate balance.
Once the melt density is known, the standard test can be used- this has
further options for shorter tests and slice tests where inconsistencies
(bubbles) in the tested polymer are removed from overall calculations.
The test is fully automated and requires no operator interaction.
Test Set up Screen
This screen allows the user to set the parameters for the MFI test.
Temperature-
Set the test temperature; consult the relevant standard or product
literature for the recommended test temperature for each polymer type.
Once the temperature has been entered the
instrument will continue to maintain that temperature
Conditioning time-
Once loaded in to the barrel the polymer should be conditioned for a
controlled period of time.
The instrument will begin timing this period after the test weigh position
sensor has detected the piston has reached the test zone. The default
value for this parameter is 6 minutes.
Once this period has elapsed the instrument will prompt the user to
remove the lock pin or R clip so that the test mass is free from the weight
lift system.
Test Type
(Standard Test only)
The test is defined by test distance (mm) or test time (mins).
Standard Test Cut Off Test

MFI 4050 V1.3
14
A timed test (3min or 15min) can be used for slow flowing polymers. If the
test zone of the instrument (30mm) is exceeded the test is completed and
the results will be calculated for that distance.
The MFI also has two “slice test” modes.
25mmSl- 25mm Slice Test
A test zone of 25mm is used for this test. The test zone is divided into 40
test slices, the instrument monitors the speed of the piston during each
slice. Slice speeds which are more than 2 standard deviation difference
from the average slice speed are not included in the MFI calculations.
3mmSl- 3mm Slice Test
A test zone of 3mm is used, this allows for very high viscosity polymers to
be tested.
sing these tests excludes segments of the polymer which contained
bubbles from the final calculation.
Cut off time
(Cut off test only)
In a cut off test the polymer is manually cut from the die and weighed by
the user. The user uses this parameter to set the time between cut offs.
Melt Density
(Standard Test)
There are 10 stored locations for melt density values. The user can scroll
between these stored values (+ and - buttons) or manually enter a new
value. A manually entered value is stored in the currently displayed
position.
Melt Density
(Cut off test)
The melt density is calculated during a cut off test. It is automatically
stored in one of 10 locations. Before beginning the test use the + and –
buttons to select an empty location or a previously saved value that can
be overwritten.
Performing a Standard Test
1. As described in the previous section configure the test parameters

MFI 4050 V1.3
15
2. Select the melt density from the stored values or enter a new value. Note
the new reading will over write the value shown.
3. Place the die in the barrel and fit the piston to the test weight.
To fit the test piston to the weight pull on the ring-pull to retract the
securing clip. Push the piston into the weight and release the ring-pull to
lock it into place.
Pressing OK will lower the piston into the barrel so that all parts reach the
test temperature.
4. The instrument barrel will heat to the pre-set temperature. The user will
not be able to progress to the next test stage until the correct temperature
is reached. Once the set temperature has been reached the instrument
will continue to monitor the temperature to ensure a stable temperature.
This can take approximately 5 minutes. When the test temperature is

MFI 4050 V1.3
16
reached and a stable reading achieved the ready button will become
active. Pressing the Ready button will raise the piston out of the barrel.
CAUTION PISTON WILL BE HOT
5. Fill the barrel with approximately 4 grams of polymer using the filling
funnel supplied,
Remove funnel after use

MFI 4050 V1.3
17
CAUTION FUNNEL WILL BE HOT
6. Press OK to lower piston into barrel

MFI 4050 V1.3
18
7. The weight platform will lower to the bottom allowing the test weight to
push any excess polymer through the barrel during the conditioning time.
Once the piston has reached the test zone the weight lift mechanism will
come back up and hold the piston at the start of the test zone for the
remainder of the pre selected conditioning time.
8. At the end of the conditioning time the weight lift system is lowered and
the piston and test weight are left to force though the polymer under test.
9. After the test is complete the test results will be shown and the option to
Print the results or clean the instrument.
Note
The instrument should be cleaned after every use.

MFI 4050 V1.3
19
(See cleaning cycle below)
Printing the results with the optional printer will give a time and date stamped self
adhesive label that can be attached to the job sheet or sample bag. Additional
calculations are also reported.
Performing a Cut off Test
This method should always be used if you do not know the EXACT melt
density of the polymer to be tested.
If in doubt of a polymers MELT DENSITY value, use this method to calculate
it before undertaking fully automated testing.
Additional Equipment Required:
Precision Balance (minimum accuracy 0.005 g)
1. As described in the previous section configure the test parameters

MFI 4050 V1.3
20
2. The calculated melt density will be automatically stored in a memory slot
for future use. Select a memory slot that contains a result no longer
required.
3. Place the die in the barrel and fit the piston to the test weight. Pressing OK
will lower the piston into the barrel so that all parts reach the test
temperature.
Table of contents
Popular Laboratory Equipment manuals by other brands

Invitrogen
Invitrogen Safe Imager G6600 Quick reference card

TeleDart
TeleDart RD706 Operator's manual

Thermo Scientific
Thermo Scientific Thermo Scientific SL16R instruction manual

MingTai
MingTai SUN8 Operation manual

Agilent Technologies
Agilent Technologies 700 Series user guide

Grant
Grant SUB operating instructions

Deltec
Deltec PF 501 Operating instructions and spare parts list

OHAUS
OHAUS ACROSS PRO AO-2 manual

InfiRay
InfiRay Tyke-L3 Operation and maintenance manual

Binder
Binder APT.line FP 56 operating manual

BANDELIN
BANDELIN SONOREX CNp 28-2 operating manual

Ocean Optics
Ocean Optics QE Pro Installation and operation manual