5
Pencil
6mm
Pistol
drilling Expansion
pipe
Inlet grill
Safety
screw
Draw the position of mounting
holes
Drill holes
Fix the mounting plate
Install the machine
Fix anti-theft screws
Hook up
Hook
groove
Safety screw hole
Self tapping
screw
5
Turn on the perfume
dispenser switch
Installation method Perfume mode setting
Otherwise, it will damage the surface
finish or cause discoloration.
Please don’t apply any alcohol to the
surface. If using a chemical cloth,
please follow the instructions.
Rub your hands.
Palm down, move
your hands back
and forth slowly.
Palm up, move
your hands back
and forth slowly.
According to the installation position,
hold the mounting plate in place with
one hand where the machine will be
installed. Use your other hand to draw
the positions of mounting holes in
pencil or draw them directly according
to the size.
In accordance with the position of the
drawn holes, drill four holes 6 mm in
diameter and press the expansion
pipes into the four holes.
Align the installation holes of the
installation panel with the expansion
pipes and fix them with self-threading
cross screws.
The mounting plate has protruding
hooks for inserting into the slots on
the machine and allow it to hang from
the mounting plate. Align the slots
with the hooks on the mounting plate
and push the machine down until the
anti-theft screw holes on the machine
and mounting plate are aligned
Screw anti-theft bolts into the bolt
holes to fix the machine to the
mounting plate. Install the air intake
grill and make sure the grill is locked.
The machine is installed firmly
without shaking or noise
Shaking and noise will occur when
the machine isn't installed firmly
Confirm the power
output with a
voltage meter
The voltage is at the
required level
Misusing the voltage is likely to cause
personal injury or machine burning out
Close power supply
Power supply must match the
requirement for the machine.
Please check the power when the
indicator light is not bright.
Dry your hands
under the machine High speed air blow Confirm whether your hands are at
the correct distance from he sensors
The machine emits
fragrance
Press the setting button to check the
three perfume setting modes
Once the machine is powered on, the hand dryer is on standby and the
perfume dispenser stays closed. Press the button on the right side of
display screen to turn on the perfume dispenser. As soon as the
dispenser starts working, it shows “12h” on the screen, which is the
factory default mode. You can choose one of three working modes
including “12h”, “auto” and “24h” by pressing the settings button that is
on the left side of display.
1) 12h : with this mode, the perfume dispenser works 12 hours each day.
During the 12 hours, the perfume dispenser works in cycles of 10 minutes
active and pausing for 10 minutes. (small circle). Then closed for the
remaining 12 hours of the day (big circle).
“ ”
2) auto”: with this mode, the perfume dispenser turns on and off
automatically according to light changes in the environment (including
natural light and electrical lights) During activated times, the perfume
dispenser also works for 10 minutes and, pausing for 10 minutes in a
cycle as mentioned above.
“
3)24h”: with this mode, the perfume dispenser works 24 hours
each day. Also working for 10 minutes and pausing for 10 minutes
in cycles as mentioned above.
“
Clean the shell with a soft dry cloth or
dry towel.
Use neutral detergent.
Do NOT use organic solvents, acid or
alkali toilet cleaner, cleaning brush etc.
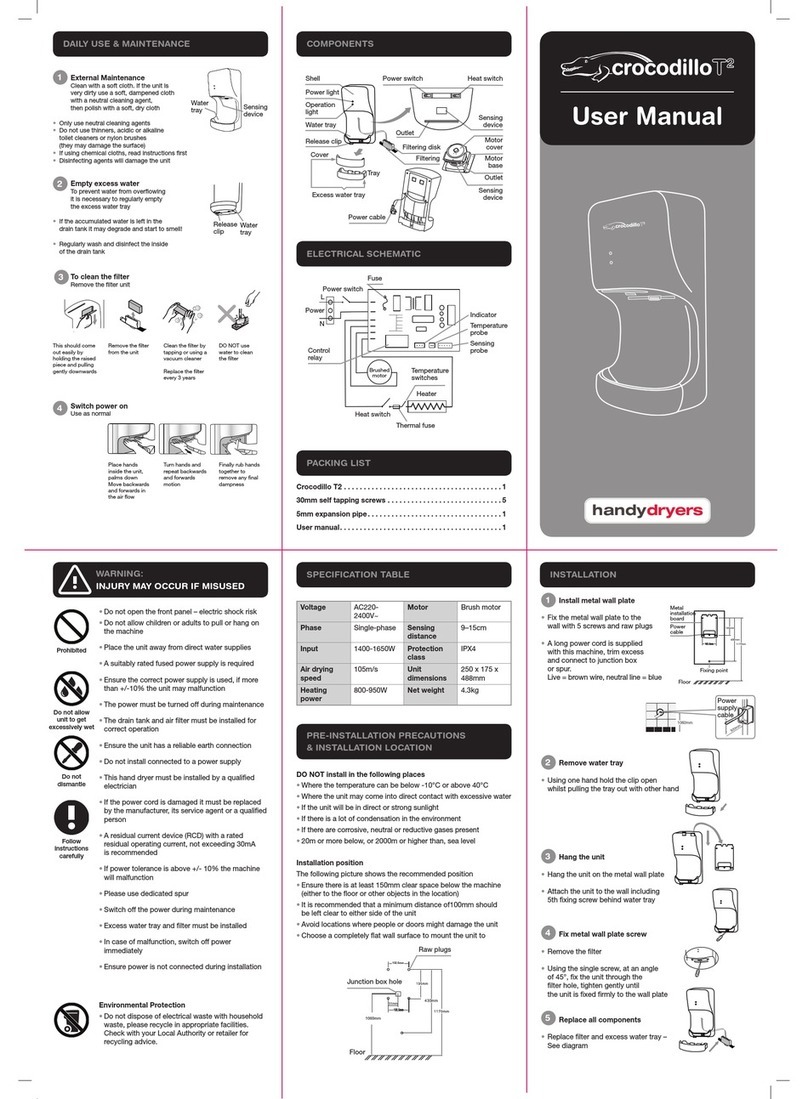
2806-6SM004-V2.0
Handy Dryers
Tel: 01279 466500
Email: info@handydryers.co.uk
Unit 9 Stort Valley Industrial Estate
Bishop's Stortford
Hertfordshire
CM23 2TU
United Kingdom
Regularly check the air inlets to ensure that they are free from dust
and debris. Simply wiping the inlets with a soft cloth should be
sufficient to remove dust and debris, however, removing the cover
and cleaning the filter is recommended at least every six months.
If the air inlets get clogged, further cleaning or a filter change
might be required.
If required for high usage environments, a regular filter change is
advisable. Contact the Handy Dryers Helpline for more information.
