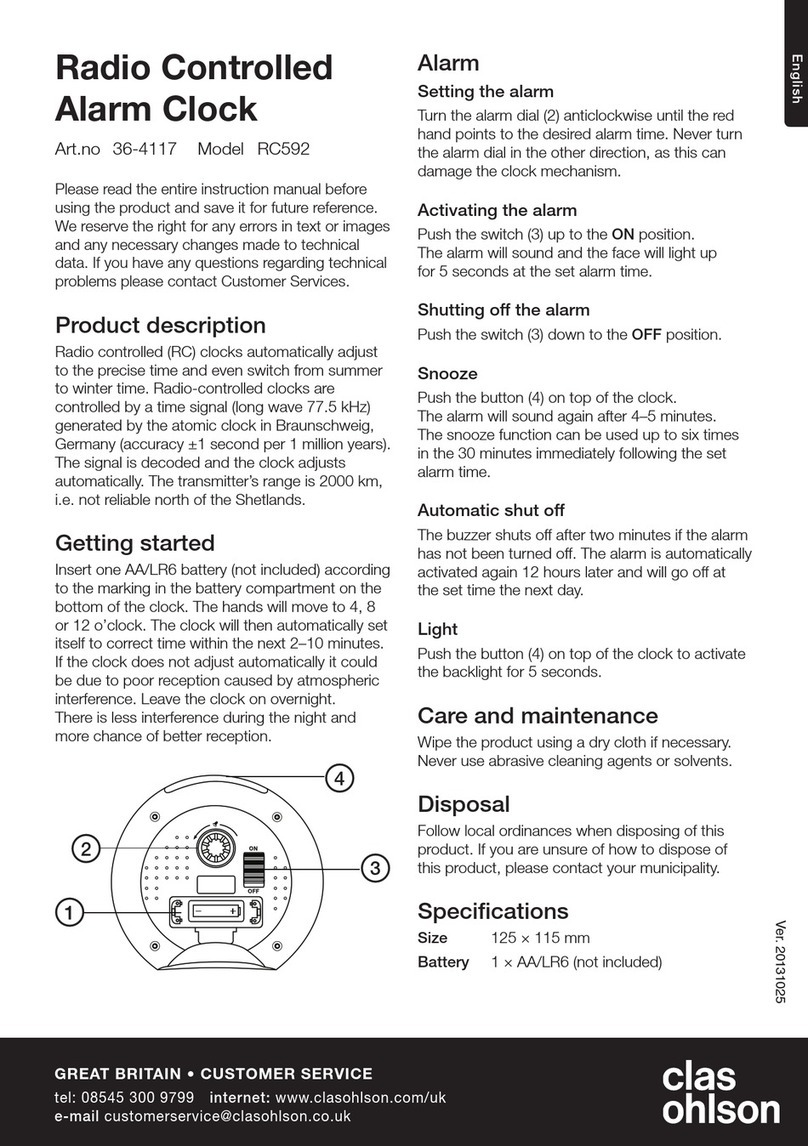
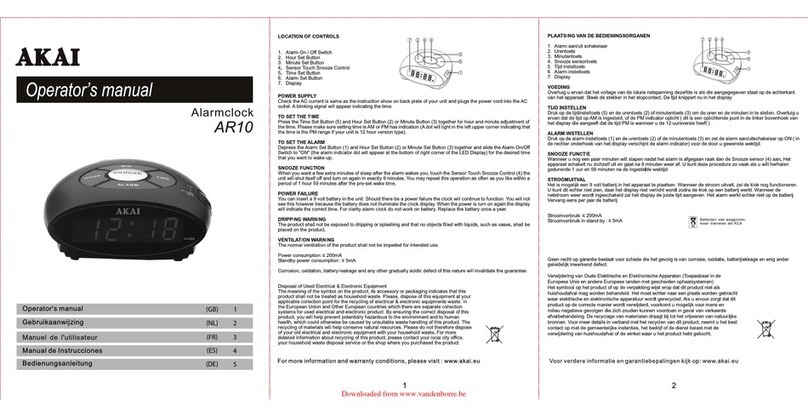
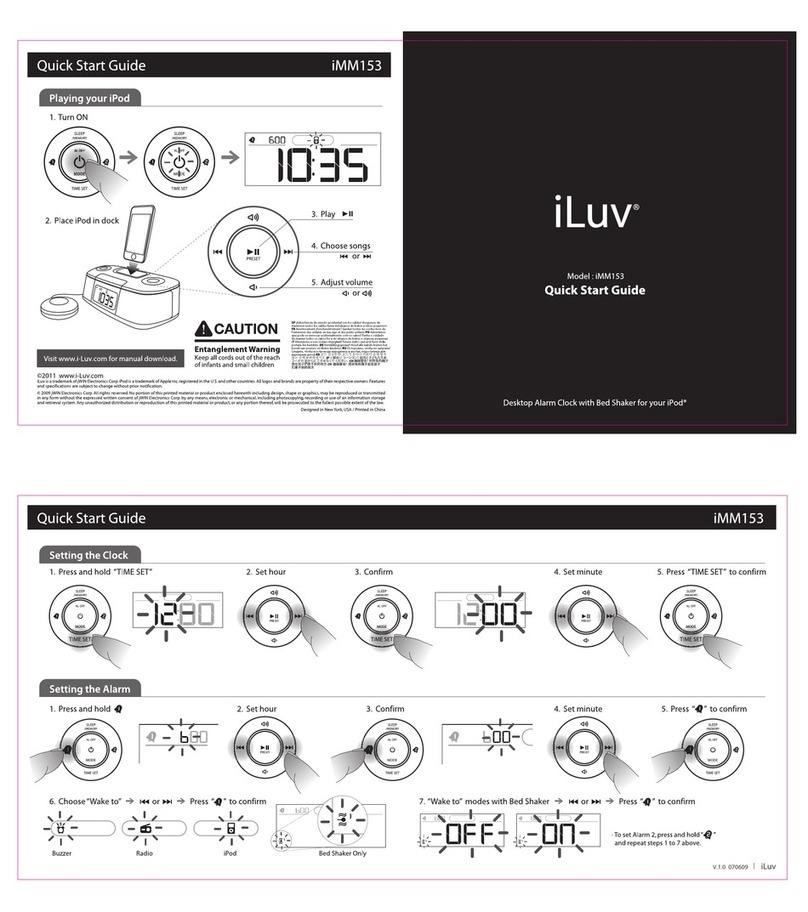
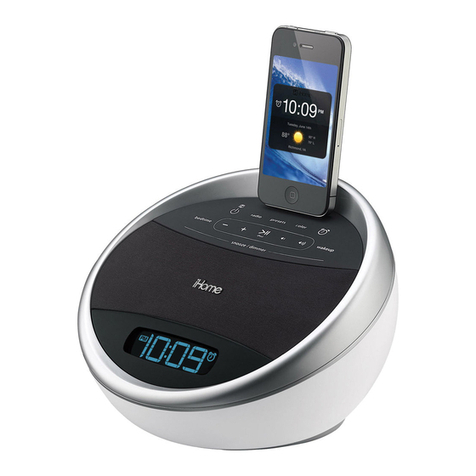
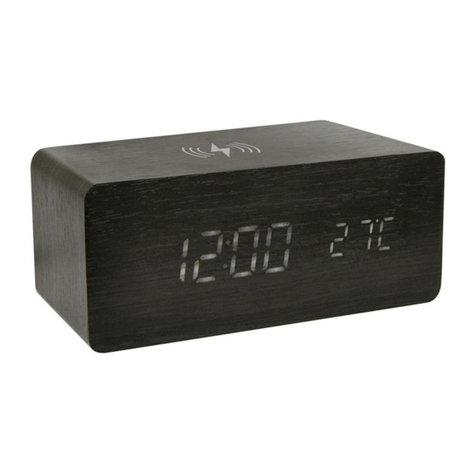
Hannlomax HX-203QI User manual

ALARM CLOCK RADIO WITH QI WIRELESS CHARGING
AND USB CHARGING(2.4A)
Model :HX 203QI
WARNING
TO PREVENT ELECTRIC SHOCK; DO NOT USE THIS PLUG WITH AN EXTENSION CORD
RECEPTACLE OR OTHER OUTLET UNLESS THE BLADES CAN BE FULLY INSERTED TO
PREVENT BLADES EXPLOSURE.
TO PREVENT FIRE OR SHOCK HAZARD; DO NOT EXPOSE THIS APPLIANCE TO RAIN OR
MOISTURE.
CAUTION
RISK OF ELECTRIC SHOCK
DO NOT OPEN
The li htin flash with
arrowhead symbol, with an
equilateral trian le is intended
to alert the user to the
presence of un-insulated
dan erous volta e within the
products enclosure that may
be of sufficient ma nitude to
constitute a risk of electric
shock to persons.
CAUTION: TO REDUCE THE RISK
OF ELECTRIC SHOCK, DO NOT
REMOVE COVER (OR BACK). NO
USER SERVICEABLE PARTS
INSIDE REFER SERVICING TO
QUALIFIED SERVICE
PERSONNEL.
The exclamation point within
an equilateral trian le is
intended to alert the user to
the presence of important
operatin and maintenance
(servicin ) instruction in the
literature accompanyin the
appliance.
SPECIFICATIONS
Frequency Ran e: FM: 87.5 - 108 MHz
Power Supply: AC 100-240V ~ 50/60 Hz
Rated Output DC9V 3.5A
USB Char in Current: 2.4 A
Specifications are subject to chan e without prior notice.
CONNECTING THE UNIT TO POWER
Plu AC power adapter to the AC wall outlet. Before switchin on the unit, make sure that the volta e of
your electricity supply is the same as that indicated on the ratin plate.
-1-
QUICK REFERENCE
1. TUN / HOUR
•
Use this button to adjust the hour in CLOCK or ALARM time
•
Use this button to search the radio station in backward direction.
2. TUN+/ MIN
•
Use this button to adjust the minute in CLOCK or ALARM time
•
Use this button to search the radio station in forward direction.
3. ON/ PRESETS BUTTON
•
In Clock mode, press and Hold to Set the CLOCK
•
Press this button to turn on the radio
•
In RADIO mode, press and hold this button to store radio stations in the memory.
•
In RADIO mode, press this button to select the stored radio stations in the memory.
4. OFF/ AL 1 / VOL BUTTON
•
In Radio mode, press this button to increase the volume.
•
In RADIO mode, press and hold this button to turn off the radio .
•
In Clock mode, press this button to set the ALARM 1..
5. AL 2 / VOL + BUTTON
•
In Radio mode, press this button to decrease the volume.
•
In Clock mode, press this button to set the ALARM 2..
6. SLEEP/SNOOZE /DIMMER BUTTON
•
In Radio mode, use this button to set the sleep time.
•
When alarm activates, use this button to temporarily suspend the ALARM for a short period.
•
In Clock mode, press the button to select the LED display bri htness
7. Qi Wireless Charging Pad (Place the Qi supported phone for wireless char in )
8. ALARM 1 BUZZER INDICATOR (This indicator means it is in ALARM 1 buzzer mode.)
9. ALARM 1 RADIO INDICATOR (This indicator means it is in ALARM 1 radio mode.)
10. Qi Wireless Charging Indicator ( This Indicator shows the status the wireless char in )
11. ALARM 2 BUZZER INDICATOR (This indicator means it is in ALARM 2 buzzer mode.)
12. ALARM 2 RADIO INDICATOR (This indicator means it is in ALARM 2 radio mode.
13. USB SLOT FOR 2.4A CHARGING ( Connect a USB cable to char e your device. )
14. DC Jack ( Connect AC/DC Adaptor)
15. FM ANTENNA (Extend for better FM radio reception)
-2-

SETTING THE CLOCK
1. Make sure the unit in CLOCK mode (LED Display shows the time only)
2. Press and hold the ON/ PRESETS button for about 1 second, the time will be in to flash.
3. Press the TUN / HOUR button to adjust the hour.
4. Press the TUN +/ MIN button to adjust the minute.
5. When the correct time is selected, press the ON/ PRESETS button a ain to confirm.
SETTING THE ALARMS
1. With the unit in CLOCK mode, press and hold the OFF/ AL 1 / VOL AL 1 button (for Alarm 1) or AL 2 /
VOL + (for Alarm 2) button. The ALARM time will be in to flash on the display.
2. Press the / HOUR button to adjust the alarm hour.
3. Press the / MIN button to adjust the alarm minute.
4. When the desired alarm time is selected, press the OFF/ AL 1 / VOL AL 1 button (for Alarm 1) or AL 2 /
VOL + (for Alarm 2) button.
5. Press the OFF/ AL 1 / VOL AL 1 button (for Alarm 1) or AL 2 / VOL + (for Alarm 2) button to select the
ALARM sound mode - buzzer or currently set radio station. The alarm buzzer or radio indicator will li ht up.
The alarm indicator will show the alarm status as below :
AL1 B indicator is on – Alarm 1 wake up mode is buzzer
AL1 R indicator is on – Alarm 1 wake up mode is FM radio
AL2 B indicator is on – Alarm 2 wake up mode is buzzer
AL2 R indicator is on – Alarm 2 wake up mode is FM radio
Note : If you choose AL1-R or AL2-R as the alarm wake up source, alarm
will o to the last FM radio station that you listened.
SNOOZE FUNCTION
1. Whenever the alarm (radio or buzzer) activates, it can be temporarily suspended for a short period of 9
minutes by pressin the SNOOZE/SLEEP/DIMMER button once.
2. The alarm will then automatically activate a ain after the 9 minutes SNOOZE period has ended.
3. This procedure can be repeated for up to approximately one hour.
TURN OFF THE ALARM
When the Alarm activate, press the OFF/ AL 1 / VOL button to turn off the Alarm.
CANCEL ALARM SETTING
Press the OFF/ AL 1 / VOL AL 1 button (for Alarm 1) or AL 2 / VOL + (for Alarm 2) button repeatedly until all
alarm indicators o off.
DIMMER FUNCTION
In Clock Mode, press the SLEEP/SNOOZE/DIMMER button repeatedly to select the bri htness of the display
LISTENING TO THE FM RADIO
1. Press and hold the ON/ PRESETS button to turn on FM radio. The display shows the radio frequency.
2. AUTO TUNNING: Press and hold the TUN / HOUR or TUN+ / MIN button for approx.1 second, it will start
to search the next radio station in the direction of the search. The search operation simply finds stations
with stron si nals. Stations with weak reception can only be tuned in manually.
3. MANUAL TUNING: Press the TUN / HOUR or TUN+ / MIN button step by step to tune to the desired radio
stations manually..
4. For better reception, Fully extend the FM antenna.
5. To turn off the radio, press and hold the OFF/ AL 1 / VOL button.
-3-
SAVING A RADIO STATION TO THE MEMORY
1. In Radio mode, tune to the desired FM station.
2. Press and hold the ON/ PRESETS button to store this radio station in the next memory station
number. The LED display will show PXX (XX is the memory station number from 01 to 10) and flash.
3. Press TUN / HOUR or TUN+ / MIN button to select the number of memory station number.
4. Press ON/ PRESETS button to confirm.
5. Up to 10 FM radio stations can be stored in the memory.
TO LISTEN TO A SAVED RADIO STATION
In Radio model, press the ON/PRESETS button to skip to the next stored radio station.
SLEEP TO MUSIC FUNCTION
1. This function allows you to listen to the radio/Bluetooth/USB while you fall asleep.
2. In radio mode, press the SNOOZE/SLEEP/DIMMER button, the display will show the default sleep
time of 90 minutes.
3. Press the SNOOZE/SLEEP/DIMMER button repeatedly to set the desired sleep time.
(90-80-70-60-50-40-30-20-10 min. or OFF)
4. After the pre-set time has elapsed, the radio will turn off automatically.
CHARGE YOUR DEVICES/PHONES
1. CHARGE WITH USB PORT (2.4A)
Connect the standard size end of a USB cable (not included) to the USB port at the back of the unit and
connect the other end to the char in port of your device.
The unit contains one USB port with 5V ~ 2.4A char in .
Remarks: Some devices may not support USB char in or may require a hi her power ratin than this
product provides. Observe the char in status on your device. Ensure your device is workin properly
before attemptin to char e. Char in function may not be supported for all phones or electronic
devices
2. Qi WIRELESS CHARGING
Place a Qi supported smartphone on the Qi Wireless Char in Pad. .
Check the char in icon displayed on the phone’s screen for the char in status.
While char in , the Qi indicator will keep flashin slowly. (Android Phones and Apple Phones)
Fully char ed: the Qi indicator will remain on for some specific Android phones. For other
smartphones, the Qi indicator will keep flashin slowly.
Improper char in error**: the Qi indicator will keep flashin rapidly. (Android Phones and Apple
Phones)
The wireless charger is compatible with Wireless Power Consortium (WPC) certified devices.
Note **:
Do not place forei n materials, such as metal objects, ma nets and ma netic stripe card between
the mobile device and the wireless char er. The mobile device may not char e properly or may be
dama ed due to overheatin .
Wireless char in may not work properly if you have attached a thick case to your mobile device. If
your case is thick, remove it before placin your mobile device on the wireless char er.
If the mobile device is not placed properly on the char in surface, or dependin on the location of
the mobile device’s wireless char in coil, your mobile device may not char e properly.
When the mobile device is fully char ed, remove it from the wireless char er.
-4-
Other Hannlomax Alarm Clock manuals

