manuals.online logo
Brands
  1. Home
  2. •
  3. Brands
  4. •
  5. Hardt
  6. •
  7. Commercial Food Equipment
  8. •
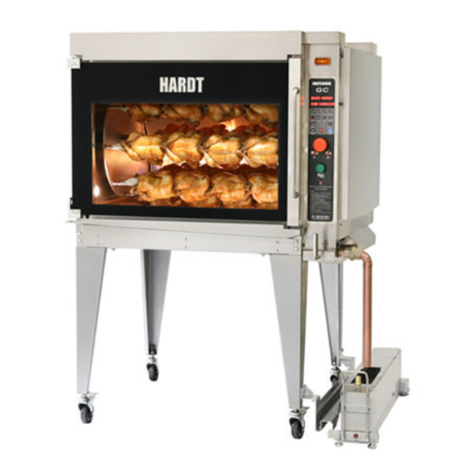
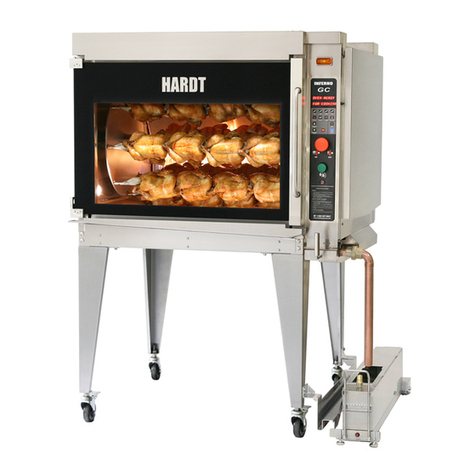
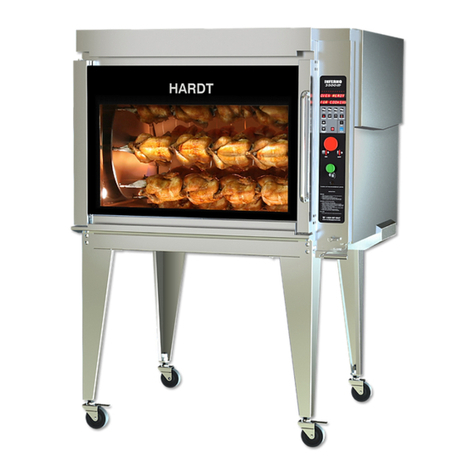
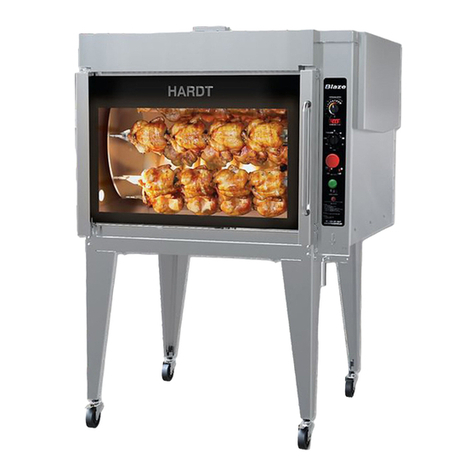
  9. Hardt INFERNO 3500 Manual

Hardt INFERNO 3500 Manual

Page 1 of 4
Overlay Troubleshooting Procedure
Inferno 3500 & GC Rotisseries
S-1014-02.doc
Time Required: 60-90 minutes
Tools Required
Multimeter
Wire (for bridging pins on display circuit board)
Ensure the rotisserie is switched off, unplugged and cool to the touch before
performing this procedure.
Always verify the function of the control panel via the display screen, do not use sounds to
verify their functionality.
Your equipment may not appear exactly as shown in the illustrations in this document,
however the locations of components and the procedure will remain the same.
The best method for testing the functionality of all the buttons on the control panel can be
found in Section 1.4 at the end of this document.
1.1.1 If your unit has a reset button:
1. Check and see if your rotisserie is equipped with a
reset button, it is located on the right side of the
unit right next to the control panel as shown in
Figure 1.
2. If your unit does have a reset button, ensure the
power cord is unplugged then press and hold the
button for 30 seconds to reset the control board.
3. Plug the rotisserie back in and test the unit, if you
are still experiencing problems with the control
panel, proceed to section 1.2 on page 2.
1.1.2 If your unit does not have a reset button:
1. Unplug the rotisserie from the mains electrical
supply. Remove the side panel as shown in
Figure 2. Locate the control circuit board.
1.1 Reset the Control Board’s Battery
Figure 1: Push and hold reset button.
Figure 2: Remove Side Panel.
Control Board
Reset Button
Page 2 of 4
Overlay Troubleshooting Procedure
Inferno 3500 & GC Rotisseries
S-1014-02.doc
2. Unplug the battery cable from the circuit board as
shown in Figure 3. Leave the cable unplugged for
at least 30 seconds then plug it back in.
3. Plug the rotisserie back in and test the unit, if you
are still experiencing problems with the control
panel, proceed to section 1.2 on this page.
1. Ensure the rotisserie is unplugged. Locate the
display circuit board inside the side compartment
immediately behind the led display on the front of
the rotisserie. (See Figure 4)
2. Unplug the ribbon connector from the display board
and unplug the communications cable from the
display board and controller board. (see Figure 5
and Figure 6)
3. Do a pull test on the communication cable by
gently pulling on each of the 3 wires in the cable at
each of the connectors. After pulling the wires,
check the continuity of each wire on the cable with
a multimeter. This test ensures the wires are firmly
attached to the connectors.
4. Reconnect the cable and ribbon connector. Doing this helps remove corrosion from the connectors and
ensures that the connections are secure. (see Figure 5 and Figure 6)
Caution must be taken not to damage the ribbon cable as it is extremely fragile.
5. Plug the rotisserie back in and test the unit. If you
are still experiencing problems with the control
panel, proceed to section 1.4 on page 4.
Figure 3: Unplug battery cable for 30 seconds.
1.2 Check cable and ribbon connections on the display board
Figure 4: Locate display controller board.
Figure 5: Disconnect cables from display board.
Figure 6: Unplug comm. Cable from control board.
Battery Cable
Display Board
Communication
Cable
Communication
Cable
Ribbon Cable
Page 3 of 4
Overlay Troubleshooting Procedure
Inferno 3500 & GC Rotisseries
S-1014-02.doc
Figure 7: Button number grid.
1.3 Button number grid
Page 4 of 4
Overlay Troubleshooting Procedure
Inferno 3500 & GC Rotisseries
S-1014-02.doc
1. Ensure the rotisserie is plugged in, turned on and that
the ribbon cable is disconnected from the display circuit
board.
2. To simulate the activation of a button, you must bridge
(or short circuit) the two corresponding pins (see Figure
8 for details). It is important that you short circuit ONLY
the two pins for the button, accidentally bridging 3 pins
will give erroneous results but will not damage the
circuit board. The numbers for each button can be
found in Figure 7 on page 3.
3. The buttons on the control panel only work in the proper context (for example: the +5 min button will not do anything
when the rotisserie is in cleaning mode). The following describes methods of accessing the proper modes for
testing each button. If only a single button has been reported as faulty, you may start with the section specific to
that button, otherwise it is recommended that you follow each section in sequence. You must always start each
section in idle mode (Indicated by the display showing “PREHEAT OR CLEAN”).
a. To initially reach idle mode on an Inferno GC, simply turn on the rotisserie.
b. To initially reach idle mode on an Inferno 3500, turn on the rotisserie, wait for the display to show “PLEASE
DO NOT ADD WATER..” then press ENTER.
1.4.1 To Test EDIT, 1-2, 3-4, 5-6, 7-8, and STOP
-Start from idle mode (“PREHEAT OR CLEAN” on the display)
Hold EDIT (pins 3 & 8) and 1-2 (Pins 1 & 5) at the same time for 3 seconds. The display should show “P0 / #-# SKS
MANUAL”. Do not change any settings, simply press STOP (pins 4 & 6) to go back to idle mode.
The same message should be shown when repeating this step for the other favorite buttons (EDIT (pins 3 & 8) and
3-4 (Pins 1 & 6)), (EDIT (pins 3 & 8) and 5-6 (pins 1 & 7)), and (EDIT (pins 3 & 8) and 7-8 (pins 1 & 8).
1.4.2 To test PREHEAT and STOP
-Start from idle mode (“PREHEAT OR CLEAN” on the display)
Press PREHEAT (pins 2 & 5) (for Inferno GC units, the lever must be in the “COOK” position) – the rotisserie will
enter preheat mode and the display should show “PREHEATING PLEASE…”. Press and hold STOP for 3 seconds
to go back to idle mode.
1.4.3 To test EDIT, +5 MIN, UP, DOWN, ENTER, and STOP
-Start from idle mode (“PREHEAT OR CLEAN” on the display)
Hold EDIT (pins 3 & 8) and +5 MIN (pins 2 & 7) for 3 seconds. This will bring you to the 2nd level programming
menu. The display should show “PROGRAMMING SECOND LEVEL”. Press UP (pins 3 & 5), the display should
show “CIRCULATION PUMP…”. Press ENTER (pins 2 & 6), the display should show “PUMP LOW LIMIT…”.
Press STOP (pins 4 & 6), the display should show “CIRCULATION PUMP…”. Press DOWN (pins 4 & 5) the display
should show “PROGRAMMING SECOND LEVEL”. Press STOP to return to idle mode.
1.4.4 To test VIEW TEMP
-Start from idle mode (“PREHEAT OR CLEAN” on the display)
Press VIEW TEMP (pins 2 & 8), the display should show the temperature and return to idle mode after 5 seconds.
1.4.5 To test CLEAN and STOP
-Start from idle mode (“PREHEAT OR CLEAN” on the display)
Press CLEAN (pins 4 & 8) (for Inferno GC units, the lever must be in the “COOK” position) – The display should
show “ENTER TO RUN OR STOP”. Press and hold STOP (pins 4 & 6) for 3 seconds to return to idle mode.
1.4 Test the Display Circuit Board
Figure 8: Button numbers on display board pins.
Pins

Other manuals for INFERNO 3500

4

This manual suits for next models

1

Other Hardt Commercial Food Equipment manuals

Hardt Elemendt 1000 Use and care manual

Hardt

Hardt Elemendt 1000 Use and care manual

Hardt Inferno GC User manual

Hardt

Hardt Inferno GC User manual

Hardt INFERNO 4500 User manual

Hardt

Hardt INFERNO 4500 User manual

Hardt INFERNO 4500 User manual

Hardt

Hardt INFERNO 4500 User manual

Hardt Elemendt 1000 User manual

Hardt

Hardt Elemendt 1000 User manual

Hardt Elemendt 1000 User manual

Hardt

Hardt Elemendt 1000 User manual

Hardt INFERNO 3500 Installation manual

Hardt

Hardt INFERNO 3500 Installation manual

Hardt Inferno GC User manual

Hardt

Hardt Inferno GC User manual

Hardt Inferno 3500 - C Installation manual

Hardt

Hardt Inferno 3500 - C Installation manual

Hardt INFERNO 3500 User manual

Hardt

Hardt INFERNO 3500 User manual

Hardt Blaze User manual

Hardt

Hardt Blaze User manual

Hardt Inferno GC User manual

Hardt

Hardt Inferno GC User manual

Hardt Blaze - C User manual

Hardt

Hardt Blaze - C User manual

Popular Commercial Food Equipment manuals by other brands

Bartscher Deli PRO 2/1 GN manual

Bartscher

Bartscher Deli PRO 2/1 GN manual

Bonnet Neve OFFLIP 3 ECO User instructions

Bonnet Neve

Bonnet Neve OFFLIP 3 ECO User instructions

Hoshizaki Steelheart Series Service manual

Hoshizaki

Hoshizaki Steelheart Series Service manual

Henny Penny OFE-321 instruction manual

Henny Penny

Henny Penny OFE-321 instruction manual

Redfox BR-90/80 G Instructions for installation and use

Redfox

Redfox BR-90/80 G Instructions for installation and use

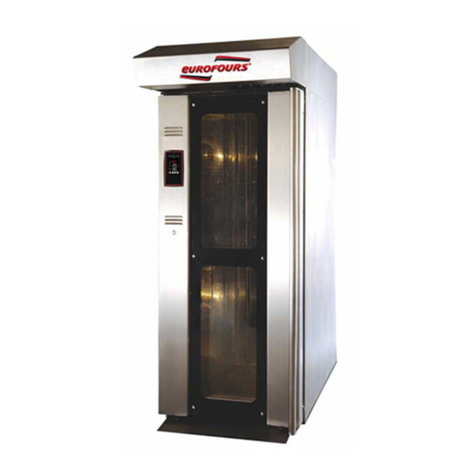
Eurofours CF80 use instructions

Eurofours

Eurofours CF80 use instructions

Atwood SCALE-O-MATIC S302 Operation and safety manual

Atwood

Atwood SCALE-O-MATIC S302 Operation and safety manual

Royal Catering RC-HKS03 user manual

Royal Catering

Royal Catering RC-HKS03 user manual

Vollrath LidSaver instructions

Vollrath

Vollrath LidSaver instructions

STODDART Culinaire CH.CD Specification, installation and operation manual

STODDART

STODDART Culinaire CH.CD Specification, installation and operation manual

Tecfrigo SNELLE 750 RBT manual

Tecfrigo

Tecfrigo SNELLE 750 RBT manual

KitchenAid KUBL214KSB Use and care guide

KitchenAid

KitchenAid KUBL214KSB Use and care guide

Taylor C300 NP Original operating instructions

Taylor

Taylor C300 NP Original operating instructions

Arneg Velden LX Direction for Installation and Use

Arneg

Arneg Velden LX Direction for Installation and Use

Heatlie Barbecues Hotbox HB6000SS Instructions and general information

Heatlie Barbecues

Heatlie Barbecues Hotbox HB6000SS Instructions and general information

FWE COMBI-COMPANION LCH-CC Series operating instructions

FWE

FWE COMBI-COMPANION LCH-CC Series operating instructions

Casselin CRCE100 manual

Casselin

Casselin CRCE100 manual

Perlick MBS Assembly and installation

Perlick

Perlick MBS Assembly and installation

manuals.online logo
manuals.online logoBrands
  • About & Mission
  • Contact us
  • Privacy Policy
  • Terms and Conditions

Copyright 2025 Manuals.Online. All Rights Reserved.