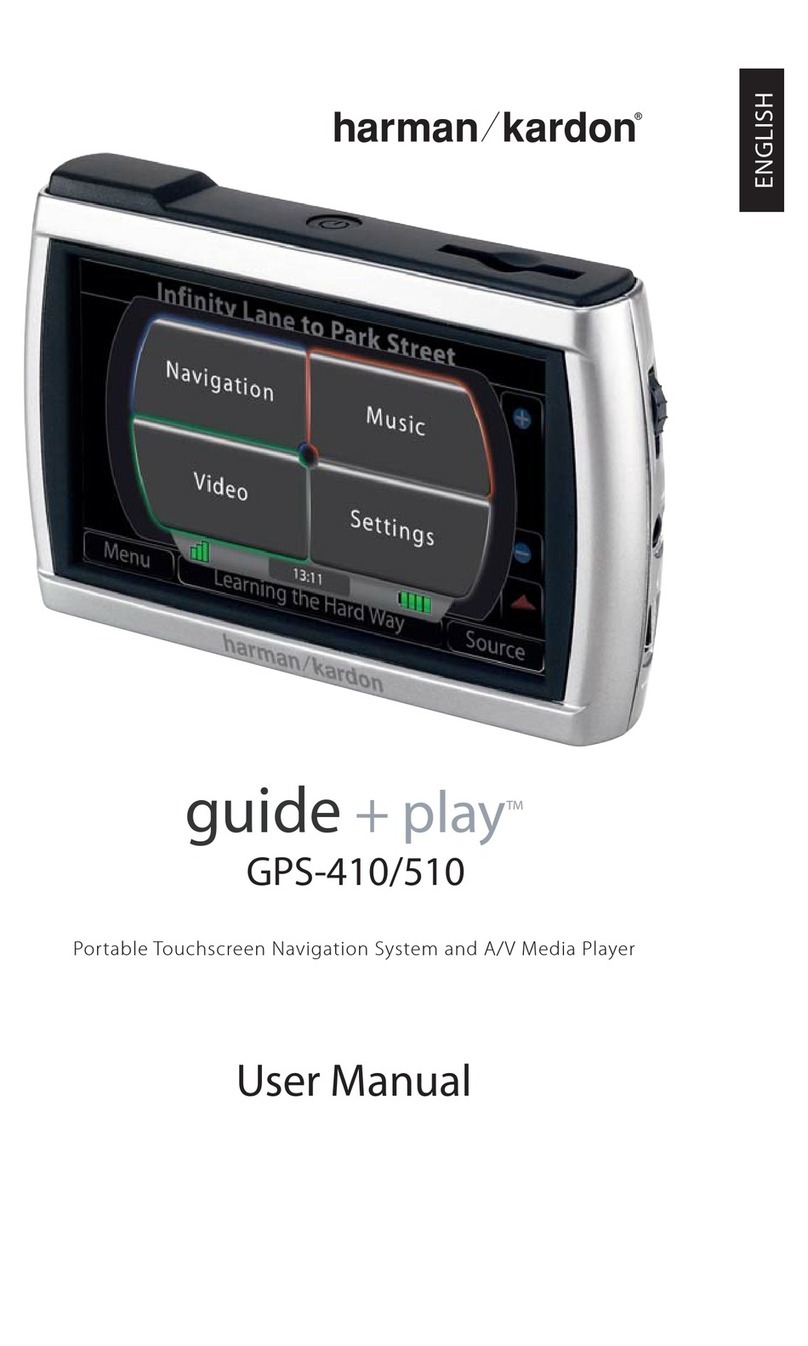
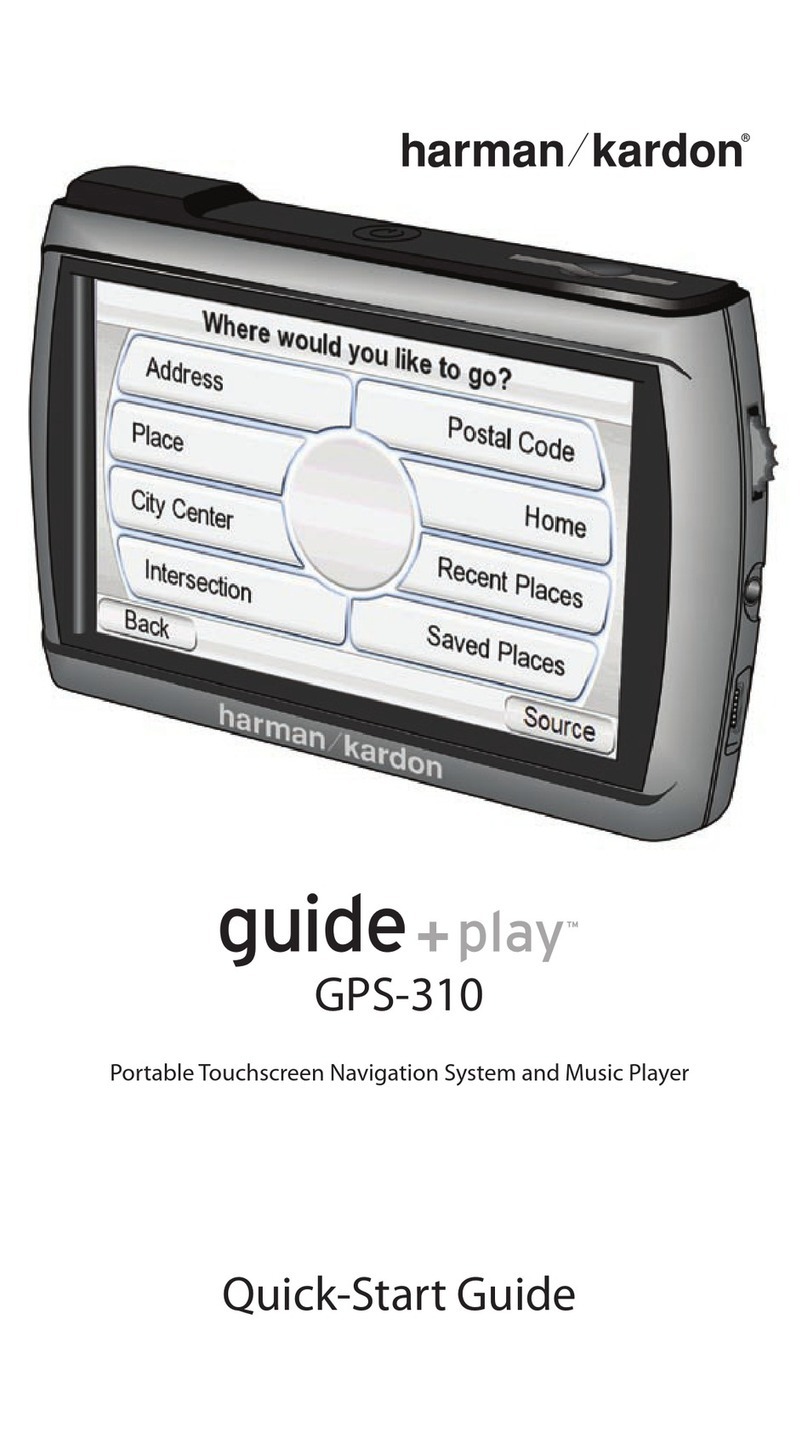
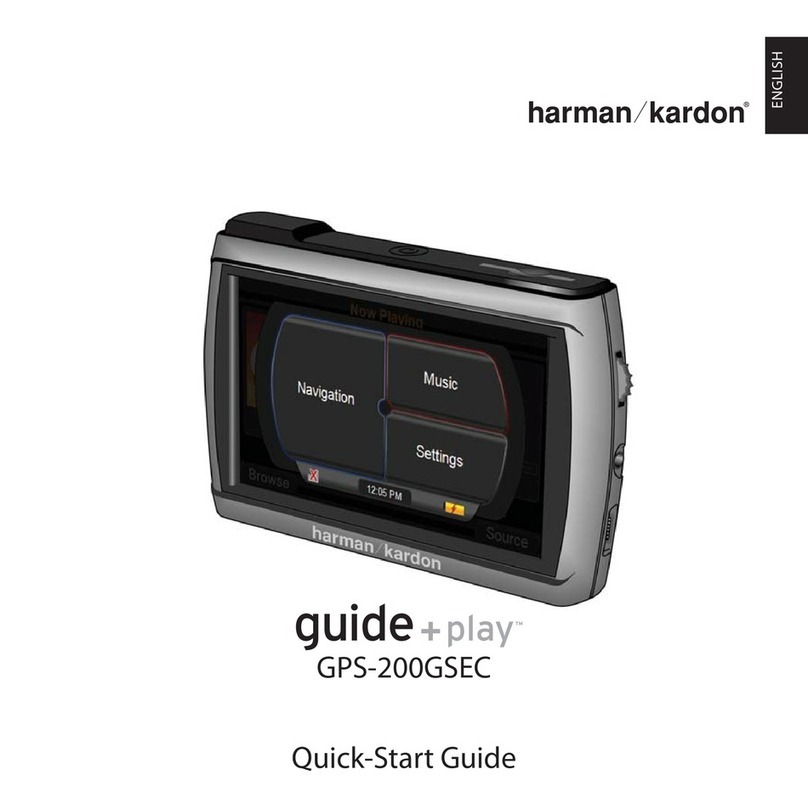
Harman Kardon guide+play GPS-810 User manual

GPS 810EU/GPS 910EU
Quick-Start Guide
ENGLISH

Quick-Start Guide
Quick-Start Guide
2
Before You Begin
Before You Begin
4
2Unlock Switch
Power On
3
1
Charge Battery
at Least 6 Hours
Go outdoors for at
Least 3 Minutes to
Obtain GPS Signal
Reception
What’s in the Box
What’s in the Box
WARNING: Operation of any feature of this
device while driving is dangerous. Do not
operate this device while driving. Do not view
or operate audio or video modes while driving.
For safety reasons,the GPS 810/GPS 910 will
cease navigation functions when the video
mode is enabled. Do not attempt to disable
any safety function incorporated in this device.
Any alteration of this device may cause serious
injury and shall void the warranty.
Temperatures below -10°C and above +55°C
should be avoided to prevent damage the unit.
Car Charger (12-24V)
Wall Charger (110-230V)
USB Cable
Quick-Start Guide
Carrying Case
Fold-Flat Mounting
Bracket
GPS unit.
Plastic Adhesive Disc
for Dash-Mount
Wireless Remote
Control with Battery
Mounting Disc for
Wireless Remote
Alcohol Cleaning Pads
for Mounting
Surfaces
To put the unit in stand by
mode, PRESS the power
button momentarily.
To turn unit completely o,
PRESS and HOLD the power
button for 2 seconds.
Download the complete User’s Manual at www.guideandplay.eu
!

Quick-Start Guide
Quick-Start Guide 3ENGLISH
Setup Wizard
Setup Wizard
Select Language
Select Units
Select Time Zone
Conrm Time of Day
1
2
3
C
4
ts
The geographic information provided by
this device serves as a navigational aid
only and does not include information
pertaining to construction, road closures,
speed restrictions, road or trac conditions,
or other circumstances relevant to public
safety. The driver must always be aware of
the actual road conditions and surroundings,
and decide whether or not to follow the
information provided by this device. Obey
all trac laws and observe safe driving
practices. The manufacturer does not
accept responsibility for any inaccurate or
incomplete information provided by this
device.
!

Quick-Start Guide
Quick-Start Guide
4
2
1
Select Mounting Location
Se
In-Vehicle Installation
2
Install the unit
in Mounting Base
tall the uni
3
1
!
Do not install this device in any manner that
impairs the safe operation of the vehicle. Do not
install this device on any airbag panels or in the
deployment eld of any airbags. Do not place
the device on the vehicle’s dashboard unsecured.
Failure to observe the installation or usage
instructions may result in trac accidents or
personal injury.
The installation of this device on the windshield,
between the driver and the windshield, or
otherwise in any manner that obstructs
the driver’s clear view of the road or trac
conditions is dangerous and may be prohibited
by law. In this case other mounting methods
should be used. Check your local laws before
mounting.
Please connect car charger to mounting base to
receive trac messages (TMC). The FM antenna
required for TMC reception runs inside the car
charger cable.
Dash-Mount
Display
Angle
Adjustment
Windshield-Mount
Lock
Unlock
Clean dash with supplied alcohol pad.
Install
Mounting
Base
The GPS unit needs to be angled towards the
driver to allow proper operation of built-in
hands-free microphones.

Quick-Start Guide 5ENGLISH
Use a coin to remove
the bottom cover.
Select Mounting Location
el
ect
Mo
1
CR2032/DL2032
Se
Se
Install Battery
tall Battery
2
3
Push the knob down onto the base,
and turn clockwise to lock it into
place. The knob can be removed to
replace the battery by turning the
bottom counterclockwise.
Attach Control
Knob to Base
ch Control
4
Orient the base so that the arrow is facing the front of the car.
You can either screw the base to the mounting location or use the
supplied adhesive pad.
If you use the adhesive pad, you must FIRST CLEAN the surface with
the supplied alcohol cleaning pad.
Toward front of car
Mount
Control
Knob Base
RightCenterLeft
Mounting the Control Knob*
Control Knob Button Operation
Le
t
en
n
n
t
te
te
ter
Press once for Left button on screen.
Press and hold for 2 seconds to adjust
Volume Up/Down from outer ring
G
d
G
d
Press once for Right button
on screen.
Press and hold for 2 seconds
to adjust Brightness from
outer ring
Rotate outer ring to move the
highlight bar on the active screen
If Left or Right button is held for
2 seconds, outer ring becomes
Volume or Brightness adjustment
Function screen dependent. Play next track
on music player or navigation screen.
Q
uick-Sta
Q
uick-Sta
“Press to select the highlighted
menu item.
Change map view on navigation
screen. Press and hold for
address conrmation or
alphabetical music and phone
book browsing.
Press once for Center
menu bar item
Press and hold for 2
seconds to suspend
power or turn on
* The control knob makes it easier to operate the unit. However, this is not a mandatory part of the installation.

Quick-Start Guide
Quick-Start Guide
6
Plan Your First Trip
1
Choose
“Plan a Trip”
2
Choose
“Address”
Enter
Destination
Enter
3
Choose “Go”
4
Follow the
On-Screen Prompts
e
s
5

Quick-Start Guide
Quick-Start Guide 7ENGLISH
Connecting a Bluetooth Phone*
* A Bluetooth® equipped phone is required to operate the phone features of the GPS unit. Please read the instructions with your particular
phone to determine how to place it into “pairing” or “discovery” mode to set up the connection with the unit.
“Phone Book” and “Voice Dial”support depend on the capabilities of the selected phone. Please consult the manual of your cell phone to
learn more about supported features.
The unit will connect to the
selected device and then
import the Phone Book and
Call History
The unit will search and
retrieve names of all Bluetooth®
devices in range
From the
Menu Select
“Phone”
From the
2
Place your Bluetooth®
enabled phone in
the “pairing” or
“discovery” mode.
your
Bluet
1
The rst time you select “Phone” with no
previous devices in the memory, the “Cell
Phone Setup”screen automatically appears
Press “Search”
3
Select Phone
4
Finished!
Now you are ready to
place and receive calls!
Now
5

Quick-Start Guide
8
Placing and Receiving Calls
You can place and receive calls directly from the screen of the unit once a phone is paired. Voice dialing is only
available if your phone supports it.
Example: Placing a call from the Phone Book
Q
Q
Select “Phone Book”S
e
1
Select Name to Call
Se
2
Dial by Phone
Book
Dial by Voice
Dial by Call
History
Redial Last
Number
Direct Dial
from Keypad
There are several ways in which to place calls
Example: Receiving an incoming call
When a call is incoming, choose “Accept”
W
1
Call is answered. Begin speaking.
Ca
2
Hang up when call
is nished
Call is PlacedC
a
3
Hang up when call
is nished
Scroll Up/Down

Quick-Start Guide 9ENGLISH
Loading Media Files
Loading Media Files
*
*
5
1Up to 32GB
Media Files GPS SD Card
Drag and Drop Files
4
Unplug From the
Computer, and You’re
Finished!
GPS SD Card
Name and Drive Letter
depend on your settings
2
3
Quick Start Guide
Quick Start Guide
GPS-810/GPS 910 are compatible with the following A/V formats:
Audio
• MP3 VBR/CBR (8 - 448 kbps), 8 - 48 kHz, ID3 tags (v1 and v2.1 to v2.3) with album art
supported.
• WMA 32 kbps up to 160 kbps (VBR) and 32 kbps up to 256 kbps (CBR), WMA Lossless,
WMA Pro, playback up to 48 kHz, DRM 10, ASF tag with album art supported.
• M4A VBR/CBR (8 ~ 320 kbps), 8 ~ 96 kHz sample rate, M4A, MP4 extensions only.
M4A tag with album art supported.
Video
• MPEG-4 Max 640x480 with 20 fps with 1 Mbps data rate. ASP prole compatible. AVI
extension only. ‘DIV3’ not supported.
• WMV WMV codecs 7, 8, and 9, and Advanced Prole, DRM 10.
• H.264 Baseline prole only, Max 640x480 with 15 fps with 1 Mbps data rate. M4V,
MP4, 3GP extensions only.
* An SD or SD-HC Memory Card (up to
32GB) is required for storage of media les.
This is not included with the unit and must
be purchased separately.
Please use the supplied USB cable.
While connected to the PC, the GPS unit
will be automatically charged.

Quick-Start Guide
Quick-Start Guide
10
Prepare GPS unit for Sync
• Insert the SD card into the GPS unit
SD card slot.
• Disconnect the USB cable from the
GPS unit.
• Enter “Settings” menu, go to“PC
Connect” and select “MTP”.
• Use supplied USB cable to connect
the GPS unit to a PC USB hub.
Syncing Media Files
Syncing Media Files
Requirements
• PC running Windows XP service pack 2 or higher.
• Windows Media Player 10 or higher installed on PC.
• Software decoder to play media les with Windows
Media Player.
• SD card (FAT32 format) with sucient free space to
hold media les to sync.
2
Prepare PC for Sync
3
Find Files on PC
When plugging
the cable in for
the rst time,
you will see the
following screen
or similar:
In the Windows
Media Player go
to “Sync” to dene
a “Sync List”.
•
I
n
S
•
D
G
1
Select “Manual” to
manually select media
les to sync to device.

Quick-Start Guide
Quick-Start Guide 11 ENGLISH
4
Select Files
5
Sync Files
Select the les you wish to sync from the sync list. If necessary, Windows Media Player
will automatically transcode audio or video les to the format supported by the GPS unit.
In order to do this, the decoder required for the media format must be installed on the PC
– this can be tested by playing the media le using Windows Media Player. If it plays, the
decoder is installed. If it does not play, the decoder must be installed rst.
Once you’ve
selected les to
sync, press the“Start
Sync” button.
Wait for the sync
operation to nish.
Syncing Media Files
Syncing Media Files
6
Finished
Once the sync is
nished, the video
is on the SD card,
the media le is on
the SD card. Unplug
the USB connection
to play the media
les on the GPS unit
from the “Music” or
“Video” menu.

Quick-Start Guide
Quick-Start Guide
12
Choosing “Music” from the
source menu brings up the
Main Music Menu screen. You
can select music by Song,
Artist, Album, Genre, Playlist or
Folder, using the appropriate
button. Then, navigate
through the list to choose your
song.
Choosing “Video” brings up the “Video” screen.
You can view all the video les stored on the SD card.
Choosing “Photo” brings up the “Photo”screen. You can
select your preferred folder and thereafter manually browse
the available JPEG pictures, or run an automatic slide show.
Video Menu Example Photo Menu Example
File Name
Photo
Menu
Example
!
For safety reasons, this device will
cease navigation functions when
the video mode is enabled. Do
not attempt to disable any safety
function incorporated in this device.
Any alteration of this device may
cause serious injury and shall void
the warranty.
Using the Multimedia Applications
Video Menu
(Green Icon)
Source Menu Switcher
Audio Menu
(Red Icon)
Photo Menu
(Yellow Icon)
Now Playing Music Screen Example
Next
Listing
Repeat
and
Shue
Scroll Up/Down
File Name
Previous
Listing
Play / Pause
Scroll Up/
Down

Quick-Start Guide
Quick-Start Guide 13 ENGLISH
Hands-Free Microphone
Audio Output
12-24 VDC
AUX IN
DC Power
Car Connections
Car Connections
Connect to Audio System or
Use Built-In Speaker
Plug in for charging
and for receiving trac
messages (TMC).
3
Co
1
Mount and connect
optional hands-free
microphone (not included
with the product).
Otherwise the internal
microphones will be in
operation.
2
Volume
Headphone Jack
Do not use headphones
while driving!
Portable Audio
Portable Audio
1
2
Connect Headphones
Or Use the Built-In
Speaker
The installation and use suggestions provided by the manufacturer may be subject to
restrictions or limitations by federal, state or local laws. The user should determine whether the
installation and use of this device is governed by any law prior to installation or use. For more
information, please consult the user’s manual online at http://www.guideandplay.com.
!
Note: The headphone output may also be
connected to the line/aux input of an audio
device when the GPS unit is away from
the car, but when docked in the mount it
is recommended to use the connection in
the mount for easy removal and redocking
of the unit.
A separate audio cable is not included
with the unit and has to be purchased
separately if required.
Please consult the manual of your
vehicle’s audio system to nd out the
correct cable type.

Quick-Start Guide
Quick-Start Guide
14
Troubleshooting
Troubleshooting
Problem/Symptom Possible Solution
Unit does not turn on at all Charge battery, check UNLOCK switch
Unit does not have a good GPS signal Make sure unit has a clear and unobstructed view of the sky
Unit does not have songs/movies Requires loading to SD card
Computer sees unit as “MTP Device” Change preference in “Settings”menu
Screen is too bright or too dim Adjust in“Settings” menu or press rotary wheel on the right side
Volume is too low for navigation
prompts
Adjust volume using rotary wheel on the right side or adjust
volume of navigation prompts in Volume Mixer (Settings Menu)
Output level is low or distorted Increase media player volume in Volume Mixer (Settings Menu)
Suction cup mount is loose Reposition with moderate force
Screen is loose on mount Make sure it is securely “clicked” into place on both the bottom
and back
Unit is unresponsive, won’t power o Using a paper clip, press the reset button on the right side of the
bottom panel
Unit does not show trac information Please connect car charger to mounting base to receive trac
messages (TMC).
Unit does not nd the Bluetooth® phone
or device
Ensure the device is enabled for “discovery” or “pairing”.
Remote control knob is unresponsive Try pressing the top, center and right buttons simultaneously for
2 seconds, then turn the outer ring until the highlight bar moves.
If the control knob is still unresponsive, try a fresh CR2032 type
battery.
Battery is down although unit has not
been used for some time
The battery gets discharged over time when unit is in“Stand-by”
mode. Please use“Power-o” mode when storing the unit for a
long period of time.
Video les are not shown correctly Video resolution should be a multiple of four, such as 480x272.
Please convert videos to supported resolution.
Unit does not show trac (TMC)
information
The unit uses an active FM antenna running inside the car charger
cable. Please connect the cable to both mount and cigarette
lighter plug to enable reception of trac (TMC) messages

Quick-Start Guide
Quick-Start Guide 15 ENGLISH
Temperatures:
Standard operation: –10° C (+14° F) to +55° C (+131° F).
Short period storage: –20° C (–4° F) to +60° C (+140° F).
Long period storage: 0° C (+32° F) to +25° C (+77° F).
CAUTION
RISK OF EXPLOSION IF BATTERY IS REPLACED BY AN INCORRECT TYPE.
DISPOSE OF USED BATTERIES ACCORDING TO INSTRUCTIONS
This Class B digital apparatus complies with Canadian ICES-003.
!

8500 Balboa Boulevard, Northridge, CA 91329, USA
www.harmankardon.com
© 2008 Harman International Industries, Incorporated. All rights reserved.
Part No. 950-0223-001
Please Recycle
Declaration of Conformity
We, Harman Consumer Group, Inc.
8500 Balboa Boulevard, Northridge, CA 91329, USA
declare in own responsibility that the product described
in this manual is in compliance with technical standards:
EN 55022:2006, Class B
EN 61000-3-2:2000+A2:2005, Class D
EN 61000-3-3:1995+A1:2001+A2:2005
EN 55024:1998+A1:2001+A2:2003
IEC 61000-4-2:1995+A1:1998+A2:2000
IEC 61000-4-3:2002+A1:2002
IEC 61000-4-4:2004
IEC 61000-4-5:1995+A1:2000
IEC 61000-4-6:1996+A1:2000
IEC 61000-4-8:1993+A1:2000
IEC 61000-4-11:2004
EN 300 328 V1.7.1:2006
EN 301 357 V1.3.1:2006
EN 301 489-1 V1.6.1:2005
EN 301 489-17 V1.2.1:2002
EN 301 489-9 V1.3.1:2002
EN 60950-1:2001+A11 Klaus Lebherz
Harman Consumer Group, Inc.
Heilbronn, GERMANY 02/08
Other manuals for guide+play GPS-810
1
This manual suits for next models
3
Table of contents
Other Harman Kardon GPS manuals

Harman Kardon
Harman Kardon AVR 310 User manual

Harman Kardon
Harman Kardon GPS GPS-810 User manual

Harman Kardon
Harman Kardon GPS-410 User manual

Harman Kardon
Harman Kardon GPS-810NA User manual

Harman Kardon
Harman Kardon Guide+Play GPS-500 WE User manual

Harman Kardon
Harman Kardon A-500 Quick start guide

Harman Kardon
Harman Kardon GPS-200GSEC User manual

Harman Kardon
Harman Kardon Guide + Play GPS-300 User manual