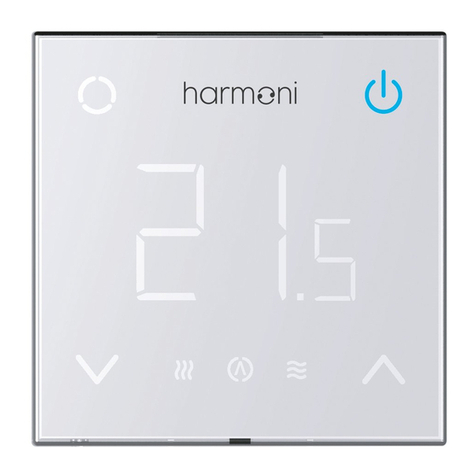
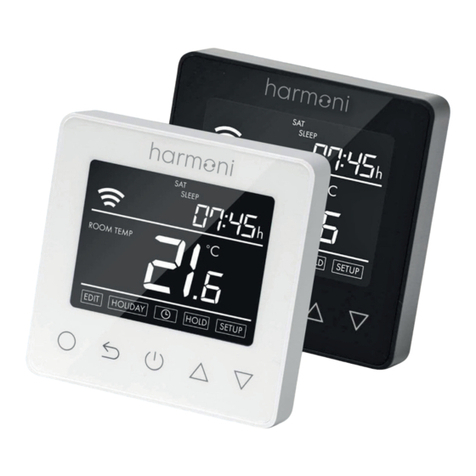
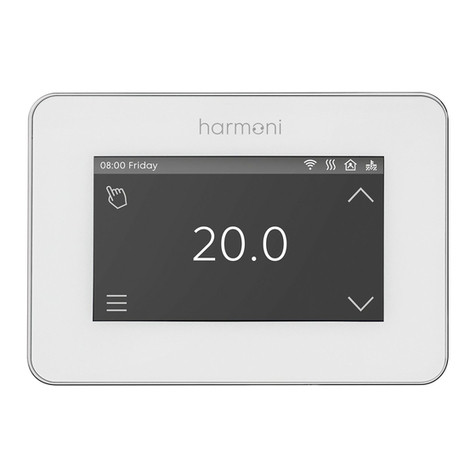
harmoni HTP100 User manual

1
Before you begin installing, read through these instructions
carefully. Installation must be carried out by a qualified electrician.
www.harmoniheating.co.uk
01473 559088
INSTALLATION MANUAL
harmoni 100+ thermostat
2
YEAR
WARRANTY
3
PRE-INSTALLED
PROGRAMS
Wi-Fi built-in

2
INTRODUCTION
Important notes, please read carefully before proceeding with installation
The Harmoni brand
Thank you for choosing the Harmoni 100+Wi-Fi Thermostat
from our range of electric underfloor heating solutions.
The Harmoni range of products has been manufactured to
surpass all current industry standards. The Harmoni 100+
Thermostat comes with a two-year
warranty.
Harmoni 100+Thermostat
The Harmoni 100+is a Wi-Fi enabled digital thermostat
designed to improve the thermal comfort of your home by
providing programming of your underfloor heating system. It
receives temperature signals through the following sensors:
1. Air sensor located inside the thermostat.
2. Sensor installed on the floor (check underfloor
heating instructions for more details).
This thermostat is not a safety device and should only
be used for its purpose. To avoid damaging the floor, you
must select the correct floor type during the thermostat
programming process.
Location of Thermostat
• This thermostat must be installed inside an electric wall
box that has a depth of at least 35mm
• For optimum performance, this thermostat should be
located in an area with good ventilation
• It should not be positioned next to a window or door, in
direct sunlight or near a heat source (e.g. a radiator or TV)
• This thermostat is designed to operate between 0°C and
55°C, with a relative humidity below 80%
1. Separate the front cover of the thermostat from the wall
module
2. Place the front cover in a safe place to avoid damage
3. Pass all the cables to the wall box. Make sure you have
included the following:
a. Feed (phase and neutral)
b. Heating element (phase and neutral or only phase of
the switch)
c. Floor sensor or air sensor
4. Pass the wires through the wall box and complete the
wiring
Important Notes
Make sure the cables are fully inserted into the
terminals and tightened securely. All loose wires
should be cut as they could cause a short circuit. If
more heating elements are connected, an electrical
bypass box will be required.
Always make sure that the sensor cable is installed
in a conduit separate from the power supply of the
thermostat and the heating system.
Assembly
1. Release the front cover
2. Remove the back plate
3. Screw the back plate to the wall box with a screwdriver
4. After connecting the cables (see connection diagram),
mount the thermostat to the back plate and replace the
housing and frame
Important Safety Notes
• This product uses mains voltage and its installation
must be carried out by a qualified electrician.
• You should always disconnect the power
supply before attempting to install or repair the
thermostat.
• It should not be switched on unless you are sure
that the entire heating installation complies with
the current general requirements for electrical
installations.
• The electrical installation must comply with the
latest wiring regulations.
INSTALLATION

3
DISPLAY SYMBOLS
ELECTRICAL DETAILS
Installation must be carried out by a qualified electrician
Electrical Specifications
• Supply voltage: 230V +/- 10% at 50Hz
• This thermostat is not designed to be used with an
intermittent power supply.
• Maximum load: 16A resistance or 3,680W
• Insulation class: II
• IP21
• Floor sensor: 10 KOhm
Connection Diagram
NETWORK SYNCHRONISATION /
BACK
DECREASE TEMPERATURE /
MOVE DOWN
ON –OFF /
CONFIRM
INCREASE TEMPERATURE /
MOVE UP
FLOOR SENSOR AIR SENSOR
AUTOMATIC
MODE
SET TEMPERATURE /
ENVIRONMENT

4
CONFIGURATION & PROGRAMMING
The initial configuration starts when the thermostat is switched on for the first time
After completing the initial configuration, the
thermostat will display the set-point temperature
and the temperature read by the sensor.
LEAVE FOR
5 SECONDS
WITHOUT
PRESSING
ANYTHING
1. Time and Date
SET DAY OF WEEKSET MINUTESSET HOUR
2. Select Sensor
SENSOR TEMPERATURE
Value blinks
SET TEMPERATURE
Value remains static
PRESS OR
TO CHANGE THE SENSOR
PRESS TO CONFIRM
PRESS OR
TO CHANGE HOUR/DAY
PRESS TO CONFIRM
FLOOR SENSORAIR SENSOR
FACTORY
RESET
Perform a
factory reset
CONFIGURATION MENU
Press for 3 seconds to access the menu
PROGRAMMING
TIME & DATE
BACKLIGHT
ADAPTABLE
START UP
TEMPERATURE
OFFSET
OPEN WINDOWS
LIMIT
TEMPERATURE
DEFAULT
SENSOR
DISABLE
FLOOR SENSOR
Set a programme or
create your own
Set time & day
Turn open windows
function On/Off
Turn adaptable
start up On/Off
Perform a temperature
offset on the sensors
Set maximum
temperature for the
sensors
Modify backlight
intensity of sleep mode
Select the default
sensor
Disable the
floor sensor

5
PROGRAMMING
To programme the thermostat, access the Pr1 sub-menu
PROGRAMMING
• To programme the thermostat access the
“programming” (Pr1) sub-menu and select ON.
• Next, you will see the 3 pre-programs
(P1 - P2 - P3) and one editable by the user (Pu).
• To carry out your own programming, choose Pu
and confirm with . Then:
1. SUBMENU SET SET
Set the setpoint
temperatures of the
ECO, COMFORT &
FROST modes
Set setpoints
• COMFORT
• ECO
• FROST-OFF
CON
Set COMFORT
temperature: 19–30 °C
Set temperature
ECO Set temperature
ECO: 7.5–18.5 °C
FRO
OFF
Set mode
FROST (7 °C): OFF
1. SUBMENU SET PEr Perform the time
schedule
Select time
parameters
1d All days equal
5–2d Week / Weekend
7d Each day different

6
Pre-set programme 3
Start End Temperature
Period 1 8:00 21:00 21°C
Period 2 21:00 8:00 15°C
Pre-set programme 1
Start End Temperature
Period 1 6:00 8:00 21°C
Period 2 8:00 19:00 15°C
Period 3 19:00 23:00 21°C
Period 4 23:00 6:00 15°C
Pre-set programme 2
Start End Temperature
Period 1 7:00 11:00 21°C
Period 2 11:00 18:00 15°C
Period 3 18:00 23:00 21°C
Period 4 23:00 7:00 15°C
PROGRAMMING
To programme the thermostat, access the Pr1 sub-menu
After selecting a
time parameter
(1d / 5-2d / 7d),
set the desired
setpoint for each
hour. The large digits indicate the time; the small value indicates the mode.
Press or to go forwards or backwards in time.
Pressing cycles through the modes.
When the timer
passes 00 it moves
to the next day.
The screen displays
the following day or
week / weekend.
PRE-SET PROGRAMMES
Press to go backwards.
Hour: 12:00
C: COMFORT
Hour: 00:00
E: ECO C: Comfort
E: Eco
F: Frost
-: Off
Days Week Weekend
...

7
WI-FI FUNCTIONALITY
The Harmoni 100+requires the Harmoni App to use Wi-Fi functionality
Harmoni® guarantees this product will be free from defects
in workmanship or materials, under normal use and service,
for a period of two (2) years from the date of purchase by
the consumer. If during the guarantee period the product is
determined to be defective, Harmoni will assume
responsibility for repair or replacement. If the product is
defective, please:
a. Return it, with a sales invoice or other dated proof of
purchase, to the place from which it was purchased
b. Contact Harmoni directly, who will determine if the
product should be returned or replaced
This guarantee does not cover the costs of removal or
re-installation, and will not apply if Harmoni demonstrates
that the defect or malfunction was caused by damage
occurred whilst in the possession of the end user, by not
following the installation or instructions in this manual or
during installation. The sole responsibility of Harmoni will be to
repair or replace the product within the terms set forth above.
Harmoni® will not be responsible for any loss or damage of
any kind, including consequences that result, directly or
indirectly, from any breach of any warranty, express or
implied, or any other fault of this product. This guarantee is
the only one expressed by Harmoni on this product. The
duration of any implied guarantee, including guarantees of
merchantability and fitness for a particular purpose, is
hereby limited to the two years duration of this guarantee as
stated above.
This Guarantee does not affect your statutory rights.
2
YEAR
WARRANTY
GUARANTEE
The Harmoni 100 Thermostat has a two-year guarantee
The Harmoni App works on both iOS & Android.
It’s free to download from Apple or
Google Play stores: search ‘Harmoni Heating’
The Harmoni App allows the user to control the Harmoni 100+Thermostat from any smart device. Adjust temperatures and
easily program all the advanced functions wherever you are. Also view statistics, check and manage consumption.

8
NOTES
Use this space to make notes for reference
Edison House
Edison Close
Ransomes Europark
Ipswich, Suffolk IP3 9GU
Tel: 01473 559088
Fax: 01473 559076
Email: sales@harmoniheating.co.uk
Web: www.harmoniheating.co.uk harmoni
Harmoni cannot accept any responsibility for any errors in catalogues, brochures and other printed material. Harmoni reserves the right to alter its products without notice.
This also applies to products already on order provided that such alterations can be made without subsequent changes to specifications already agreed. All trademarks in this
material are the property of Harmoni. Harmoni and the Harmoni logotype are trademarks of Edison House Trading Ltd. All rights reserved.
If you have any problems with your thermostat or need assistance with setting it up, please contact the
Harmoni Helpdesk on 01473 559088.
TROUBLESHOOTING
Contact the Harmoni Helpdesk on 01473 559088
This manual suits for next models
1
Table of contents
Other harmoni Thermostat manuals
Popular Thermostat manuals by other brands

Carrier
Carrier AQUAZONE 50QE900 Installation and operating instructions

Spartan
Spartan TE221 Series Operation manual

Honeywell
Honeywell CT1802 owner's manual
Vykon
Vykon VT7200 Series Integration manual
Honeywell
Honeywell FocusPRO TH5000 Series installation guide
Aube Technologies
Aube Technologies TH147 Installation and user guide

honeyw
honeyw RTH8500WF quick start guide

Tekmar
Tekmar tekmarNet 557 Installation & operation manual
Devolo
Devolo Home Control Room Thermostat First steps
Beok Controls
Beok Controls TOL62A Series manual
Aube Technologies
Aube Technologies TH147-P Installation and user guide
Honeywell
Honeywell S963D Specifications
