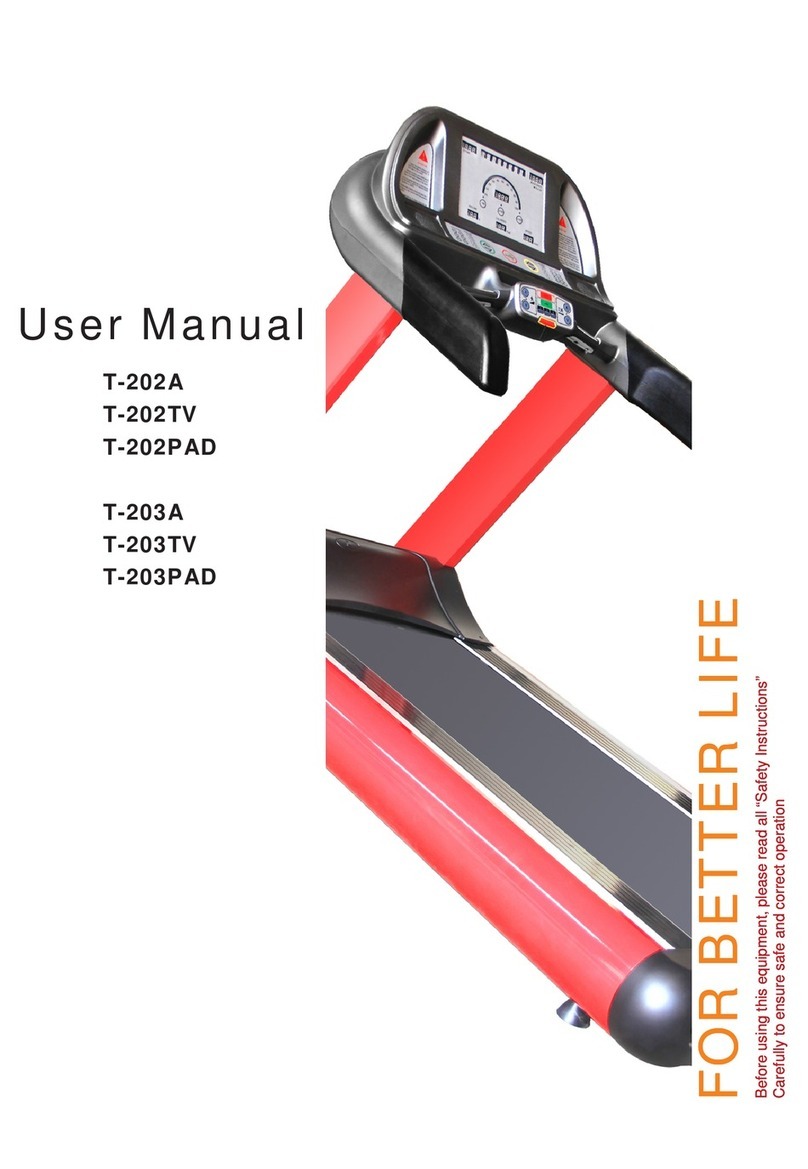
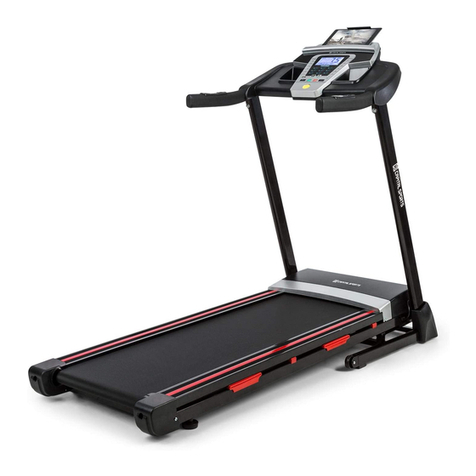
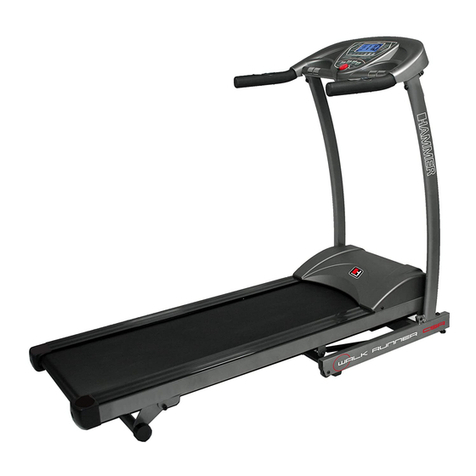
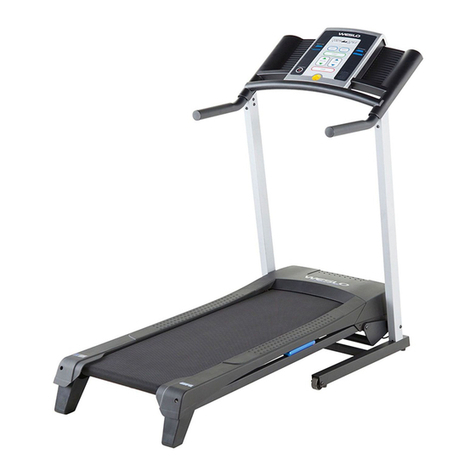
Haswell Fitness T-102A User manual

Owner’s Manual
T-102A / T-102TV

Menu
1. Caution.......................................................................................................................................................................1
1.1. Electrical Safety .................................................................................................................................................1
1.2. Machine Check...................................................................................................................................................1
1.3. Sport Attention...................................................................................................................................................1
1.4. Children and Pets: ..............................................................................................................................................1
2. Before Installation .....................................................................................................................................................2
3. Components List........................................................................................................................................................2
4. Technical Parameters.................................................................................................................................................2
5. Assembly and Installation..........................................................................................................................................3
6. Debug.........................................................................................................................................................................3
7. Operation Instruction.................................................................................................................................................4
7.1. Console Function List ........................................................................................................................................4
7.2. Program Mode Instruction..................................................................................................................................5
7.3. Time Countdown Mode......................................................................................................................................5
7.4. Distance Countdown Mode................................................................................................................................5
7.5. Calories Countdown...........................................................................................................................................5
7.6. Preset Mode........................................................................................................................................................5
7.7. Customize Mode.................................................................................................................................................6
7.8. Heart Rate Monitor.............................................................................................................................................6
7.9. Units Switch (Metric / Imperial) ........................................................................................................................6
8. Maintenance...............................................................................................................................................................7
8.1. Lubrication of Running Belt and Running Deck................................................................................................7
8.2. Judge Friction of Running Belt and Running Deck ...........................................................................................7
8.3. Running Belt Deviation Adjustment ..................................................................................................................7
8.4. Running Belt Tension Adjustment.....................................................................................................................7
8.5. Motor Belts Adjustment.....................................................................................................................................7
9. Quality Warranty.......................................................................................................................................................8

1. Caution
(Safety Precautions)
Note: Please read this instruction carefully before using this treadmill, and pay attention to the following safety matters.
1.1. Electrical Safety
Always turn off and unplug the power after the use of the treadmill or before cleaning or maintenance to
avoid electric shock.
This treadmill default adopts power of AC200V~240V 50/60HZ, To reduce danger of accident when it breaks
down, Connect the power plug to a grounded socket as required by law
Do not use the treadmill if the power cord was damaged or the treadmill does not work normally.
Do not operate the treadmill if it is doused with water or other liquid, stop the machine and clean liquid.
Do not install the treadmill near water, in very dusty or humid areas nor on thick carpeting to avoid damage.
Do not use a multi-socket simultaneously with other electrical equipment to avoid fire due to overload.
1.2. Machine Check
Replace the worn-out running belt immediately as it may cause excessive friction with foot panel leading to
static-induced motor damage and electric shock.
Prevent foreign matter from getting into moving parts such as in motor and rollers, Prevent clothing or any
part of your body from touching moving parts.
Check all screw nuts and bolts were locked firmly every day.
Please get down from treadmill once found something unusual or unusual noises find the problem and fix it
before running on it again.
Users should not stand on the running belt when adjust, test or just start this treadmill.
1.3. Sport Attention
Wear suitable gym suits or shoes when exercising
Long hair should be tied in the back
Please wear the gym shoes so as to avoid sprains, muscle strains and fall accidents, do not wear the
high-heeled shoes, leather shoes, hard-soled shoes, barefoot and so on. People who are suffering from fatigue,
weakness, cardiovascular and cerebrovascular disease, dizziness, hypertension and other diseases are not
allowed to use, and ensure no dirty things, rocks or hard things under shoes, in order to avoid damaging your
running belt.
Elder and teenagers will be allowed to use under the guidance and supervision of adults
Users should stop running once feel uncomfortable.
Don't jump on running belt, and stand on foot rail if needed.
This treadmill is for single use only, two or more people on the treadmill at the same time is not allowed.
The max limited weight on the treadmill is 160kg.
1.4. Children and Pets:
Children are not allowed to use the treadmill.
Keep pets away from the treadmill, especially when the machine is working.
1

2. Before Installation
1) Please check if the ground surface is level and solid, otherwise it may cause noise, vibration, and tripping over.
2) Please keep the location in door with low humidity and dust level, otherwise will let machine break-down.
3) Please check if any solvent or inflammable substance is nearby, in case electric spark occurs within the machine
due to electric leakage or static, it may lead to an explosion or fire.
4) Please keep enough safety space from surrounding. Length 2000mm at backside, width at least same as treadmill
width.
5) Please install the machine with enough space in front to allow easy access to the power switch. .
6) Please link no more than 2 sets of Treadmills with power cable coming from one 30A ELB (Earth Leakage
Breaker), Over load current could generate abnormal operation of treadmill;
7) Please use standard plug and socket and make sure the power outlet is safety;
8) When moving the treadmill, lifting up the bottom of rear cover so that the machine can be moved easily on front
wheels.
9) If the entire machine has to be hauled up, 4-5 adults should do it carefully to avoid injury or accident.
3. Components List
Electronic watch
Heart rate hand sensor
Handrail
Vertical Stands
Front protective Cover
Top Bar
Running Belt
Back Regulator
Bottom Regulator
Side Strake
Lifting Feet
Front Shield
Upright Fixed Bolt
Side Strake Connector
Image 3-1
4. Technical Parameters
Items
Value
Input voltage 220V, 50HZ or 60HZ.
Motor power 3.2HP / 2350W
Operating ambient temperature 0~40 degrees
Speed 1.00~20.00(KM/H.)
Time display range 00:00~99:59 (Minute: Second)
Total long distance range 000~9,999.00KM
Calorie display range 000 ~ 999 Kcal
Heart rate display range 50 ~ 230 (Times/Minute)
Slope adjustment range 0 ~ 22%
Package size 2450*1130*760 MM (Length*Width*Height)
Machine size 2360*980*1780 MM(Length*Width*Height)
Net weight 235KG
Gross weight 310KG
Belt Thickness 24mm
2

5. Assembly and Installation
After unpacking all the components, assemble and install the machine as per the following procedure.
Image 5-1
1) The control line in the host machine run through the vertical stands.
2) Install both right and left vertical stands to the horizontal load / base.
3) Joint the seven-core connecting cable.
4) Joint the four-core connecting cable.
5) Joint the strake with treadmill controller.
6) Install the Side Strake Connector.
7) Put the Bolt Cover.
8) Cover the holes on strake.
9) Adjust the treadmill to level.
6. Debug
1) Check the voltage stable; please do not connect electricity before checking.
2) Drag the running belt to see if it moves flexible and make sure there is no any heterorganic sounds.
3) Connect electricity, turn on the power switch. After a ring all LED screen on the display will shows “0”,
meanwhile the running belts keep still. Press the START key, the motor of treadmill will bring the belt rotation on
the speed of 1.0KM/H.
4) Confirm that every key is good.
5) Press the safety button to see if it works well.
6) Keep the treadmill running and adjust the tightness of running belt.
3

7. Operation Instruction
7.1. Console Function List
Image 7-1
Keys
Function
Slope Rises Press to adjust the elevation of the slope on a treadmill.
Slope Decrease Press to adjust the slope of decline of the treadmill.
Stop Press this key when treadmill is running, treadmills temporarily stopped, all date can’t be lost when
you restart. When you press this key second time, all data will be cleared.
Emergency Stop Press this key can make the treadmill stop at once.
Start Press this key, the treadmill will work.
Slower Press this key for run slowly.
Faster Press this key for run faster.
Fan Turn on/off Mini Fans will works after press.
Music Take Smart phone, MP3/4/5 as music source, treadmill just like an amplifier.
Fans Mini Fans
Speed Value Show how fast when user running.
Distance Running: show how far user ran, Unit: KM.
Setting: details in 7.2
Pulse Display current heart rate.
Main LED Area In 7.2
Time Treadmill running time display
Calorie Running: Shows calorie consumed per unit time. Unit: Calories.
Setting: details in 7.2
Slope Display the current slope
Fans Same to 10
PROGRAM In 7.2
SET Speed, time, distance, heart rate control.
Slope Choice 2° 4° 6° 8° 10° 12° 14° 16°for choice
Speed Choice 4 7 10 12 14 16 18 20 KM/H for choice.
4

7.2. Program Mode Instruction
There are 5 modes for choice
Function Operation LED Light area Value
Time Countdown Mode Press PROGRAM key 1 time TIME 30.00
Distance Countdown Mode Press PROGRAM key 2 time DISTANCE 5.0
Calories Countdown Mode Press PROGRAM key 3 times CARLORIES 100
Preset Mode Press PROGRAM key 4~9 times DISTANCE SP1
Customize Mode Press SET key 1~3 Times DISTANCE U1
7.3. Time Countdown Mode
1) Press the STOP key two times for clear history data;
2) Press PROGRAM key one time, the TIME window reads 30.00 and twinkle, now press to
reduce and press to prolong the running time which between 5~99 Min.
3) Press Start key , belt will move at lowest speed, now user could change the running speed by press keys
and slope by press keys .
4) Treadmill will stop once the TIME window reads 00.00.
7.4. Distance Countdown Mode
1) Press the STOP key two times for clear history data;
2) Press PROGRAM key two times, the DISTANCE window reads 5.0 and twinkle, now press
to reduce and press to prolong the running distance which between 0.5~99 KM.
3) Press Start key , belt will move at lowest speed, now user could change the running speed by press keys
and slope by press keys .
4) Treadmill will stop once the DISTANCE window reads 0.0.
7.5. Calories Countdown
1) Press the STOP key two times for clear history data;
2) Press PROGRAM key three times, the CARLORIES window reads 100 and twinkle, now press
to reduce and press to add the Calories user want to lose which between 20~990;
3) Press Start key , belt will move at lowest speed, now user could change the running speed by press keys
and slope by press keys .
4) Treadmill will stop once the DISTANCE window reads 0.0.
7.6. Preset Mode
1) Press the STOP key two times for clear history data;
2) Press PROGRAM key 4~6 times for choice one of program for 6 plans as follow
Press PROGRAM key
LED Light AREA
Value
Function
4 Times DISTANCE SP1 Enter Preset Mode SP1 Mode
5 Times DISTANCE SP2 Enter Preset Mode SP2 Mode
6 Times DISTANCE SP3 Enter Preset Mode SP3
7 Times DISTANCE SP4 Enter Preset Mode SP4
8 Times DISTANCE SP5 Enter Preset Mode SP5
9 Times DISTANCE SP6 Enter Preset Mode SP6
Take SP1 as sample for next steps
5

3) Now the Shows SP1, and TIME window reads 30.00 and twinkle, press to reduce and press
to prolong the running time which between 5~99 Min.
4) Press Start key , belt will begin to move at lowest speed, and Slope and Speed will changes
minute-by-minute follow below tables.
Time (Min) 1 2 3 4 5 6 7 8 9 10 11 12 13 14 15 16
SP1 SLOPE (degree) 0 1 1 3 3 4 4 5 4 4 3 3 2 2 1 1
SPEED (km/h) 3 3 4 5 6 7 8 8 7 5 5 5 4 4 3 3
SP2 SLOPE (degree) 2 2 2 5 5 4 4 3 3 5 5 5 2 2 1 0
SPEED (km/h) 3 3 5 5 4 4 7 7 4 4 7 7 4 4 2 1
SP3 SLOPE (degree) 0 1 1 1 3 3 3 5 5 3 3 5 5 2 1 0
SPEED (km/h) 3 4 5 6 7 8 9 10 10 10 9 8 7 6 5 4
SP4 SLOPE (degree) 2 2 1 2 3 5 5 4 4 3 5 5 3 2 2 0
SPEED (km/h) 1 2 4 5 6 7 8 8 7 6 5 4 4 3 2 1
SP5 SLOPE (degree) 2 2 1 4 4 5 5 4 4 3 4 3 2 2 1 0
SPEED (km/h) 3 4 5 6 7 6 5 4 5 6 7 8 7 6 5 4
SP6 SLOPE (degree) 2 1 2 2 3 4 5 4 3 2 3 3 3 2 1 0
SPEED (km/h) 1 3 5 7 9 7 5 3 3 5 7 9 7 3 2 1
5) Treadmill will stop once the TIME window reads 00.00.
7.7. Customize Mode
This treadmill allow to set three customized programs (U1, U2, U3) before running, each program including 16
sections (each section equals to one minute, totally 16 minutes as a loop ), users could set data of each section,
Take U2 as sample
1) Press the STOP key two times for clear history data;
2) Press the SET key 1 time, the DISTANCE Area will reads U1 , now press the SET key 1
time again, the DISTANCE Area will reads U2 , and the Calories area reads 0.0.1 means 1st
section of 16 sections;
3) Change the running speed by press keys and slope by press keys
4) Press the PROGRAM key one time to the 2nd section;
5) Repeat b) and c) to finish setting all 16 sections; but press SET key until the Calories area
reads . . .0 if just want to change some sections instead of all 16 sections,
6) Press start to run, d)Treadmill will stop once the TIME window reads 00.00;
7) Caution: data will not be saved once press the STOP key two times
7.8. Heart Rate Monitor
Grip the side handrail (image 3-1○
BE
A) no less than 20 seconds, the main LED area will show the heart rate ratio.
WARNING! Heart rate monitoring system may be inaccurate. Over exercising may result in serious injury or death. If
you feel faint stop exercising immediately.
7.9. Units Switch (Metric / Imperial)
1) Power off
2) Press the Start key and STOP key at same time, but do not release!
3) Now Power on, Once the main LED area reads SI release the two keys,
4) SI means metric, now press keys or one time, the main LED area reads eng .
5) Press Start key for save data and return to ready situation.
6

8. Maintenance
Keep clean will prolong service life treadmill, therefore clean the running belt and running deck regularly is encouraged, soft
cloth with soapy water could be adopt to clean the belt but do not pour water to flushing or the motor and other electronics
parts properly be damaged.
8.1. Lubrication of Running Belt and Running Deck
Lubricant for running deck and running belt is necessary, but it does not means the more the better, suggestion as
follow:
Working Time Per Week Lubrication Time Cycle
No more than 3 hours half year
3~6 hours Three months
More than 6 hours One month
8.2. Judge Friction of Running Belt and Running Deck
Forget to clean or lubricants reduce probably increase the friction of the running belts and the running deck, even
to damage the motor and control panels. High friction usually reflect as below
1) Belt is hard to move when power off.
2) Belt stop moving at once press the EMERGENCY STOP BUTTON when user running on belt.
3) Motor, control panel been damaged, the circuit breakers is broken.
8.3. Running Belt DeviationAdjustment
The running belts position has been tested and adjusted before shipping, whereas it will be found lean after running
sometimes, probably due to
1) Horizontal body is not stable; please adjust the bolt under treadmill.
2) The user likes to run at one side but not at the middle of belt;
3) Uneven force;
Artificial causes could be fixed easily by no-load running in a few minutes, but user should take hex screw to screw
the bolt .
Problems
Left Regulator
Right Regulator
Deviation to left rotate clockwise rotate counterclockwise
Deviation to Right rotate counterclockwise rotate clockwise
Running belt with a deviation does not belong to the warranty scope,
generally maintenance by the user. Deviation will seriously damage
the running belt, must check in time, immediately correct.
8.4. Running Belt TensionAdjustment
1) Tighten: screw the in a clockwise direction 180degree by
180degree with Hexagonal screwdriver.
2) Loosen: screw the in a counterclockwise direction
180degree by 180degree with Hexagonal screwdriver.
As right images shows
8.5. Motor Belts Adjustment
The position of motor belts has been tested and adjusted before
shipping, whereas it is will be found loosen after working certain
hours, open the motor cover then screw the bolt according 180
by 180 degree upon the particular circumstances.
7

9. Quality Warranty
Exemption Clause
Any service due to one of the following shall be charged even within the warranty period.
1) Malfunction caused by infiltrated External impurities (water, drink, coffee, toys etc.)
2) Malfunction or breakage caused by putting or dropping heavy object onto the product
3) Damage or distortion of exterior by organic solvent such as thinner and benzene
4) Malfunction caused by using other parts not supplied by us.
5) Malfunction caused by using excessive voltage.
6) Malfunction caused by using two-pin plugin which does not exist grounding wire.
7) Loss of parts or damage caused by disassembling attempted by the customer.
8) Malfunction caused by repair or modification by the person(s) not employed by us.
9) Malfunction caused by force majeure (by lightening, fire, storm, flood, gas, sea water, earthquake, etc.)
10) Malfunction cause by not following the “Safety Precautions” in the user’s manual
11) Other malfunction caused by customer’s improper operation.
Quotation Warranty Period as follow
Items
To China mainland Customers
To abroad Customers
Start Date from the date client get products from the date of B/L issued
Motor 36 months 38 months
Elevator Motor 12 months 14 months
Fragile Pieces 12 months 14 months
Frequency 12 months 14 months
Main Chipboard 12 months 14 months
Others Components (Belt etc.) 12 months 14 months
Shipping Cost from Customer to Supplier On Supplier On Supplier
Shipping Cost from Supplier to Customer On Supplier On Customer
It will be helpful if customers offer photos / video or other proofs to us
Once found any problem.
Generally speaking broken parts should be sent back to us before we offer new replacement to customers.
~~~Thanks~~~
8
This manual suits for next models
1
Table of contents
Other Haswell Fitness Treadmill manuals

