HBS CI 03 User manual
©HBS Bolzenschweiss-Systeme GmbH & Co. KG
All rights reserved – Reprinting, in whole or in part, only with the approval of the manufacturer
Operating Manual
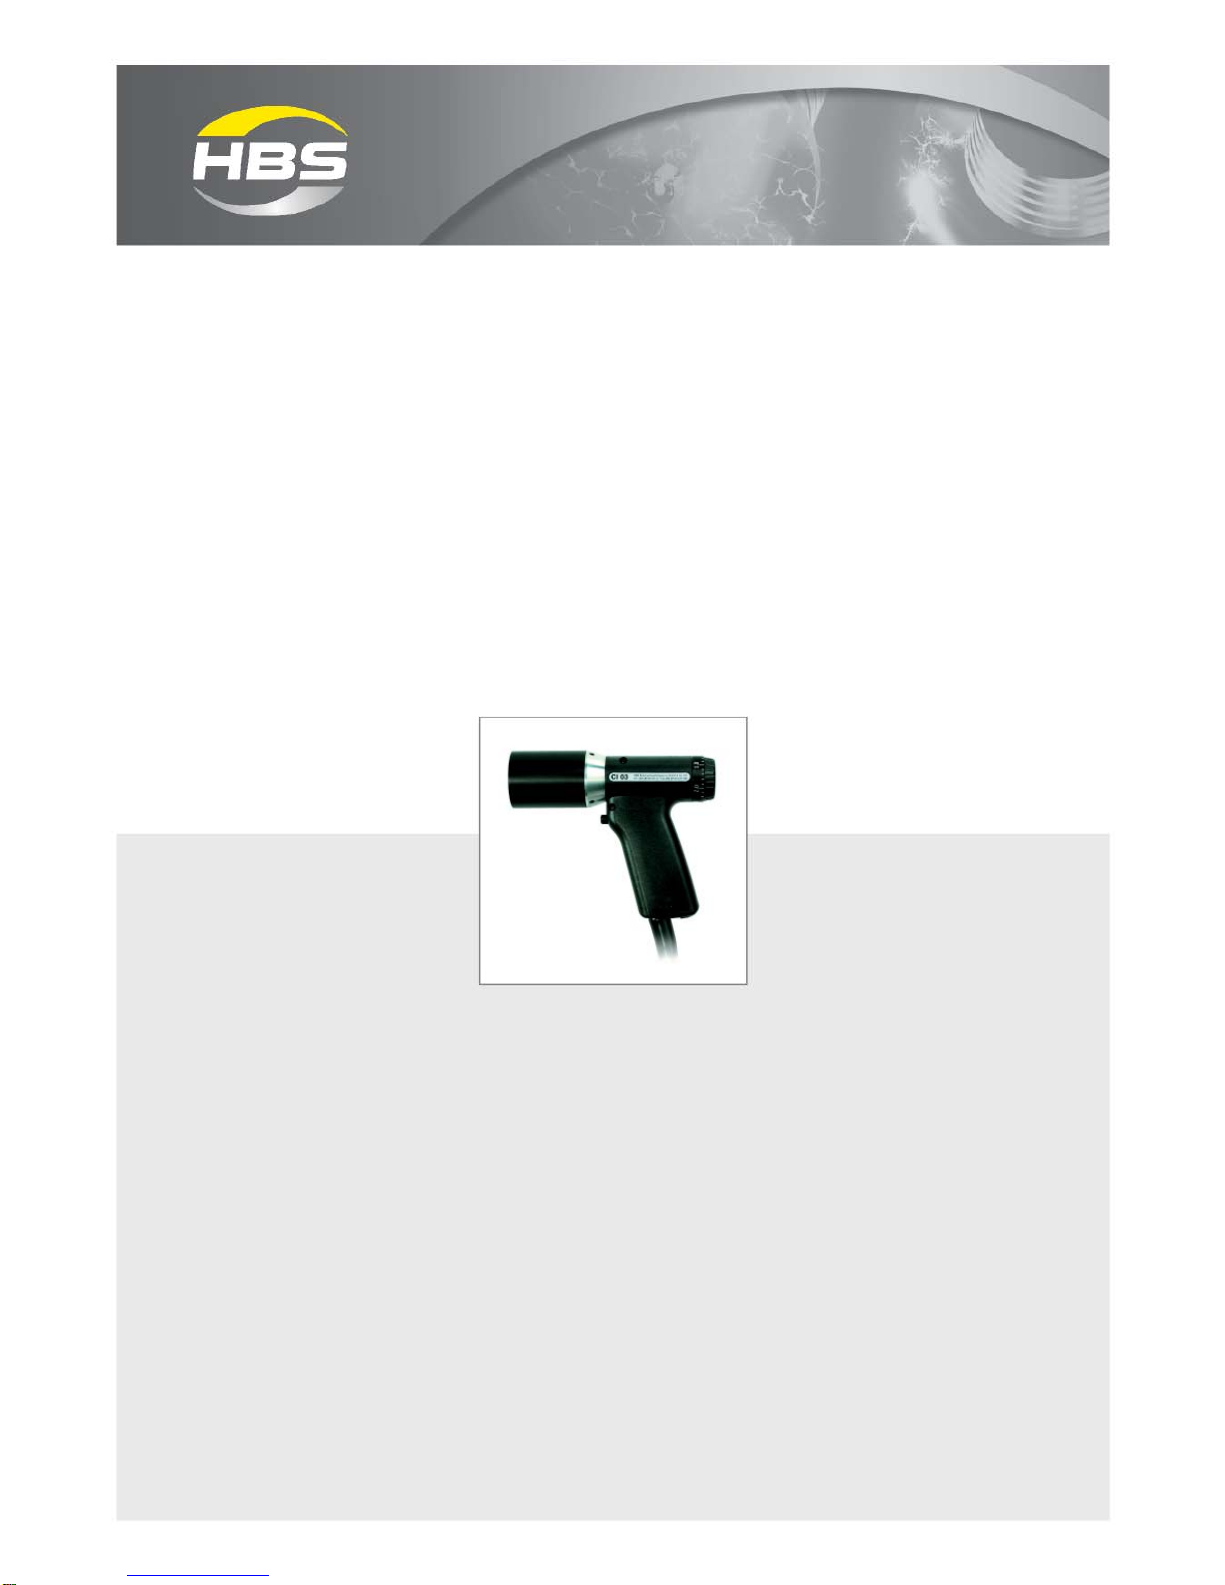
CI 03
Stud Welding Gun
92-20-254
2016

2
After-sales service for Germany:
HBS Bolzenschweiss-Systeme GmbH & Co. KG
Felix-Wankel-Strasse 18
85221 DACHAU
GERMANY
Phone +49 8131 511-0
Fax +49 8131 511-100
E-mail [email protected]
Web www.hbs-info.com
CI 03 Operating Manual Issue 2016-05 Order No. E-BA 92-20-254
Translation of the Original Operating Manual
Please keep the manual in a safe place for future reference.
Transmission and duplication of this document, dissemination and notication
of the contents are not permitted unless expressly approved.
All rights, errors and technical amendments reserved.
© HBS Bolzenschweiss-Systeme GmbH & Co. KG

3
©HBS Bolzenschweiss-Systeme GmbH & Co. KG
All rights reserved – Reprinting, in whole or in part, only with the approval of the manufacturer
Dear Customer,
Many thanks for buying a stud welding machine from HBS Bolzenschweiss-Syste-
me.
We at HBS wish you success at all times when working with this stud welding ma-
chine.
The high level of quality of our products is guaranteed by ongoing further deve-
lopment in the design, equipment and accessories. This may result in differences
between the present operating manual and your product. No claims can therefore be
derived from the data, illustrations and descriptions.
We have compiled the data and information in this reference work with the greatest
care, and have made every effort to ensure that the information contained in this
manual was correct and up-to-date at the time of delivery. We can nevertheless give
no guarantee for an absolutely error-free document.
Should you discover any errors or unclear points when reading this operating manu-
al, please do not hesitate to contact us.
We would also be grateful for any feedback should you have any suggestions or
complaints to make about our product.
HBS Bolzenschweiss-Systeme GmbH & Co. KG
Felix-Wankel-Strasse 18
85221 Dachau
GERMANY

©HBS Bolzenschweiss-Systeme GmbH & Co. KG
All rights reserved – Reprinting, in whole or in part, only with the approval of the manufacturer
4
Table of Contents
Table of Contents
1 Important Safety Precautions ................................................................... 6
2 Symbols and Terms Used ......................................................................... 9
3 Scope of Supply ....................................................................................... 12
4 Accessories .............................................................................................. 12
5 Technical Data .......................................................................................... 13
6 Intended Use ............................................................................................ 14
7 Warranty ................................................................................................... 15
8 Design and Function ............................................................................... 16
9 Welding Process ...................................................................................... 17
10 Preparing the Stud Welding Gun ........................................................... 18
10.1 Mounting the Chuck .............................................................................................. 18
10.2 Setting the Welding Parameters ........................................................................... 19
Adjusting Spring Force ....................................................................................................... 20
11 Welding ..................................................................................................... 21
12 Troubleshooting ....................................................................................... 22
13 Maintenance and Care ............................................................................. 24
13.1 Cleaning ............................................................................................................... 24
13.2 Inspection and Tests ............................................................................................. 25

5
©HBS Bolzenschweiss-Systeme GmbH & Co. KG
All rights reserved – Reprinting, in whole or in part, only with the approval of the manufacturer
Table of Contents
14 Storage ..................................................................................................... 26
15 Disposal .................................................................................................... 26
Declaration of Incorporation of partly completed Machinery .......................... 27
Service & Support ................................................................................................ 28
Index ...................................................................................................................... 29

©HBS Bolzenschweiss-Systeme GmbH & Co. KG
All rights reserved – Reprinting, in whole or in part, only with the approval of the manufacturer
6
1 Important Safety Precautions
1 Important Safety Precautions
The target group for this manual are qualied personnel who in view of their techni-
cal training, know-how and experience and knowledge of applicable regulations are
able to assess the work assigned to them and recognise potential hazards.
Danger from incorrect use
Use the stud welding machine only for the purpose described in this ma-
nual.
Otherwise you may endanger yourself or damage the stud welding machine.
You endanger yourself and others if you operate the stud welding machine
incorrectly or fail to observe the safety precautions and warnings. This can
lead to serious injury or extensive material damage.
Danger for unauthorised operating personnel
Work with the stud welding machine only when
– You are appropriately trained, instructed and authorised to do so, and
– You have read and completely understood this operating manual.
Never work with the stud welding machine when you are under the inu-
ence of
– Alcohol,
– Drugs or
– Medication.
Danger from unauthorised modications
Never modify the stud welding machine or parts thereof without obtaining
a clearance certicate from the manufacturer.
You will otherwise endanger yourself. This can lead to serious injury or ex-
tensive material damage.
7
©HBS Bolzenschweiss-Systeme GmbH & Co. KG
All rights reserved – Reprinting, in whole or in part, only with the approval of the manufacturer
1 Important Safety Precautions
Life-threatening danger for wearers of active implanted cardiac
devices
Never operate the stud welding machine if you wear a heart pace-
maker or implanted debrillator.
In this case, never remain in the vicinity of the stud welding machine
during welding.
Never operate the stud welding machine if persons with heart pace-
makers or implanted debrillators are in the vicinity.
Strong electromagnetic elds are produced in the vicinity of the stud
welding machine during welding. These elds could impact the func-
tion of heart pacemakers or implanted debrillators.
Danger from fumes and airborne particulates
Switch on the welding fume extractor at the place of work.
Ensure that the room is well ventilated.
Never weld in rooms with a ceiling height of less than 3 m.
Observe furthermore your working instructions and the accident
prevention regulations.
This will help to avoid health damage due to fumes and airborne parti-
culates.
Danger from glowing metal spatter (re hazard)
Glowing hot weld spatter and liquid splashes, ashes of light and a
loud bang > 90 dB (A) must be anticipated during stud welding.
Inform colleagues working in the immediate vicinity accordingly
before starting work.
Ensure that an approved re extinguisher is available at the work-
place.
©HBS Bolzenschweiss-Systeme GmbH & Co. KG
All rights reserved – Reprinting, in whole or in part, only with the approval of the manufacturer
8
1 Important Safety Precautions
Do not weld when wearing working clothes soiled with ammable
substances such as oil, grease, petroleum, etc.
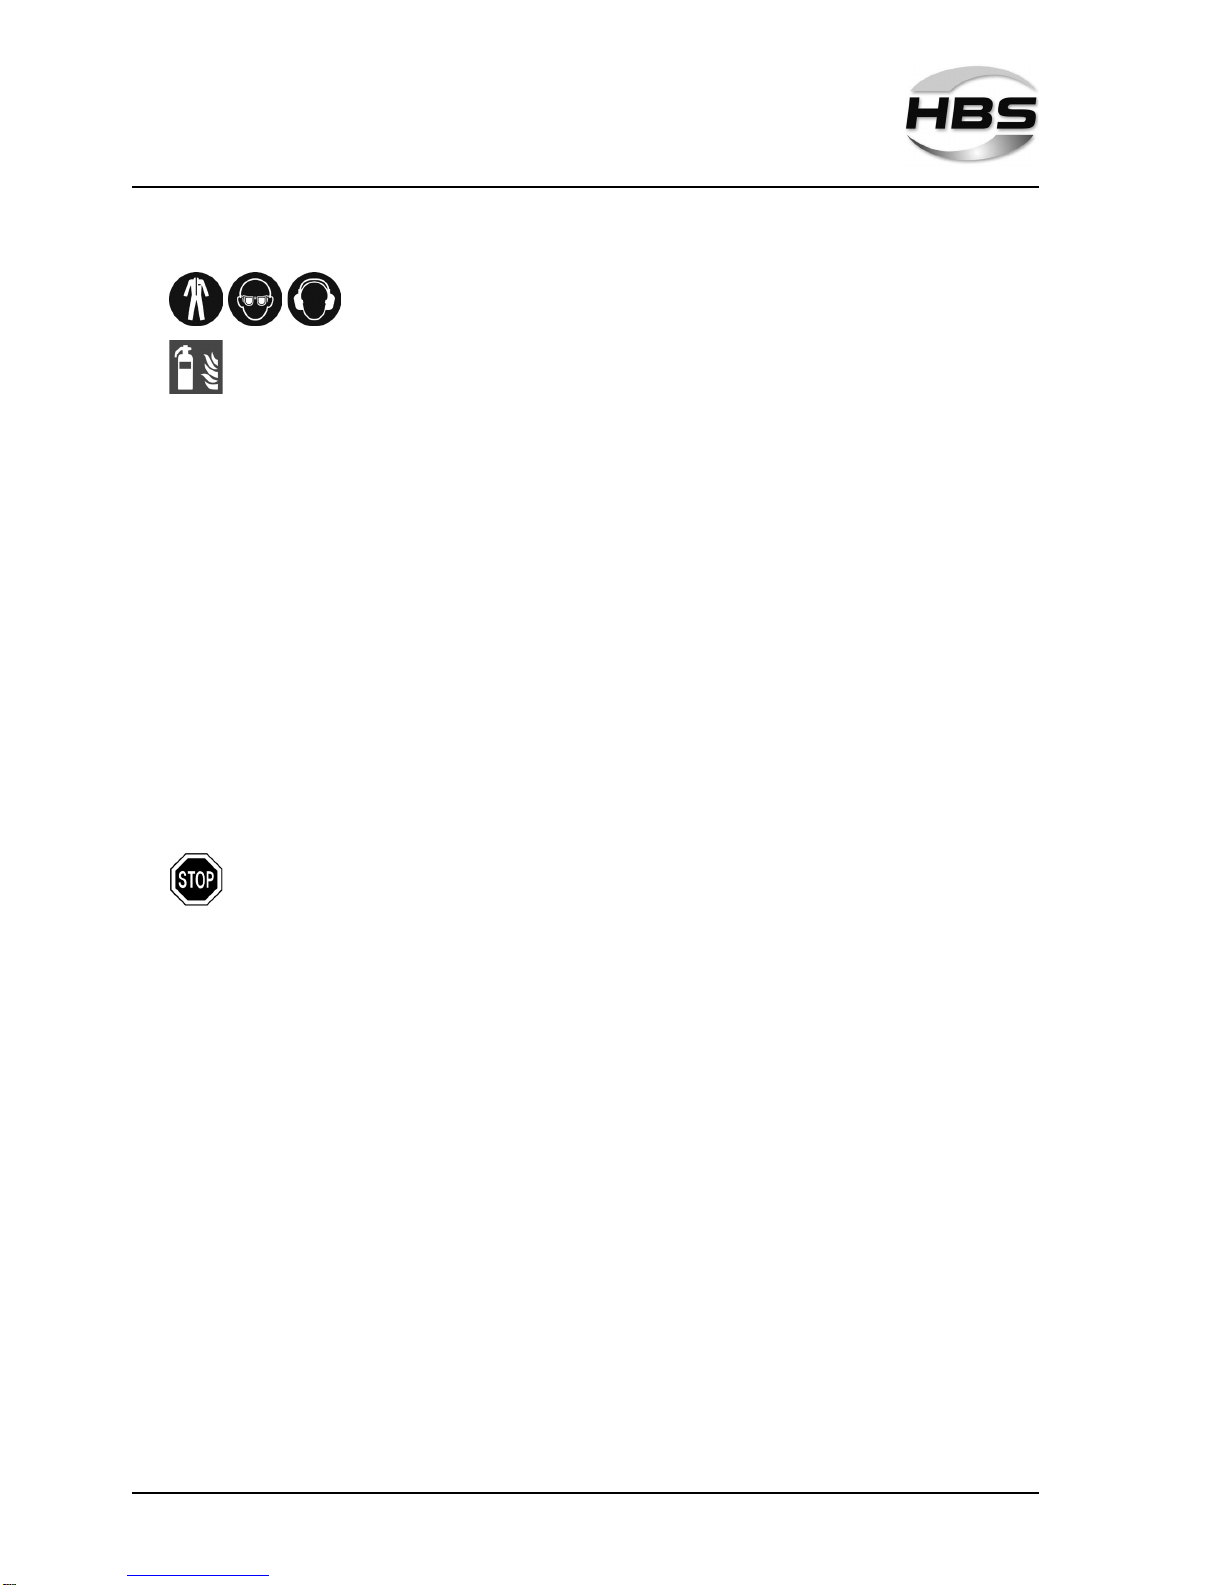
Wear your proper protective clothing, such as:
– Protective gloves in accordance with the relevant standard,
– Non-ammable clothing,
– A protective apron over your clothing,
– Full-ear hearing protection in accordance with the relevant stan-
dard,
– A safety helmet when welding above your head,
– Safety shoes,
– Safety goggles with sight glass of protection level 2 in compli-
ance with the applicable standards and do not look directly into
the light arc.
Remove all ammable materials and liquids from the vicinity of the
work area before starting welding.
Weld at a safe distance from ammable materials or liquids.
Select a safety distance large enough to ensure that no danger can
arise from weld spatter.
Protection of the stud welding unit
Protect the stud welding machine against the ingress of foreign
matter and liquids caused by cutting or grinding work in the vicinity
of your work area.
This will help to prolong the service life of your stud welding machine.
9
©HBS Bolzenschweiss-Systeme GmbH & Co. KG
All rights reserved – Reprinting, in whole or in part, only with the approval of the manufacturer
2 Symbols and Terms Used
2 Symbols and Terms Used
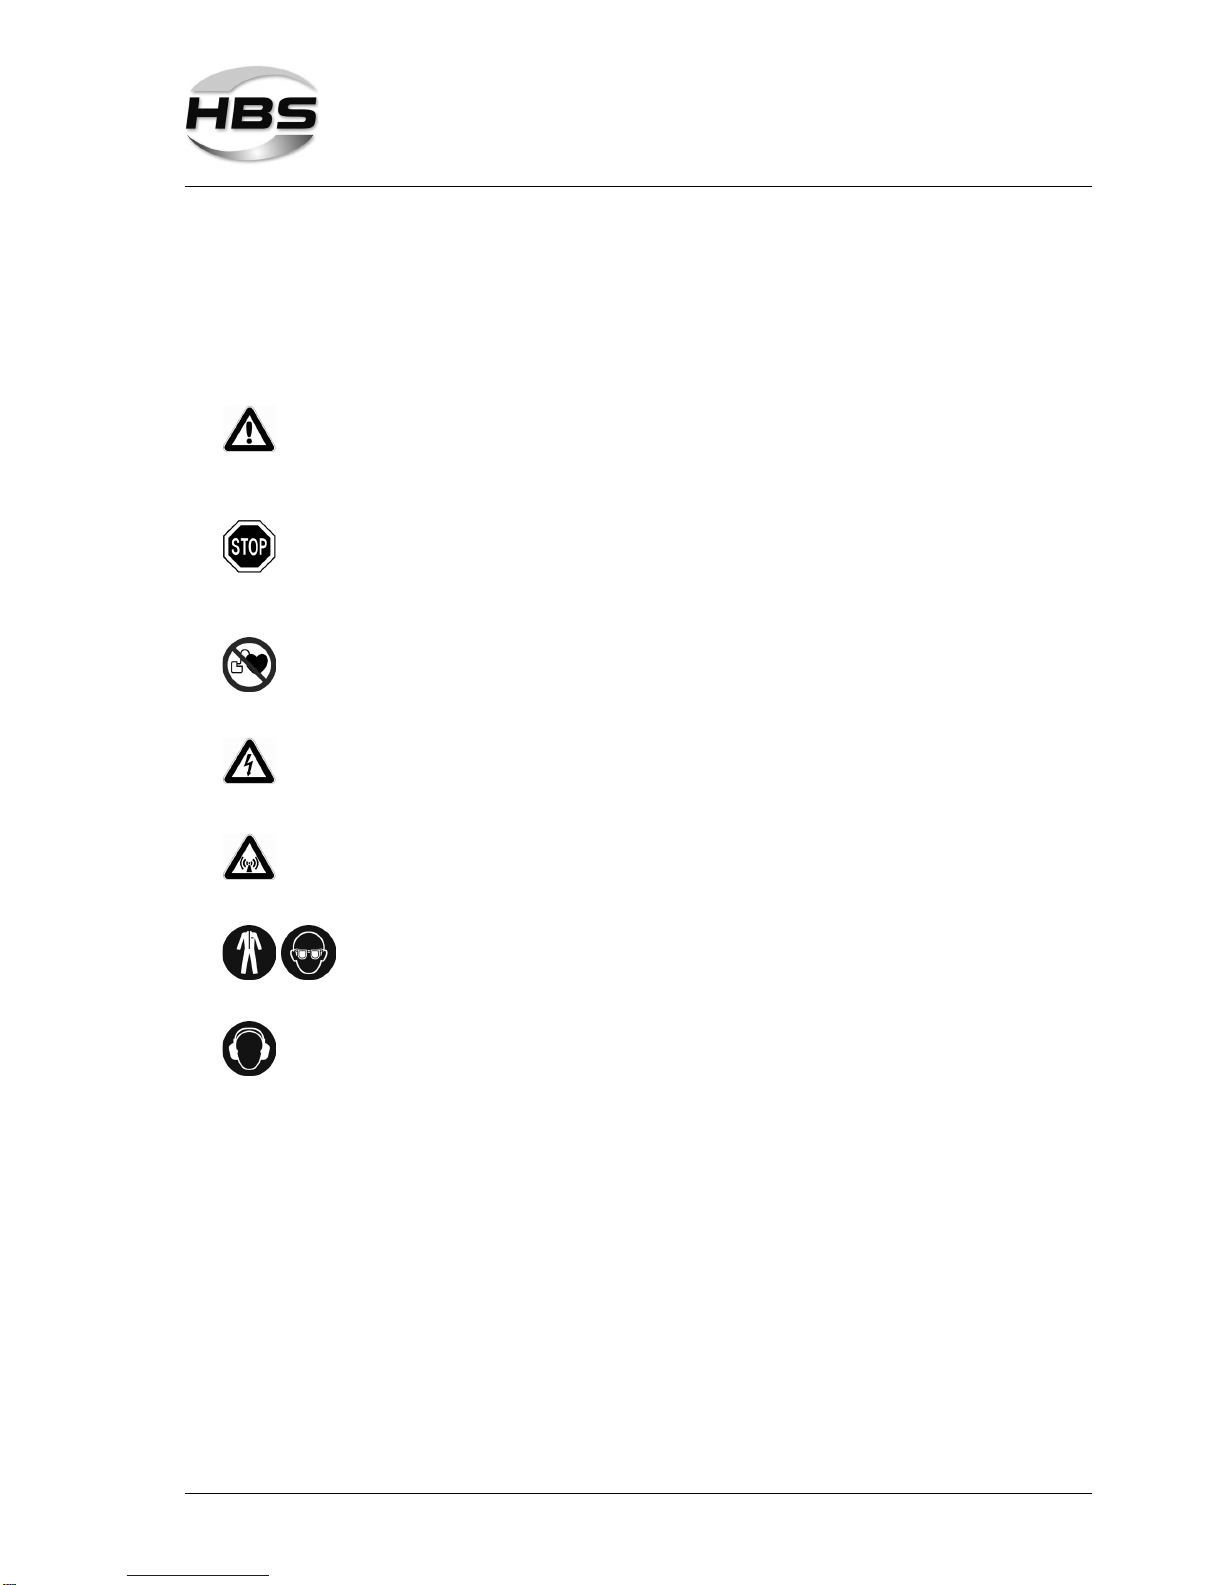
The symbols used in this operating manual have the following meanings:
Danger
Warns you of hazards that can lead to injury of persons or to
considerable material damage.
Caution
Problems with the operating procedures can occur if this information is
not observed.
No access for people with active implanted cardiac devices
Danger
Warns you of electrical hazards
Danger
Warns you of electromagnetic elds that can be generated during welding
These symbols prompt you to wear personal protective clothing when
working with the stud welding unit.
This symbol prompts you to wear ear protection. A loud bang > 90 dB (A)
can occur during the welding process.

©HBS Bolzenschweiss-Systeme GmbH & Co. KG
All rights reserved – Reprinting, in whole or in part, only with the approval of the manufacturer
10
2 Symbols and Terms Used
Tip
Cross-reference to useful information on the use of the stud welding
machine
Cross-references in this operating manual are marked with this
symbol or are printed in italics
Fire hazard
Have a suitable re extinguisher for the working area ready before starting
work.
Work instruction
– List
This manual suits for next models
1
Table of contents
Other HBS Welding System manuals


Popular Welding System manuals by other brands


TAFA
TAFA 30*8B35 owner's manual

Lincoln Electric
Lincoln Electric INVERTEC V350-PRO CE Technical specifications

ESAB
ESAB Buddy Arc 145 instruction manual

CIGWELD
CIGWELD 636804 use instructions

Red-D-Arc
Red-D-Arc DC-400 Operator's manual

Hobart Welding Products
Hobart Welding Products Spool Gun DP 3035-10 owner's manual


