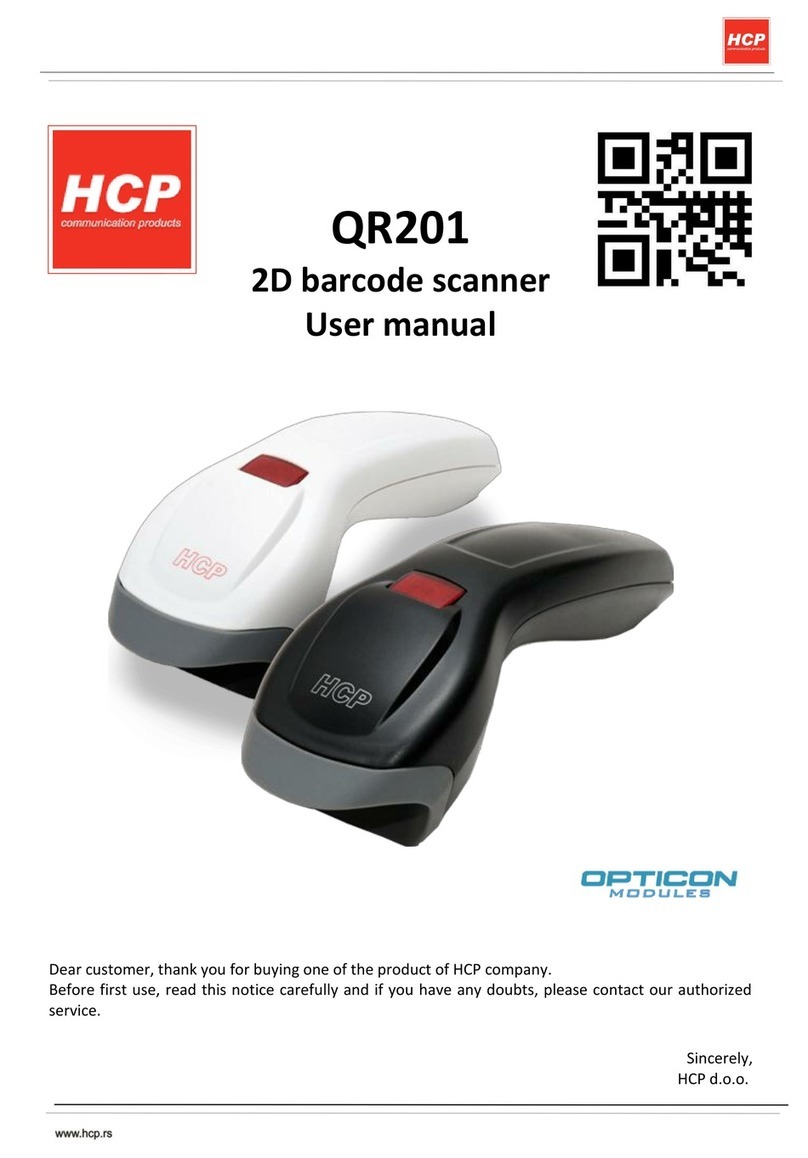
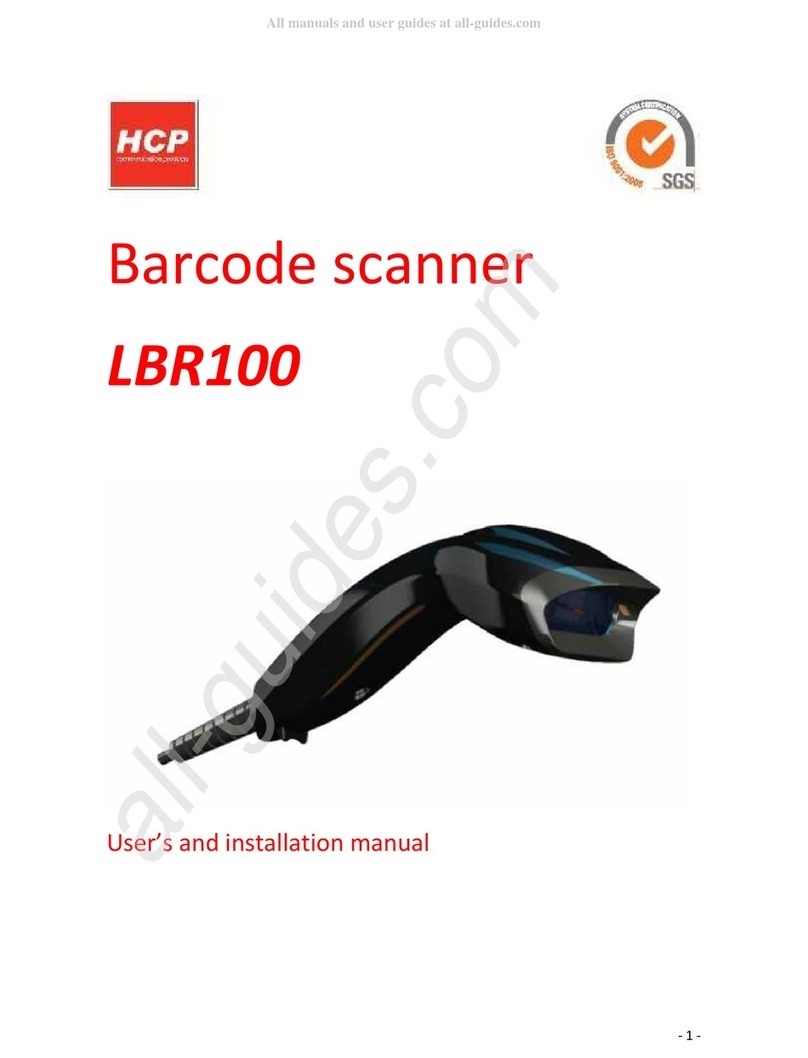
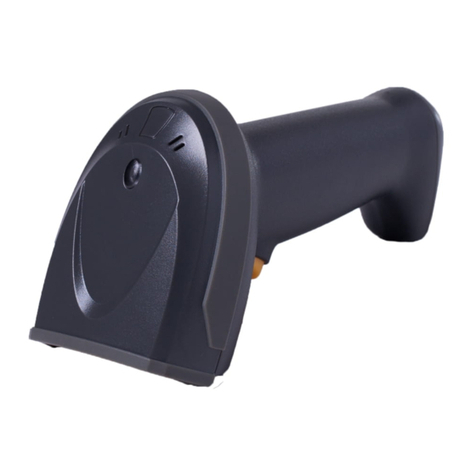
HCP LBR100 Operating manual

- 1 -
Barcode scanner
LBR100
User’s and installation manual

- 2 -
Note
HCP reserves the right to make changes in specifications and other information
contained in this document without prior notice, and the reader should in all
cases, consult the HCP to determine whether any such changes made. HCP will
not be liable for technical or editorial errors or omissions contained herein: nor
for incidental or consequential damages incurred when using this manual. This
document contains information about the correctness of which is protected by
copyright. All rights reserved.
No part of this document may be photocopied, reproduced, or translated into
another language without the prior written consent of HCP.

- 3 -
Content
Device overview..................................................................................................................................- 4 -
Cable installation i removal.................................................................................................................- 5 -
Technical specification........................................................................................................................- 6 -
Scanning tips .......................................................................................................................................- 6 -
1. Cable connection ............................................................................................................................- 7 -
2. Scanner handling.............................................................................................................................- 7 -
3. Setup procedure .............................................................................................................................- 8 -
3. Default setting.................................................................................................................................- 9 -
4. Interface selection ..........................................................................................................................- 9 -
5. Keyboard interface........................................................................................................................- 10 -
6. RS-232 Setting...............................................................................................................................- 12 -
7. Wand emulation ...........................................................................................................................- 15 -
8. Data Format ..................................................................................................................................- 16 -
9. Barcode setting .............................................................................................................................- 21 -
10. Reading mode .............................................................................................................................- 36 -
11. Redundancy ................................................................................................................................- 36 -
12. Beep tones ..................................................................................................................................- 37 -
13. Intercharacter delay....................................................................................................................- 38 -
14. Intermessage delay.....................................................................................................................- 39 -
15. Set max. & min. Length..............................................................................................................- 40 -
16. Barcode space setting .................................................................................................................- 42 -
17. Minimum bar numbers ...............................................................................................................- 43 -
18. Show status.................................................................................................................................- 44 -
19.Appendix .....................................................................................................................................- 45 -
Sample bar Codes .............................................................................................................................- 60 -

- 4 -
Installation
Device overview

- 5 -
Installation
Cable installation i removal
RS - 232C Serial COM Port USB Port

- 6 -
Technical specification
Light Source:
Visible Laser Diode 650nm
Scan Precision:
0.10mm (4mil)
Scan Speed:
100 times/second
Scan Depth of field :
25-250mm (0.33.PCS90%)
Scan Angle:
∠45º
Elevation Angle:
∠60º
Input Voltage:
5V DC
Working electricity:
100mA
Humidity:
5% to 95% (With condesation)
Light intensity:
Daylight, 7000LUX
Minimum printing contrast:
30% UPC/EAN 100%
Scanning tips
Figure illustrates some tips to help get the best scanning results:
1. The scanner must be pointed at a slight angle to the bar code.
Do not hold the scanner perpendicular to the bar code.
2. The laser beam must cross the entire bar code. The scanner
cannot correctly read if the entire bar code is not scanned.

- 7 -
1. Cable connection
*USB interface scanner installation
Make sure that the scanner has the correct cable for your system. Connect the
cable to the USB port of the PC or POS.
*RS-232C interface scanner installation
Make sure that there is a power supply to the scanner (If necessary). Some
devices deliver power through serial port using SUB D9 connector on 9th pin
(Chapter 20)
Connect the cable to the RS-232C port of the PC or POS. Make sure that host
device should have communication program (Xcom, procomm, Hyperterminal)
before transmitting data.
Note: Use only connection cables that are packed with LBR 100 scanner.
2. Scanner handling
Manual activation. Aim the scanner at the bar code. Press and hold the button
down to activate scan and transmit the bar code. After successful reading of
bar code audible feedback will indicate status, along with the light indication.

- 8 -
Right Wrong
3. Setup procedure
The general procedure to program is as follows:
Scan the command symbol “Program”,
Scan one or more parameters,
Scan the command symbol “End” to close procedure.
Example 1. To set RS 232 parameters 9600,N,8,1 (Page 7 - 9)
Scan the barcode “Program”,
Scan “9600” “N” ”8” “1”,
Scan “End”.
Example 2. To set additional digit for UPC/EAN (Page 28)
Scan “Program”,
Scan “Addenda 5 digit Enable”,
Scan “End”.

- 9 -
Programming
Program
3. Default setting
(*) denotes default setting
Default
4. Interface selection
USB *
RS – 232C
Wand Emulation
Reserved1
Reserved2
Reserved3
Reserved4

- 10 -
Programming
End
5. Keyboard interface
5 - 1. Device selection
IBM PC/XT
IBM PC/AT*
IBM PC/PS2
LAPTOP
5 - 2. Function code selection
Function key On*
Function key Off
Lower Case*
Upper Case
Num-Lock Off*
Num-Lock On

- 11 -
Programming
Program
5 - 3. Language
US*
German
French
UK
Swiss
Swedish
Japanese
Spanish
Norwegian
Italian
Universal

- 12 -
Programming
End
5 - 4. Scancode delay
AT delay
XT delay
Example: If scanner needs 15 ms of delay, scan “Program” “AT Delay” “1” “5”
“AT Delay” “End”
Keycode Fast Transmission*
Keycode Slow Transmission
6. RS-232 Setting
6 - 1. Baud rate
300 (600)
1200
2400
4800
9600*
19200
38400

- 13 -
Programming
Program
6 - 2. Parity
Even
Odd
None*
6 - 3. Data bits
7Bits
8Bits*
6 - 4. Stop bit
1Bit*
2Bits

- 14 -
Programming
End
6 - 5. Hand shaking
ACK/NAK On
ACK/NAK Off*
RTS/CTS On
RTS/CTS Off*
Wait Timeout
Example: If delay time of 30ms, is required, scan “Program” “Wait timeout” “3”
“0” “Wait timeout” “End”.

- 15 -
Programming
Program
7. Wand emulation
7 - 1. Output level
Transmit Wand Emulation as Code 39*
7 - 2. Output polarity
White High
Black High*
7 - 3. Scan speed
Low(2ms)
Medium (1ms)
Fast (0,5ms)*
7- 4. Check digit
Check digit On
Check digit Off *

- 16 -
Programming
End
8. Data Format
8 - 1. Terminator
TAB(CR/LF)
Enter(CR)*
Return(LF)
None
8 - 2. Code ID
None*
User defined
Default
Example: If barcode ID for code39 (standard) defined as “U”, scan “Program”
”User defined” “Define Code ID” “Code39(standard)” “U” “Code39(standard)”
“Define Code ID” “End”.

- 17 -
Programming
Program
8 – 3. Code ID Setting
Define Code ID
Code 39(M) (Full ASCII)
Code 39(M) (Standard)
EAN – 13(F)
UPC – A(A)
EAN – 8(F)
UPC – E (E)
Code 93(L)

- 18 -
Programming
End
Codabar (N)
Code 128 (K)
I 2 of 5 (I)
S 2 of 5 (H)
D 2 of 5 (H)
M 2 of 5 (H)
China postage (C)
Code 3 of 5 (P)
MSI/Plessey (O)
Code 11 (J)

- 19 -
Programming
Program
8 - 4. Custom setting
Single edit mode
Select from left
Select from right
Custom mode Enable
Example: If 5 digits from the left are required, scan “Program” “Single edit
mode” “Select from left” “0” “5” “Select from left” “Single edit mode” “Custom
mode enble” “End”.
Custom mode Disable*
Full data editing Disable
Full data editing Enable
Example: If 5 digits from the second position are required scan as follows,
“Program” “Full editing Enable” “0” “2” “.” “0” “5” “Full editing Enable”
“Custom modem Disable” “End”.

- 20 -
Programming
End
8 - 5. Data length
Exclude*
Include
8 - 6. Preamble/Postamble
Preamble
Postamble
Example: If preamble “SN” before data is required, scan “Program” “Preamble”
“S” “N” “Preamble” “End”.
Reserved1
Reserved2
Reserved3
Other manuals for LBR100
1
Table of contents
Other HCP Barcode Reader manuals
