HealthCo 40025 User manual

33T-R002
Warning!- Avertissement! – Advertencia! – Attenzione! – Warnung! – Waarschuwing – 警告! 請
Always read this instruction and the instruction for the lifter to be used with the sling
Toujours lire cette instruction et l’instruction pour l’élévateur à être utilisés avec la fronde
Siempre lea esta Instrucción y la Instrucción para el elevador que se utilizarán con la Honda
Lesen Sie immer diese Anleitung und die Anleitung für die Heber mit der Schlinge verwendet warden
Leggere sempre questa Istruzione e l’Istruzione per il sollevatore da utilizzare con la onda
Lees altijd deze instructie en de instructie voor de lifter te gebruiken met de draagdoek
务必阅读本使用说明书以及使用吊兜的升降机的说明书。
40025-40030
HealthCo Toileting Sling
with Loop straps
EN Instruction for use
FR Instructions d’utilisation
ES Instrucciones de uso
GB Gebrauchsanweisung
IT Istruzioni per l’uso
NL Instructies voor gebruik
CN 使用說明書
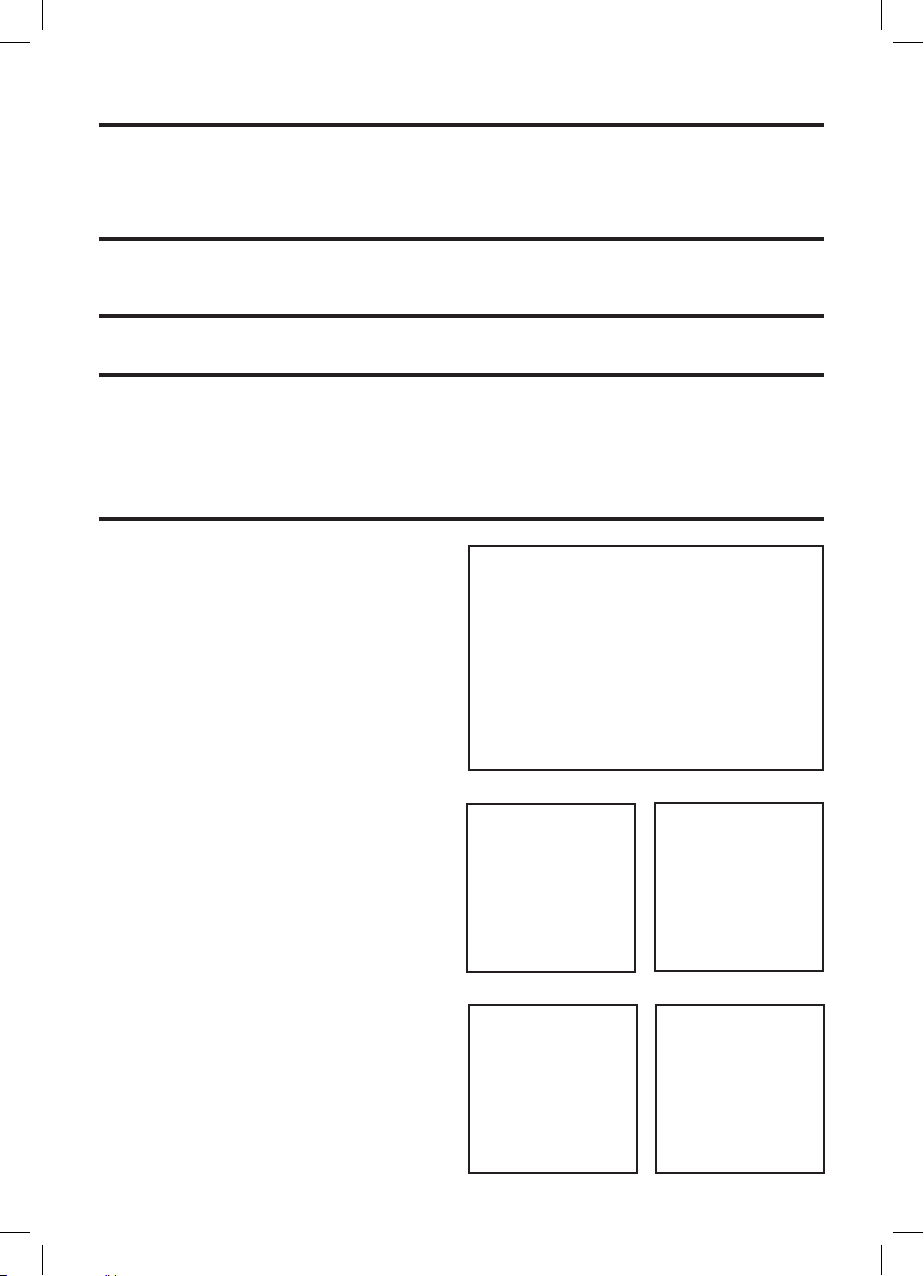
Product label
Body Material:
Polyester, Quilted Polyester
Attachment straps
Soft padding
Fixation belt with buckle
FRONT
BACK
82
Washing instructions:
Anti-slide
silicon material
BACK
Leg support

Intended Use
1. Always perform a risk assessment before starting the specic lifting session
in order to make sure the product model is correct and that the lifting
procedure is fully understood.
2. Before using the sling, read this instruction manual and the instruction
manual for the lifting equipment to be used
3. When soiled or stained the sling must be washed before use.
4. Warning: Check the sling for any fraying, loose stitching, attachments or any
deteriorations.
5. After use, check sling according to the step 3 and 4 above and store in a dry
area.
The sling shall be checked by authorised personnel every 6 months according to
ISO10535
The Toileting sling is a standard sling designed with split legs, very supportive
and easy to use for user with some body control and will assist the caregiver for
lift-ing and transfer a user in either a sitting or laying position, from and to the
toilet, bath, bed and/or chair/wheelchair.
Loop Straps version is for use with lifters/hoists and hanger bars with loop
attachment hooks.
Keyhole clip version is for use with lifters/hoists and hanger bars with 4-point
stud xings.
Before and after every use
The Toileting Loop Sling will t most lifts with standard hangerbars with loop
attachment hooks. The Toileting Keyhole Clip Sling will t most lifters with 4-
point hanger bars with clip attachment studs.
Always check lifter instruction manual for details.
Attachments
Service & Maintenance
Denition in this IFU
Warning: Means Safety warning. Failure to understand or obey this warning
may result in injury to you or to others.
Note: Means important information for the correct use of this system or equipment.
• Always check the label is readable and that the sling is in good condition
without signs of wear and tear.
• Always make sure not to exceed the Safe Working Load (SWL) dened for
the product.
• Always read the instruction manual for the lifting equipment to be used with
the sling.
Safety instructions
• Please refer to the manual for the lifting equipment used
• In doubt please contact your dealer who supplied the product
Customer support/Trouble shooting
Technical Specications (Lifting Slings are classied as medical equipment Class 1 products.)
Part no. Description SWL Material Sizes
40025-40030
Toileting Sling. Loop Straps
attachment
Max: 275kg Polyester XSmall-XXLarge
/ 605 lbs.
•
Always follow the instructions on the product label and check the sling for deteriorations.
• Mark the sling with the specic patient name and keep in dry and clean environment.
Expected Service Life varies between 1–5 years, depending on usage and number of
washing cycles. When washed once a week the sling has an Expected Service Life of 2
years. Expected Service Life is based upon a correct usage and washings procedure in
accordance with this IFU. Dispose the slings according to the local regulations.
Expected service life & Disposal
The sling should be stored in a dry and clean environment. The shelf life is 3 years in
original packaging. Store in temperatures between 0°-40° C (+32°-104°F)
Storing and Shelf life
Max 275kg / 605 lbs.
Safe Working Load (SWL)
Product care & Maintenance
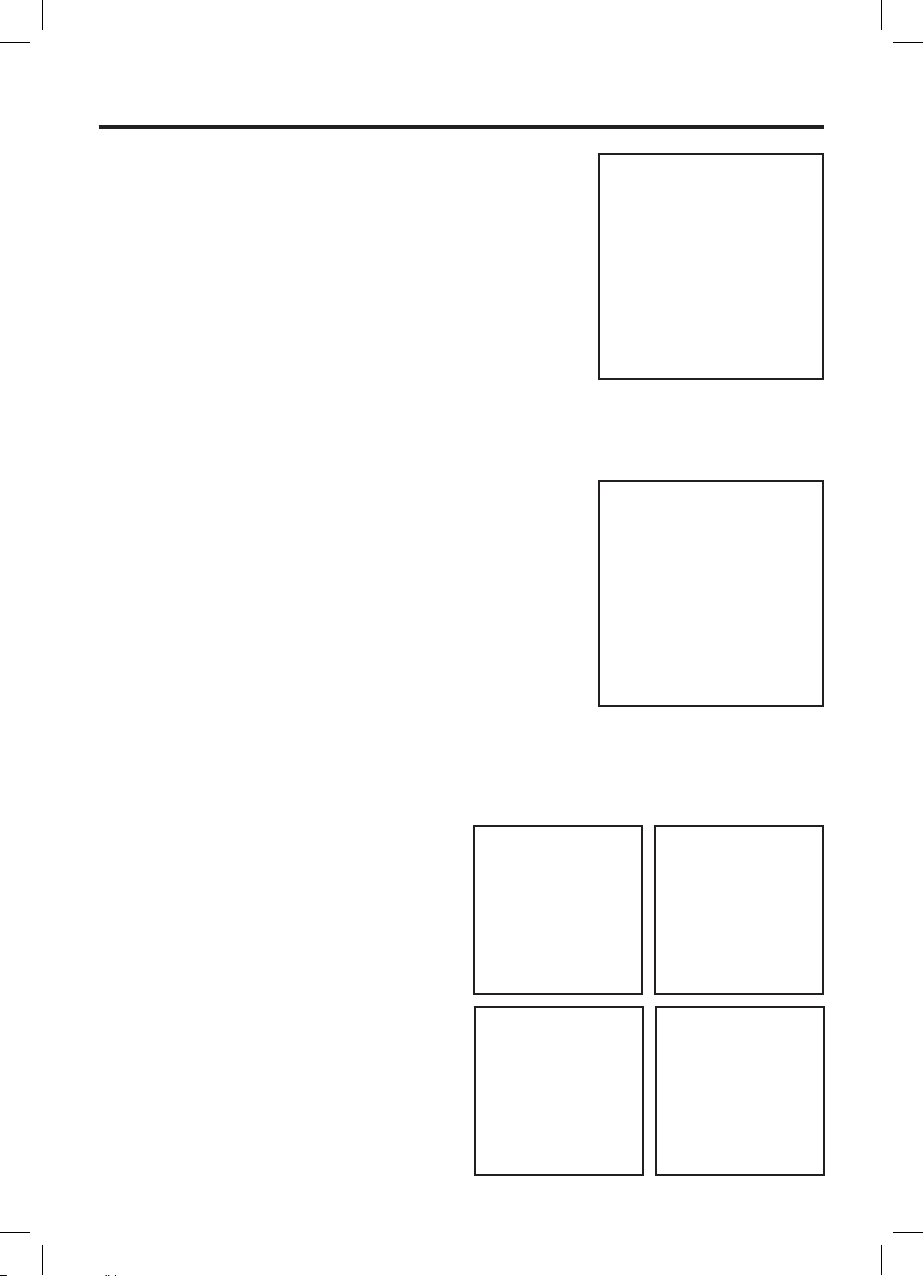
Applying the Toileting sling in Laying position.
Roll the user to the side, facing away
from you.
Fit the sling by folding it on the middle.
The label side facing outwards.
Then place the sling lengthwise with
the users back. (See picture 1)
Fold top half of the sling and gently
tuck it under the user.
(See picture 2,3)
Roll user to the other side, now facing you.
Gently pull the top half of the sling through,
when fully unraveled atten it.
Roll the user to a backside position
and fasten the belt.
(See picture 4,5)
Note! If required, two at slide sheets
can be used to apply the sling.
1.
2.
1
23
45

Bend the users leg closest to you and
insert sling leg under the users tight.
Unbend the knee and redo procedure
on the users opposite leg.
(See picture 6,7)
After positioning the sling legs properly,
cross the leg straps by putting one
through the other.
(See picture 8,9)
Note! If required, prepare the toilet visit
by pulling the users pants slightly down,
while keeping their dignity in mind.
Position the hanger bar carefully
above the user.
(See picture 10,11)
Place the four loops straps on the
hanger bar attachment hooks and pull
the straps down until locked in position.
(See picture 12,13)
Note: Always check the lifter instruction
manual details.
Check user position and carefully make the required
adjustments to achieve the best comfort for the user.
Check that the arms and legs are in the right positions.
(See picture 14)
Note: If required, recline the bed so the user is in a
half-sitting position.
3.
4.
5.
11
13
6
14
6.
7
89
10
12

15
7. Raise the hanger bar until all straps start to tighten and
become tense, enabling you to check that ALL the
straps are securely attached.
(See picture 15)
Carefully perform the lift, whilst remaining vigilant of the
user’s position and comfort.
(See picture 16)
Once the process of transfer is complete, return the
user to a chair or bed and slowly lower the hanger bar
until all straps are loose.
(See picture 17)
Release the loop strap from the
hanger bar by pulling the strap upwards.
Then unfasten the belt.
(See picture 18,19)
Note: Always check the lifter instruction
manual details.
19
18
17
16
8.
9.
10.
Lean the user slightly forward and position the Sling
behind the user’s back. The label side facing outward
and the center line of the sling aligned with the user’s
spine.
Carefully push the sling as far down the user’s lower
back as possible.
(See picture 1)
Note! If required, two at slide sheets can
be used to apply the sling.
Fasten the belt carefully.
(See picture 2)
Note! If required, prepare the toilet visit by pulling the
users pants slightly down, while keeping their dignity in
mind.
Place the sling legs alongside the user’s
legs. Fold the sling leg and carefully feed
it underneath the user’s legs.
(See picture 3,4)
After positioning the sling legs, cross the
leg straps by putting one through the other.
(See picture 5,6)
Applying the Toileting sling in Chair.
1.
2.
1
2
34
56

Position the Hanger bar carefully
above the user.
(See picture 7,8)
Place the four loop straps on the
hanger bar attachments hooks and
pull the strap down until locked in position.
(See picture 9,10)
Note: Always check the lifter instruction
manual details.
Check user position and carefully make the required
adjustments to achieve the best comfort for the user.
(See picture 11)
Check that the arms and legs are in the right positions.
Raise the hanger bar until all straps start to tighten
and become tense enabling you to check that ALL the
straps are securely attached.
(See picture 12)
3.
4.
5.
10
11
6.
8
9
7
12

Carefully perform the lift, whilst remaining vigilant of the
user’s position and comfort.
(See picture 14)
Once the process of transfer is complete, return the
user to a chair or bed and slowly lower the hanger bar
until all straps are loose.
(See picture 15)
Release the loop strap from the
hanger bar by pulling the strap upwards.
Then unfasten the belt.
(See picture 16,17)
Note: Always check the lifter instruction
manual details.
8.
17
9.
16
15
14
7.

Your own notes

Your own notes

Your own notes
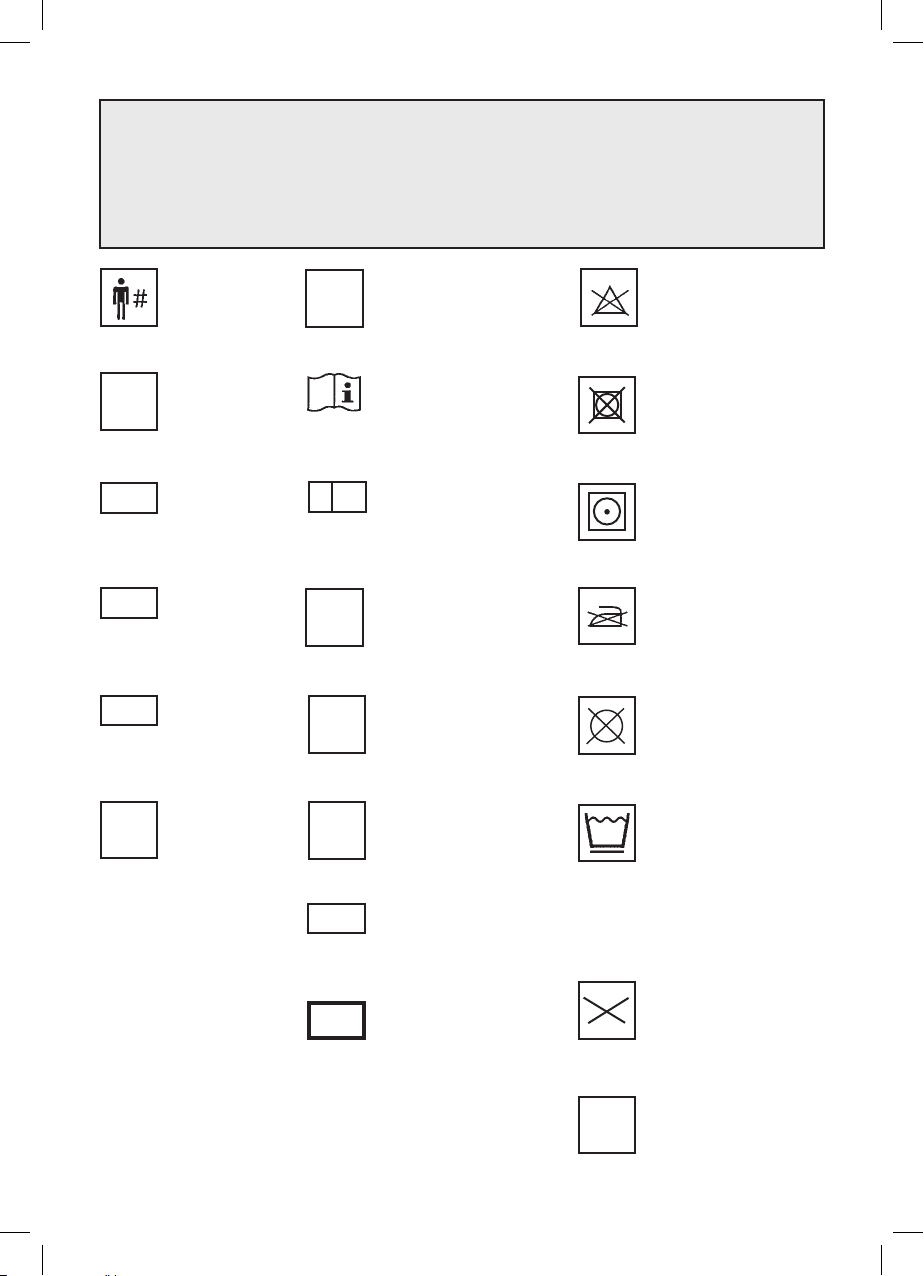
Description of label symbols. Applicable symbols printed on product label
Description des symboles de l’étiquette. Symboles applicables imprimés sur l’étiquette du produit
Descripción de los símbolos de la etiqueta. Símbolos aplicables impresas en la etiqueta del product
Beschreibung der Label-Symbole. Anwendbar Symbole auf Produktetikett
Descrizione dei simboli di etichette. Simboli applicabili stampati sull’etichetta del prodotto
Beschrijving van het etiket symbolen. Toepasselijke symbolen afgedrukt op etiket
标签符号描述,印在产品标签上适用的符号。
Patient Name
Le nom du patient
Nombre del paciente
Patientenname
Nome del paziente
Naam van de patiënt
患者姓名
Read the instruction for use
Lire les instructions d’utilisation
Lea las instrucciones de uso
Lesen Sie die Gebrauchsanweisung
Leggere le istruzioni per l’uso
Lees de instructies voor gebruik
請閱讀使用說明書
Article number
Numéro de l’article
Número del artículo
Artikel-Nummer
Numero di articolo
Artikelnummer
貨號
Lot Serial number
Numéro de série de LOT
Número de serie LOT
LOT Seriennummer
Numero di serie LOT
LOT serienummer
批号
Serial Number
Numéro de série
Número de serie
Volgnummer
Numero di serie
Volgnummer
序列号
Material Symbol
Symbole du matériel
Símbolo material
Materialen symbol
Simbolo material
Materiaal symbol
材質符號
Safe Working Load
Capacité de levage maximum
Carga de trabajo segura
Maximale hebelast
Carico massimo di sollevamento
Maximale tilcapacitet
安全工作載荷
Date of manufacturer /month
Date de fabrication / mois
Fecha de fabricación / mes
Herstellungsdatum / Monat
Data di produzione / mese
Fabricagedatum / maand
製造日期
Manufacturer
Fabricant
Fabricante
Hersteller
Fabbricante
Fabrikant
生產廠家
EU representative
EU Représentant
EU Representante
EU Vertreter
EU Rappresentante
EU Vertegenwoordiger
EU 代表
Decleration of compliance
Déclaration de conformité
Decleration de cumplimiento
Konformitätserklärung
Dichiarazione di conformità
Verklaring van conformiteit
符合性聲明
Attachment by straps with loops
Fixation par sangles avec boucles
Fijación por correas con bucles
Befestigung durch Gurte mit Schlaufen
Fissaggio con cinghie con anelli
Bevestiging door bandjes met lussen
通过挂带连接
Attachment by straps with Clips
Fixation par sangles avec clips
Fijación por correas con clips
Befestigung durch Gurte mit clips
Fissaggio con cinghie con clips
Bevestiging door bandjes met clips
通过扣子连拉
Service label
Étiquette de service
Servicio de etiqueta
Service-Etikett
Etichetta di servizio
Dienst label
服務標籤
Recommended temperature
for washing
La température recommandée
pour le lavage
La temperatura recomendada
para el lavado
Empfohlene Temperatur zum
Waschen
Temperatura consigliata per il
lavaggio
Aanbevolen temperatuur voor
het wassen
推薦使用温度洗滌
Do not wash
Ne pas laver
No Lave
Non lavare
Nicht waschen
Niet wassen
不可水洗
Do Not Bleach
Ne pas javelliser
No usa blanqueador
Nicht bleichen
Non candeggiare
Niet bleken
不能漂白。
Do Not Tumble Dry
Ne pas sécher par culbutage
No utilizar secadora
Nicht im Wäschetrockner trocknen
Non asciugare
Niet in de wasdroger
不可烘乾
Tumble Dry at Low Heat
Sécher par culbutage à basse temperature
Secar a baja Heat
Wäschetrockner trocknen bei niedriger Hitze
Nell’asciugatrice a bassa calore
Drogen op lage temperatuur
低温滚筒烘干
Do Not Iron
Ne pas repasser
No planchar
Nicht bügeln
Non stirare
Niet strijken
不可熨烫
Do Not Dry Clean
Ne pas nettoyer à sec
No lavar en seco
Nicht chemisch reinigen
Non lavare a secco
Nicht chemisch reinigen
不可乾洗
REF
LOT
SN
PP PE
PES PA
CO
SWL
EC REP
P
82
Do not use.
Ne pas utiliser
No utilice
nicht verwenden
Non usare
Gebruik geen
不要使用
HealthCo Limited
The Croft House, York Lane
Morthen, South Yorkshire S66 9JH, UK
Tel. +44(0)1709 278036
www.healthcoltd.co.uk
MD
Medical Device
Dispositif medical
Producto sanitario
Medizinprodukt
Dispositivo medico
Medisch hulpmiddel
医疗器械
This manual suits for next models
1
Table of contents


