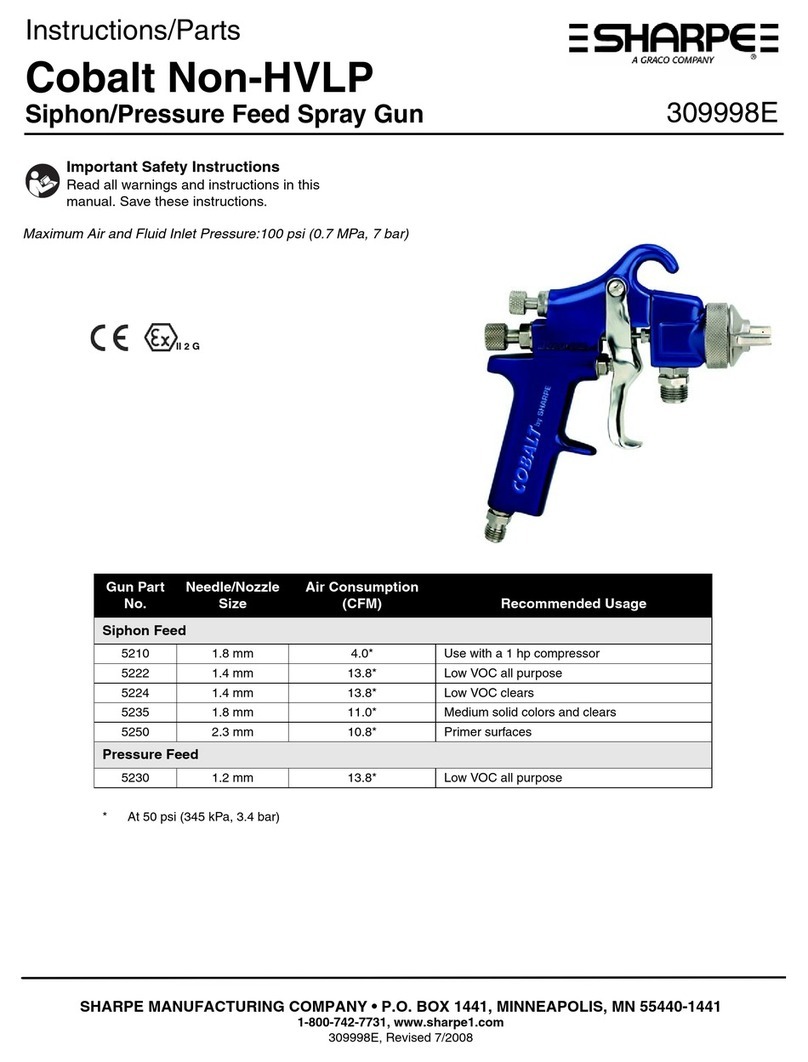
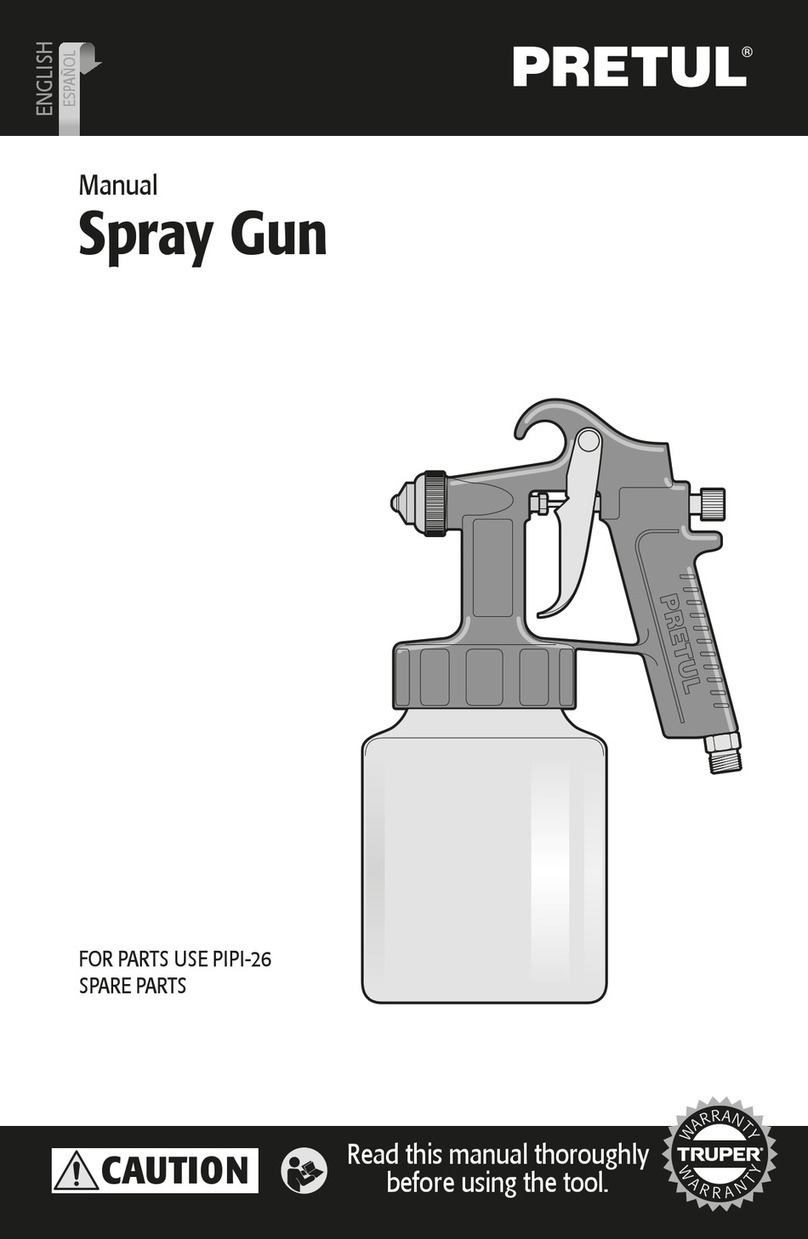
Healthmark 64-20810-00 User manual

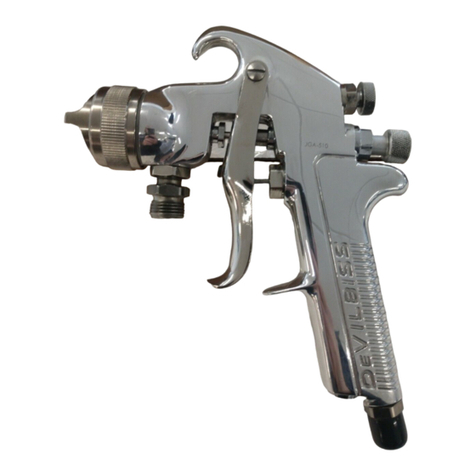
Instructions for Use: Stainless Steel Spray Gun
Brand Name of Product
Stainless Steel Spray Gun
Generic Name of Product
Spray Gun
Product Code Number(s)
64-20810-00
Purpose of Product
To aide in the cleaning of medical devices and accessories.
Range of Applications for Product
For medical devices, requiring thorough rinsing. Particularly useful for rinsing the internal
channels. Made from Stainless Steel, the spray gun is resistant to cold demineralized water.
Key specifications of product
Stainless steel construction
Variable flow control
Easily swap tips for different applications
316 /316L Stainless steel
Technical data
oMedium: Oil-free compressed air/cold de-ionized water
oMax pressure: 0.5 Mpa (=5 bar)
72.5 pound force per square inch.
Shipping & Storage
Shipping Conditions & Requirements
Storage Conditions
Packaging Conditions
Shelf Life
Instructions for Using Product
Description of Use (s)
For the rinsing of medical devices, particularly the internal channels.
Preparation for Use
The cleaning gun unit must be installed by a trained specialist in accordance with the
guidelines applicable depending on the intended use.
Diagrams (drawings, pictures):
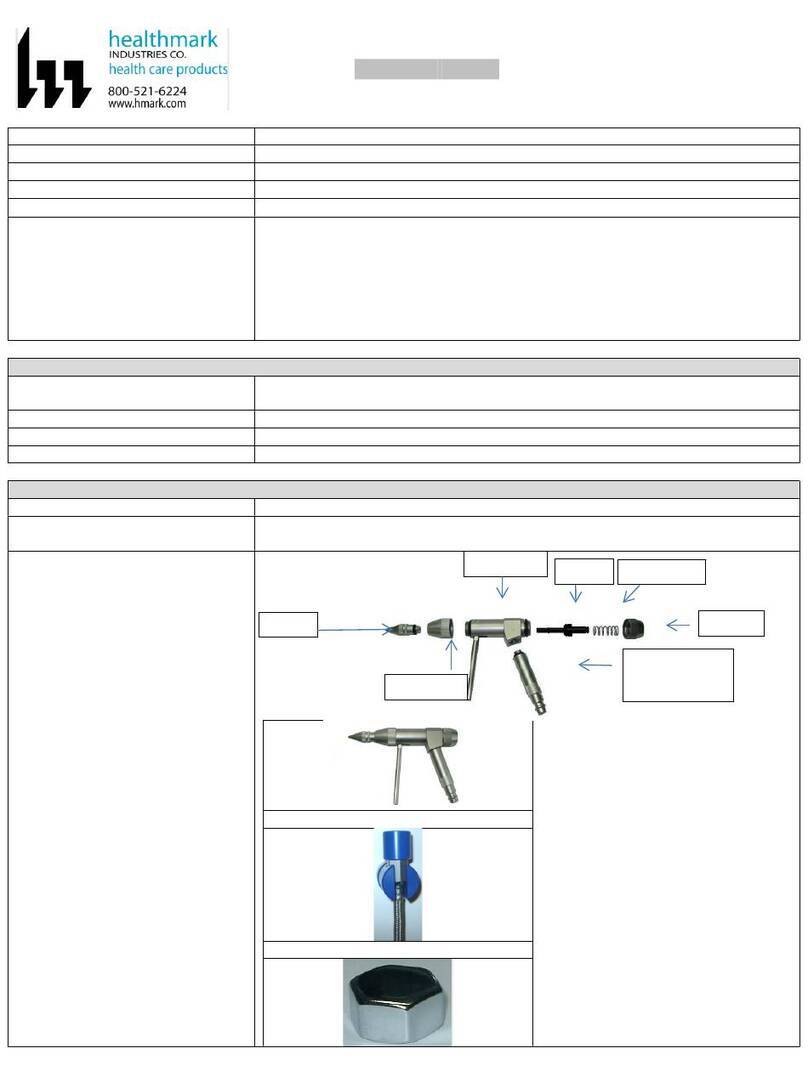
Spray Gun
Gun Coupling
Coupling Protection Cap
Nozzles
Nozzle
Nozzle Cap
Gun handle for
quick-lock
coupling –DN7.2
Piston
Body of Gun
Piston Spring
End Cap

Trigger Locking Ring
Hose End Cap
Steps for Use of Product
1. Prior to operation, the user must make sure that the attachments are correctly
seated on the safety conell by firmly pushing them onto the spray gun rinse tip.
2. When in operation, the Spray Gun must not be pointed at parts or orifices of the body
because the compressed water or air jet may be harmful.
3. Depending on the field of application, suitable safety measures must be taken to
protect the user from splashes of contaminated water (protective goggles, protective
mask, etc.).
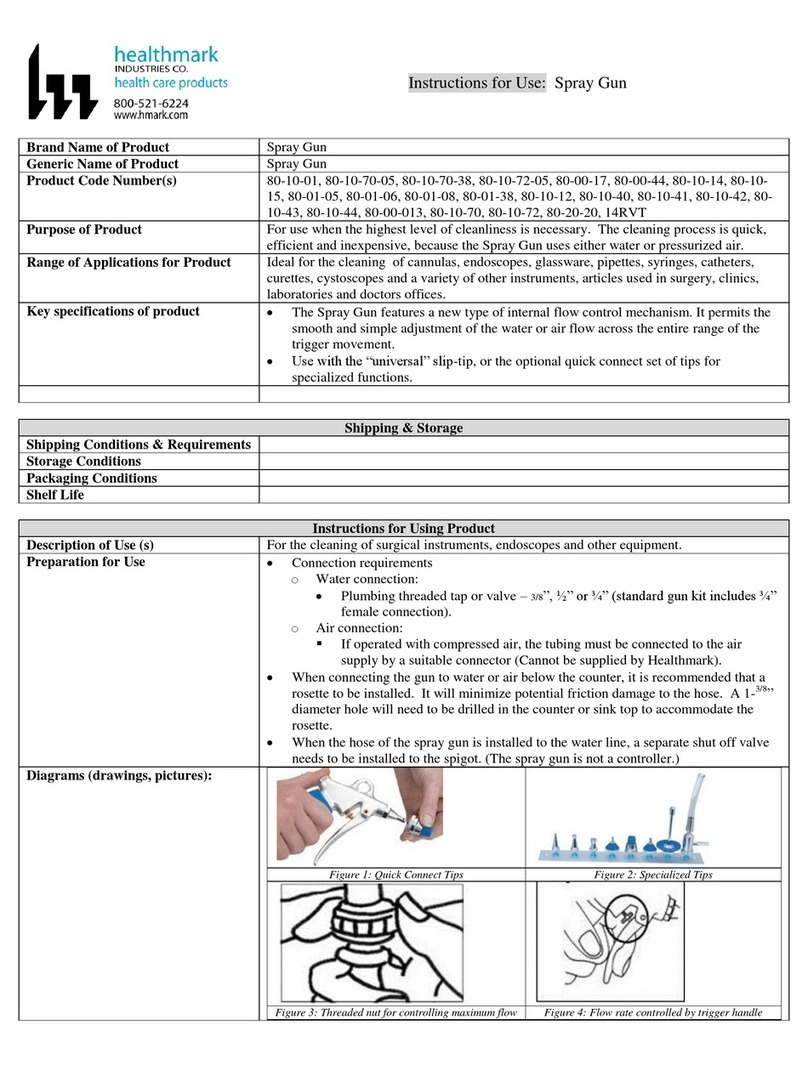
4. If required, the maximum water or air pressure value can be set by using the small
threaded nut located behind the trigger handle.
5. The flow is controlled by pulling the trigger - up to the maximum set point fixed by the
threaded nut.
Interpretation of Results
Contraindications of Test Results
Documentation
Special Warnings and Cautions
The enclosed silicone oil is not sterile.
Oils containing white oil or paraffin oil will damage the O-rings.
If tubing other than that supplied by Healthmark is used, facility should independently
verify the safe and effective performance of that tubing. In such a case the liability for
operation of the spray gun is assumed by the facility.
Warranty claims will only be honored for components purchased from Healthmark.
The Spray Gun is not a medical product and is therefore not to be used as part of
medical treatments.
When in operation, the Spray Gun must not be pointed at parts or orifices of the body
because the compressed water or air jet may be harmful.
Be sure to wear proper PPE according to facility and industry guidelines.
Disposal
Reprocessing Instructions
Point of use:
Preparation for decontamination:
Check the completely cleaned and dried instrument parts for possible defects.
Sterilization should be performed in a single transparent sterilization package
Disassembly Instructions:
Cleaning –Manual:
Cleaning –Automated:
1. Pre-Cleaning : Cleaning agents for spray gun parts should be neutral detergent: Clean
the parts in the cleaning solution with a soft brush and by fully immersing them into
the liquid in order to remove all visible contamination.
2. Ultrasonic cleaning: This is imperative!
Cleaning agents for instruments: Depending on the level of contamination 1-3%.
Duration of ultrasonic cleaning: 15 minutes. Water temperature: room temperature, but
not exceeding 40°C.The ultrasonic device must be suitable for the cleaning of medical
instruments and should have a frequency of 35-40 kHz. The cleaning duration is to be
extended when devices with a higher frequency are used! All instrument parts must be
fully immersed in the cleaning solution and all hollow spaces must be filled. Ultrasonic
baskets may not be overloaded as this could lead to acoustical shadows and the
cleaning effect could not be guaranteed!
3. Rinsing: Remove all chemical residues with water which is free from pathogenic
germs.
4. Drying: Dry all parts with a lint-free cloth and medical compressed air. Check the
cleaning effect.
Disinfection:
Drying:
Dry all parts with a lint-free cloth and medical compressed air. Check cleaning and

drying.
Maintenance, inspection, and testing:
Assembly of Spray Gun
1. Lubricate the front end of the piston and the small piston O-ring with pure silicone oil
prior to the assembly. Only minimal lubrication! If you insert the dry piston the piston
seal will be damaged!
2. Then insert the piston into the gun bod, position the piston spring onto the piston
and screw the end cap to the gun body.
3. Screw the nozzle cap to the front of the gun body and screw the desired nozzle into the
nozzle cap.
4. Screw the gun handle into the gun body as far as it will go.
5. Oil the plug nipple of the handle DN7.2 with pure silicone oil if it is difficult to insert
it into or remove it from stainless steel coupling.
Disassembling the cleaning gun:
1. Disassemble the end cap from the body of the gun by turning it counterclockwise.
2. Remove the piston spring.
3. Pull trigger back and pull the piston out backwards.
4. Loosen nozzles from nozzle cap by turning them counterclockwise.
5. Disassemble the nozzle cap from the body of the gun by turning it counterclockwise.
6. Disassemble the handle from the body of the gun by turning it counterclockwise.
7. Disassemble the shower nozzle sieve from the shower nozzle body by turning it
counterclockwise.
Reassembly of the cleaning gun to the gun coupling:
1. Introduce the gun handle with coupling plug DN7.2 straight into the gun coupling,
and press it in until it audibly engages into position.
2. Open the pressure supply line and check the whole system for leakage!
Dismounting the cleaning gun from the gun coupling:
1. If you want to dismount the cleaning gun from the coupling again for reprocessing,
you must interrupt the pressure supply.
2. Relieve the pressure in the hose through the gun by activating the trigger.
3. Press the gun handle into the coupling and, at the same time, pull the sliding ring and
top of coupling down coupling towards the hose and pull the gun out of the coupling.
4. Put the sterile coupling protection cap over the gun coupling.
5. The hose must be stored in such a way that it does not come into contact with liquids
and cannot be contaminated.
6. The coupling protection cap is cleaned and sterilized in the same way as the cleaning
gun parts.
Maintenance
1. It is recommended to decalcify the Spray Gun approximately every four weeks. The
gun should be disassembled and the inner parts placed in a decalcifying agent. This is
beneficial for the service life and reliability of the spray gun.
2. If it is difficult to remove the cg piston from the gun body or insert it into the gun body
then you must replace the small O-ring for the cg piston.
3. Replacement parts and instructions for repair are available from Healthmark.
Reassembly Instructions:
Packaging:
Sterilization:
Storage:
Additional Information:
Caution: Oils containing white oil or paraffin oil will damage the O-rings.
Related Healthmark Products
Other Product Support Documents
Reference Documents
Prosys Brochure, Prosys Price List
Customer Service contact:

hmark.com
2016-06-21 msmith
Other Healthmark Paint Sprayer manuals
