Hearthstone Quality Home Heating Products, Inc ® Page 4of 39 Heritage 8024
INTRODUCTION
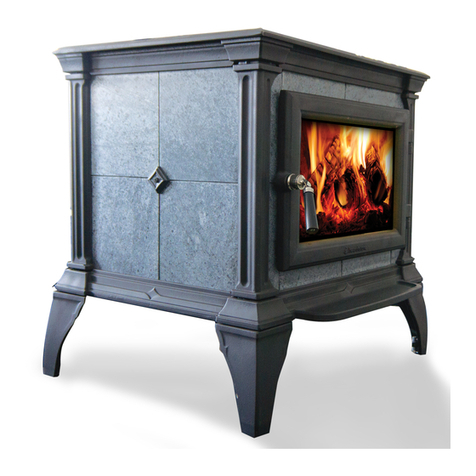
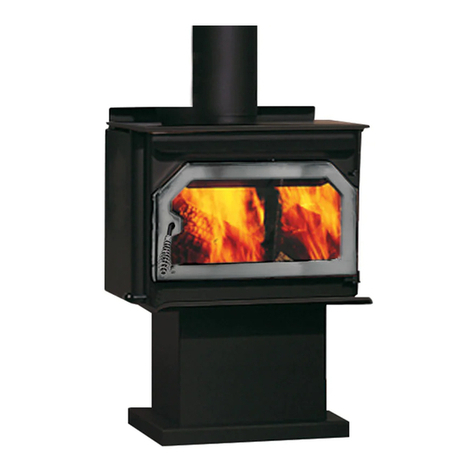
Thank you for purchasing a Heritage 8024 woodstove
from Hearthstone Quality Home Heating Products.
This stove will provide years of comfortable heat. This
stove combines the warmth and comfort of soapstone
and cast iron with the efficiency of advanced catalytic
technology. The Heritage 8024 blends modern
technology with the unique beauty and qualities of
cast iron. We trust that you will appreciate the quality
of this handcrafted product.
Your Heritage 8024 woodstove burns very efficiently,
and produces a large amount of heat. However, you
should not consider your Heritage 8024 the primary
heat source for your home. The Heritage 8024’s large
glass window allows you to enjoy the fire from a
variety of locations in the room.
Please read this manual in its entirety. Its purpose is
to familiarize you with your stove's safe installation,
proper break-in, operation and maintenance. It
contains extremely important information so keep it
handy and refer to it often.
A qualified heating technician may need this owner’s
manual as a reference when installing this stove in
your home. There are national, state, and local
building codes that direct the technician on how to
install your stove. These codes stipulate the
dimension of stovepipe and clearances to walls,
ceilings, hearth, and other combustible surfaces. The
codes exist to reduce the risk of fire. Failure to follow
these instructions can result in fire, property damage,
bodily injury, and even death.
Install the stove in a safe, open area, away from traffic
flow, doors, and hallways. If possible, try to install the
stove near an existing chimney and chimney
connector. It is extremely important to install this
stove with the proper clearance from combustible
surfaces. You can purchase specific connector pipe
and special wall coverings as specified by this manual
and the NFPA 211 code to protect combustible
surfaces. As a general rule, keep furniture, drapes,
curtains, wood, paper, and other combustibles at
least 36 inches (92 cm) away from the stove. Never
install the stove in or near a storage location for
gasoline, kerosene, charcoal lighter fluid or any other
flammable liquids.
Install the stove in your central living area to allow
heat to radiate naturally to distant rooms. Do not
install your stove in a poorly insulated area. This is
inefficient and would likely result in higher fuel usage.
•SAFETY NOTICE:
AN IMPROPERLY INSTALLED STOVE CAN
RESULT IN A HOUSE FIRE. FOR YOUR SAFETY,
CAREFULLY FOLLOW THE INSTALLATION
DIRECTIONS. CONTACT LOCAL BUILDING OR
FIRE OFFICIALS ABOUT RESTRICTIONS AND
INSTALLATION INSPECTION IN YOUR AREA.
The safety of your stove will depend on many factors,
some of which include: distance to combustible
objects, correct venting, and adequate chimney
maintenance. Should you have any questions, do not
hesitate to contact your dealer for additional
information.
Contact your dealer for any necessary warranty
service.
This Heritage 8024 stove is warranted by:
Hearthstone Quality Home Heating Products, Inc®
317 Stafford Ave.
Morrisville, Vermont 05661, USA
www.Hearthstonestoves.com
CODES
When you install your Heritage 8024 woodstove, it is
imperative that you adhere to all Federal and local
codes. Obtain these codes from either of the following
sources:
American National Standards Institute, Inc. (ANSI)
1430 Broadway
New York, NY 10018
www.ansi.org
National Fire Protection Association, Inc. (NFPA)
Battery March Park
Quincy, MA 02269
www.nfpa.org
If you are installing your Heritage 8024 in a mobile or
manufactured home, follow the guidelines described
in the Manufactured Home Construction and Safety
Standard, Title 24 CFR, Part 3280 (United States).
SAFETY INFORMATION
Read and understand this Owner's Manual
thoroughly before installing and using this stove.
