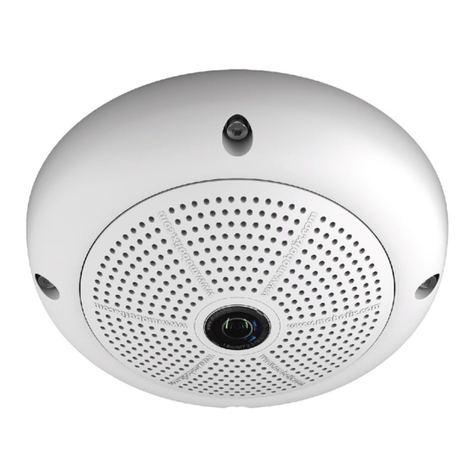
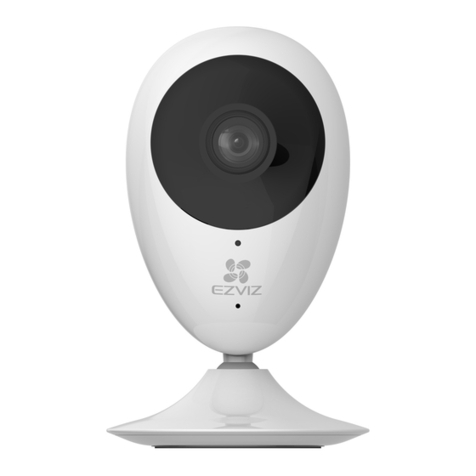
heimgard 117575 User manual

Indoor Camera
360°
Quick start guide
version 1.0
Requires a
heimgard
hub

What is in
the box
A.
Indoor camera 360°
C.
USB power adapter
EU and US
D.
Ethernet cable
B.
Micro USB
power cable
Device
overview
H.
Power input
J.
Ethernet input
K.
Join/Reset Button
E.
Wall bracket
F.
Screws x 2
G.
Wall anchors x 2 I.
LED Light
L.
Antenna
Camera
Motion
sensor

LAN port
1. Connect the power cable (B) to the camera (H).
Insert the power cable into the correct USB
power adapter (C). Connect the USB power
adapter to a wall socket.
Connect the ethernet cable (D) to the camera (H)
and to an internet connected home router.
Set up with either the
Ethernet cable or WiFi.
You must choose before getting started
Setup via Ethernet cable
2.
At the top of your screen you recieve a notication for
an uncongured device. Click congure to enter the
found devices list.
Click Congure to add the camera to a specic room
See the congure and usage page for additional
setting options.
4.
3.

Setup via WIFI
2.4 GHz
Note: if you previously set up your camera via
ethernet connection and want to use the camera over
WIFI, you will have to performa factory reset. See the
factory reset page for instructions.
You can relocate your camera after you have nished
setting up your camera. Just unplug the power and
relocate to your desired location and reconnect the
power.
1. Connect the power cable (B) to the camera (H). Insert
the power cable into the correct USB power adapter
(C). Connect the USB power adapter to a wall socket.
2. Open the Heimgard app and follow the steps listed
here to connect to your device
Manage
Devices
3. Insert or select your 2.4 GHz WIFI network name (this
is case sensitive). Enter your WIFI password and click
generate. A QR code will appear on your screen.
4. On your camera press and the join button (K) for 5
seconds. The LED light will ash blue.
Press and
hold 5 sec-
onds

6. At the top of your screen you recieve a notication for
an uncongured device. Click congure to enter the
found devices list.
Click Congure to add the camera to a specic room
See the congure and usage page for additional
setting options.
7.
5.
Flashes blue
and red
10-30 cm
Present the QR code in front of the camera. The
camera will beep twice and the LED light will ash
blue/red while connecting to your WIFI network..
Use max brightness on your phone
Congure
and use
Advanced Settings: The camera can be used for two
purposes; Record and Generic.
Generic:
The camera will not record when it detects motion.
You can manually stream and initiate recordings in
the app.
Note: The camera will record up to 5 minutes clips.
Record
On motion: The camera will record while it detects
motion.
On motion when away: The camera will record when
the alarm is set to away and motion is detected by
the camera.
Note: The camera will record while it detects motion
(up to 5 minutes clips). If there is still motion after 5
minutes the continuation of the previous recording
will be found in another clip.

Set the
time
Open the Heimgard app and follow the steps listed
here to change the time on your camera:
Scroll down to the Info section to nd your
camera’s Ip Address: (ex.123.456.7.89)
Insert the Ip Address into your web browser
Enter username and password
Note: If you have not changed the username
or password, they are pre-set as
username: admin
password: 123456
Manage
Devices
Congure
(camera)
Settings
Settings Congure
(camera)
SettingsVideo 1
Choose your time zone, then Click Apply.
Your time is now set and you can logout.
Troubleshoot
Generic Issues
Check that the cables are inserted correctly
That you have internent connectivity.
If you have issues adding or conguring the camera,
perform a power reset by unpluging the power
supply to the internet router and the hub and
reconnect it. Then try adding the device again.
WiFi specic issues
5 GHz is not supported by the camera make sure
your 2.4 GHz is enabled and discoverable
• Make sure the antenna is securely fastened to the
camera when setting up with WIFI.
• Check that you have entered the Network name
and Password correctly (case-sensitive).
• When trying to scan the QR code, set the screen
brightness to max brightness.

Mounting
1. Using a drill and drillbit, drill 2 holes 3 cm apart
according to the layout of the wall bracket (E).
2. Insert the wall anchors (G) into the new holes.
3. Using included screws (F) attach the wall
bracket to the wall (E).
4. Fasten the camera (A) to the wall bracket (E).
5. Connect the power supply and if not connected via
WIFI, insert the ethernet cable(D).
As wall materials vary screws for xing also vary. For
advice on suitible screw systems, contact your local
specialized dealer. You will need a screw driver, a drill
Determine where you want the camera to be placed.
Place the camera in reach of a power supply outlet.
Note: If using Wi-Fi, before mounting, ensure your
camera is in a position where Wi-Fi is accessible.
Thick and/insulated walls can greatly reduce the
signal strength of your WiFI camera. (Connections via
ethernet cable ensures the most reliable connection
to your network)
Mounting
F
E
G
A

LED description
Red light • Blinking slowly: power up and
activating
• Blinking quickly: The device is
restored to factory default
Blue • Light goes o: The device failed to
connect to the network
Red and blue • Blinking slowly: The device is
receiving the wi signal or connecting
to wi
• Lights are solid and steady: The
device is connected to network
Website: heimgard.com/support
Email: [email protected]
Facebook: facebook.com/heimgardnorge/
Telephone: +47 649 44 422
Need help?
Visit heimgard.com for
more information and
tips on how to use.

1. Read through these instructions.
2. Keep these instructions on hand.
3. Notice all warnings.
4. Follow all instructions accordingly.
5. Clean only with dry soft cloth. Household cleaners and solvents can
damage the nish on your device.
6. Do not block any ventilation openings. Install in accordance with the
these instructions.
7. Do not install near any heat sources such as radiators, heat registers,
stoves or other device that produce heat.
8. Do not use this device near water.
9. Warning: To reduce the risk of re or electric shock, do not expose this
device to rain or moisture.
10. Do not expose device to dripping or splashing.
11. Protect the attached cables from being walked on or pinched, par-
ticularly at plugs, convenience receptacles, and the point the exit the
apparatus.
12. Only use attachments/accessories specied by the manufacturer.
13. Unplug this device during lightning storms or when unused for long
periods of time.
14. All servicing should be performed by qualied service personnel. Ser-
vicing is required when the device has been damaged in any way.
15. The main plug should be easily available to disconnect the device.
16. Operating temperature: 0°C to +50°C
17. Operating relative humidity: 5% to 85% RH (no condensation)
Important safety
information
Dispose of the product properly at the
end of its life. This is electronic waste
and should be recycled accordingly. heimgard.com
This manual suits for next models
1
Table of contents
Other heimgard Security Camera manuals
Popular Security Camera manuals by other brands
Grundig
Grundig GD-CI-DT4637T quick guide
Vicon
Vicon VN-755IPV5 Installation & operation manual
Honeywell
Honeywell HDZ302LIK Configuration guide
Toshiba
Toshiba IK-629A instruction manual
BLUE MANGO TECH
BLUE MANGO TECH BMH-S18 instruction manual
American Dynamics
American Dynamics IP speedDome Ultra 8 Installation and service manual
