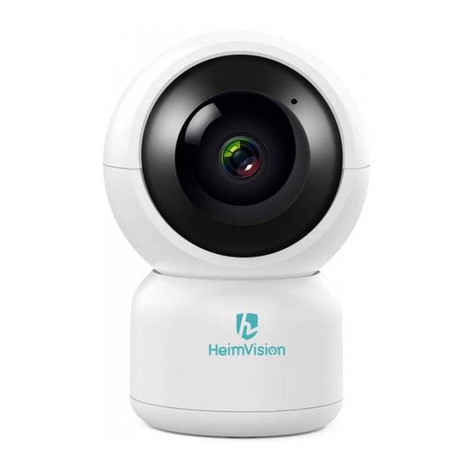
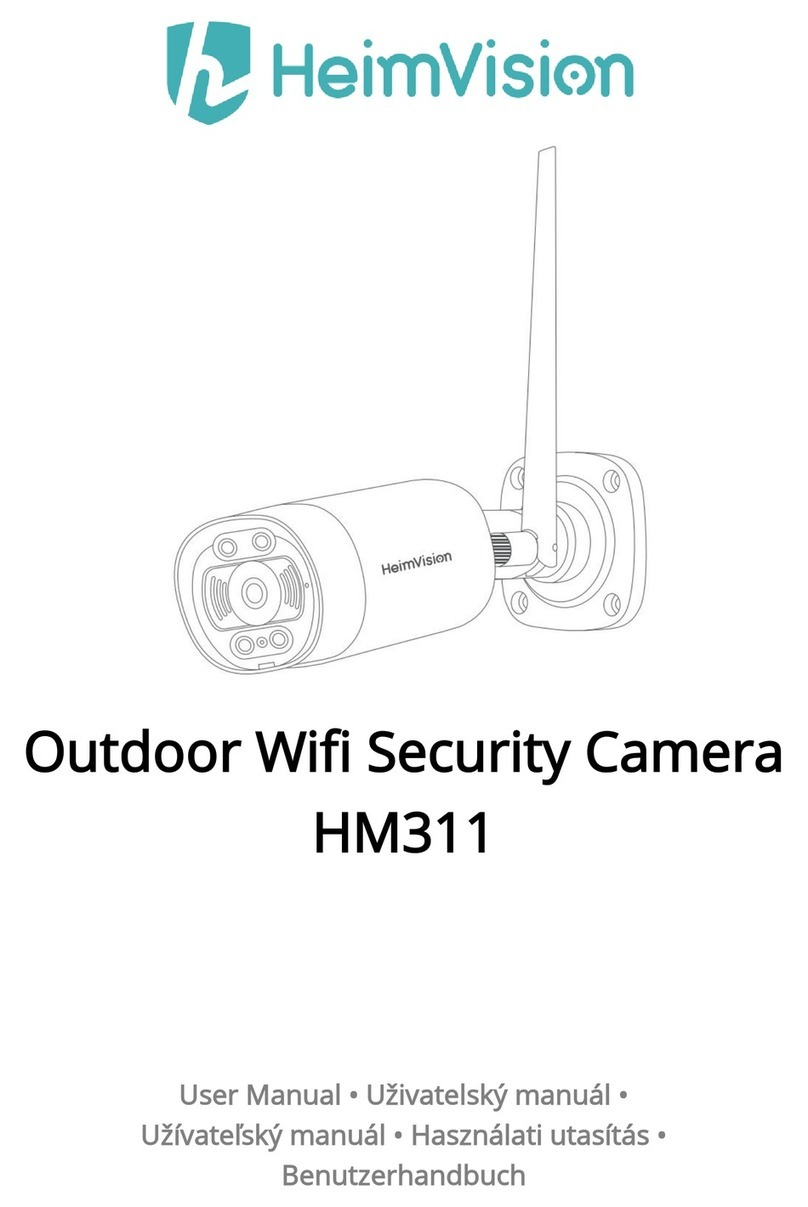
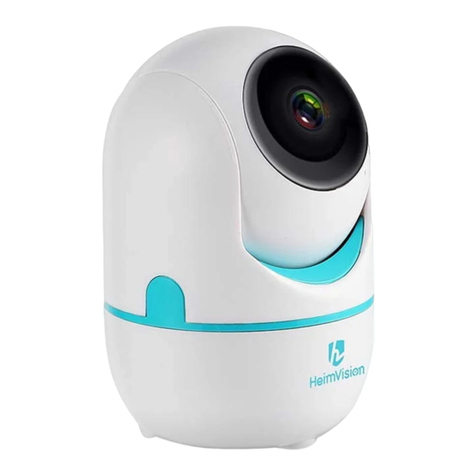
HeimVision HM311 User manual

Outdoor Wifi Security Camera
HM311
User Manual • Uživatelský manuál •
Užívateľský manuál • Használati utasítás •
Benutzerhandbuch

2
Dear customer,
Thank you for purchasing our product. Please read the following instructions carefully
before first use and keep this user manual for future reference. Pay particular attention
to the safety instructions. If you have any questions or comments about the device,
please contact the customer line.
✉www.alza.co.uk/kontakt
✆+44 (0)203 514 4411
Importer
Alza.cz a.s., Jankovcova 1522/53, Holešovice, 170 00 Praha 7, www.alza.cz

3
PACKING LIST
Outdoor Wifi LAN Cable DC 12V/1A
Security Camera Power Adapter
Waterproof Kit 5dB Antenna Screw Set
for LAN Port
User Manual

4
PRODUCT OVERVIEW
IR LED
Lens
Floodlight
Night Vision
Microphone
Base
Antenna
Memory Card Slot
Reset
Reset
Speaker
Power Input
LAN Port

5
CONNECT THE CAMERA TO MOBILE DEVICE
App Downloading and Installation
Search for HeimLink from App Store™/Google Play™, or scan the QR codes below to
download and install the App into your mobile device.
Note:
Google Play™ is a trademark of Google Inc., and App Store™ is a trademark of App Inc.
Account Registration and Login
Please register an account with a valid email address, then log in.

6
Connect the Camera to HeimLink Account
IMPORTANT:
1. This camera only supports a 2.4GHz Wifi.
2. For a stable network connection, please make sure the camera and the mobile
device are close to the router. Please install the antenna for the camera after you
adjust the base to provide enough space for it.
3. Avoid using special characters or symbols in your Wifi name and password, such as
@~!#$%^&* and so on.
4. Do not mount the camera before confirming the successful network connection and
smooth live picture.
5. For all connecting options, you will hear the voice prompts after the camera is
powered on. Press and hold the Reset button for 5~6s to reset the camera if no
voice prompts heard. You will hear “Reset success“ at a successful reset.
6. Please turn on the location service and Wifi on your mobile device, then allow
HeimLink App to access your location and use Wifi.
Connect the camera by scanning QR code
Power on the camera, wait until you hear “Please configure camera by AP hotspot or
scanning code“.
1. Tap in the center or upper right corner.
2. Select Intelligent camera.
3. Select Device adding by scanning the code.
4. Tap Next.
5. Connect to your router’s Wifi and tap Next.

7
Tip:
Tap Network testing to check your Wifi status.

8
6. Align the QR code on your mobile device with the camera lens and keep a distance of
4-8 inches. Tap “Beep” or flashing lights after you hear two beeps from the camera.
7. Wait for the connection.
8. Name your camera and tap Start to experience to finish the connection.
Connect the camera by AP hotspot
Power on the camera, wait until you hear “Please configure camera by AP hotspot or
scanning code”.
Note:
No password is required for the Wifi HeimLink_AP_xxxx. If your mobile device prompts
you that the Wifi is unsecure, please ignore it.
1. Tap in the center or upper right corner.
2. Select Intelligent camera.
3. Select Addition of AP hotspot.
4. Tap Next.
5. Tap Go to Setting.
6. Connecting to the Wifi HeimLink_AP_xxxx.

9

10
7. Go back to the interface of network configuration.
8. Tap Next
9. Select your router’s Wifi and enter the correct password.
10. Wait for the connection.
11. Name your camera and tap Start to experience to finish the connection.

11
Tip:
There will be a pop-up window of connection instruction if you didn’t connect to the Wifi
HeimLink_AP_xxxx successfully. Tap Confirm and connect to the Wifi again.
Connect the camera through LAN cable
Connect your camera to a router with a LAN cable. Power on the camera, wait until you
hear the voice prompts “Please wait for wired connection. Please wait for Internet
connecting. Please choose wired connection to add camera”.
1. Tap in the center or upper right corner.
2. Select Intelligent camera.
3. Select Addition by connecting to network cable.
4. Tap Next.
5. Scan the QR code on the camera.

12
6. Wait for the connection.
7. Name your camera and tap Start to experience to finish the connection.

13
Tip:
After the camera is connected to the App with LAN Cable, you can switch to Wifi connection
for flexible placement and operation of the camera. Go to Settings, select Change Wi-Fi
network and input the correct password. After successfully connecting to the selected Wifi,
unplug the LAN cable and reboot the camera.
USE THE CAMERA ON MOBILE DEVICE
Function Overview
Main Interface
Device:
Swipe down on the Device interface of HeimLink to refresh the camera’s preview.
: subscribe to or renew a cloud plan.
: share your camera with your family.
: enter the interface of Setting.
: turn on/off the camera.

14
Cloud event:
Only available when a cloud plan is subscribed to. Tap to check the videos recorded on the
cloud when motion/sound/human outlines are detected. Tap on a video to play it, then tap
Save to save it to the Cloud album as needed.
Cloud service:
Check your device’s cloud service.
Mine:
Tap My Album to check the snapshots/videos saved on the Local album, and the videos saved
on the Cloud album.
Check the version of the App.
Live Video
Tap the preview image on the main interface of HeimLink to check the live video.
A. Setting
B. Playback
C. Snapshot
D. Full Screen
E. Hold to Talk

15
: play the recorded videos.
: capture a picture to the local album in App.
: check the videos recorded to cloud when sound/motion/human outlines are detected.
HD : toggle the image quality between HD and SD. SD is recommended for smoother
streaming.
: press and hold to talk to people in front of the camera.
: tap it and you won’t hear the sound from the camera.
: show more functions.
: record a video to the local album in App.
: check the videos saved to the cloud.
: set up the modes of the floodlights on the camera.
•Auto: the default setting is auto. When in darkness, if the camera detects a moving
object, the floodlights will be on. If there is no motion detected in one minute, the
floodlights will be off.
•ON: the floodlights will be on all the time.
•OFF: the floodlights will be off all the time.
Notes:
•If the floodlight is in Auto mode and you turn off the Night Vision, the floodlights will be
on when in darkness.
•Tap to enter the cloud album, tap on a video, or tap on the upper right corner
and select a video, then you can download, share, rename, or delete it.
Video Recording
IMPORTANT:
•Two recording options are available for the camera: recording videos to a memory
card and the cloud (optional).
•The camera accepts a card with capacity up to 128GB, please select a high-quality
memory card with a reliable brand on it.
•The camera loops to record videos, which means the latest video will overwrite the
oldest ones when the storage reaches full capacity.

16
Record videos to a memory card
1. Insert a memory card (not included), then power on the camera.
2. Go to Setting > Device storage to check if your memory card is available.
3. Select a recording mode. Not recording means that the camera won’t record videos
to the memory card. Event recording means that the camera will record videos to
the memory card when sound/motion/human outlines are detected.
All day recording means that the camera will always record videos to the memory
card.
Record videos to the cloud
The videos will be recorded to the cloud once you’ve subscribed to a cloud plan.
Tip:
Recording videos to the cloud is recommended since it’s safe to save videos on the
encrypted cloud and no worries about any data loss.
Video Playback
Go to Setting > Play Videos From, select Memory card or Cloud to play recorded videos
from a memory card or cloud accordingly.
After selecting, please tap on the interface of Live Video to check the video recorded.
Tap to play the live video again.

17
A. Calendar
Tap to show a calendar, then select an exact time to check the video recorded.
B. Timeline:
Slide leftward or rightward on the timeline to play the video recorded. Spread/pinch
or double tap on that timeline to enlarge or narrow it.
When you play recorded videos from cloud, the timeline will show two colors to
differentiate videos recorded with sound/motion/human outlines detected (deep blue
parts) from videos recorded without anything detected (light blue parts).
C. Playback speed:
Only available for playing videos from cloud. Tap to play the video at x1.0, x2.0, x4.0
or x0.5 speed.
D. Clip:
Only available for playing videos from cloud. Tap to cut the video and save it to
the cloud album or delete.
Alarms and Notifications
The camera will record videos to the cloud or memory card only when
motion/sound/human outlines are detected if you subscribe to a cloud plan of Alarm
Trigger Recording or select Event Recording for your memory card.
Apart from recording videos, the camera can also give out Alarm Tone and send push
notifications when motion/sound/human outlines are detected.

18
Alarm Settings
Motion detection, sound detection and human outlines detection are enabled by
default.
Adjust detection sensitivity
•This function aims to set the sensitivity for motion detection and human outlines
detection.
•Go to Settings > Detection sensitivity to set the sensitivity level.
•Medium is the default setting. Please set it to Low to reduce false alarms if you don’t
want to be disturbed frequently.
Select detection area
•This function aims to reduce false alarms and decrease the frequency of being
disturbed. You can set the detection area for motion detection and human outlines
detection. All areas are selected by default.
Step 1:
Go to Setting > Detection area to start setting.
Step 2:
Tap on the preview image to select the detection areas. Detection areas selected are
those parts with blue frames.
Tap Finish to complete settings.

19
Set alarm tone
•This option aims to turn on/off the buzzer of the camera.
•Go to Settings and turn on Alarm Tone, then the camera will give out alarm tone
when motion/sound/human outlines are detected.
Notification Settings
Switch on the notifications
Step 1:
Go to Setting to enable Motion detection/Sound detection/Humanoid detection.
Step 2:
Go to Push notification settings to switch on the option of Receive app notification.
Step 3:
You will receive push notifications on your mobile device when motion/sound/human
outlines are detected.
Set notification frequency
•Select Receive all notifications and you will receive all the notifications.
•Select Receive a summary and set a time interval for receiving summarized
notifications.

20
Stop notifications
Step 1:
Go to Settings > Push notification setting > Stop notification time.
Step 2:
Tap Add a schedule to start setting a schedule for not receiving notifications. Up to 3
schedules can be set.
Notes:
•To delete the schedule, slide leftward on the schedule and tap Delete.
•Please keep the App HeimLink running in the background.
•You won’t receive push notifications when watching live videos.
Device Sharing
IMPORTANT:
•Please make sure your family members have registered a HeimLink account before
sharing.
•You can share the camera with as many accounts as possible. However, we
recommend 3 accounts at most for a better experience.
Step 1:
Tap on the main interface or go to Setting > Private share > Add family member, then
enter your family member’s account.
Step 2:
Select the function you’d like to share with your family member, then tap Share.
Other manuals for HM311
1
Table of contents
Languages:
Other HeimVision Security Camera manuals
Popular Security Camera manuals by other brands

TRENDnet
TRENDnet TV-IP512WN - ProView Wireless N Internet Surveillance... Quick installation guide

TRENDnet
TRENDnet TV-IP751WIC Quick installation guide

Baumer
Baumer LXG series quick start

TKH security
TKH security PD1103Z2-EI quick start guide

IP Camera
IP Camera 3-AXIS user manual

Lorex
Lorex LNZ44P4 Series instruction manual