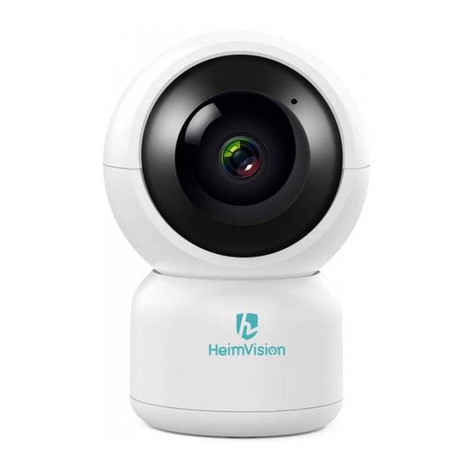
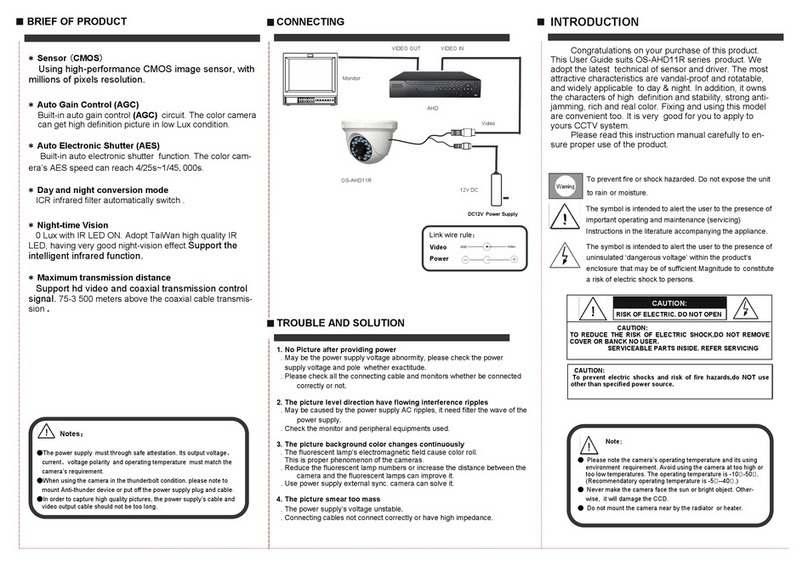
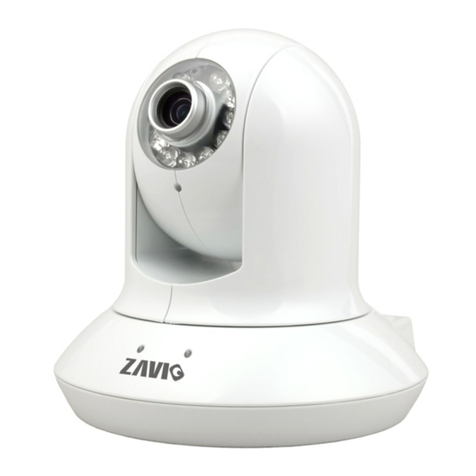
HeimVision HM202A User manual

Smart Wifi Camera HM202A
User Manual • Uživatelský manuál •
Užívateľský manuál • Használati utasítás •
Benutzerhandbuch

2
Dear customer,
Thank you for purchasing our product. Please read the following instructions carefully
before first use and keep this user manual for future reference. Pay particular attention
to the safety instructions. If you have any questions or comments about the device,
please contact the customer line.
✉www.alza.co.uk/kontakt
✆+44 (0)203 514 4411
Importer
Alza.cz a.s., Jankovcova 1522/53, Holešovice, 170 00 Praha 7, www.alza.cz

3
We will update the user manual regularly, please scan the QR code or visit
https://www.heimvision.com/pages/download for the latest version if it’s available.

4
WHAT’S INCLUDED
PRODUCT OVERVIEW
Smart Wifi Camera
Camera Mount
Camera Mount
Power Adapter
Charging Cable
LAN Cable
Reset Pin
Screw Set
User Manual
Memory Card Slot
Camera Lens
Microphone
Reset Hole
Night Vision Sensor
IR LEDs

5
CONNECT THE CAMERA TO MOBILE DEVICE
App Downloading and Installation
Search for HeimLink from App Store™/Google Play™, or scan the QR codes below to
download and install the App into your mobile device.
Speaker
Power Input
LAN Port
For iOS
For Android
Note:
Google Play™is a trademark of Google Inc., and App Store™ is a trademark of
Apple Inc.

6
Account Registration and Login
Please register an account with a valid email address, then log in.
Connect the Camera to HeimLink Account
IMPORTANT:
•This camera only supports 2.4 GHz Wifi networks.
•For a stable network connection, please make sure the camera and the mobile
device are close to the router.
•Avoid using special characters or symbols in your Wifi name and password, such
as @~!#$%^&* and so on.
•For all connecting options, you will hear the voice prompts after the camera is
powered on. Use the Reset Pin to slightly press and hold the Reset button for 5~6s
to reset the camera if no voice prompts heard. You will hear ”Reset success” at a
successful reset.
•Please turn on the location service and Wifi on your mobile device, then allow
HeimLink App to access your location and use Wifi.

7
Connect the camera by scanning QR code
Power on the camera, wait until you hear ”Please configure camera by AP hotspot or
scanning code”.
1. Tap in the center or upper right corner.
2. Select Intelligent camera.
3. Select Scan code to add.
4. Tap Next.
5. Connect to your router’s Wifi and tap Next.

8
Tip:
Tap to check your Wifi status.

9
6. Align the QR code on your mobile device with the camera lens and keep a
distance of 4-8 inches. Tap ”When you hear a beep or a green light” after you
hear two beeps from the camera.
7. Wait for the connection.
8. Name your camera and tap Start to experience to finish the connection.
Connect the camera by AP hotspot
Power on the camera, wait until you hear ”Please configure camera by AP hotspot or
scanning code”.
Notes:
•Please enable Location Services on your mobile device and allow HeimLink to
access your location.
•No password is required for the wifi HeimLink_AP_xxxx. If your mobile device
prompts you that the Wifi is unsecure, please ignore it.

10
1. Tap in the center or upper right corner.
2. Select Intelligent camera.
3. Select Addition of AP hotspot.
4. Tap Next.
5. Tap Go to Setting.
6. Connect to the Wifi HeimLink_AP_xxxx.

11
7. Go back to the interface of network setting.
8. Tap Next.
9. Select your router’s Wifi and enter the correct password.
10. Wait for the connection.
11. Name your camera and tap Start to experience to finish the connection.

12
Tip: There will be a pop-up window of connection instruction if you didn’t connect to the
Wifi HeimLink_AP_xxxx successfully.
Tap Confirm and connect to the Wifi again.
Connect your camera to a router with a LAN cable. Power on the camera, wait until you
hear the voice prompts ”Please wait for wired connection. Please wait for Internet
connecting. Please choose wired connection to add camera”.
1. Tap in the center or upper right corner.
2. Select Intelligent Camera.
3. Select Addition by connecting to network cable.
4. Tap Next.
5. Scan the QR code on the camera.
Connect the camera through LAN cable

13
6. Wait for the connection.
7. Name your camera and tap Start to experience to finish the connection.

14
FUNCTION OVERVIEW
Home Page
After the camera is connected to HeimLink app successfully, it will be listed on the home
page.
Device:
Tip:
After the camera is connected to the App with the LAN Cable, you can switch to Wifi
connection for flexible placement and operation of the camera. Go to Settings, select
Network information and input the correct password. After successfully connecting to the
Wifi, the camera will reboot automatically.

15
: subscribe to or renew a cloud plan.
: turn on/off the camera.
: share the camera with your family.
: enter the notification settings page.
: enter the settings page.
Cloud event:
Only available when a cloud plan is subscribed to.
Tap to check the videos recorded on the cloud when motion/
sound/ human outlines are detected. Tap on a video to play it,
then tap Save to save it to the Cloud album as needed.
Cloud service:
Mine:
•Check your device’s cloud service.
•Change the cloud plan to a new camera.
•Check coupons.
•Check videos/pictures saved in My Album.
•Find a connection guide if your device is able to work with
Alexa.
•Get help and give us feedback.
•Know more details about the app.

16
Live Video
Tap the thumbnail on the home page to watch the live video.
1. Back to the home page.
2. Detailed Settings.
3. Real-time bit rate of the live video.
4. Change the resolution of the image; SD is recommended for smoother
streaming.
5. Turn on/off the live audio from the camera.
6. Tap to capture a photo and save it to local album.
7. Tap and hold to talk with people near the camera.
8. Tap to start recording the live video; tap again to end and save it to local
album.
9. Full screen.
10. The thumbnails of the latest videos stored in cloud if you have
subscribed to cloud service.

17
Video Recording
Notes:
11. Tap to bring up a menu:
: turn on/off the camera.
: restore the camera angle to its initial state.
: create a preset, and the camera will directly rotate to the
preset location if you tap the thumbnail.
: share your camera with your family.
: enter the notification settings page.
: slide it to pan/tilt the camera.
12. Enter the Cloud Album.
13. Tap to playback the videos recorded in the cloud or memory
card.
•Two recording options are available for the camera:
recording videos to a memory card or cloud.
•If you have both installed a memory card and subscribed
to a cloud plan, the videos will be recorded in the
memory card and cloud at the same time.
•The camera loops to record videos, which means the latest videos will
overwrite the oldest ones when the card is full.
•The camera’s card slot is not hot-swappable. Please
reboot your camera after installing the card.

18
By a memory card
Install a memory card (up to 128GB), then go to Settings > Memory card management >
Format the SD card to format your card before the first use.
Then select a recording mode from Not recording, Alarm recording and Continuous
recording.
Alarm recording means the camera will record videos only when sound/motion/human
outlines are detected. Continuous recording means the camera will continuously record
videos 24 hours a day.
By cloud
Go to home page > or Cloud Service to subscribe to a cloud plan. The cloud plan
also includes Alarm recording and Continuous recording, please select it as required.

19
Tip:
If you have got an activation code, you can tap Pay by activation code and enter the code
to activate the cloud plan.
Video Playback
Tap on the Live Video to watch the recorded videos in cloud/ memory card.

20
PTZ Function and Preset
Pan &Tilt &Zoom Function
Tap on the Live Video, then slide to pan/tilt the camera.
Spread/pinch or double tap on the live video to zoom in/zoom out the live image.
1. Back to the home page.
2. Detailed Settings.
3. Only available for playing videos from cloud. Tap to play the vieo at x1.0, x2.0,
x4.0 or x5.0 speed.
4. Turn on/off the live audio from the camera.
5. Tap to capture a photo and save it to local album.
6. Tap to start recording the live video; tap again to end and save it to local album.
7. Full screen.
8. Calendar.
9. Switch between cloud and memory card.
10. Timeline: Slide leftward or rightward on the timeline to play the videos. Pinch
and spread, or double tap on the timeline to enlarge or narrow it.
When you play the recorded videos from cloud, the timeline will show
two colors: deep blue (motion/sound/human outlines detected) and light blue
(nothing detected).
11. Enter the Cloud Album.
12. Only available videos from cloud. Slide the arrow on the yellow frame to adjust
the video length you cut, and tap to save the video to the cloud album.
13. Switch to Live Video.
Table of contents
Languages:
Other HeimVision Security Camera manuals
