HeiSolar FF Series User manual

Address: F4, 6th Building, Hengguangyao Industrial Park, Yonghe Road, Heping Village, Fuyong Street, Bao'an
District, Shenzhen City, Guangdong Province, China.
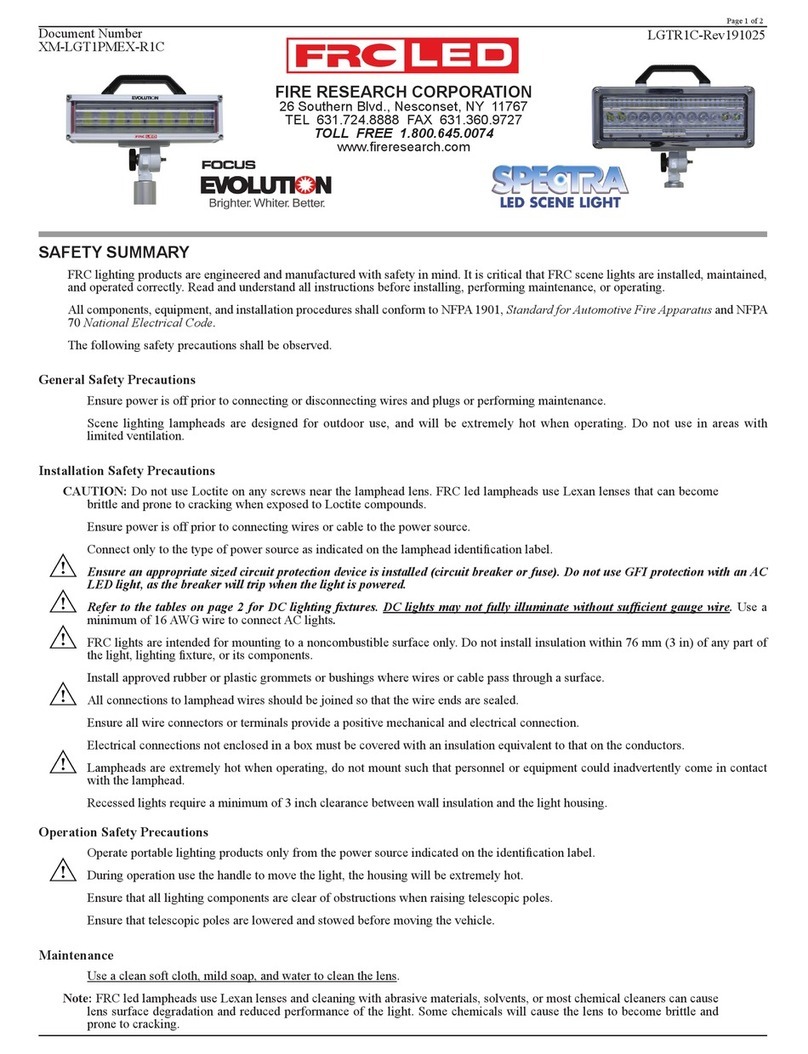
Solar LED Flood Light
User Manual-FF Series
Do not remove or dismantle the MC4 connectors or try to plug in the light as the
polarity can go wrong IN CASE OF DAMAGE OF LIGHT.
Do not open the light fixture by unauthorized persons, can affect the IP rating of
the fixture and void the warranty.
There has one minute delay for the ON/ OFF function. There has one minute
delay for working mode changes. The light will turn off after one minute once
the panel is disconnected or at sunset.
After installation completed, the lamp will be lighting automatically, and turn off
automatically after one minute, prove that the lamp body is working properly.
The day, you can see the green indicator light on the microwave probe flashes,
indicating that the solar panel is charging the lamp, and the lamp will automatically
light up at night.
See the red indicator light on the microwave probe flashing, indicating that the
battery is losing power. Please let the solar panel charge the lamp body in the
sunlight for 5-6 hours until the indicator light on the microwave probe flashes green,
the battery has electricity, and the night light The body will automatically light up.
Clean surface of solar panel regular such as dirty leaves, oil. ect, ensure high
photoeletric conversion efficiency.
Set suitable angle towards sun, (≈local latitude).
Please avoid solar panel being shielded by buildings, trees, antenna mast or
othe obstructions, otherwise it will reduce working efficiency of solar panel.
Recharge battery every 3 month at least if it is idled.
Charge temperature of Lithium battery is from 0℃ to 55℃, the discharging
temperature is from -20℃ to 60℃, make sure that ambient temperature is in
this range when used, avoid damage to lithium battery.
Clean snow on solar panel surface timely in winter.
Attention to operation
How to check if your solar billboard /floodlight
is working properly?
1
2
3
1
2
3
The light turn on at dusk with a pre-programmed setting function and work continues
till dawn, The ON and OFF functions are controlled automatically by the built-in
charge controller with light-sensitive timings. At sunset NTTV (Night Time Threshold
Voltage) goes less than 5 volts from the solar panel, the lights will turn ON. In the
morning the DTTV (Day Time Threshold Voltage) from the panel reaches 5 volts the
lights will turn OFF.
You can also use the remote control to change the different lighting modes required.
Working mode & ON OFF time
4
5
6
7
8
9
3hrs
100%
50%
4hrs
30%
5hrs
Once dark
Automatically ON
( Customized working mode as respect to customer’s different requirement )
Till the morning
Automatically OFF
1
2
3
4
2
134
OFF MODE DEMO MODE
4 workig modes on remoter
Test button ( light "on" for 1 mintue).
On/Off button ( press the button turn on the light, press again turn off the light,
no matter day or night ).
100% 6hrs+50% 6hrs
100% 3hrs +50% 4hrs +30% 5hrs (deafult lighting mode)
100%-2hrs+70%-2hrs+50% 2hrs;50% when people come , 20% far away-6hrs
100%-3hrs+when people come 80%, far away 40%-4hrs+when people come 50%,
far away 20%-4hrs
1
2
3
4

BXI
Technologies
60°
BXI
Technologies
Packing List
When receiving the goods, please check the package containing the following
goods:
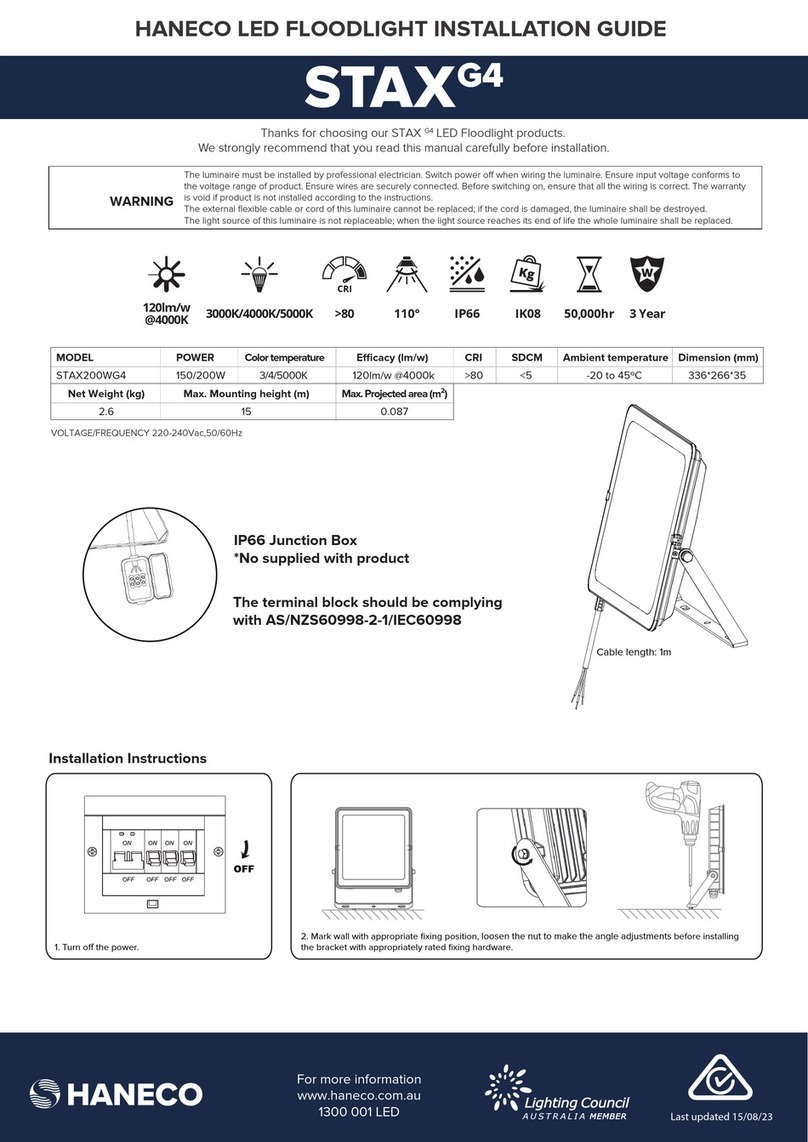
Fix the mounting bracket to the wall with 2pcs M6x80 expansion screws (please
note that the mounting bracket has 5 angles to choose from, please adjust to the
correct bracket angle).
Fix the solar panel in the correct mounting direction with a custom solar panel
bracket for maximum solar radiation.
Connect the connector between the solar panel and led lamp ( cable length is
3 meters). The lamp will automatically turn on and off after 1 minute, which proves
the normal function of the lamp body. The default working mode of the lamp body
is 100% 3hrs+50% 4hrs+30% 5hrs. If you do not want to use this working mode, you
can use the small remote control to switch to other working modes. See the
working mode section for details.
It is recommended that each lamp body be fitted with an adjustable angle
bracket and a custom arm length to hold the lamp body in place.
Fix the solar panel in the correct mounting direction with a custom solar panel
bracket for maximum solar radiation.
Connect the connector between the solar panel
and led lamp ( cable length is 3 meters).
The lamp will automatically turn on and off after
1 minute, which proves the normal function of
the lamp body. The default working mode of
the lamp body is 100% 3hrs+50% 4hrs+30% 5hrs.
If you do not want to use this working mode,
you can use the small remote control to switch
to other working modes. See the working mode
section for details.
( 75° )
bracket
solar panel
( 60° )
(30° ) ( 22° )
( 45° )
Installation Steps
A: Wall Mounting
B: Billboard Installation
Each lamp body needs to be fitted with a pair of hoops to fix the lamp body to the
post/pole. If you need a flexible lamp body to adjust the angle, you need to
customize the pole crossbar, or with an adjustable angle bracket together.
Fix the solar panel in the correct mounting direction with a custom solar panel
bracket for maximum solar radiation.
Connect the connector between the solar panel and led lamp ( cable length is
3 meters). The lamp will automatically turn on and off after 1 minute, which proves
the normal function of the lamp body. The default working mode of the lamp body
is 100% 3hrs+50% 4hrs+30% 5hrs. If you do not want to use this working mode, you
can use the small remote control to switch to other working modes. See the
working mode section for details.
C: Pole Installation
NO. Parts name qty
1
2
3
5
6
7
8
9
Accessory box
Adjustable bracket
for lamp body
1set
1set
1pc4 User Manual
1pc
Pole support optional
optional
optional
optional
optional
√
√
√
√
1pc
1Pair +
Adjustable adaptor for
solar panel
Anchor ear
Bracket solar panel
1pc
remarkimages
1pc
1pc
User Manual
Solar panel
Led flood light head
M6x80 #2 #6
1
2
3
1
2
3
1
2
3
75°
45°
30°
22°
25°
65°
1
2
3
4
++=
( Wall mounting ) ( Ceiling mount )( Seat installation )
