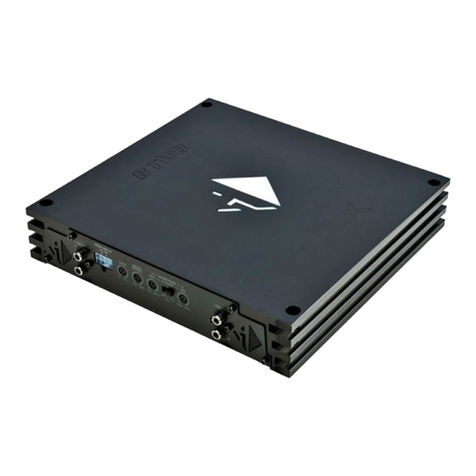
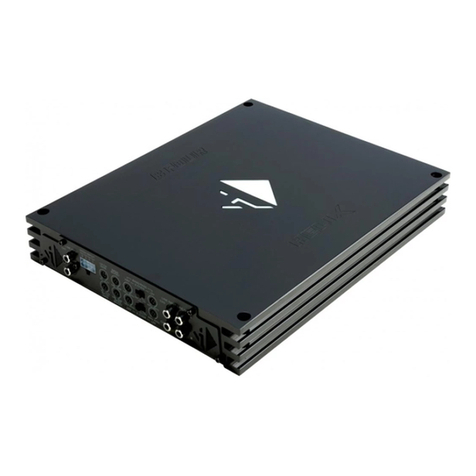
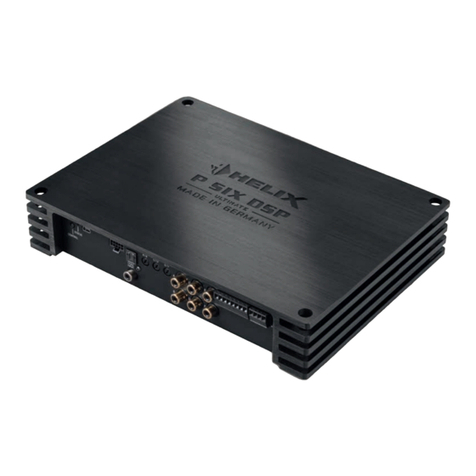
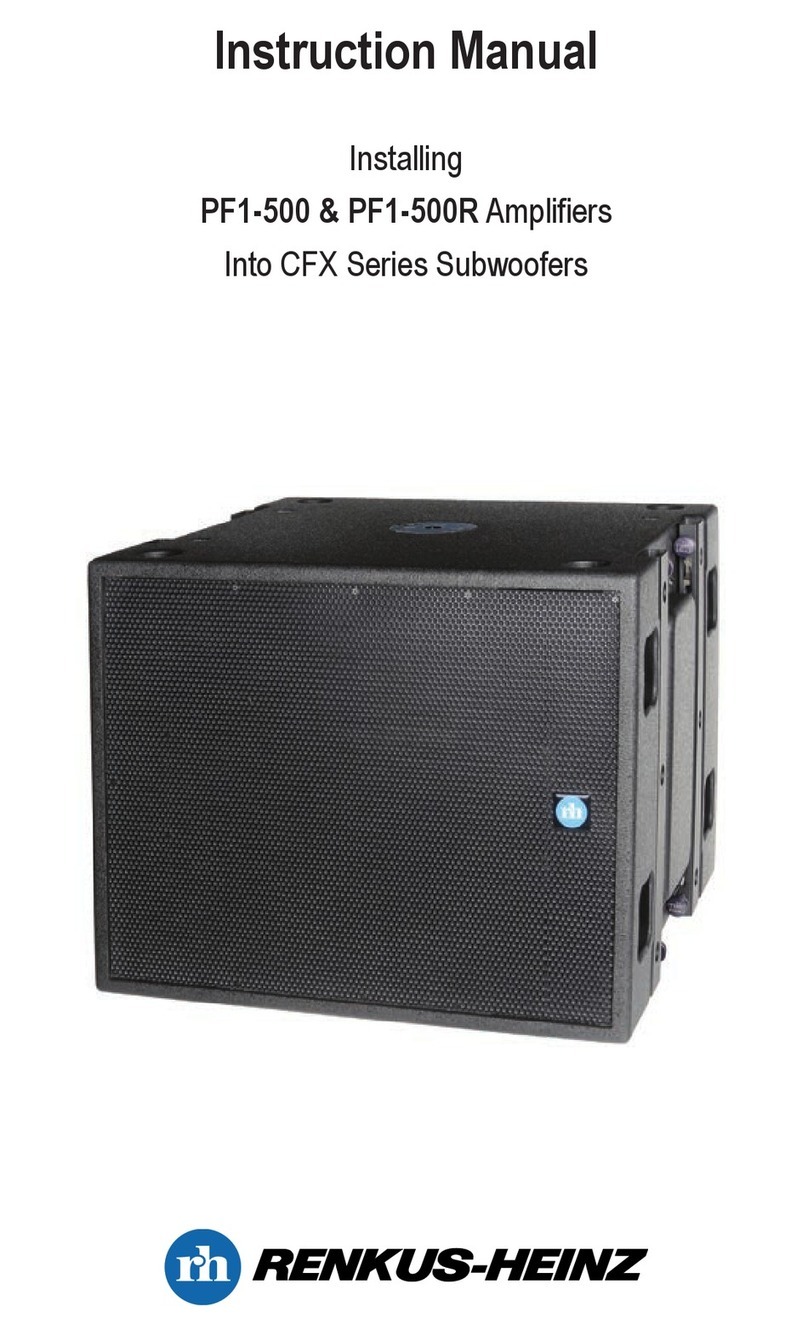
HELIX H 500 ESPRIT User manual

ENGLISH
BEDIENUNGSANLEITUNG
INSTRUCTION MANUAL
High Quality Product by
H 400
H 500
H 1000
MADE IN GERMANY

10
ENGLISH
Dear Customer,
congratulations on your purchase of this high-quality
HELIX amplifier, made in Germany. This new Helix ampli-
fiers highlights best quality, excellent manufacturing and
state-of-the-art technology. They are the optimum comple-
tion of HELIX series by AUDIOTEC FISCHER.
To find out how Helix amplifiers work best for you, read
this manual carefully and follow the instructions for instal-
lation.
We guarantee that this product has been checked for proper
functioning before shipping.
We wish you a lot of fun with your new HELIX amplifier.
Yours
AUDIOTEC FISCHER Team
General installation instructions for HELIX amplifiers
Before you start installation, disconnect the car battery at
the minus pole. We would urge you to have the installation
work carried out by a specialist as verification of correct
installation and connection of the unit is a prerequisite for
warranty cover of the HELIX amplifier.
Install your amplifier at a dry location where there is suffi-
cient air circulation to ensure adequate cooling of the equip-
ment. For safety reasons, the amplifier must be secured in a
professional manner. This is performed by means of four
fixing screws screwed into a mounting surface offering suf-
ficient retention and stability. Before drilling the holes for
the screws, carefully examine the area around the installati-
on position and make sure that there are no electrical cables
or components, hydraulic brake lines or any part of the
petrol tank located behind the mounting surface - otherwise
these could be damaged. You should be aware of the fact
that such components may also be concealed in the double-
skin trim panels/mouldings.
General instruction for connecting the amplifiers
The HELIX amplifiers may only be installed in motor vehicles
which have a 12-volt minus pole connected to the chassis gro-
und. Any other system could cause damage to the amplifier
and the electrical system of the vehicle.
The plus cable from the battery for the complete system
should be provided with a main fuse at a distance of max.
30 cm from the battery. The value of the fuse is calculated
from the maximum total current input of the car audio
system. Install the cabling in a manner which precludes any
danger of the leads being exposed to shear, crushing or
rupture forces. If there are sharp edges in the vicinity (e.g.
holes in the bodywork) all cables must be cushioned and
protected to prevent fraying.
Never lay the power supply cables adjacent to leads and
lines connecting other vehicle equipment (fan motors, fire
detection modules, gas lines etc.).
In order to ensure safe installation, use only high-quality
connections and materials. Ask your dealer for HELIX
accessories.
HCC 1
HCC 2
70
Hz
90
60
110
500
170
70
Hz
100
60
150
700
250
400
Hz
500
300
750
5K
1,3K
70
Hz
100
60
150
700
250
HCC 3
HCC 5
HCC 1 85 Hz HP/LP
HCC 2 85 Hz HP/LP incl. subsonic
HCC 3 LP: 60-500 Hz / HP: 60-700 Hz
HCC 4 LP: 300 Hz-5 kHz / HP: 500 Hz-7 kHz
HCC 5 LP: 300 Hz-5 kHz / HP: 60-700 Hz
for bandpass
HCC 6 LP: 120-250 Hz / HP: 60-90 Hz
for bandpass (kickbass)
Pot.: LP1/LP2
Pot.: LP1/LP2
Pot.: HP1/HP2
Crosscards HCC
HP1 LP1
LP2 HP2
HELIX Cross Cards (HCCs)
HCC1 is inserted as standard in every HELIX ESPRIT
amplifier
. To expand
the operation range of your HELIX
amplifier, your dealer
will provide the following HCCs
as optional equipment:
Valid for all modules:
low pass: red LED is on
high pass: yellow LED is on
full range: green LED is on
bandpass: red and yellow LEDs are on
(switch position “low pass”)
Pot.: HP1/HP2

ENGLISH
12
H 500 ESPRIT
must be additionally protected by a further line fuse loca-
ted in the vicinity of the battery (max. distance from bat-
tery: 30 cm). The fuse ratings are 2 x 30 amperes, and both
must be installed as the amplifier protection rating is 60
amperes (2 x 30 A).
5 - 8 Signal inputs
The H 500 ESPRIT has RCA connectors for cinch cables
leading from the pre-amplifier outputs, the line outputs of
the head unit or the outputs of a pre-amplifier/equalizer,
e.g. HXE 100. These connectors are gold-plated in order to
ensure better signal transmission. High power outputs of
radios or similar units cannot be connected directly on the
amplifier.
9 Signal input selector
If only one stereo signal is available (i.e. 2 cinch leads
connected), the inputs can be connected from A to C and
from B to D by setting the selector switch to position 2.
When the selector is set to position 1, all the inputs are
separate.
10 - 13 Level controls for input sensitivity
These controls can be used to match the input sensitivity of
the individual channels - A to D - to the output voltage of
the connected head unit. These controls are not volume
controls and are solely intended for the purpose of sensiti-
vity trimming. The control range extends from 700 mV to
8 V.
14 Active low pass filter
This control enables the frequency range of the integrated
subwoofer amplifier to be infinitely variable from 50 to
250 Hz low-pass. (see Fig. 1)
15 Level control for the subwoofer amplifier
This control enables the level of the subwoofer to be adju-
sted to requirements independently of the other channels.
(see Fig. 2)
16 Subwoofer amplifier input selector
Setting A
The subwoofer amplifier operates with the summation sig-
nal of the 4 inputs with allowance for the input level of the
individual channels. The frequency range is adjusted with
the aid of low pass filter 14. Additionaly a mono-summati-
on signal is also available at cinch socket 21 for driving e.g.
a centerspeaker-amplifier.
Setting B
Cinch socket 21, is connected as the input of the subwoofer
amplifier. The signal can be adjusted with the aid of the inte-
grated parametric equalizer (controls 25 to 28) and with the
aid of the active crossover controls (control 14 and 15).
Setting C
Cinch socket 21 is connected with the parametric equalizer,
but without the
active crossover
of the subwoofer amplifier.
17 - 18 Plug-in frequency crossover modules
The H 500 ESPRIT is equipped as standard with an 85
Hz/12 dB Oct. frequency module. Other plug-in modules
compatible with all HELIX Precision Line amplifiers such
as variable high-pass/low-pass frequency modules, are
available on request. The individual functions of the fre-
quency modules are visually displayed by colored LEDs.
These have the following meanings for all modules:
yellow = high pass,
green = full range,
red = low pass.
If required the plug-in frequency crossover modules are
available with a 28 Hz/18 dB Oct. subsonic filter. For addi-
tional frequency modules see page 10/11.
19 Selector switch for channels A and B
For switching the plug-in frequency crossover modules to
high pass, full range or low pass.
20 Selector switch for channels C and D
For switching the plug-in frequency crossover modules to
high pass, full range or low pass.
21 Cinch input and output
The cinch socket is employed, as indicated in the descrip-
tion relating to Selector 16, either as a fifth input of the
subwoofer amplifier (selector positions B and C) or as an
output (selector position A).
22
Speaker connection terminals for channels A and B
23
Speaker connection terminals for channels C and D
24 Speaker connection terminal for the subwoofer
This connection consists of two positive terminals and
two ground terminals in order to allow a higher
cable cross
section or to enable two subwoofers to be connected in
parallel.
The impedance minimum of all connected loudspeakers
must not be higher than 2 ohms (in bridged mode of the
channels AB/CD, 4 ohms). With the use of ported woofer
enclosures this value can be passed very easily. In this
case please ask the manufacturer of the woofer.
Important notice!
Never connect the speaker cables to the vehicle ground
(chassis). This can destroy your amplifier. Ensure that all
the speaker systems are correctly connected, i.e. plus to
plus and minus to minus. The plus pole is indicated on
1 Connecting the remote lead
The remote lead is connected to the automatic antenna
(aerial positive) output of the head unit (radio).This is only
activated if the head unit is switched ON. Thus the ampli-
fier is switched on and off with the head unit.
2 Connecting the ground cable
The ground cable should be connected to a central ground
reference point (this is located where the negative terminal
of the battery is grounded at the metal body of the vehicle),
or to a bright bare-metal location on the vehicle chassis, i.e.
an area which has been cleaned of all paint residues.
3 Connecting the battery cable
Connect the +12 V cable to the positive terminal of the bat-
tery. Recommended cross section: min. 10mm2.
4 Fuses
The input fuses are connected in parallel and provide pro-
tection against an internal equipment fault, i.e. the system

most speakers.
Parametric equalizer of the HXA 500 ESPRIT
The
H 500 ESPRIT
amplifier features a highly innovative
integrated parametric equalizer for the subwoofer amplifier.
This means a wide range of possibilities for individual adapta-
tion of the subwoofer. Besides the
H 500 ESPRIT
has an inte-
grated subsonic filter 26 Hz/ 30 dB Oct.
25 Setting the center frequencies
Control 25 can be used to select a frequency of
50 - 150 Hz on the preset low-pass frequency band (see
control 14). This center frequency can be raised using con-
trol 26, by between 0 and 9 dB. This is desirable if certain
frequencies of the subwoofer are to be enhanced (kick
bass) or corrected. (see Fig. 3)
26 Level control for raising the cut-off frequencies
This control enables the center frequency set at control 25
to be raised from between 0 and 9 dB. (see Fig. 4)
27 Band width adjustment
Control 27 can be used to enhance the Q of the frequency set at
control 25. The resultant band width can be infinitely varied from
10 to 110 Hz. (see Fig. 5) The bandwidth remains
constant if the centre frequency (control 25) is changed.
28 Phase Control
This control enables the phase of the bass signal to be shif-
ted by 180° in order to achieve optimum delay equalizati-
on with the other channels. (see Fig. 6)
Important notice!
Incorrect adjustment of the parametric equalizer can have a
considerable deleterious effect on sound quality. In such
cases, consult your BRAX/HELIX dealer. If this is not
immediately possible, turn controls 25 to 28 completely
counter-clockwise so that the subwoofer amplifier operates
in the linear mode.
29 - 31 CPS-Colour Protection System
The LEDs show the operation status of the amplifier. Green
(control 29) = O.K.; yellow (control 30) = the speakers
wires are shorted to ground; red (control 31) = over heated.
If the amp shuts off due to overheating it will take some
time (depending on the outside temperature) until it swit-
ches on again.
32 Bridge selector
To run the satellite channels A+B and C+D in bridged
mode, the control 32 must be setted at position B and con-
trol 9 at position 2. The signal inputs 8+7 and level controls
10+13 have to be used as input. If the variable modules
HCC 3 - HCC 6 are inserted and the amplifier is running in
bridged mode the controls (HP+LP) which turn to the out-
put transistors, are in operation.
Important notice: The impedance in bridged mode
must not be lower than 4 ohms!
Technical specifications see page 16
Fig. 1: Control No. 14 Fig. 2: Control No. 15
Fig. 3: Control No. 25 Fig. 4: Control No. 26
Fig. 5: Control No. 27 Fig. 6: Control No. 28
5-channel connection
+12V
Ground
Remote
Subwoofer Amp In-/Output
13

AUDIOTEC FISCHER GMBH
Gewerbegebiet Lake II · Hünegräben 26
D-57392 Schmallenberg
Tel.: ++49 (0) 29 72-97 88 0 · Fax: ++49 (0) 29 72-97 88 88
info@audiotec-fischer.com · www.audiotec-fischer.com
Cont. power rating RMS/max. power
at 4 Ohms RMS/12 V . . . . . . . . . . . . . . . . . . . . . . . . . . . . . . . . . . . . . . . . . . . . . . . . . . . . . . . . . . . . . . . . . . 4 x 50 W
at 4 Ohms/13,8 V . . . . . . . . . . . . . . . . . . . . . . . . . . . . . . . . . . . . . . . . . . . . . . . . . . . . . . . . . . . . . . . . . . . 4 x 70/140 W
at 2 Ohms/13,8 V . . . . . . . . . . . . . . . . . . . . . . . . . . . . . . . . . . . . . . . . . . . . . . . . . . . . . . . . . . . . . . . . . .4 x 125/250 W
at 4 Ohms bridged . . . . . . . . . . . . . . . . . . . . . . . . . . . . . . . . . . . . . . . . . . . . . . . . . . . . . . . . . . . . . . . . 2 x 250/500 W
Frequency response . . . . . . . . . . . . . . . . . . . . . . . . . . . . . . . . . . . . . . . . . . . . . . . . . . . . . . 20 Hz - 20 kHz, +/- 0,2 dB
Total harmonic distortion . . . . . . . . . . . . . . . . . . . . . . . . . . . . . . . . . . . . . . . . . . . . . . . . . . . . . . . . . . . . . . . . < 0,009%
TIM distortion . . . . . . . . . . . . . . . . . . . . . . . . . . . . . . . . . . . . . . . . . . . . . . . . . . . . . . . . . . . . . . . . . . . . . . . . < 0,016%
Damping factor . . . . . . . . . . . . . . . . . . . . . . . . . . . . . . . . . . . . . . . . . . . . . . . . . . . . . . . . . . . . . . . . . . . . . . . . . . .> 300
Signal to noise ratio . . . . . . . . . . . . . . . . . . . . . . . . . . . . . . . . . . . . . . . . . . . . . . . . . . . . . . . . . . . . . . . . . . . . > 100 dB
Input impedance . . . . . . . . . . . . . . . . . . . . . . . . . . . . . . . . . . . . . . . . . . . . . . . . . . . . . . . . . . . . . . . . . . . . . . 10 kOhms
Input sensitivity . . . . . . . . . . . . . . . . . . . . . . . . . . . . . . . . . . . . . . . . . . . . . . . . . . . . . . . . . . . . . . . . . . . . 700 mV - 8 V
Fuse . . . . . . . . . . . . . . . . . . . . . . . . . . . . . . . . . . . . . . . . . . . . . . . . . . . . . . . . . . . . . . . . . . . . . . . . . . . . .2 x 25 Ampere
Dimensions (H x W xD) in mm . . . . . . . . . . . . . . . . . . . . . . . . . . . . . . . . . . . . . . . . . . . . . . . . . . . . . 31,5 x 200 x 336
Weight . . . . . . . . . . . . . . . . . . . . . . . . . . . . . . . . . . . . . . . . . . . . . . . . . . . . . . . . . . . . . . . . . . . . . . . . . . . . . . . . 2,6 kgs
Technical Specifications H 400 ESPRIT Technical Specifications H 500 ESPRIT
Cont. power rating RMS/max. power
at 4 Ohms RMS/12 V . . . . . . . . . . . . . . . . . . . . . . . . . . . . . . . . . . . . . . . . . . . . . . . . . . . . . . . . . . . . . . . . . 1 x 300 W
at 4 Ohms/13,8 V . . . . . . . . . . . . . . . . . . . . . . . . . . . . . . . . . . . . . . . . . . . . . . . . . . . . . . . . . . . . . . . . . . 1 x 350/700 W
at 2 Ohms/13,8 V . . . . . . . . . . . . . . . . . . . . . . . . . . . . . . . . . . . . . . . . . . . . . . . . . . . . . . . . . . . . . . . . .1 x 600/1200 W
Frequency range . . . . . . . . . . . . . . . . . . . . . . . . . . . . . . . . . . . . . . . . . . . . . . . . . . . . . . . . 20 Hz - 20 kHz, +/- 0,2 dB
Total harmonic distortion . . . . . . . . . . . . . . . . . . . . . . . . . . . . . . . . . . . . . . . . . . . . . . . . . . . . . . . . . . . . . . . . < 0,009%
Signal to noise ratio . . . . . . . . . . . . . . . . . . . . . . . . . . . . . . . . . . . . . . . . . . . . . . . . . . . . . . . . . . . . . . . . . . . . > 100 dB
TIM distortion . . . . . . . . . . . . . . . . . . . . . . . . . . . . . . . . . . . . . . . . . . . . . . . . . . . . . . . . . . . . . . . . . . . . . . . . < 0,016%
Damping factor . . . . . . . . . . . . . . . . . . . . . . . . . . . . . . . . . . . . . . . . . . . . . . . . . . . . . . . . . adjustable from > 50 - >800
Input impedance . . . . . . . . . . . . . . . . . . . . . . . . . . . . . . . . . . . . . . . . . . . . . . . . . . . . . . . . . . . . . . . . . . . . . . . 10 kOhm
Input sensitivity . . . . . . . . . . . . . . . . . . . . . . . . . . . . . . . . . . . . . . . . . . . . . . . . . . . . . . . . . . . . . . . . . . . . 600 mV - 8 V
Fuse . . . . . . . . . . . . . . . . . . . . . . . . . . . . . . . . . . . . . . . . . . . . . . . . . . . . . . . . . . . . . . . . . . . . . . . . . . . . .4 x 25 Ampere
Dimensions (H x W x D) in mm . . . . . . . . . . . . . . . . . . . . . . . . . . . . . . . . . . . . . . . . . . . . . . . . . . . . 31,5 x 200 x 432
Weight . . . . . . . . . . . . . . . . . . . . . . . . . . . . . . . . . . . . . . . . . . . . . . . . . . . . . . . . . . . . . . . . . . . . . . . . . . . . . . . . . 3,6 kg
Technical Specifications H 1000 ESPRIT
Cont. power rating RMS/max. power satellites woofer
at 4 Ohms RMS/12 V . . . . . . . . . . . . . . . . . . . . . . . . . . . . . . . . . . . . . . . . . . . . 4 x 40 W . . . . . . . . . . . . . .1 x 140 W
at 4 Ohms/13,8 V . . . . . . . . . . . . . . . . . . . . . . . . . . . . . . . . . . . . . . . . . . . . 4 x 60/120 W . . . . . . . . . .1 x 170/340 W
at 2 Ohms/13,8 V . . . . . . . . . . . . . . . . . . . . . . . . . . . . . . . . . . . . . . . . . . . . 4 x 80/160 W . . . . . . . . . .1 x 250/500 W
at 4 Ohms bridged . . . . . . . . . . . . . . . . . . . . . . . . . . . . . . . . . . . . . . . . . . 2 x 160/320 W . . . . . . . . . . . . . . . . . . . . . .
Frequency range . . . . . . . . . . . . . . . . . . . . . . . . . . . . . . . . . . . . . .20 Hz - 20 kHz, +/- 0,2 dB . . . . . . . . . . . . . .
Total harmonic distortion . . . . . . . . . . . . . . . . . . . . . . . . . . . . . . . . . . . . . . . . . . . . . . . . . .< 0,009% . . . . . . . . . . . . . .
TIM distortion . . . . . . . . . . . . . . . . . . . . . . . . . . . . . . . . . . . . . . . . . . . . . . . . . . . . . . . . . .< 0,016% . . . . . . . . . . . . . .
Damping factor . . . . . . . . . . . . . . . . . . . . . . . . . . . . . . . . . . . . . . . . . . . . . . . . . . . . . . . . . . . . .> 300 . . . . . . . . . . . . . .
Signal to noise ratio . . . . . . . . . . . . . . . . . . . . . . . . . . . . . . . . . . . . . . . . . . . . . . . . . . . . . > 100 dB . . . . . . . . . . . . . .
Input impedance . . . . . . . . . . . . . . . . . . . . . . . . . . . . . . . . . . . . . . . . . . . . . . . . . . . . . . . . 10 kOhms . . . . . . . . . . . . . .
Input sensitivity . . . . . . . . . . . . . . . . . . . . . . . . . . . . . . . . . . . . . . . . . . . . . . . . . . . . . .700 mV - 8 V . . . . . . . . . . . . . .
Fuse . . . . . . . . . . . . . . . . . . . . . . . . . . . . . . . . . . . . . . . . . . . . . . . . . . . . . . . . . . . . . .2 x 30 Ampere . . . . . . . . . . . . . .
Dimensions (H x W x D) mm . . . . . . . . . . . . . . . . . . . . . . . . . . . . . . . . . . . . . . . . 31,5 x 200 x 432 . . . . . . . . . . . . . .
Weight . . . . . . . . . . . . . . . . . . . . . . . . . . . . . . . . . . . . . . . . . . . . . . . . . . . . . . . . . . . . . . . . . . . 3,6 kg . . . . . . . . . . . . . .
This manual suits for next models
2
Table of contents
Other HELIX Amplifier manuals
HELIX
HELIX P TWO User manual
HELIX
HELIX V TWELVE DSP MK2 User manual
HELIX
HELIX V EIGHT DSP MK2 User manual
HELIX
HELIX G FOUR User manual
HELIX
HELIX DARK BLUE User manual
HELIX
HELIX B Five User manual
HELIX
HELIX A4 Competition User manual

HELIX
HELIX P 400 User manual
HELIX
HELIX P SIX DSP MK2 User manual
HELIX
HELIX Espirit E10 User manual
HELIX
HELIX E400 Esprit User manual
HELIX
HELIX P 200 User manual
HELIX
HELIX Blue B ONE User manual
HELIX
HELIX HXA 40 User manual
HELIX
HELIX HXA 400 MKII - BASIC User manual
HELIX
HELIX C ONE User manual
HELIX
HELIX H 1000 ESPRIT User manual
HELIX
HELIX P ONE User manual
HELIX
HELIX DARK BLUE FOUR User manual
HELIX
HELIX V TWELVE DSP User manual
