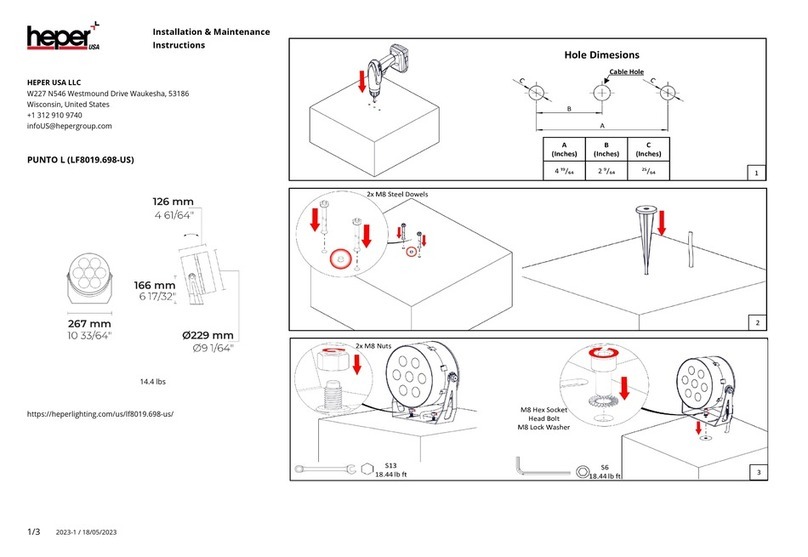
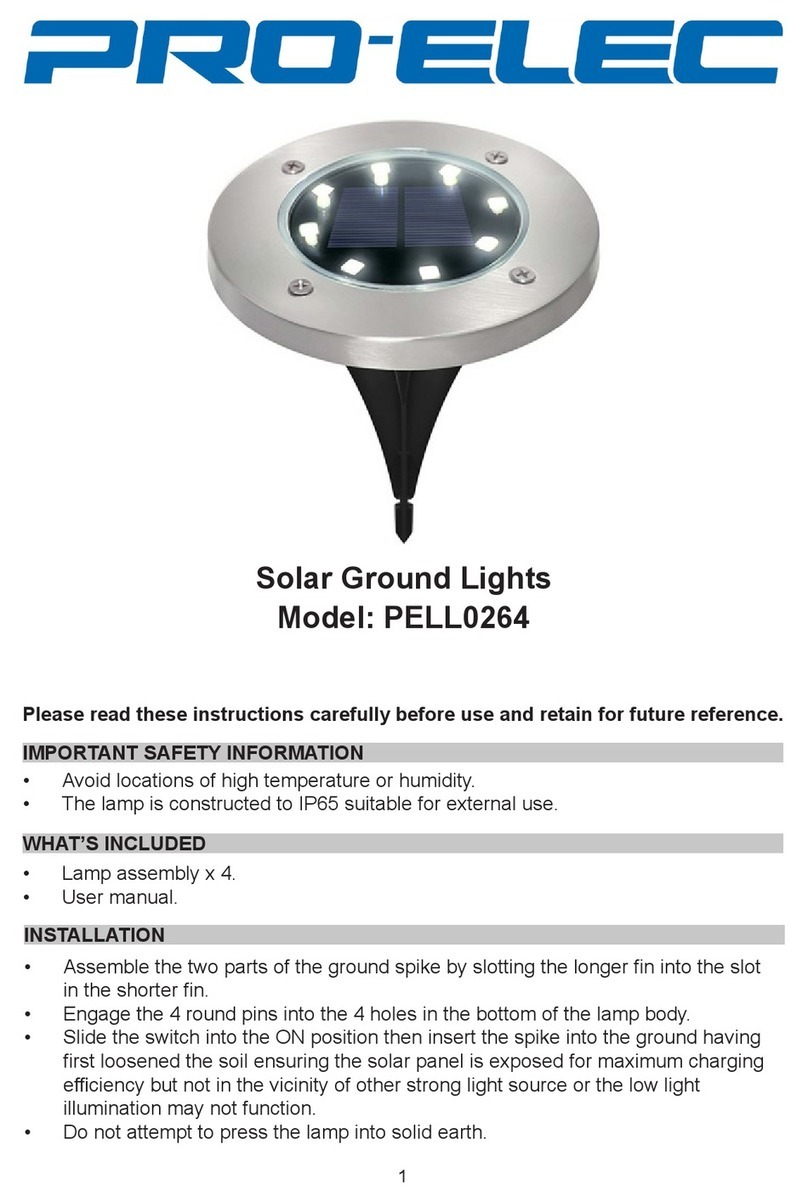
HEPER NORMA S Installation and operating instructions
Other HEPER Outdoor Light manuals
HEPER
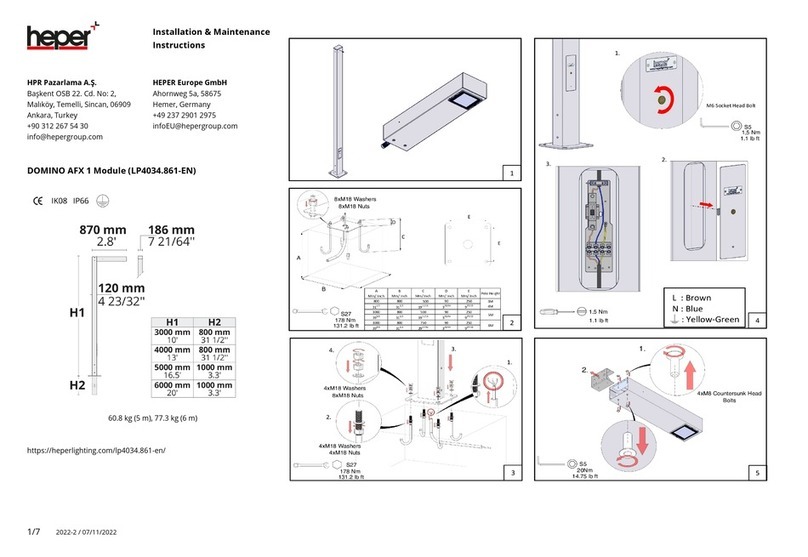
HEPER DOMINO AFX 1 Installation and operating instructions
HEPER
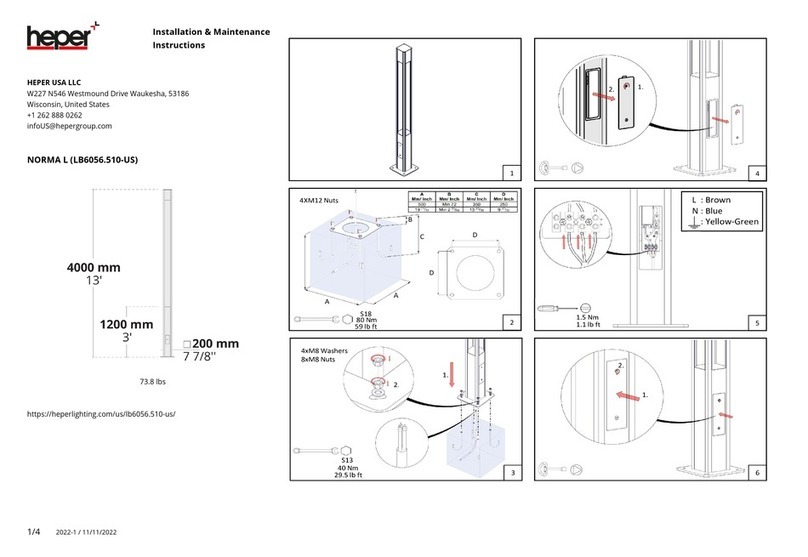
HEPER NORMA L Installation and operating instructions
HEPER
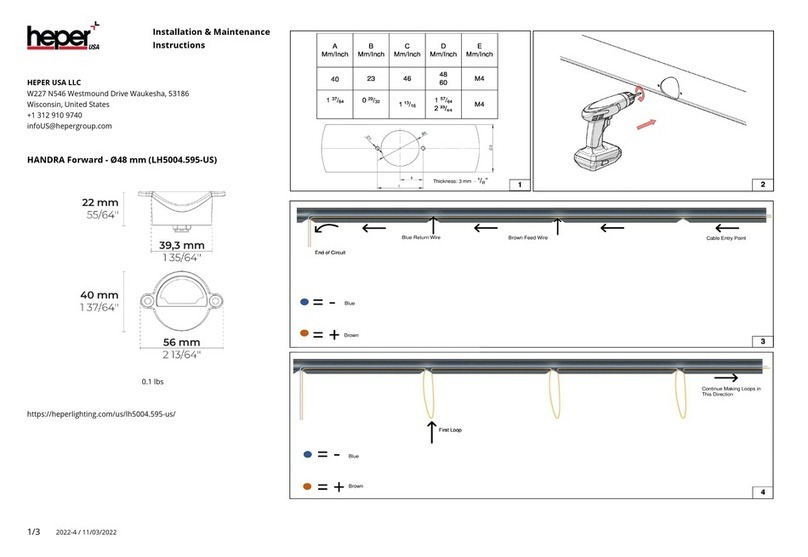
HEPER HANDRA Forward Installation and operating instructions

HEPER
HEPER MINIKA Installation and operating instructions
HEPER
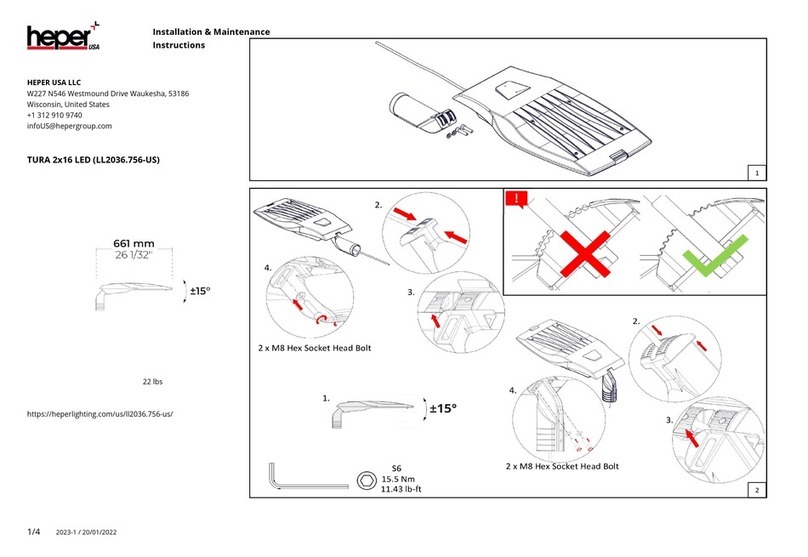
HEPER TURA 2x16 LED Installation and operating instructions
HEPER
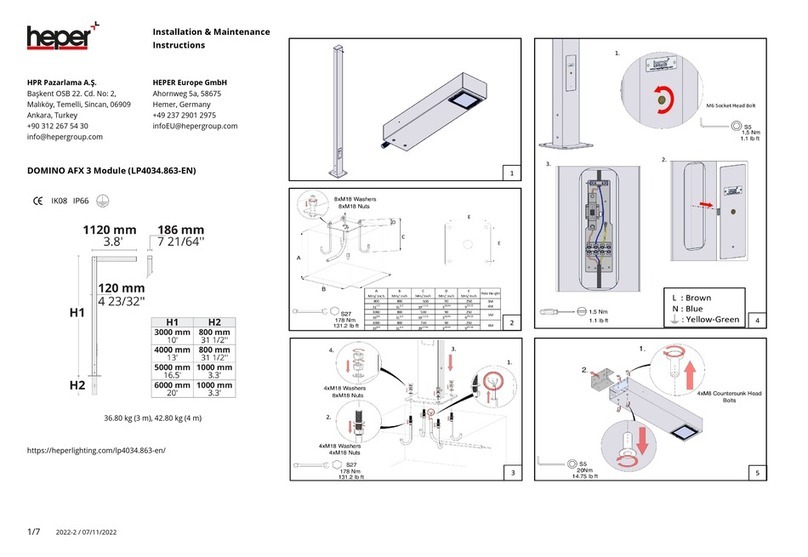
HEPER DOMINO AFX 3 Module Installation and operating instructions
HEPER
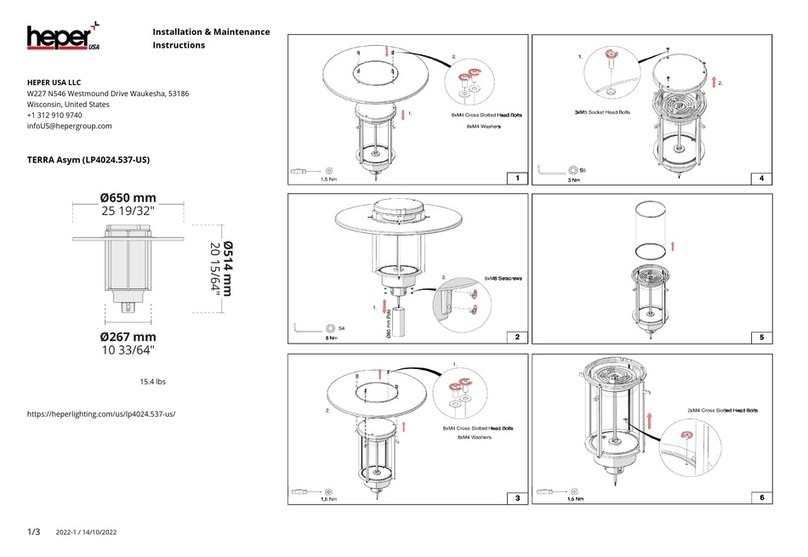
HEPER LP4024.537-US Installation and operating instructions
HEPER
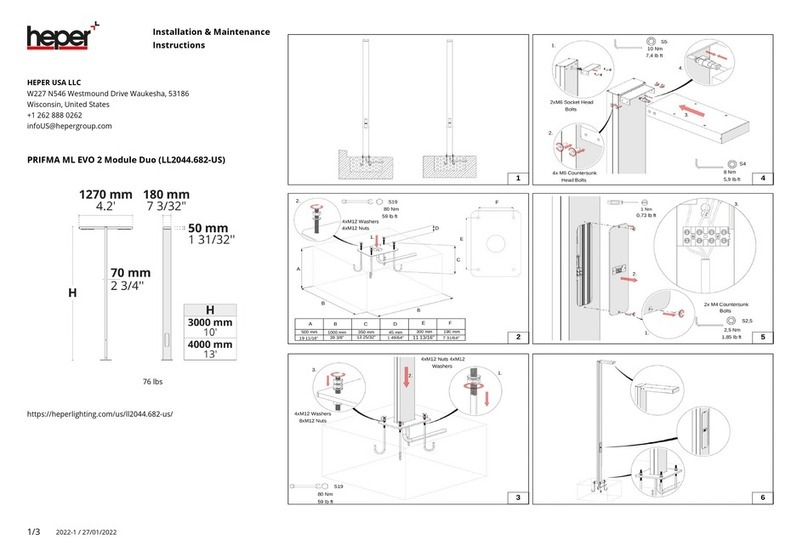
HEPER PRIFMA ML EVO 2 Module Duo Installation and operating instructions

HEPER
HEPER TILA S AFX 3 Module Installation and operating instructions
HEPER
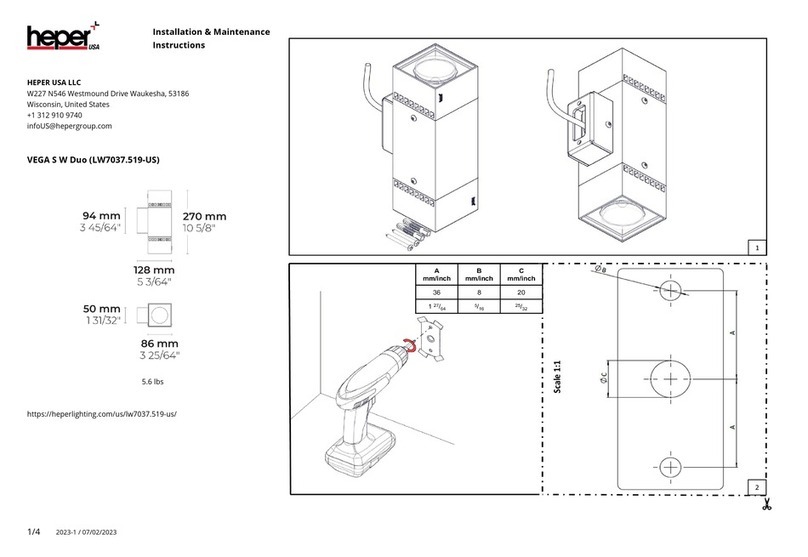
HEPER LW7037.519-US Installation and operating instructions

HEPER
HEPER MINIMO Installation and operating instructions

HEPER
HEPER TROLI Installation and operating instructions

HEPER
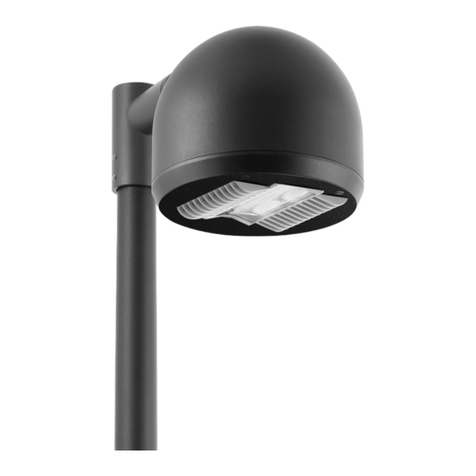
HEPER NORMA LB6055.510-US Installation and operating instructions
HEPER
HEPER RHINO ML 1 Module Installation and operating instructions
HEPER
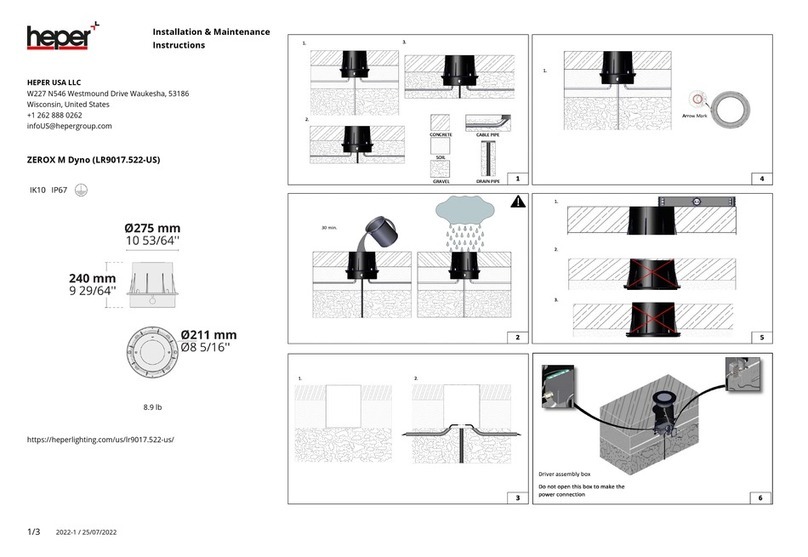
HEPER ZEROX M Dyno Installation and operating instructions

HEPER
HEPER DOMINI 12 LED Installation and operating instructions

HEPER
HEPER LL2044.862-US Installation and operating instructions

HEPER
HEPER TURA 4x16 LED Installation and operating instructions
HEPER
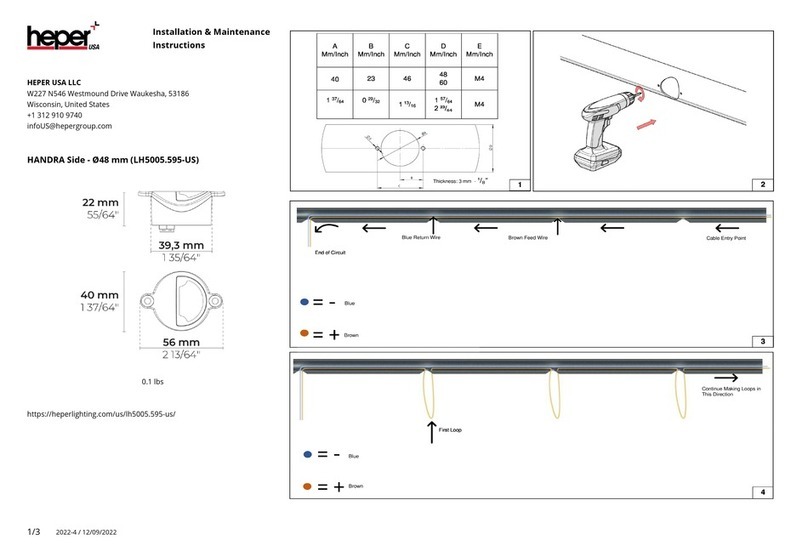
HEPER LH5005.595-US Installation and operating instructions

HEPER
HEPER Rhino Flood Installation and operating instructions
Popular Outdoor Light manuals by other brands

Maretti
Maretti VIBE S 14.6080.04.A quick start guide

BEGA
BEGA 84 253 Installation and technical information

LIGMAN
LIGMAN BAMBOO 3 installation manual

Maretti
Maretti TUBE CUBE WALL 14.4998.04 quick start guide

Maxim Lighting
Maxim Lighting Carriage House VX 40428WGOB installation instructions

urban ambiance
urban ambiance UQL1273 installation instructions
