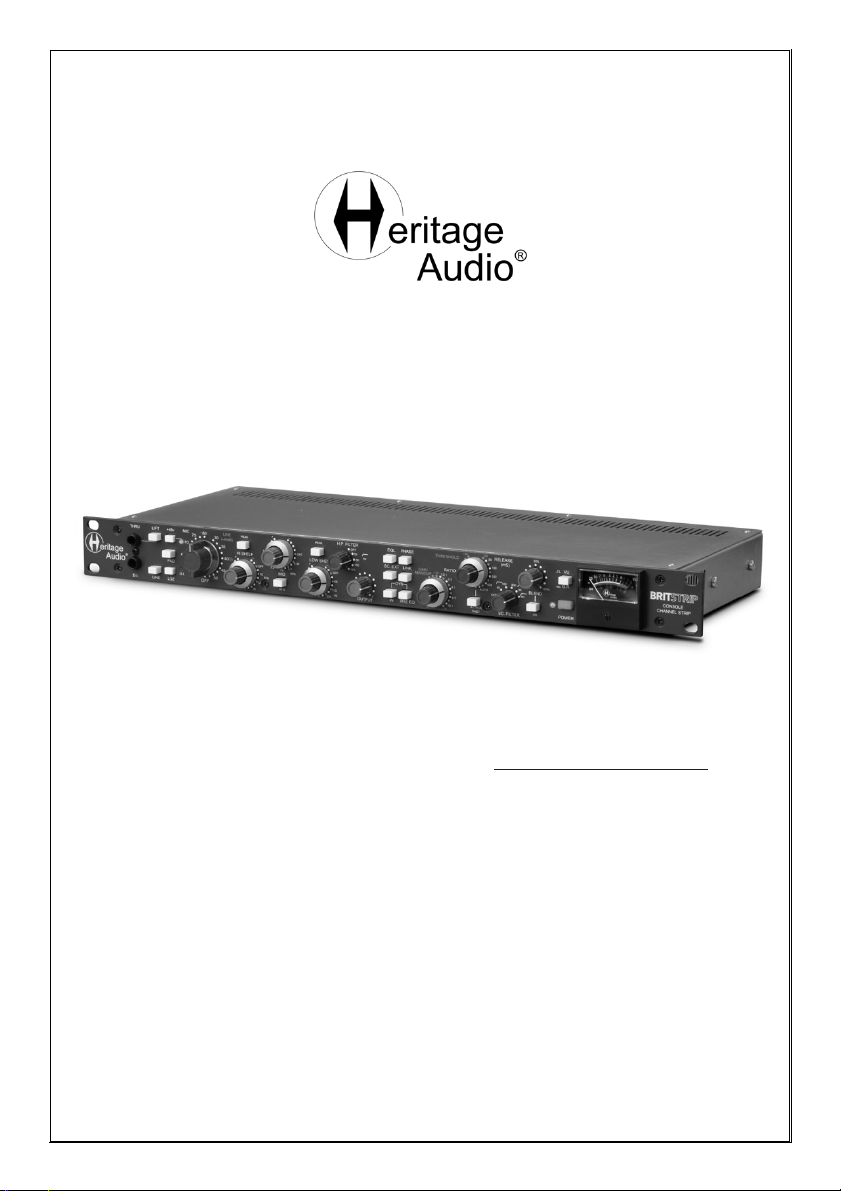
Heritage Audio HA BRITSTIP User manual

1
HA BRITSTIP QUICK START GUIDE
This is a quick start guide on using the HA BRITSTRIP. For more info on it or
more tips on how to use the unit, please check www.heritageaudio.net often,
and make sure to follow Heritage Audio on Facebook, Instagram and You
Tube.
Dec 14th, 2020
Rev. 1.0.
INSTALLING THE BRITSTRIP
Thanks for purchasing the HA BRITSTRIP Channel Strip. Please make sure the
following items are in the box when you open it.

2
• This manual.
• HA BRITSTRIP main unit.
• Power Supply labelled HA-PSU03.
• IEC Cable.
Depending on your system requirements, you will need several XLR and
MONO jack cables to hook up your system. Please check your input sources
and output destinations and purchase the correct cables.
The power supply is of the auto switching type so it works worldwide without
adjusting anything. In case your country uses a different mains cable other
than the one provided in the box, just get the correct one and you are done.
Basic audio connections are just balanced input and output connections by
means of XLR.
In case you want to make use of the external sidechain facilities, additional
MONO Jack cables are needed as explained below:
If you want to be able to trigger the BRITSTRIP Successor-like detector with
an external signal, a MONO jack is needed. If, in addition to this, you want to
be able to further externally process the internal detector signal and return it
into the unit, another additional MONO jack is needed.
In case you have TRS JACKS instead of MONO (TS) ones, those are compatible
as well, but keep in mind that the signals are unbalanced.
The HA BRITSTRIP is able to accept input levels in excess of those that any
interface can provide, so the chance that its input is overloaded is rare.
However, it is able to provide output levels in excess of those that most
interfaces can accept, so please keep this in mind.

3
GENERAL DESCRIPTION
The Heritage Audio BRITSTRIP is a professional channel strip comprising a 73
preamplifier, DI, equalizer and diode bridge-based dynamics processor in a
convenient 1 RU format. It features transformer balanced inputs and outputs,
and the outputs are driven by means of 73 type Class A amplifiers.
The signal path consists of:
- Preamplifier, being it the mic, line or instrument preamp.
- Equalizer.
- Compressor.
- Output stage.
The DI input is ahead of the mic preamp. The equalizer can be placed before
or after the compressor. With these possible exceptions, the signal flows in
the aforementioned order. Keep this in mind when setting the individual
block´s levels for optimum headroom.
THE PREAMPLIFIER:
First thing to set is the correct input source, being MIC the default one.
Inserting a mono jack into the DI input will automatically detect it and switch
it to DI (green LED on). Pressing LINE will switch the pre to the LINE input XLR
on the back.
When in MIC mode, the PAD, 48v and LOZ buttons can be operated. Use the
PAD for higher headroom when using hot microphones and/or loud sources.
The LOZ will lower the input impedance from 1200 to 300 ohms, great to get
6 noise free dBs of gain when using low impedance mics such as
transformerless condensers. Using the LOZ setting will also darken vintage
ribbon and dynamic mics. Use it to taste.

4
Gain goes from 30 to 80 dB of gain in the white dotted dial of the double bar
red knob. When in LINE mode, gain is in the orange dial of the same, from -
10dB with unity gain at 3 o´clock.
When in DI mode, there are provisions for using an external amplifier by
means of the THRU jack, and its ground can be lifted by means of the LIFT
switch to avoid ground loops.
The level on the red knob must be set accordingly with the next stage in the
chain. If large amounts of boost eq are used after the preamp, turning the
input gain down accordingly may be needed. Same applies if the compressor
is used after the preamp. If large amounts of compression are desired, it may
be worth turning the input gain up and setting the threshold higher to avoid
having to add a lot of makeup gain. GAIN STAGING IS ESSENTIAL FOR THE
BEST SIGNAL TO NOISE RATIO AND HEADROOM.
THE EQUALIZER:
The equalizer section consists of high and low shelves in a Baxandall
arrangement, with enhanced PEAK response, a dual inductor-based mid band
with dual Q switch, and an inductor based passive high pass filter. Essentially
an enhanced 73 equalizer section.
Frequencies are as follows:
- High shelf: 10, 12 and 16 Khz, PEAK or shelf curve response.
- Mid band: 360, 700, 1600, 3200, 4800 or 7200 Hz. Hi or Lo Q.
- Low shelf: 60, 110 or 220 Hz, PEAK or shelf curve response.
- High Pass Filter: 50, 80, 160 or 300 Hz, 18dB/oct.
The equalizing section is followed by the Output control, to allow for perfect
gain staging after equalizing.

5
THE SUCCESSOR-LIKE COMPRESSOR:
Unlike vintage diode bridge designs, the Successor-like compressor in the
BRITSTRIP has a range of release times that goes from ultra-fast, FET like
values, to very slow, VCA like gentle timings, making this unit arguably one of
the most versatile tracking compressor up to date.
To make things even more versatile, a complex sidechain filter has been
implemented, departing for the traditional high pass one.
A blend circuit with ON/OFF function and an external sidechain accessible
from the front panel rounds the pack and makes this machine the new Swiss
knife in dynamic processing, both in the pro and semi pro studios.
Resume of controls is as follows:
- DYN IN: Activates the compression section.
- DYN PRE EQ: Places the compression section ahead of the EQ.
- GAIN MAKEUP: Recovers gain from 0 to 20dB.
- RATIO:1.5:1, 2:1, 4:1, 6:1, 10:1.
- THRESHOLD: From -20 to +20 dBu.
- RELEASE: 50, 100, 200, 400 mS and AUTO.
- ATTACK FAST: Activates the faster attack.
- SIDECHAIN FILTER: OFF, 50 and 100 high pass, 800 and 3K peak, and
5K hpf.
- BLEND: From fully dry to fully WET.
- BLEND ON: Activates the blend circuit.
- VU/GR: Meter activity either Gain reduction or output level.

6
CONNECTION FEATURES
The HA BRITSTRIP has the following connections:
• MIC INPUT: Transformer balanced, accessible on an XLR connector.
• LINE INPUT: Again, transformer balanced on XLR.
• OUPUT: Transformer balanced, 73 type class A amp driven,
accessible on an XLR connector.
• SIDECHAIN SEND: Unbalanced at unity gain, able to drive up to
2Kohms. Allows to externally process the control signal.
• SIDECHAIN RETURN: This unbalanced input allows to use an external
control signal or return the processed internal sidechain to the
detector ¡. This return precedes the internal filter, so it can be used
even if an external sidechain signal is preferred.
• LINK: Puts the control signal on an RCA for using 2 BRITSTRIPs in
stereo.
• POWER: Connects the external power supply by means of a 5 pin
XLR.

7
GETTING STARTED WITH THE UNIT
Please keep in mind that this manual is a brief guide of operation and is not
intended to substitute a good old sound engineering course.
With this being said, once you have made the right connections for your
application, please POWER ON your unit and turn off DYN and EQL buttons to
make sure the equalizer and compressor are not activated. Audio should pass
unprocessed. Turn the Output control all clockwise to maximum and set the
input gain to obtain a healthy level as desired. This will in fact depend on
your interface´s headroom (should you be connecting the BRITSTRIP directly
to it).
After this, and only after this, you can engage the next stage, which will be
either the equalizer or the compressor depending on your DYN PRE button
setting. If compressing prior to equalizing is preferred, press DYN PRE and
start playing around with the compressor. For a more detailed explanation of
the compressor section, a visit to the Successor manual and/or web page and
third party You Tube videos is totally worth it. After setting the compressor,
please make sure the gain makeup control is set so you are sending about the
same level to the interface as you were before activating it.
Now it´s time to use the EQ. Chances are you will be boosting some
frequencies as the 73 eq sounds so good and natural when boosting. You may
need to back the gain makeup accordingly in order not to saturate the unit in
a bad way. After this, turn the output knob to the desired level.
In case the EQ and compressor are used in the reverse order, the procedure
is similar, only backwards.

8
AN APPROACH TO USING THE BRITSTRIP
Using the HA BRITSTRIP in the manner explained above will give you instant
gratification, however the unit is way more powerful.
Playing around with ATTACK and RELEASE will change the sound A LOT. Very
fast attack and releases will eat up transients and may make your sounds less
punchy but more detailed at the same time. BLEND Control can help you
restore punchiness to your sounds. The best way to learn is experiment!
The sidechain filter is another control that can have dramatic results in your
music.
High Pass filter at 80Hz makes bass heavy sounds such as kick drum not to
dominate the compression. 160Hz does so with Kick and Snare. 800 Hz boost
allows to moderate mixes with too much lo mid content on them (such is the
case when snare drum is too loud in the mix or a honky vocal is dominating).
3Khz boost does so with too loud vocals or fuzzy guitars. 5Khz lo pass allow
you to almost de-ess the mix when cymbals are too loud or similar.
EQ-wise, there are no recommended settings other than experimentation.
Low mids will work great fattening snare drums, guitar and vocals (the old
trick of 700 Hz boost to make electric guitars sound huge works great here).
Using the high pass filter while tracking should be done with extreme care as
restoring the lost bass is a difficult task.
The Hi Shelf can be used in 2 ways: either to add brightness and hi end
definition by boosting, or to remove harshness by cutting. A good trick for
the latter is removing just in the 16Khz setting, as to avoid losing hi end.
Experimenting with the PEAK/shelf response will give different results, being
the peak a bit subtler.

9
The same applies on the Lo shelf, peak settings will enhance your low end
without sounding muddy while the shelf setting may be too much when
doing large boosts.
Again, the best way is experimenting!!
LIST OF CONTROLS
The list of controls, from left to right, is as follows:
- LIFT: Lifts the ground from the THRU input.
- LINE: Swaps the unit into LINE mode.
- +48v: Activates Phantom power.
- PAD: Lowers the input gain by 20dB in MIC mode.
- LOZ: Switches the input impedance from 1200 to 300 ohm in MIC
mode.
- INPUT GAIN SWITCH: Sets the input gain in 5 dB increments from 30
to 80 dB in MIC mode, 40 dB less in LINE mode.
- HI SHELF FREQ SELECTION: Selects the hi shelf corner frequency.
- HI SHELF BOOST/CUT: Sets the amount of gain boost/cut, being 0 at
6 o´clock.
- HI SHELF PEAK: Switches the shelf response curve to PEAK.
- MID BAND FREQ. SELECTION: Selects the mid band´s peak frequency.
- MID BAND BOOST/CUT: Sets the amount of gain boost/cut, being 0
at 6 o´clock.
- MID BAND Q SWITCH: Sets the higher Q for the mid band.
- LO SHELF FREQ SELECTION: Selects the lo shelf corner frequency.
- LO SHELF BOOST/CUT: Sets the amount of gain boost/cut, being 0 at
6 o´clock.
- LO SHELF PEAK: Switches the shelf response curve to PEAK.

10
- HIGH PASS FILTER: Sets the -3dB filter frequency.
- OUTPUT: Attenuates the EQ output signal.
- EQL: Activates the EQ section.
- PHASE: Turns the signal 180 degrees.
- SC. EXT: Takes the AC control signal from the Sidechain In connector.
- LINK: Sends the DC control signal to the RCA connector.
- DYN IN: Activates the Dynamics section.
- DYN PRE EQ: Places the dynamics section ahead of the equalizer.
- GAIN MAKEUP: Allows for restoring the gain loss up to 20dB.
- RATIO: From a very gentle 1.5:1 to a 10:1 function. On a 5-position
rotary switch.
- THRESHOLD: With an extended range from +20dBu (all clockwise) to
-20dBu (all counterclockwise).
- RELEASE: On a 5-position rotary switch. From ultra-fast 50
milliseconds to 0.4 seconds and 1automatic release time (fast on
peaks, slow on sustained program).
- ATTACK FAST: Switches the attack to the fastest setting.
- SIDECHAIN FILTER: OFF, 80 and 160 Hz high pass, 800 Hz and 3Khz
bell type boost and 5Khz low pass. These allow for unprecedented
flexible tweaking of your compression. Implemented on a 6-position
rotary switch.
- BLEND % : From 100% DRY (compression bypassed all
counterclockwise) to 100% WET (DRY signal bypassed all clockwise)
and everything in between (50-50 at 12 o´clock).
- BLEND ON button: Activates the BLEND potentiometer, which means
that if BLEND is OFF, the potentiometer is disengaged and signal is all
WET.
- VU/GR: Switches the meter activity from tracking gain reduction to
output level.
- METER: Measures gain reduction in dB or Output level.
- POWER: Turns on the unit.

11
TECHNICAL SPECIFICATIONS
• Maximum input level: Over +22 dBu
• Maximum output level: Over +25.5 dBu into 600 ohms.
• MIC Input EIN: -125 dBu @ 60dB.
• Mic Input impedance: 300 or 1200 ohm selectable.
• DI Input impedance: Greater than 2 Megaohms.
• THD+N (50Hz- 20Khz): DYNAMIC IN not engaged, less than 0.07% at
+20dBu.
• Frequency response: +- 0.5dB, 15Hz- 30Khz.
• Line Input impedance: 10Kohms, transformer balanced and floating.
• Output impedance: Less than 75 ohms, transformer balanced and
floating, Class A driven.

12
LIMITED 2 YEAR WARRANTY
Heritage Audio HA BRITSTRIP is warranted by Heritage Audio SL to be free
from defects in materials and workmanship for the period of 2 years to the
original purchaser. In the event of such defects, the product will be repaired
without charge or, at our option, replaced with a new one if delivered to
Heritage Audio prepaid, together with a copy of the sales slip or other proof
of purchase date. The warranty excludes problems due to normal wear,
abuse, shipping damage or failure to use the product in accordance with the
specifications.
Heritage Audio shall not be liable for damages based upon inconvenience,
loss of use of the product, loss of time, interrupted operation or commercial
loss or any other damages, whether incidental, consequential or otherwise.
This warranty is not transferable.
Heritage Audio and the Heritage Audio “H” logos are registered Trademarks
owned and/or licensed by Heritage Audio.
www.heritageaudio.net
ALFONSO GOMEZ 38. 3C
28037 Madrid
Spain
info@heritageaudio.net
Table of contents
Other Heritage Audio Recording Equipment manuals

Heritage Audio
Heritage Audio ELITE Series User manual

Heritage Audio
Heritage Audio RAM System 500 User manual

Heritage Audio
Heritage Audio 73 JR II User manual

Heritage Audio
Heritage Audio SUCCESSOR User manual

Heritage Audio
Heritage Audio HA-609A User manual

Heritage Audio
Heritage Audio RAM SYSTEM 5000 User manual

Heritage Audio
Heritage Audio 73 EQ JR User manual

Heritage Audio
Heritage Audio HA SUCCESSOR User manual

Heritage Audio
Heritage Audio 80 Series User manual

Heritage Audio
Heritage Audio R.A.M 1000 User manual