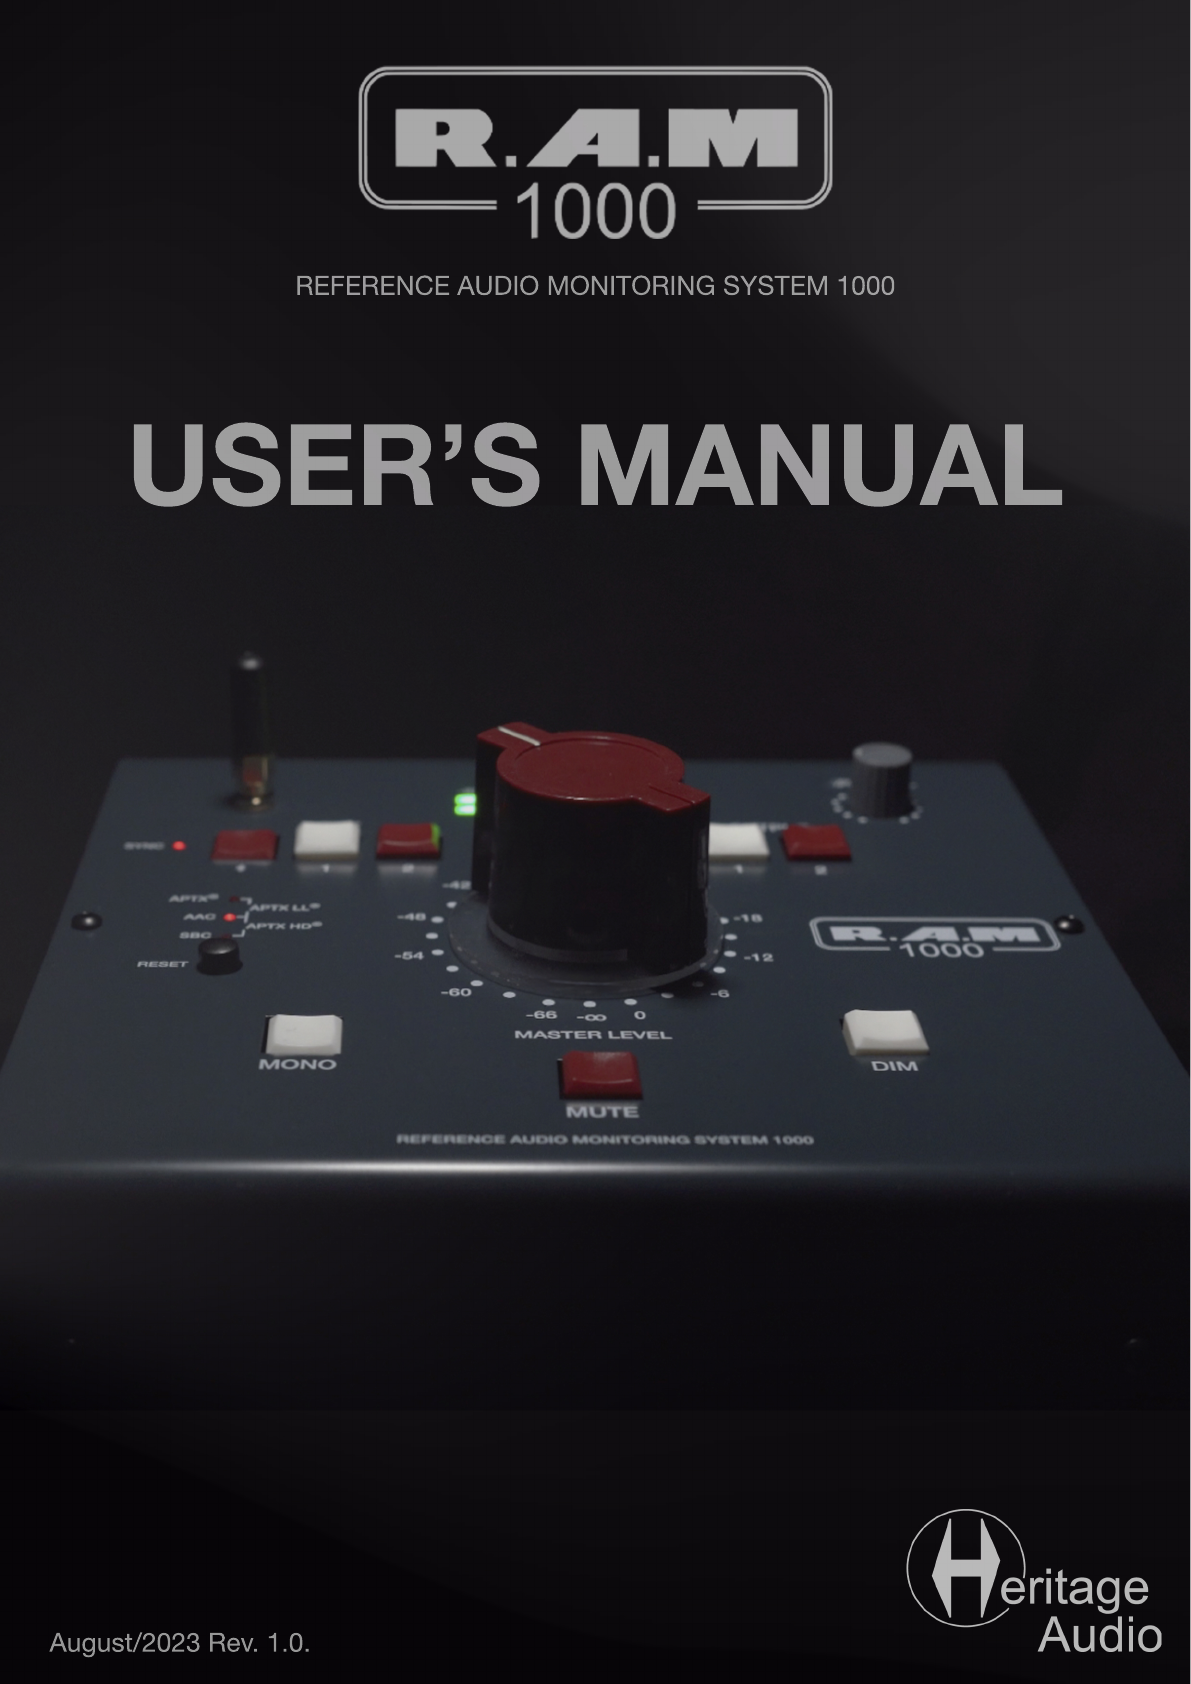
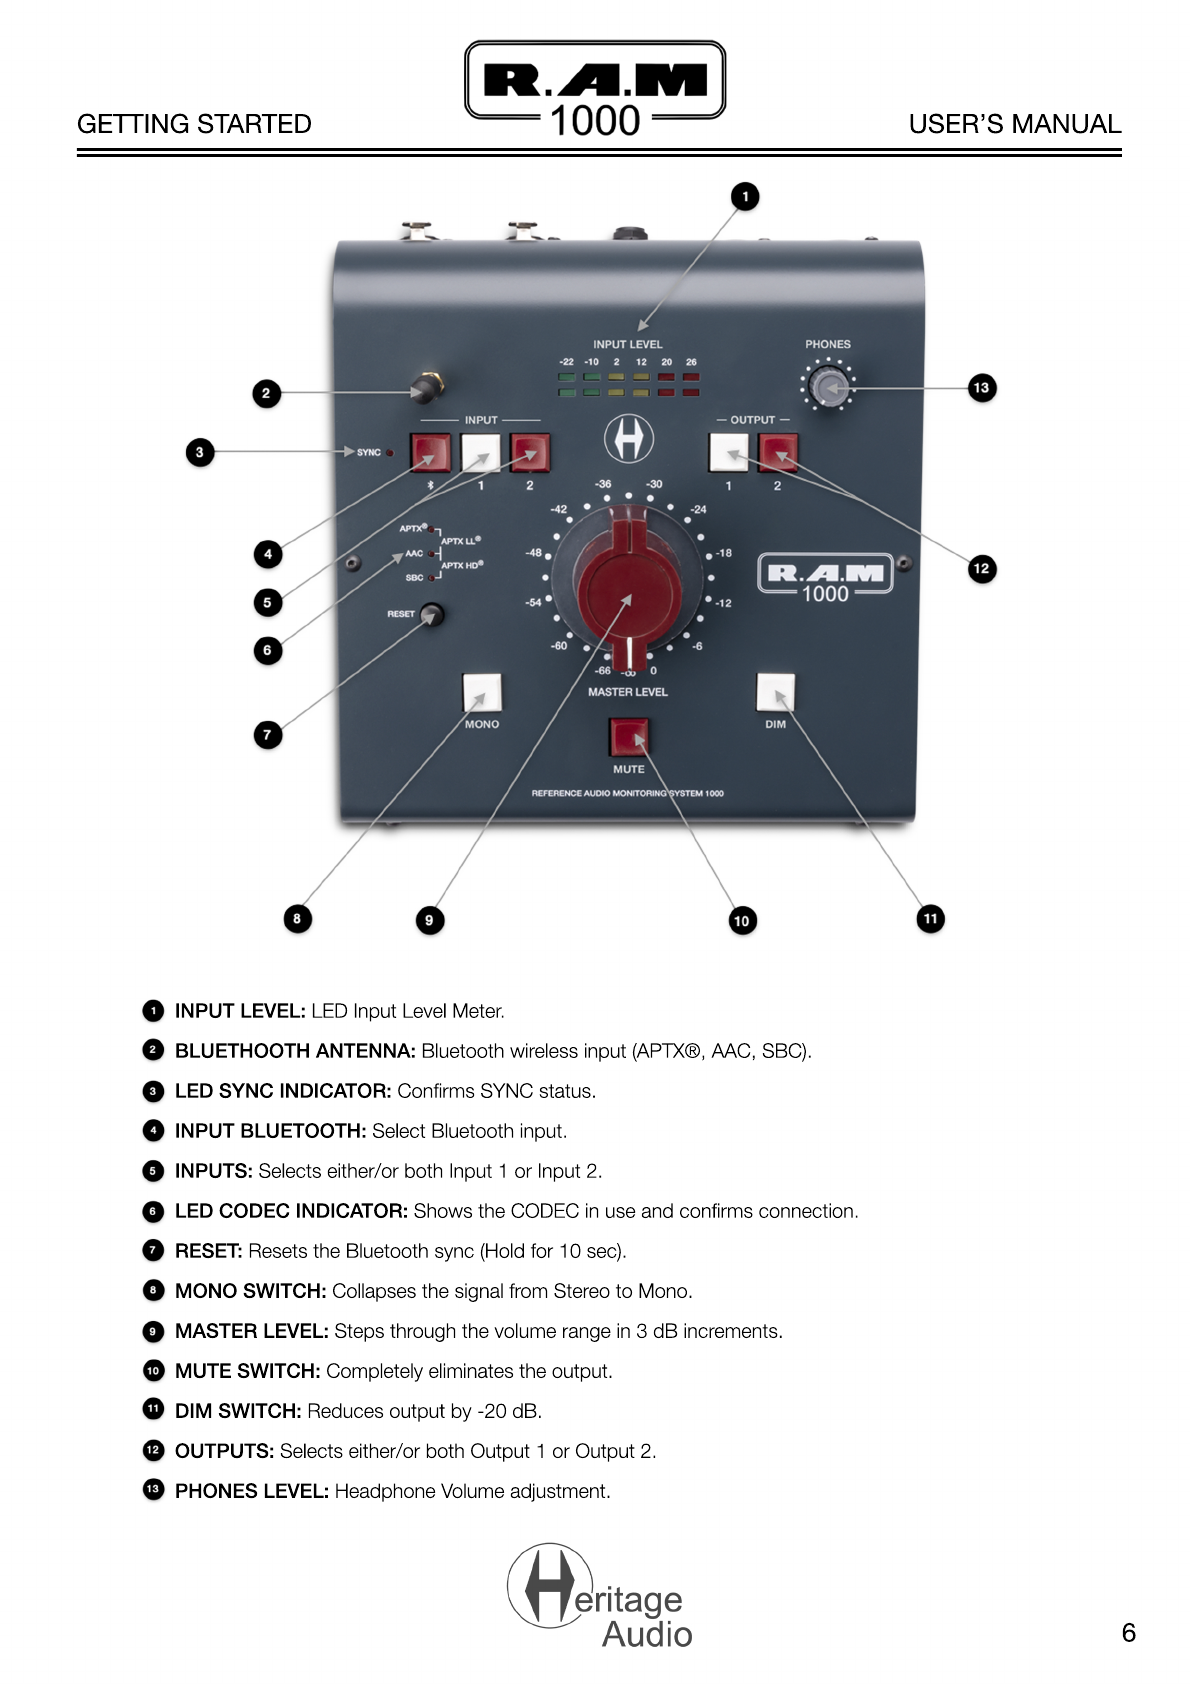
Heritage Audio R.A.M 1000 User manual


Other Heritage Audio Recording Equipment manuals

Heritage Audio
Heritage Audio 80 Series User manual

Heritage Audio
Heritage Audio 73 EQ JR User manual

Heritage Audio
Heritage Audio HA BRITSTIP User manual

Heritage Audio
Heritage Audio HA-609A User manual

Heritage Audio
Heritage Audio RAM SYSTEM 5000 User manual

Heritage Audio
Heritage Audio HA SUCCESSOR User manual

Heritage Audio
Heritage Audio TT-73 User manual

Heritage Audio
Heritage Audio ELITE Series User manual

Heritage Audio
Heritage Audio RAM System 500 User manual

Heritage Audio
Heritage Audio SUCCESSOR User manual

Popular Recording Equipment manuals by other brands


Grundfos
Grundfos CIU 300 Functional profile and user manual

IVC Displays
IVC Displays NP-81XXXA user manual

Fracarro
Fracarro FRPRO 06 operating instructions

National Instruments
National Instruments GPIB-PCII Getting started

SyxthSense
SyxthSense ITPF Product sheet

Vitec Multimedia
Vitec Multimedia RLY-6 instruction manual


