HeroCamper HEAT 1500+ Assembly instructions

➢
HEAT 1500+
INSTALLATION GUIDE AND USER MANUAL
Please read all instructions carefully before using the unit and keep instructions for future reference.

1
#HeroCamper™ –Lammefjordsvej 5 –6715 Esbjerg N –Denmark
Phone +45 7022 5840 –sales@herocamper.com
www.herocamper.com
VAT No DK -40193189
Index
Installation...............................................................................................2
Connections............................................................................................2
How to use..............................................................................................4
Memory...................................................................................................7
Cooperation with a Truma gasoven ........................................................7
Errors ......................................................................................................8
Technical data.........................................................................................9

2
#HeroCamper™ –Lammefjordsvej 5 –6715 Esbjerg N –Denmark
Phone +45 7022 5840 –sales@herocamper.com
www.herocamper.com
VAT No DK -40193189
➢HEAT is complete heating unit, with heating elements, fan, chassis
and a control device
➢HEAT is very simple to install into a caravan, an auto camper of into
a sailing boat
➢HEAT is equipped with heating elements in 3 steps, 500W, 1000W
and 1500W
➢All functionalities are controlled by the simple and elegantly control
panel
Installation
HEAT is a fan driven unit. It has been developed to be inserted into the
heating tubes in most caravans and auto campers.
Find a suitable place for HEAT. It might be under the bed, in a closet or
behind the gas oven.
The air tubes that HEAT shall operate into are cut by a knife. HEAT is
inserted between the two air tubes and fastened by 4 screws.
The flanges on HEAT are designed to fit to the standard air tubes in the
caravan. Internally Ø65mm (65mm tube) or externally Ø67mm (72mm
tube). Two small holes in the flanges are used to secure the tube by use
of a small screw.
Connections
The power cord is connected to the 230V supply in the wagon in a proper
way. Make sure that the connection can handle a power consumption of
6,5 Amp.

3
#HeroCamper™ –Lammefjordsvej 5 –6715 Esbjerg N –Denmark
Phone +45 7022 5840 –sales@herocamper.com
www.herocamper.com
VAT No DK -40193189
HEAT is delivered with the power cord and the controller cord connected
into the heating device. Thus, it is not necessary to open HEAT before
installation.
The control panel is placed where the temperature in the wagon is normal.
The temperature regulation is done in the control panel. Inside the control
panel a temperature sensor is installed. Therefore, it is important that the
control panel is placed in a way that it can sense the temperature in the
wagon and not have the risk of being covered in any way.
HEAT is delivered with 5 meters wire for the control panel equipped with
a standard plug.
Any excess wire after the installation is coiled and strapped.
The back plate on the control panel is removed and is installed in the
wagon. It can be placed on a bulkhead or on a closet wall. Secure this
back plate with 4 small suitable screws. Drill a 13mm hole in the plate the
back plate is installed onto. The wire for the control panel is guided to this
hole and inserted into the hole. The plug on the wire is inserted into the
socket of the control panel and the control panel is clicked onto the back
plate.
The installation has now finished and is ready for action.
You might find inspiration for installation on our homepage at:
www.herocamper.com

4
#HeroCamper™ –Lammefjordsvej 5 –6715 Esbjerg N –Denmark
Phone +45 7022 5840 –sales@herocamper.com
www.herocamper.com
VAT No DK -40193189
How to use
When 230V are connected to HEAT, the unit is ready for action.
You will find 7 push buttons and 2 LED’s on the control panel.
Push the power button, the heater is activated.
Push the fan button, set fan speed.
Push fan button the 1 time, fan speed setting activated.
Push fan button more than 1 time, fan speed changed.
Temperature
up
Temperature
down
Power On/Off
Fan
Heat
℃/℉
Lights
Work/Warning
light
Heating light

5
#HeroCamper™ –Lammefjordsvej 5 –6715 Esbjerg N –Denmark
Phone +45 7022 5840 –sales@herocamper.com
www.herocamper.com
VAT No DK -40193189
See left upper, the Fan with 3 lines indicates 3 levels:
1 line means that the fan runs on level 1.
2 Lines means that the fan runs on level 2.
3 Lines means that the fan runs on level 3.
NO any lines means that the fan is not running.
Push the heat button, set heat level.
Push heat button 1 time, heat setting is activated.
Push heat button more than 1 time, heating level is changed.
See right upper, Heat with 3 lines indicates 3 levels:
1 Line means that the heat runs on level 1.
2 Lines means that the heat runs on level 2.
3 Lines means that the heat runs on level 3.
No Lines means not heating.
The fan button and heat button operate in a” rolling action”.
This means that each of the buttons has 5 steps. If you push 3 times on
the button the function will shift from 1 to 2 to 3. If you push the button the
4 times, the function will shift from 3 to 2. If you push button the 5 times,
the function stops, and you are back to zero.

6
#HeroCamper™ –Lammefjordsvej 5 –6715 Esbjerg N –Denmark
Phone +45 7022 5840 –sales@herocamper.com
www.herocamper.com
VAT No DK -40193189
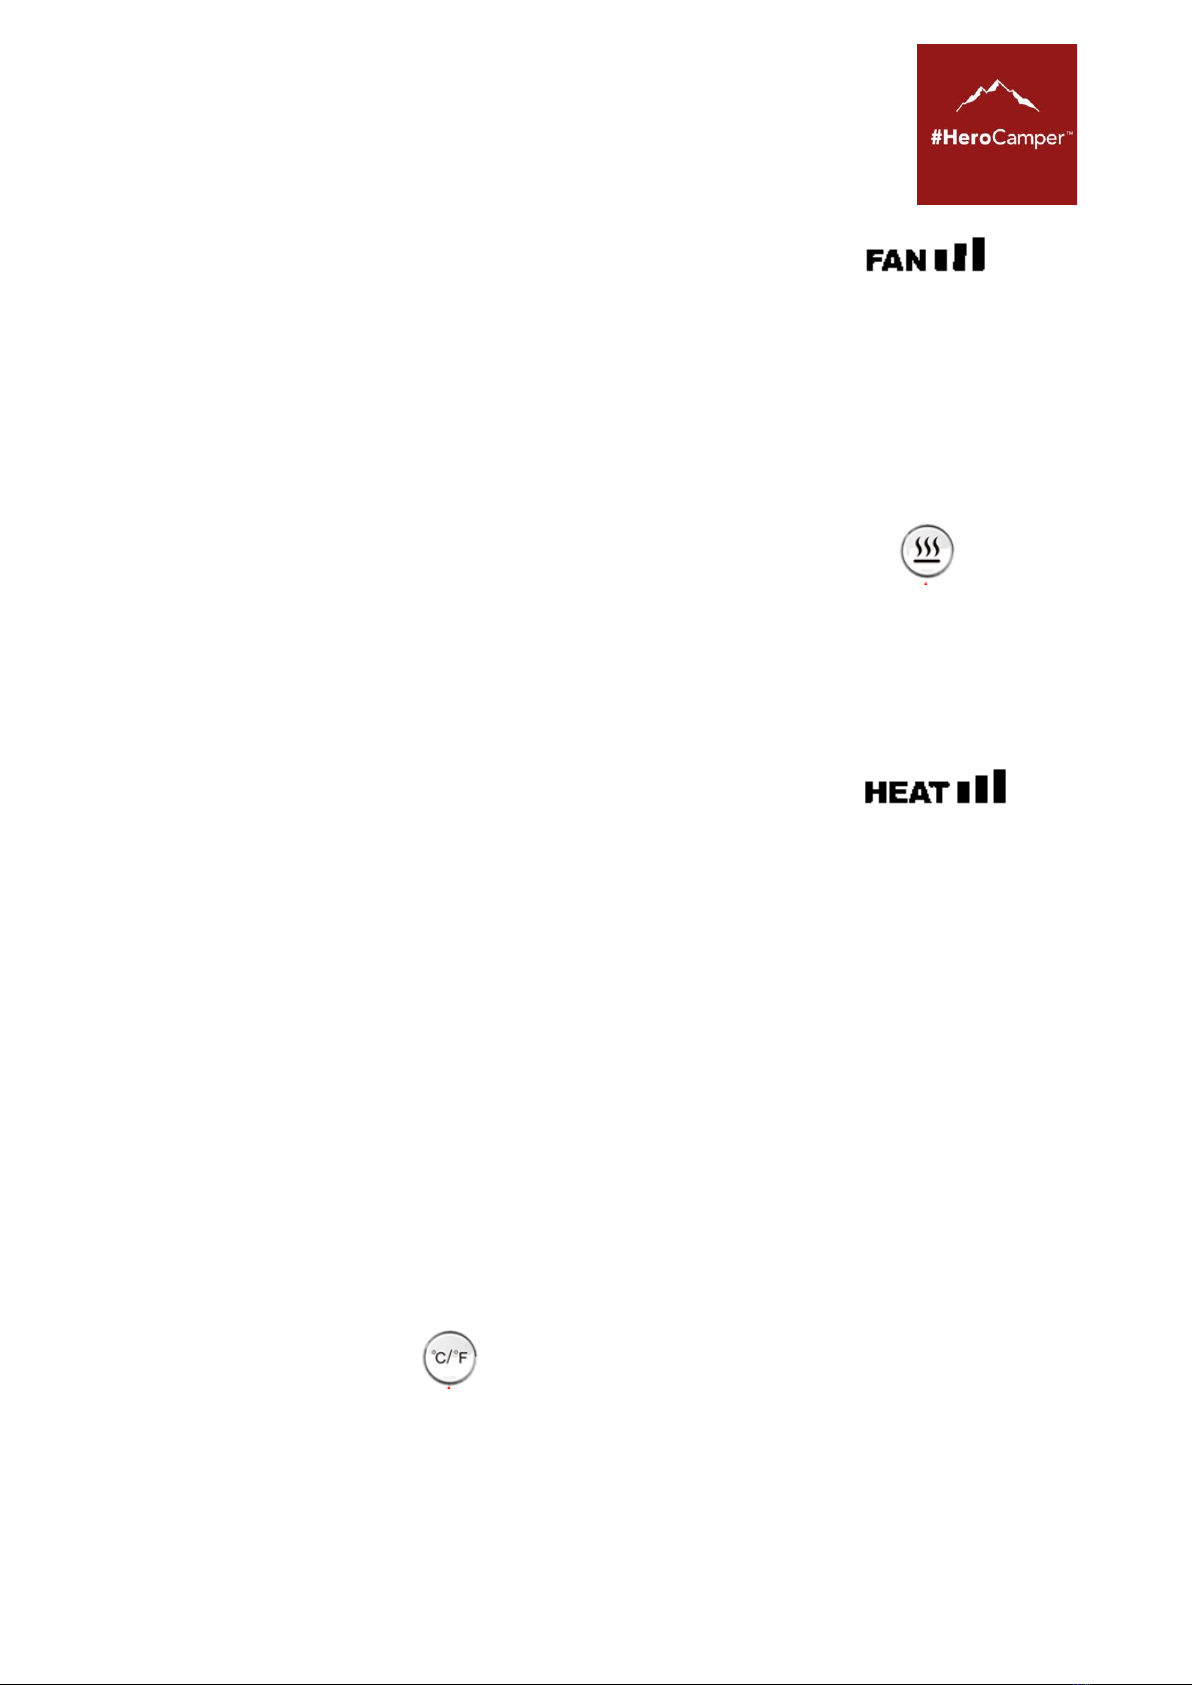
Push ℃/℉button shift temperature unit.
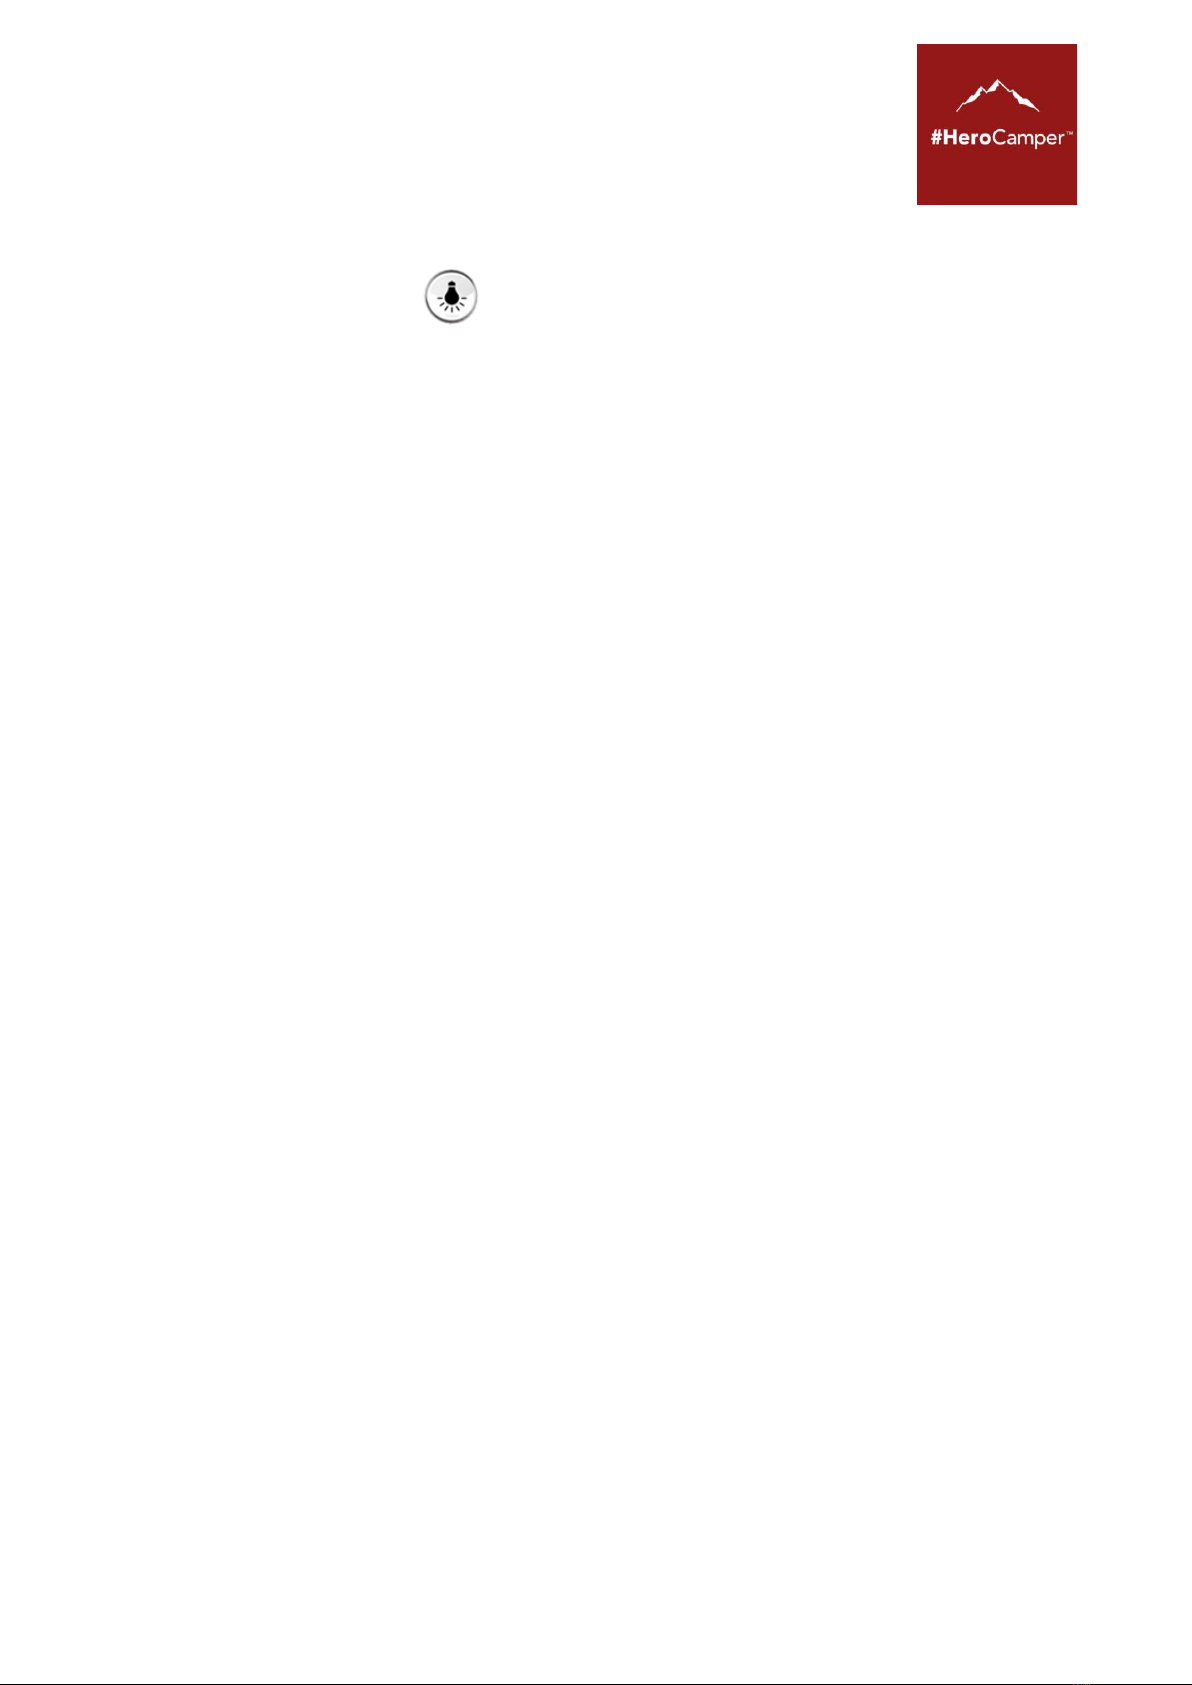
Push light button turn on/off LEDs.
Push temperature up button 1 time, screen will show the room
temperature. Pushing temperature up button more than one time, will be
able to adjust the temperature setting up or down.
Now turn on the desired heating level with the desired fan speed.
When the temperature in the wagon has stabilized you simply adjust the
temperature in the wagon by push temperature up/down button on the
control board.
On the control board you can see on what level the fan and the heat
operate.
There are two LED on the control board. When heater is powered up. The
LED on the top will green. If error occurs, the upper LED will be red and
starting to flash.
The lower LED will work when the room temperature is lower than the
setting temperature. The heat is on and is trying to raise the room
temperature to the desired level.
If the lower LED off which means that the desired room temperature has
been reached. The heating elements in the HEAT are now off but the fan
continues on the selected level.
When the room temperature falls below the desired level the heating
elements are turned on again and the LED below will light up.
In this way HEAT regulates the room temperature constantly to achieve
the most comfortable room temperature in the wagon.

7
#HeroCamper™ –Lammefjordsvej 5 –6715 Esbjerg N –Denmark
Phone +45 7022 5840 –sales@herocamper.com
www.herocamper.com
VAT No DK -40193189
Memory
HEAT has a memory function. If you turn off it or power off it, and you turn
on it or power on it again, it will work as the same way as it did last time.
Cooperation with a Truma gasoven
If HEAT is installed in a wagon together with a Truma gas oven, these 2
units can easily work together.
The heat from the gas oven can easily pass thru HEAT. You can operate
the fan on the Truma gas oven as normally.
If HEAT is placed nearby the Trauma gas oven connected to this by the
air tubes and you are running the gas oven on maximum output, the air
flow from the gas oven can become so hot that the first security function
on HEAT can be activated. If so, simply increase the Truma fan speed or
lower the gas burner level on the Truma oven a little bit.

8
#HeroCamper™ –Lammefjordsvej 5 –6715 Esbjerg N –Denmark
Phone +45 7022 5840 –sales@herocamper.com
www.herocamper.com
VAT No DK -40193189
Errors
HEAT is equipped with 3 security systems ensuring that HEAT will not
overheat.
First system constantly monitors the outlet temperature and is controlling
the heating elements directly.
2’ security system is a thermostat mounted on the internal metal plates
monitoring the internal housing temperature. If this temperature exceeds
a level, HEAT will turn off the heating elements, start up the fan on
maximum level and try to lower the internally temperature. This is
indicated by flashing the upper LED and the warning sign on the
screen. The warning sign will flash on the screen.
When the thermostat sense temperature is below level again, HEAT will
turn on. You will be able to operate HEAT again in normal way.
3’ security system is also monitoring the internal housing temperature.
This thermostat is connected to the main supply directly and will simply
cut off the mains supply if this temperature level is exceeded. This is
indicated by flashing the upper LED and the warning sign on the
screen. The warning sign will flash on the screen. This thermostat needs
to be manually reset. The thermostat is situated under the main lid.
Attention! Do not open the lid when power is connected to HEAT.

9
#HeroCamper™ –Lammefjordsvej 5 –6715 Esbjerg N –Denmark
Phone +45 7022 5840 –sales@herocamper.com
www.herocamper.com
VAT No DK -40193189
Technical data
Voltage
230V AC
Power
500 W
1000W
1500W
Amps
2.2 A
4.3 A
6.5 A
Length
Width
Height
Size
42 cm
17 cm
20 cm
Weight
4.5 kg
Temperature range
10 –30 °C
Table of contents
Popular Fan manuals by other brands

Klarstein
Klarstein SUMMERJAM manual

Helios
Helios RADAX MV Series Installation and operating instructions

Renson
Renson Healthbox 3.0 manual

NuAire
NuAire ecosmart MRXBOX95-WM2-AE Installation and Maintenance

Vents
Vents Solo RA1-35A-9 P user manual

Mitsubishi Electric
Mitsubishi Electric V-251BZ-HK instruction manual

LUCCI Air
LUCCI Air AIRFUSION A installation instructions

Designers Fountain
Designers Fountain 52ST3L5-BN owner's manual

Kichler Lighting
Kichler Lighting Seaside instruction manual

Panasonic
Panasonic FV-04WS2 Service manual

Salda
Salda VKA 125 EKO Installation instruction

Carrier
Carrier 40DMC owner's manual