manuals.online logo
Brands
  1. Home
  2. •
  3. Brands
  4. •
  5. HERON
  6. •
  7. Measuring Instrument
  8. •
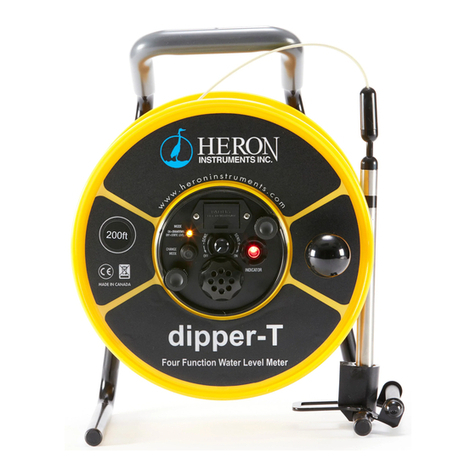
  9. HERON dipper-T Installation guide

HERON dipper-T Installation guide

General
Avoid sharp edged casing
Avoid entanglement with other equipment in boreholes
and wells.
Do not use to plumb borehole depths
Do not use as guide to backfilling with sand etc.
Instrument may get locked in sand.
Rewind tape onto reel after each use
Warranty is conditional upon adherence to these
guide lines.
Maintenance continued inside
Operating/Maintenance
Instructions & Warranty for
dipper-T, little dipper,
SKINNY DIPPER, WATER TAPE
& potable water meter
Water Level Meters
Warranty
Heron Instruments Inc warrants to repair or replace any such
defective equipment or part (determined to our satisfaction to
have a defect in workmanship or original material) upon receipt
and inspection of such defective equipment to Heron Instruments
Inc. with all shipping pre paid by the user.
In no event shall Heron be liable for any direct, indirect or
consequential damages, abuse, acts of third parties (rental
equipment) environmental conditions or other expenses which
may arise in connection with such defective equipment.
This warranty shall not apply to damage of equipment caused by
incorrect installation, usage, storage alteration or inadequate care.
HeronWarranty coverage does not extend to the following:
• Tape, bag or batteries used with the product.
• Products used as rental equipment.
• Products contaminated by materials which are
hazardous and as such have rendered the unit
unserviceable as outlined in the maintenance guide
and warranty manual.
• Parts failure due to neglect in cleaning or servicing.
• Failure of parts caused by misuse or inappropriate use.
All probe tips (excluding dipper-T 5/8 probe tip) warranted for 1 year.
When returning a product under warranty, please review service
options available or advise Heron Instruments in advance,
by telephone at 1-800-331-2032 or 905-634-4449;
by fax at 905-634-9657 or
by e-mail at inf[email protected]
Accurate. Efficient.
On the job!
Groundwater monitoring instruments
Your obvious choice Your obvious choice
Contact Heron Instruments Inc.
T 1-800-331-2032
905-634-4449
F 905-634-9657
E [email protected]
www.heroninstruments.com
Heron also carries:
• dipper-log groundwater dataloggers
• H.OIL Interface Meter's
• Sm.OIL Interface Meter's
3 Wash reel if necessary.The central electronic panel can be
removed and the reel washed down.Unthread the panel securing
knobs and carefully pull out the central panel.Disconnect the panel
from the tape.The reel may be cleaned with the following: soap
solution, naptha alcanox 10%, Fantastic, Windex, Joy, Top Job, Mr.
Clean, Formula 409; hexane, heptane, white kerosene, mineral
spirits; methyl, isopropyl, isobutyl and 1 + 3 denatured alcohols;
freons TF + TE. Rinse well with water and let dry before putting
the panel back in.DO NOT use abrasives, partially halogenated
hydrocarbons or ketones to clean the reel.
Trouble Shooting
No Sound when the unit is tested
1 Check battery by pressing the white button. Replace battery if low
and make sure panel securing knobs are tight. If unit still does not
sound, remove central panel and check all connections.
2 Check probe conductor to make sure it is clean and not crusted
with mineral deposits.Check tape/probe connection for any breaks.
Continuous Sound when the unit is turned on
or probe removed from water.
1 Make sure probe conductor tip is clean.
2 Check for excess moisture on the back of the electronic panel.
3 Check probe/tape connection and tape for any breaks or leaks
where water might get in.
General
• Avoid sharp edged casing
• Avoid entanglement with other equipment
in boreholes and wells.
• Do not use as guide to backfilling with sand etc.,
Instrument may get locked in sand.
• Rewind tape onto reel after each use
Warranty is conditional upon adherence to these guide lines.
Equipment Check
1 Test circuit and battery by pressing the white button.Make sure the
panel securing knobs are tight.If the unit does not sound, replace the
battery (one 9 volt) in the drawer on the faceplate and repeat.
2 Test tape and probe by shorting out the centre conductor and
probe body on the stud on the back axle of the unit as shown.
The buzzer and light should activate; if not, adjust the sensitivity
and repeat. Make sure unit is on.
3 Test the unit in tap water before going out to the field. DO NOT
use distilled or deionized water.
Use in the Field - Important*
1 Reel the tape down the well carefully, avoiding the edge of the
casing. Hang the unit on the casing where possible and run the
tape over the tape guide on the frame leg to avoid cuts and nicks.
2 When the unit sounds, carefully measure the depth to water from
your reference point by slowly lowering and raising the probe to
the air/water interface.Raise the probe, shake off the water and
repeat the measurement. In wells with cascading water, reduce the
sensitivity by turning the Sensitivity Knob anti-clockwise.
3 The dipper-T, little dipper and WATER TAPE probes are rated
to full depth and can be used to measure depth to bottom of
well.Reel the tape until the probe touches bottom and the tape
becomes slack. DO NOT let the probe fall under gravity or it will be
damaged when it hits the bottom of the well.DO NOT use the unit
to measure sand backfill as the tape and probe may get ”locked“ in
the backfill.
4 Wind the tape back onto the reel, removing any excess moisture
and dirt.
Cleaning the Meters
1 Always the clean the meters after use in the field to maintain
optimal performance and extend the life of the unit.
2 Unwind the tape and probe and wash with a mild detergent.Rinse
well, wipe and rewind onto the reel.The tape and probe can be
cleaned and degreased with the following: soap solution, naptha
alcanox 10%, Joy detergent 10%, Lestoil; methyl, isopropyl and
isobutyl alcohols;hexane, heptane and fully halogenated freon.
Rinse thoroughly with water afterwards.
Reel Lock
To unlock the reel turn
the plastic lock handle
in the direction shown
until it touches the frame.
To Test Entire
System
Hold the centre pin on
the probe against the
stud on the back of the
axle at the same time
touch the probe body
against the screw on
the frame.The buzzer
will sound if the system
is ok. Make sure unit
is on.
Water Level Meter Instructions
*Important: Ensure that the Panel Securing Nuts are tight before use.
dipper-T, little dipper, potable water meter, SKINNY DIPPER
WATER TAPE
Battery Box
ON/TEST Button
Signal LED
Signal Buzzer NOTE: WATERTAPE does not
have a sensitivity control.
Battery Box
Sensitivity Knob
for Cascading Water
Signal LED
Signal Buzzer
Test Button Only
IMPORTANT
This is not an ON/OFF switch

This manual suits for next models

4

Other HERON Measuring Instrument manuals

HERON dipper-T Manual

HERON

HERON dipper-T Manual

HERON LongLiner 4000 Series User manual

HERON

HERON LongLiner 4000 Series User manual

HERON H.0IL Manual

HERON

HERON H.0IL Manual

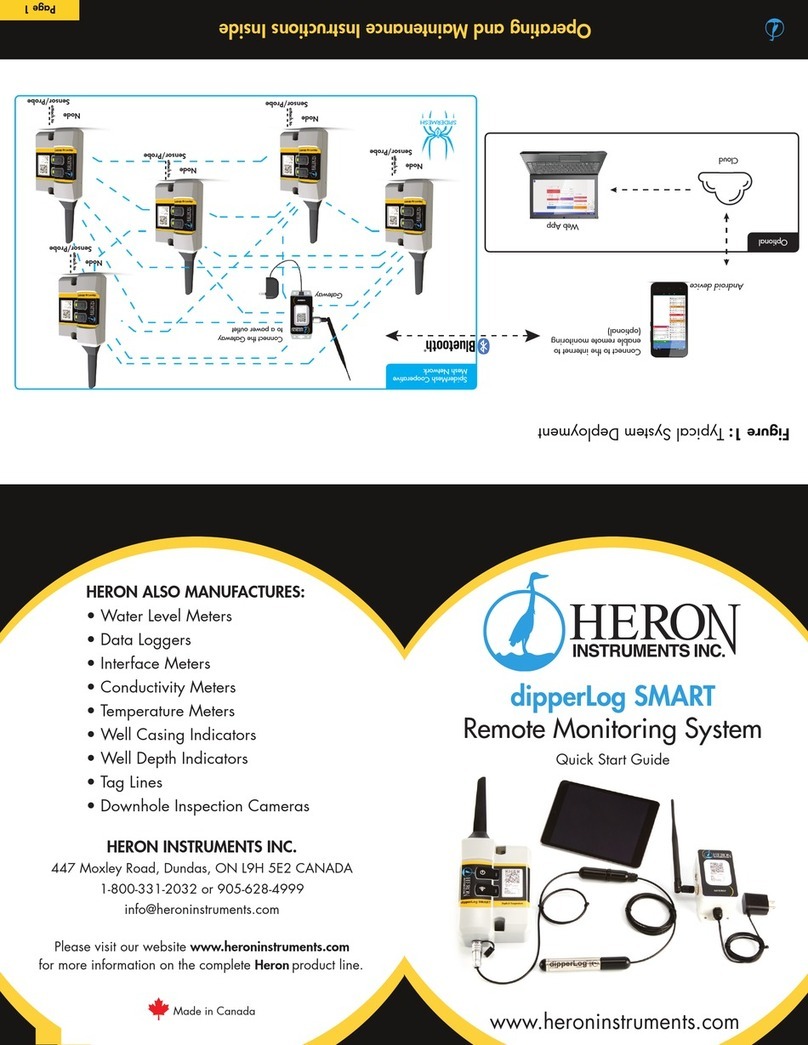
HERON dipperLog SMART User manual

HERON

HERON dipperLog SMART User manual

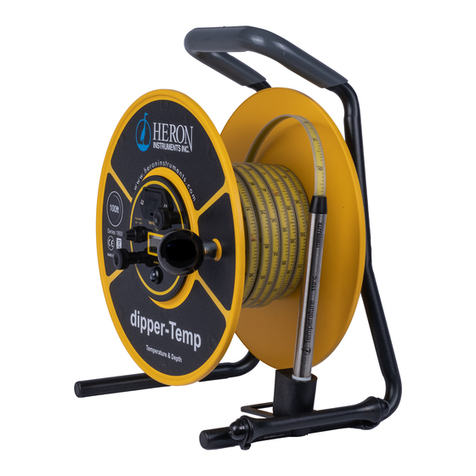
HERON dipper-Temp Manual

HERON

HERON dipper-Temp Manual

HERON dipper-T Installation and operation manual

HERON

HERON dipper-T Installation and operation manual

Popular Measuring Instrument manuals by other brands

Rion VM-63A instruction manual

Rion

Rion VM-63A instruction manual

Getein Biotech Getein1100 user manual

Getein Biotech

Getein Biotech Getein1100 user manual

Measurement Computing CIO-DAS6402/12 manual

Measurement Computing

Measurement Computing CIO-DAS6402/12 manual

ABB 10D1475 instruction manual

ABB

ABB 10D1475 instruction manual

National Instruments PXIe-4136 Getting started guide

National Instruments

National Instruments PXIe-4136 Getting started guide

Raven SmartYield Pro installation manual

Raven

Raven SmartYield Pro installation manual

WIKA TC84 operating instructions

WIKA

WIKA TC84 operating instructions

Airsafe PAPI-300 Operation manual

Airsafe

Airsafe PAPI-300 Operation manual

Extech Instruments lcr200 user guide

Extech Instruments

Extech Instruments lcr200 user guide

Bms Bulut Makina TKM-459 Operational manual

Bms Bulut Makina

Bms Bulut Makina TKM-459 Operational manual

Toro Turf Guard Installation setup manual

Toro

Toro Turf Guard Installation setup manual

Veeder-Root TLS2 Serial Interface Manual

Veeder-Root

Veeder-Root TLS2 Serial Interface Manual

Omega SP-005 user guide

Omega

Omega SP-005 user guide

Kestrel 5400 user guide

Kestrel

Kestrel 5400 user guide

Brolight BIM-7001 user manual

Brolight

Brolight BIM-7001 user manual

LaMotte WaterLink SpinTouch 3580-AU manual

LaMotte

LaMotte WaterLink SpinTouch 3580-AU manual

ion science GasCheck 3000 user manual

ion science

ion science GasCheck 3000 user manual

Emerson Rosemount 1057 instruction manual

Emerson

Emerson Rosemount 1057 instruction manual

manuals.online logo
manuals.online logoBrands
  • About & Mission
  • Contact us
  • Privacy Policy
  • Terms and Conditions

Copyright 2025 Manuals.Online. All Rights Reserved.