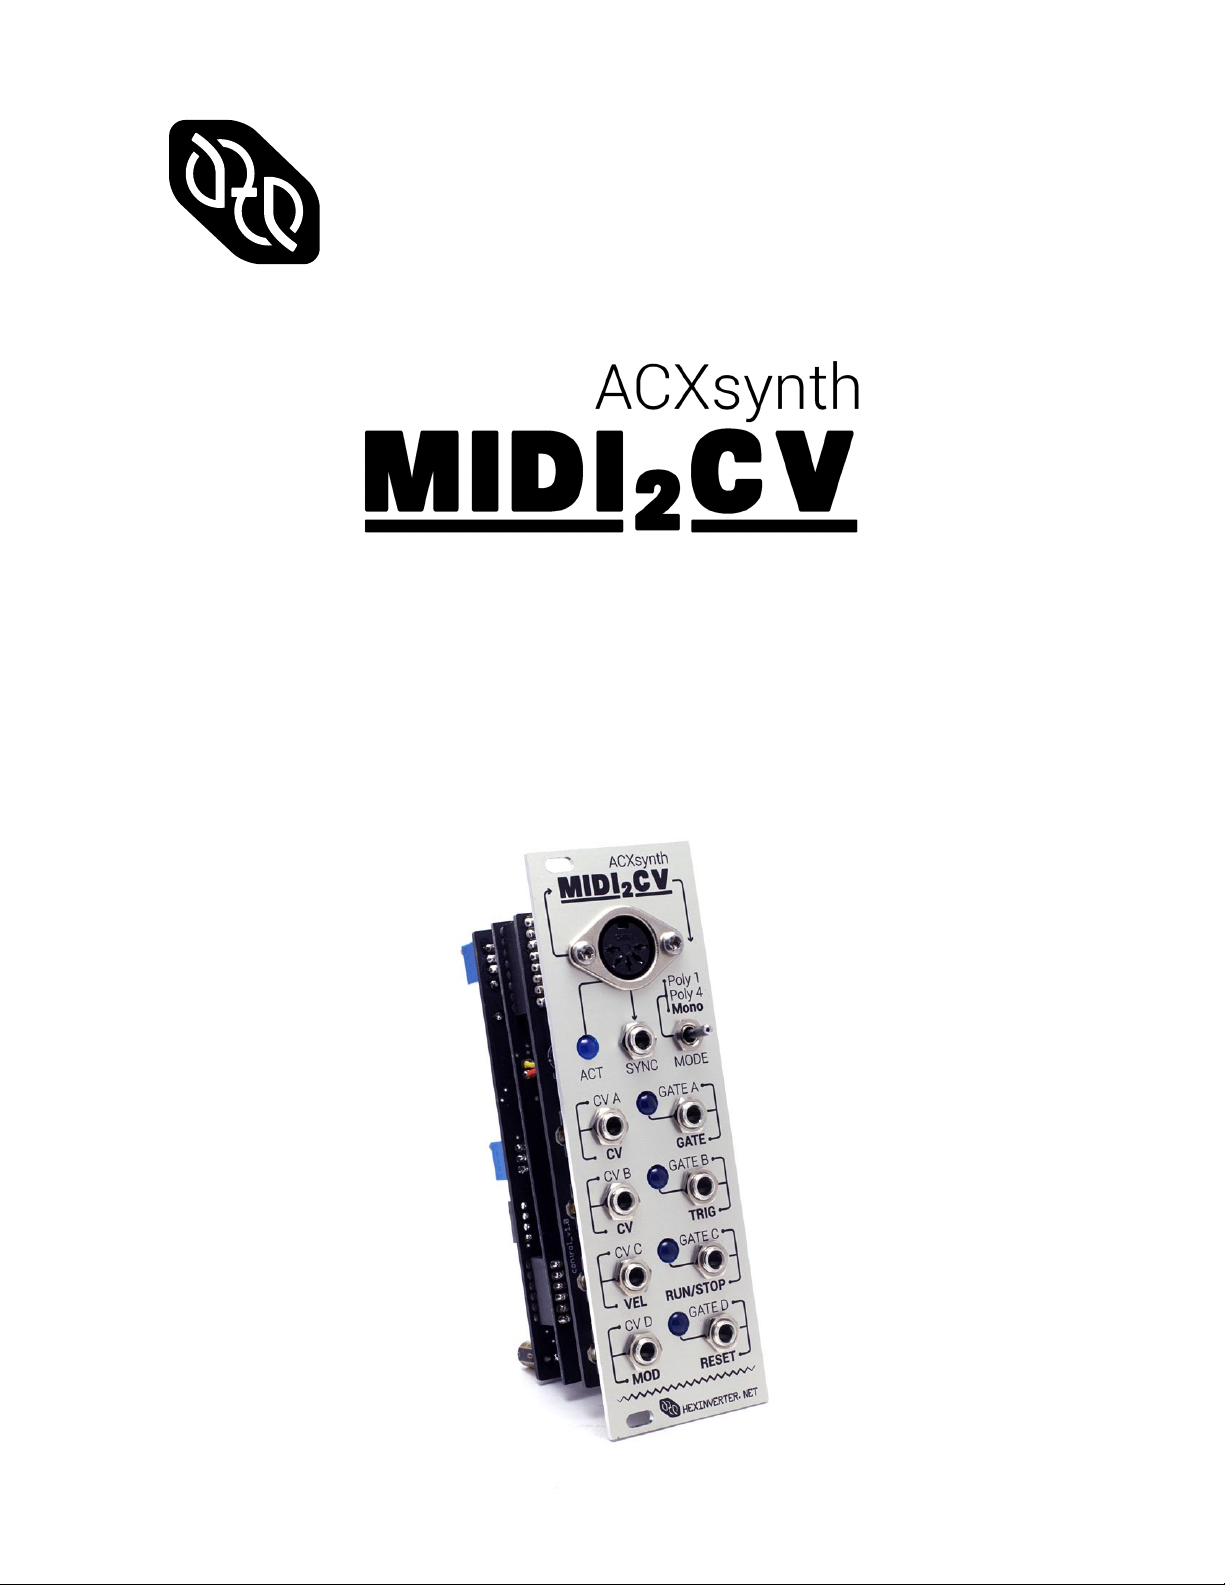
hexinverter ACXsynth MIDI2CV User manual
HEXINVERTER.NET
presents:
DIY MIDI to CV/Gate Interface
USER/SETUP MANUAL v1.0
Firmware v4.0

Introduction
The ACXsynth MIDI2CV is a DIY (“do it yourself”) MIDI to CV/Gate converter for analogue modular
synthesis. This project was born out of the need for an accurate and readily available eurorack DIY
MIDI-CV project. As a user of modulars myself, I struggled during my DIY modular system’s infancy
to find a MIDI-CV interface I could build myself. The only solutions were too expensive, did not fit my
needs or were out of reach at the time.
Rather than develop and code a module from scratch myself to solve the problem, I knew about Alain
Coupel of ACXsynth’s great PIC microcontroller projects for synthDIY hosted on his site ( acxsynth.
com ), so, I asked him if I have his good graces to make a eurorack-centric DIY module out of his
great design. His designs are presented in a mostly open-source 5U format design philosophy, so,
unfortunately the design did not fit into eurorack without a redesign of the hardware.
When I first began this project in January 2013 or so, I did not expect for it to take shape the way it
did. A number of bugs in the firmware were unearthed by people on the forums in which the project’s
development were publicised. Me and Alain communicated through many weeks of long-distance
email tag and worked through much bug-fixing before finally arriving at the v4.0 firmware which you
now see present in this hardware design.
This new firmware adds a number of features and tweaks not present in the older open-source
version on Alain’s site. Do not try to layout your own panel from the panels on his site (or
Re:Synthesis’ for that matter.) The aforementioned panels are for older versions of the firmware and
will not work with this hardware design.
Please use the 8HP eurorack and eventually 4U dotNET format panel renders present on the
hexinverter.net project page as reference when laying out your own panel for this project!
While Alain and myself strived for perfection with the firmware and eradicating all of the code
bugs, one bug remains which much problem solving on Alain’s part could not rid of. We have ruled
it out as a shortcoming of the rather modestly specced microcontroller used in the design. If you
are considering this module I urge you to read about this bug and determine if it’s a problem for you
before purchasing:
In Monophonic mode (only), if you bang a whole bunch of keys at once, the module will sometimes
get the GATE output stuck open for a few keystrokes. Seeing as how this occasional error is
Monophonic mode, this shouldn’t be a problem for most users since you play one or two keys at
once only in Monophonic operation, but, if it is a problem for you I strongly encourage you to abstain
from building one of these as it is a problem that cannot be solved without deleting other features
(to free up processing power).
The beta testers agreed that it is not a huge issue, but you may feel differently, which is why I am
telling you. With regular playstyles, it should not be an issue. I can only get it to happen when I’m
trying to make it happen. The beta testers and myself could not replicate the issue during normal
play.
I wish that the firmware was 100% perfect in every way, sadly the little PIC microcontroller isn’t
quite up to doing everything it does do in Monophonic mode with absolute perfection.

Features and Specifications
Technical Specifications
• 8HP eurorack format DIY module
• Requires eurorack standard +/-12V supply
• Stacking board design makes for super slim module
• 55mm depth
Features
• 12bit DACs with Intersil tunable opamps mean great CV accuracy (many commercial MIDI-CVs
have only 8bit DACs)
• 4x CV/Gate outputs allow for 4-note polyphony
• Monophonic mode features full control of one voice (mod, pitch wheel, etc.) as well as full
sequencer controls (stop, run, reset)
• Sync output emits sync pulses when MIDI clock is received
• MIDI channel autolearn at startup means no pesky configuration and very simple hardware

Detailed Feature and Control Descriptions
Mode Select Switch
MIDI2CV has three different main modes of operation. I will do my best to explain them here. The
pitch wheel is active in all modes, but, the mod wheel only functions in Monophonic mode.
Polyphonic 1 Channel (position = UP): In this mode of operation it is possible to play up to 4 notes of
polyphony. The first is sent to CV/Gate output 1, the second to CV/Gate output 2, and so on.
Polyphonic 4 Channel (position = CENTRE): Each CV/Gate output is a different channel. The MIDI
channel auto-learned at startup is output 1, then, the following three outputs are increments of one
channel up from that. For example, if the first channel is 3, the next channels will be: 4, 5, 6.
Monophonic (position = DOWN): The module operates in full single note mode. While only one note of
polyphony is achieved, this mode allows for full control of one synthesizer voice over MIDI: velocity,
mod wheel and trigger. Additional run/stop/reset outputs allow for control of an analogue sequencer
on top of the single full voice. The note-handling mode in Monophonic is legato. This means the
GATE output only starts a new gate when all previous notes have been released.
SYNC Output
This jack outputs an analogue version of the MIDI clock in the digital data stream. It is 24ppqn and
can be divided down for use driving sequencers and the like. It can be used alongside the run/stop

and reset outputs to control a sequencer while playing in Monophonic mode.
ACT Indicator
This LED is a status indicator for the module. It is lit when the module is first initialised and has yet
to detect a MIDI channel. When MIDI clock is being received, it blinks along with the beat which is
emitted at the SYNC output.
NOTE: The following 5 outputs are only present in Monophonic mode. In all other
modes they are CV/Gate outputs for the respective notes/voices...
VEL Output
This jack outputs an analogue control voltage based on the velocity of the struck note. Use it to
control filter cutoff, VCA volume, whatever you like!
MOD Output
This output produces an analogue control voltage based on the position of the mod wheel on the
input MIDI keyboard/controller.
TRIG Output
This jack outputs a short trigger pulse every time a note is struck, regardless of whether or not it
is actually a new note. You can use this output to retrigger envelopes to get staccato style playing
rather than the legato style note handling offered by the GATE output in Monphonic mode.
RUN/STOP Output
Use this digital output to start and stop a sequencer from a MIDI sync source. RUN = high, STOP =
low.
RESET Output
Use this digital output to reset a sequencer from a MIDI sync source. This output is active high
(RESET = high)

Tuning Your ACXsynth MIDI2CV
In order to achieve accurate CV conversion, it is necessary to tune your MIDI2CV module once you are
finished building it. In order to accurately tune the module, you will need a decent multimeter. A $10
multimeter will not yield perfectly accurate results. Spend $100 on a decent quality meter and you
will be very happy you did (not just for this project, but for others as well).
Tuning the module is quite easy. Just follow these steps:
1.) Plug the module into your system, turn it on and let it warm up for 30 minutes.
2.) Make sure the module is in MIDI learn mode by quickly resetting the power to your system. Don’t
press any keys on your MIDI controller yet or send any SYNC data to the module via MIDI.
3.) Plug your multimeter into each CV output and tune the OPAMP TUNING trim potentiometer for
the CV output you are tuning so that the respective CV output reads as close to 0.000V as possible. If
you cannot get to 0.000V, it’s probably because you did not listen to me and used CA3140AEZ opamps
instead of CA3140EZ like I said to use in the Bill of Materials!
4.) Now, plug in your MIDI keyboard and tune the CV outputs for V/oct scaling. Plug a CV output into a
VCO in your system and either:
Read the frequency of the VCO and adjust for v/oct
or
Read the voltage out of the CV output of the MIDI2CV module and adjust for v/oct.
I like the second method, myself.
Whatever method you choose, you tune the CV output by stepping up and down octaves on your
keyboard and verifying that the voltage/frequency has doubled each octave you step up.
Whichever method works best for you is the one you should use!
Your MIDI2CV is now setup and ready to use!
Table of contents
Other hexinverter Recording Equipment manuals

Popular Recording Equipment manuals by other brands

Alesis
Alesis MICROVERB 4 Reference manual

Eaton
Eaton C445UM Series Instruction leaflet

Ultra electronics
Ultra electronics HYPERSPIKE HS-18 RAHD Operation and maintenance manual

Evco
Evco Vcolor O quick start guide

Siemens
Siemens WEBUI quick guide

California AUDIO LABS
California AUDIO LABS CL-2500 SSP user guide


