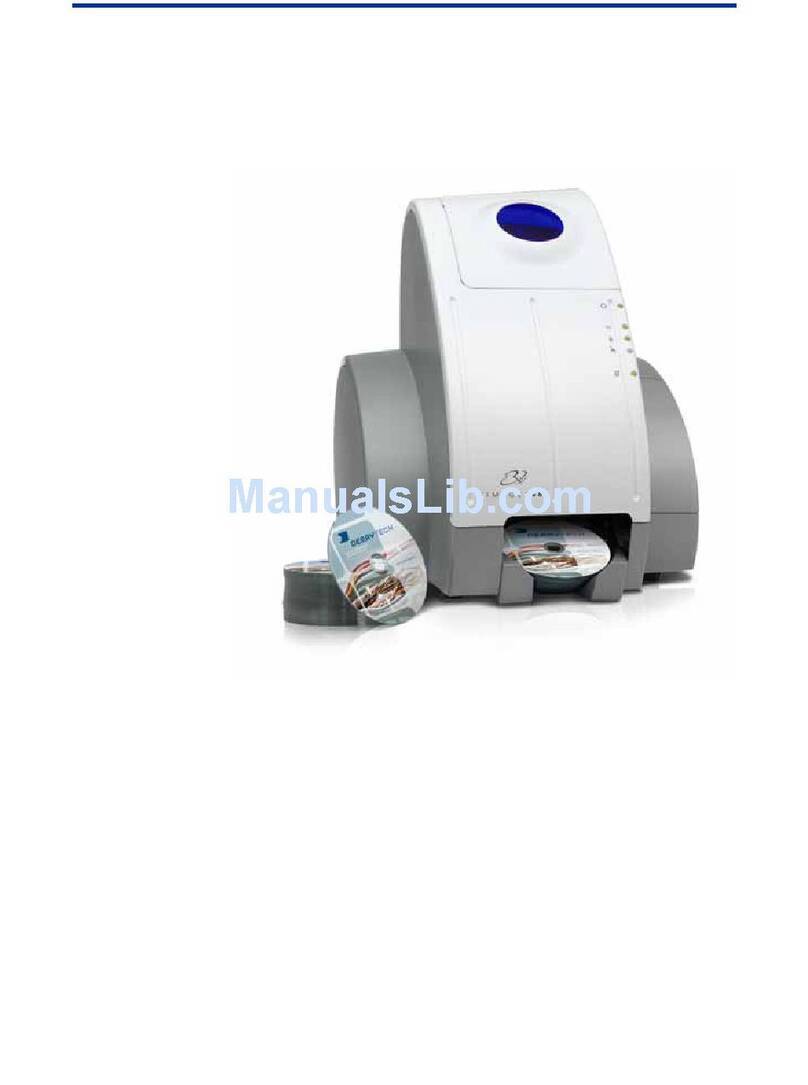
Hi-Touch Imaging Technologies S400 User manual

Photo Printer
L300/S300/S400
User Manual
E
ENGLISH

Check the Package Content
Before using HiTi photo printer, please check the printer package content for the following items:
HiTi Photo Printer x 1
LCD Controller x 1 (only standard on S series photo printers)
Power Cord x 1
USB Cable x 1 (for the connection between the photo printer and the computer)
Paper Cassette x 1
Printer User Manual
PhotoDesiree Deluxe User Manual
HiTi Bag x 1 (including following items…)
Quick Guide x 1
Notice Sheet x 1
Warranty Card x 1
Master CD x1 (Includes the driver and PhotoDesiree Deluxe)
* The package content varies according to different areas.

Table of Content
Get To Know HiTi Photo Printer
LCD controller
Front view
Rear view
Installing Your HiTi Photo Printer
Installing the LCD controller
Installing ribbon cartridge
Loading dedicated photo papers
Powering up the printer
Functional Instruction
Home Menu Introduction
PHOTO
COLLAGE
INDEX
STICKER
SETUP
IMAGE DEVICE
Printing Photos Without a PC
Distinguishing type of memory card
Insert memory card
Standalone printing
Special Function
I2O
Matte
Date print
Signature
Language
Print position
Color setting
LCD adjustment
Wallpaper and Color theme
Signature
Sepia and Border
ColorWizard
Image device
Advanced image editing
Cleaning mode
PC-Link Printing
Installing printer driver
Connecting to a computer
Troubleshooting
Indicator blinking
Others
Specification
Optional consumables and accessories

Contact Us
Online support
Global sites

Get To Know HiTi Photo Printer
To ensure proper printer operation, please read the following instructions thoroughly before using the photo printer.
LCD controller
1. LCD panel
2. I2O ON/OFF
3. Matte ON/OFF
4. Date Print ON/OFF
5. Signature ON/OFF
6. [ESC]
7. [OK]
8. Directional button
9. [EDIT]
10. [HOME]
11. [PRINT]
Front
1. Ribbon Door Button
2. Ribbon Door
3. Indicator
4. MMC/SD/SM/MS Memory Card Slot
5. CF I/CF II Memory Card Slot
6. USB Host Slot
7. Paper Cassette Door
Rear
1. Hatchback
2. Heat Ventilation
3. Power Switch
4. Power Cord Socket
5. Controller Socket
6. USB Port

Installing Your HiTi Photo Printer
Please follow the instructions below to install your photo printer.
Installing the LCD controller
Connect the LCD controller to the photo printer
* Please connect the controller to the printer by matching the shapes of the connector to the socket
before insertion.
LCD controller installation is complete.

Installing Your HiTi Photo Printer
Please follow the instructions below to install your photo printer.
Installing ribbon cartridge: For more information about ribbon cartridge installation, please refer to the
instruction marked outside the packing for detail.
Push the ribbon door button to open the ribbon door.
Install the ribbon cartridge inserting the left (indicated by the arrow) side of the
ribbon first followed by the right side.
The ribbon has to be installed in the printer properly.
Close the ribbon door to complete the ribbon installation.

Installing Your HiTi Photo Printer
Please follow the instructions below to install your photo printer.
Loading dedicated photo papers
Follow the demonstration to correctly remove photo papers from the packaging.
Open the paper cassette cover.
Load photo papers into the paper cassette and then close the cover.
Open the paper cassette door on the printer and insert the paper cassette.
►For information on the other compatible consumable products, please refer to the Optional Consumables and
Accessories for detail.
►Please hold the side of photo paper and avoid touching the surface when taking them out from the packing.

Installing Your HiTi Photo Printer
Please follow the instructions below to install your photo printer.
Powering up the printer
Plug the power cord into the power cord socket at the back of the printer.
Turn on the power.

Functional Instruction
This instruction will help you to comprehend the photo printer.
Home Menu Introduction
①Image source from SD/SM/MMC/MS/MS Pro memory card
②Image source from CF I/CF II/Microdrive memory card
③Image source from USB host slot
④Quick Print
⑤Border ON/OFF
⑥Sepia ON/OFF
⑦Printing control by HiTi photo printer
⑧Printing control by DSC
⑨Mode: ‘Landscape’
⑩Mode: ‘Portrait’
⑪Functional Menu
►The selected image source will be shown in red color as in ( )
►QUICK: Applying this function will directly bring you to the image preview screen, prompting you to select an image
and print.

Functional Instruction
This instruction will help you to comprehend the photo printer.
PHOTO
Enter MENU and use the directional button ( ) to select PHOTO. Then,
press [OK] to continue.
Image preview screen: Select an image and press [OK] to continue or press
[EDIT] to use the advanced image editing functions.
After selecting the image, please press [OK] to process. Default value of
printing quantity is one copy. You can use the directional button to change the
quantity and then press [OK] to save the setting.
Press [PRINT] to begin the printing process.
The photo printer is processing your digital images.
►For more information regarding to the imaging processing, please refer to Advanced image editing.

Functional Instruction
This instruction will help you to comprehend the photo printer.
COLLAGE
Enter MENU and use the directional button ( ) to select COLLAGE. Then,
press [OK] to continue.
The photo printer will remind you that the COLLAGE function is applicable on
photo paper or 1 x 1 sticker only. Please press [OK] to continue.
Select a collage format and press [OK] to continue.
Select a column for loading the image and press [OK] to continue.
Select an image and press [OK] to continue to the advanced image editing.

As to the image processing, please refer to Special Function for detail.
After image editing is complete, the image will be loaded into the column
previously selected.
Repeat the above steps until all columns are loaded with images. After all
columns are loaded with images, you can use the directional button to change
the quantity of the printout. Meanwhile, the printing indicator will regularly flash
blue, meaning the printer is ready to print.
The photo printer is processing your digital images.
►Collage printing can be applied only on the photo paper or 1 x 1 sticker exclusively provided by Hi-Touch Imaging
Technologies.
►If you would like to re-load the image, please use directional button to choose the replacement image and press [OK]
for re-loading.
►While loading images, you can use the directional button to decide the types of image loading: cell by cell, load to
column, or load to all.

Functional Instruction
This instruction will help you to comprehend the photo printer.
INDEX
Enter MENU and use the directional button ( ) to select INDEX. Then, press
[OK] to continue.
Select an index format and press [OK] to continue.
5 x 4: It means that 5 images will be placed in the column A, and 4 images will
be placed in the row B. A total of 20 images can be placed in this index.
The printer will capture all images from the selected image device and
automatically calculate the number of prints in light of the index format you
choose. Please press [PRINT] to start printing.
:Images
:Copies
►All digital images can be printed in sequence from the image device you set to be used.
►The index printing sequence on the photo printer may be different from it of your digital camera.

Functional Instruction
This instruction will help you to comprehend the photo printer.
STICKER
Enter MENU and use the directional button ( ) to select STICKER. Then,
press [OK] to continue.
Select a sticker layout and press [OK] to continue.
Select a column for loading images and press [OK] to continue. You can use the
directional button to select different loading methods.
Select an image for loading and then press [OK] to continue to the advanced
image editing.
After all image editing activities are finished, previously selected images before
will be loaded into the column.

Repeat above steps until all columns are loaded with images. After all columns
are loaded with images, you can use the directional button to change the
quantity of the printout. Meanwhile, the printing indicator will regularly flash
blue, meaning the printer is ready to print.
The photo printer is processing your digital images.
►Three different types of stickers are provided by Hi-Touch Imaging Technologies: 1x1, 4/2/4, and 4x4 stickers.
►If you would like to re-load the image, please use directional button to choose the replacement image and press [OK]
for re-loading.

Functional Instruction
This instruction will help you to comprehend the photo printer.
PRINT ALL
Enter MENU and use the directional button ( ) to select PRINT ALL. Then,
press [OK] to continue.
The photo printer will read all images from the image device you choose. Now
you can press [PRINT] to start printing.

Functional Instruction
This instruction will help you to comprehend the photo printer.
SETUP
Enter MENU and use the directional button ( ) to select SETUP. Then, press
[OK] to continue.
Language: Please refer to Language from the Special Function.
Printer setting: Please refer to Print position, Color setting, Advanced image
editing, Border, and Sepia from the Special Function.
Display setting: Please refer to LCD adjustment and Wallpaper and Color
theme from the Special Function.
LinkPrint: HiTi S series photo printer supports printing from using the LCD
controller ( ) or a digital camera ( ). Use the directional button to set
printing control by LCD controller or by digital camera.

Signature: Please refer to Signature from the Special Function.
Cleaning mode: Please refer to Cleaning mode from the Special Function.
About: Firmware version, controller version, and version of the color table.
►If you would like to use a digital camera to print, be sure that your digital camera supports PictBridge. For more
information about PictBridge, please refer to your digital camera user manual.
►The meaning of printing control ( ) by digital camera is the same as .

Functional Instruction
This instruction will help you to comprehend the photo printer.
IMAGE DEVICE
Regarding the selection of image device, please refer to the IMAGE DEVICE
from the Special Function.
►When two memory cards are inserted to memory card slots at the same time, you can utilize this function to decide
which memory card slot will be used as the source of images.
Other manuals for S400
1
This manual suits for next models
2
Table of contents
Other Hi-Touch Imaging Technologies Printer manuals
Hi-Touch Imaging Technologies
Hi-Touch Imaging Technologies CS-300 User manual

Hi-Touch Imaging Technologies
Hi-Touch Imaging Technologies BS-iD400 User manual
Hi-Touch Imaging Technologies
Hi-Touch Imaging Technologies 630PL/PS User manual

Hi-Touch Imaging Technologies
Hi-Touch Imaging Technologies CS-310 User manual
Hi-Touch Imaging Technologies
Hi-Touch Imaging Technologies 63xPL/PS User manual
Hi-Touch Imaging Technologies
Hi-Touch Imaging Technologies 630PL User manual
Hi-Touch Imaging Technologies
Hi-Touch Imaging Technologies Mug Heat Press Kit User manual
