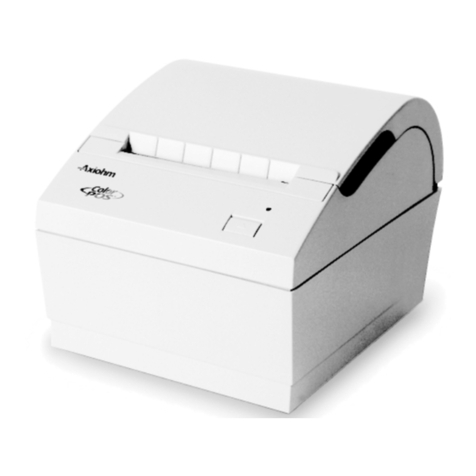
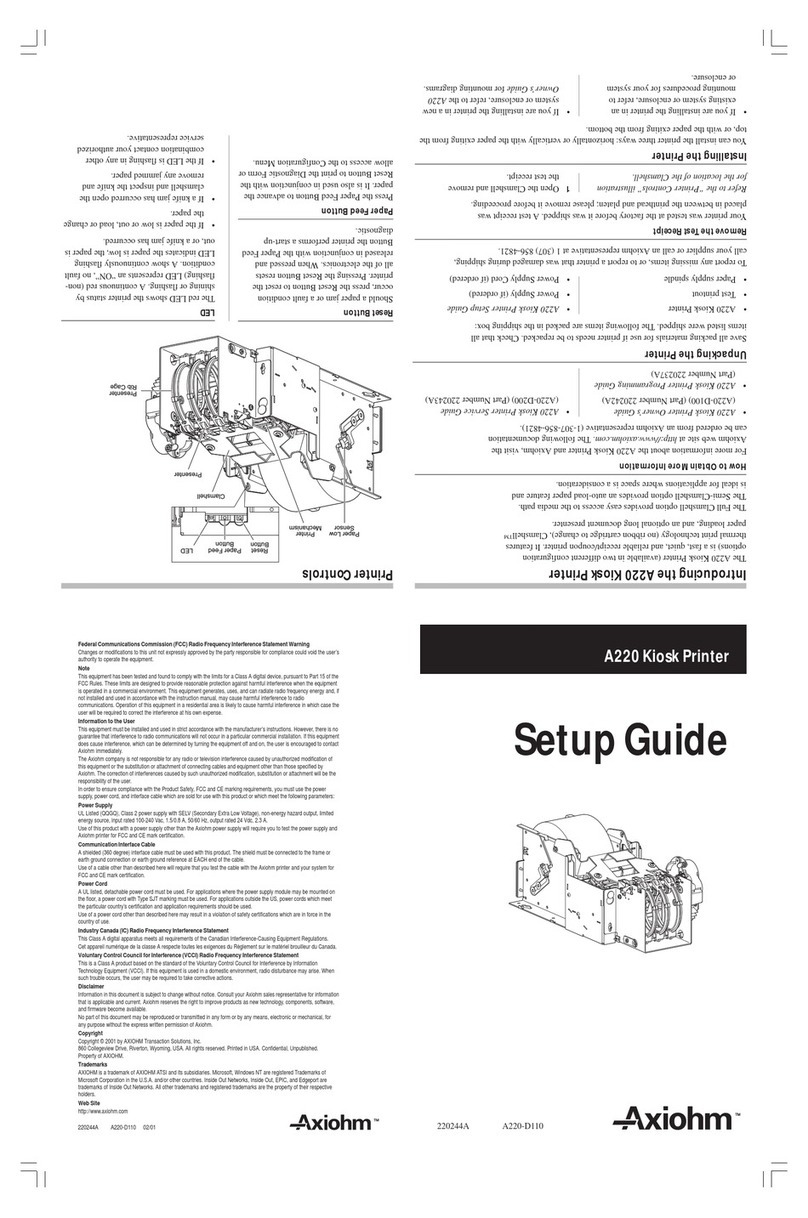
Axiohm A795 User manual

Van mechelen bvba
Patersstraat 106-108 2300 turnhout
Gasthuisstraat 21 2440 geel
Kempen antwerpen noorderkempen limburg
014/41.12.08 014/42.55.99 014/59.26.95
www.vanmechelen.be
be0415638961 145.638.961
dexia 068-2221350-77
hrt41.156
kantoormachines – kantoormaterialen kassa weegschaal horeca systemen
VLIMMEREN(BEERSE) WECHELDERZANDE
ZOERSEL BRECHT MERKSEM LOENHOUT WUSTWEZEL EKEREN(ANTWERPEN) HERENTALS MORKHOVEN NOORDERWIJK
PULDERBOS PULLE OLEN OEVEL TONGERLO(ANTW) WESTERLO ZOERLE-PARWIJS HERENTHOUT GIERLE LILLE
POEDERLEE WECHELDERZANDE GROBBENDONK VORSELAAR TURNHOUT RIJKEVORSEL HOOGSTRATEN MEER
MINDERHOUT WORTEL MEERLE MERKSPLAS BAARLE-HERTOC BEERSE VLIMMEREN VOSSELAAR OUD—TURNHOUT
ARENDONK RAVELS WEELDE POPPEL BAARLE-HERTOG MALLE OOSTMALLE WESTMALLE POPPEL(RAVELS) MOL
HERENTALS LILLE POEDERLEE(LILLE) HERENTALS(NOORDERWIJK) EINDHOUT LAAKDAL VORST(KEMPEN) LAAKDAL
VARENDONK VEERLE GEEL MEERHOUT GIERLE(LILLE) KASTERLEE ICHTAART TIELEN RETIE DESSEL BALEN
OLMEN KALMTHOUT BRASSCHAAT HOEVENEN STABROEK BRECHT SINT-JOB-IN-’T-GOOR SINT-LENAERTS
HALLE(KEMPEN) HALLE(KEMPEN) ZOERSEL LOENHOUT WUUSTWEZEL OVERPELT NEERPELT SINT-HUIBRECHT-LILLE
LOMMEL ACHEL HAMONT HAMONT-ACHEL HECHTEL EKSEL HAM KWAADMECHELEN OOSTHout BOCHOLT KAULILLE
REPPEL BEEK BREE GERDINGEN OPITTER TONGERLO(LIMB) LEOPOLDSBURC HEPPEN TESSENDERLO CROTE-BROGEL
KLEINE-BROGEL PEER WIJCHMAAL LAAKDAL LAAKDAL
A795-D100
UserGuide
A795Two-ColorThermalReceiptPrinter
TM
VAN MECHELEN
KANTOORMACHINES – KANTOORMATERIALEN
TURNHOUT –GEEL www.vanmechelen.be
BTW BE 0415.638.961
Rek: 230-0026460-96
info@vanmechelen.be
www.vanmechelen.be
Patersstraat 106-108
2300 Turnhout
Tel:014/42.55.99
Fax: 014/42.32.64

Federal Communications Commission (FCC) Radio Frequency Interference Statement Warning
Changes or modifications to this unit not expressly approved by the party responsible for compliance could void the user’s authority to
operatetheequipment.
Note
This equipment has been tested and found to comply with the limits for a Class A digital device, pursuant to Part 15 of the FCC Rules.
These limits are designed to provide reasonable protection against harmful interference when the equipment is operated in a commercial
environment. This equipment generates, uses, and can radiate radio frequency energy and, if not installed and used in accordance with
the instruction manual, may cause harmful interference to radio communications. Operation of this equipment in a residential area is
likely to cause harmful interference in which case the user will be required to correct the interference at his own expense.
Information to the User
This equipment must be installed and used in strict accordance with the manufacturer’s instructions. However, there is no guarantee that
interference to radio communications will not occur in a particular commercial installation. If this equipment does cause interference,
which can be determined by turning the equipment off and on, the user is encouraged to contact Axiohm immediately.
The Axiohm company is not responsible for any radio or television interference caused by unauthorized modification of this equipment or
the substitution or attachment of connecting cables and equipment other than those specified by Axiohm. The correction of interferences
caused by such unauthorized modification, substitution or attachment will be the responsibility of
theuser.
In order to ensure compliance with the Product Safety, FCC and CE marking requirements, you must use the power supply,
power cord, and interface cable which are sold for use with this product or which meet the following parameters:
Power Supply
UL Listed (QQGQ), Class 2 power supply with SELV (Secondary Extra Low Voltage), non-energy hazard output, limited energy source,
input rated 100-240 Vac, 1.5/0.8 A, 50/60 Hz, output rated 24 Vdc, 2.3 A.
Use of this product with a power supply other than the Axiohm power supply will require you to test the power supply and Axiohm printer
for FCC and CE mark certification.
Communication Interface Cable
A shielded (360 degree) interface cable must be used with this product. The shield must be connected to the frame or earth ground
connection or earth ground reference at EACH end of the cable.
Use of a cable other than described here will require that you test the cable with the Axiohm printer and your system for FCC
and CE mark certification.
Power Cord
A UL listed, detachable power cord must be used. For applications where the power supply module may be mounted on the floor, a
power cord with Type SJT marking must be used. For applications outside the US, power cords which meet the particular country’s
certificationandapplication requirements should be used.
Use of a power cord other than described here may result in a violation of safety certifications which are in force in the country
ofuse.
Industry Canada (IC) Radio Frequency Interference Statement
ThisClass A digital apparatus meets all requirements ofthe Canadian Interference-Causing Equipment Regulations.
Cet appareil numérique de la classe A respecte toutes les exigences du Règlement sur le matériel brouilleur du Canada.
Voluntary Control Council for Interference (VCCI) Radio Frequency Interference Statement
This is a Class A product based on the standard of the Voluntary Control Council for Interference by Information Technology Equipment
(VCCI). If this equipment is used in a domestic environment, radio disturbance may arise. When such trouble occurs, the user may be
required to take corrective actions.
Disclaimer
Information in this document is subject to change without notice. Consult your Axiohm sales representative for information that is
applicable and current. Axiohm reserves the right to improve products as new technology, components, software, and firmware become
available.
No part of this document may be reproduced or transmitted in any form or by any means, electronic or mechanical, for any purpose
without the express written permission of Axiohm.
Copyright
Copyright © 2001 by AXIOHM
950 Danby Road, Ithaca, New York 14850, USA. All rights reserved. Printed in USA. Confidential, Unpublished. Property of AXIOHM.
Trademarks
AXIOHM™ and ColorPOS™ are trademarks of AXIOHM ATSI and its subsidiaries.
Microsoft, Windows NT are registered Trademarks of Microsoft Corporation in the U.S.A. and/or other countries.
Inside Out Networks, Inside Out, EPIC, and Edgeport are trademarks of Inside Out Networks.
All other trademarks and registered trademarks are the property of their respective holders.
Patents
Patentspending.
Web Site
http://www.axiohm.com
A795Two-ColorThermal Receipt Printer:User Guide
Contents 3
Contents
Chapter 1:About this Guide ..................................................................................5
How to use this guide ............................................................................................5
Whereto find advanced technical information ..............................................5
Downloadmanuals .............................................................................................5
Support ..........................................................................................................................5
Chapter 2:About the Printer .................................................................................7
Description of printer ............................................................................................7
Printer controls .........................................................................................................8
Available printer configurations ......................................................................9
Printerconfigurationidentification .....................................................................9
Communicationinterfaces .....................................................................................9
Standard Features ................................................................................................ 10
Factory-installed options.................................................................................. 10
Add-onoptions ...................................................................................................... 11
Printing features ................................................................................................... 11
Chapter 3:Setting up the Printer ..................................................................... 13
Unpack the printer ............................................................................................... 13
Checkthe packing list............................................................................................ 13
Load or change the receipt paper..................................................................... 14
Choose a location ................................................................................................. 16
Sittingonahorizontalsurface ........................................................................... 16
Mountedon averticalsurface(using optionalkitA795-K260) ............. 17
Mounting the 55 watt power supply on a vertical surface
(usingoptional kitA795-K309)........................................................................... 18
Connect the cables............................................................................................... 19
Cashdrawer cables ................................................................................................. 19
RS-232C cable (9-pin and 25-pin)................................................................ 20
Communicationcables.......................................................................................... 21
USBcable.............................................................................................................. 21
Powersupply cable................................................................................................. 22
Cablerouting ............................................................................................................ 22
Test the printer....................................................................................................... 23

A795Two-ColorThermal Receipt Printer:User Guide
Contents
4
Chapter 4:Using the Printer ............................................................................... 25
Configuringtheprinter...................................................................................... 25
To startthe test: ................................................................................................. 26
Print density and density of receipt print lines
(for monochromepapers only) ...................................................................... 28
When to change the receipt paper............................................................... 28
Preventing overheating of the printhead ................................................ 29
Troubleshooting the printer............................................................................ 30
Printer tone and green LED ................................................................................. 30
Printingissues........................................................................................................... 31
Printer does not function ..................................................................................... 32
Chapter 5:Paper and Supplies .......................................................................... 33
Ordering from Axiohm....................................................................................... 33
Ordering thermal paper .................................................................................... 33
Thermalpaperspecifications.............................................................................. 33
Manufacturers .......................................................................................................... 34
Ordering miscellaneous supplies ................................................................. 35
Cashdrawers............................................................................................................. 35
Powersupply andpower cords.......................................................................... 35
Communicationcables.......................................................................................... 36
Wall-mountkits ........................................................................................................ 36
Documentation........................................................................................................ 36
AppendixA:
USB Driver Installation.......................................................................................... 37
USB and the host system................................................................................... 37
TheEdgeportutility:the AxiohmUSB solution ........................................... 37
Checking for USB support on the host computer....................................... 37
Installing the USB printer driver ................................................................... 38
Download the driver .............................................................................................. 38
Install the driver ....................................................................................................... 38
Checktheinstallation ............................................................................................ 39
Configuringserial port number assignments ........................................ 40
Serial portconfiguration methods ................................................................... 40
Using the Edgeport utility.................................................................................... 40
Startingthe Edgeportutility ......................................................................... 40
Serial port assignment in the Edgeportutility....................................... 40
Uninstalling the drivers ......................................................................................... 41
USB driver installation troubleshooting................................................... 42
BTW BE 0415.638.961
Rek: 230-0026460-96
info@vanmechelen.be
www.vanmechelen.be
Patersstraat 106-108
2300 Turnhout
Tel:014/42.55.99
Fax: 014/42.32.64

A795Two-ColorThermal Receipt Printer:User Guide
Chapter 1:About this Guide 5
Chapter1:AboutthisGuide
Howtousethisguide
The guide is designed to help you find the information you need quickly and easily,
whether you are installing, servicing, or making adjustments to an Axiohm printer. The
chapter headings are self-explanatory, and the index at the back can also point you in the
right direction.
For basic printer setup, refer to Chapter 3: Setting up the Printer. This section has been
written under the assumption that the printer will arrive pre-configured. For instructions
on checking the configuration or reconfiguring the printer, look in Chapter 4: Using the
Printer.
Having problems? Check the troubleshooting section in the back of Chapter 4.
Need paper specs? Look in Chapter 5: Paper and Supplies.
Wheretofindadvancedtechnical
information
Since Axiohm printers are shipped pre-configured
and have been designed to operate with no
maintenance, this guide provides only essential
technical and configuration information. Axiohm
also has a programming supplement for this printer
with more detailed discussion of programming
capabilities. The A795 Programming Supplement
has been developed as a companion to the User
Guide and includes additional programming
information. The A795 Service Guide is available to
qualified service technicians who have been certified
by Axiohm to perform advanced procedures.
Because of the printer’s wide array of printing
capabilities, you may prefer to contact Axiohm
support for more assistance.
Downloadmanuals
The A795 Setup Guide, A795 User Guide,
and A795 Programming Supplement can be
downloaded from the Axiohm Web site:
http://www.axiohm.com, in the “Service and
Support” window.
Support
For more advanced procedures and troubleshooting,
you may need to refer to the printer’s programming
or service guides or speak to Axiohm technical
support. Your Axiohm representative is also able to
provide you with necessary information.
Additional information about Axiohm’s products
and services is posted on the Axiohm Web site, at
http://www.axiohm.com. The Web site can also
direct you to service and support within your area, or
e-mail: [email protected].

A795Two-ColorThermal Receipt Printer:User Guide
Chapter 1:About this Guide
6

A795Two-ColorThermal Receipt Printer:User Guide
Chapter 2:About the Printer 7
Chapter2:AboutthePrinter
Descriptionofprinter
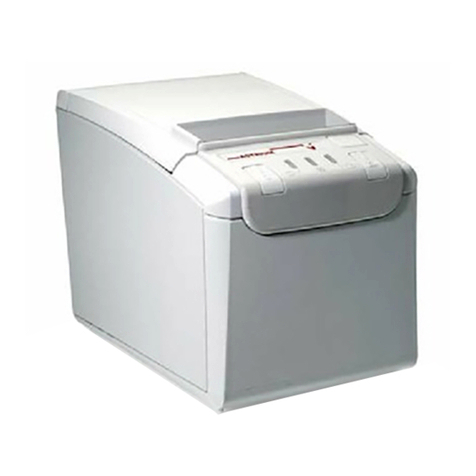
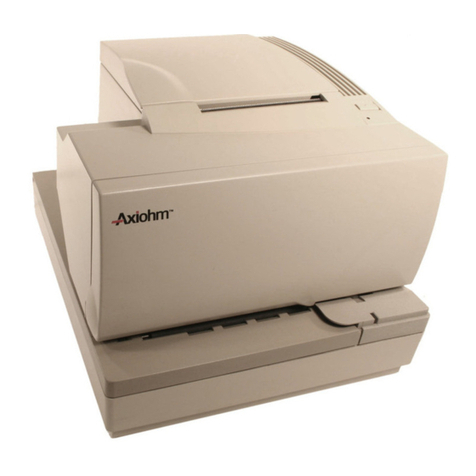
The A795 ColorPOS™ two-color thermal receipt printer is easy to install, use, and maintain.
Utilizing Axiohm’s Clamshell™ design, simply snap open the receipt cover and drop the paper
roll in place. You never need to change a printer ribbon because it uses thermal printer technology.
Back View
Connector
Interface Panel
(will vary with
configuration)
Connector
Cover
Receipt
Cover
Base Unit
Paper
Compartment

A795Two-ColorThermal Receipt Printer:User Guide
Chapter 2:About the Printer
8
Printercontrols
Resetswitch(DIPswitch2)
Cycling switch 2 down (reset ON position) then up
(normal OFF position) resets the printer and causes
the printer to perform the same startup routine as it
does when first powered up. It can be easily accessed
with a pen or pencil.
Configurationswitch(DIPswitch1)
The configuration switch allows you to change the
configuration settings of the printer.
Paperfeedbutton
During normal use, the paper feed button advances
the paper. It is also used to access the configuration
menu.
LED
The green LED indicates basic information about the
printer status. A steady green light means the printer
is on and operating normally. A flashing LED means
the printer needs operator assistance. Refer to the
troubleshooting section on page 30 for more
information.
Beep
A single beep means the printer has successfully
completed its startup routine. It should beep after
being powered up or reset.
If the printer beeps twice, it may be experiencing a
problem. Refer to the troubleshooting guide on page
30 for more information.
Paper
Feed
Button
LED
(Green)
Back
View
Connector
Cover
DIP Switches
(1 = Configuration; 2 = Reset)

A795Two-ColorThermal Receipt Printer:User Guide
Chapter 2:About the Printer 9
Availableprinterconfigurations
There are several configurations of the printer, depending on the combination of desired options.
Printerconfigurationidentification
See the sample below to determine the printer
configuration. The printer configuration identification
(Model ID) is located on the model label attached to
the back of the printer. This information is also shown
on the installation quality report card. The Model ID
description is shown below.
Communicationinterfaces
• RS-232C serial interface (9-pin)
• RS-232C serial interface (25-pin)
• Universal Serial Bus (USB)

A795Two-ColorThermal Receipt Printer:User Guide
Chapter 2:About the Printer
10
Standard Features
Interfaces Interfaces vary according to specific configuration:RS-232C (9-pin)/USB (same
board,dual-interface),RS-232C (25-pin).
Memory/Firmware 1 MB flash memory,History EEROM,4K buffer
(see below for additional memory)
Resident Character Sets PCcode pages 437 (US),850 (Multilingual),737(Greek),852(Slavic),
858(with Eurosymbol),860(Portuguese),862(Hebrew),863(FrenchCanadian),
865(Nordic)866 (Cyrillic),and 1252 (Windows Latin1)
Integrated Bar Codes Code39,Code93,Code 128,UPC-A,UPC-E,JAN8 (EAN),JAN13 (EAN),EAN128,
Interleaved 2 of 5,Codabar,PDF-417 (two-dimensional)
Print Monochrome or two-color print in either 44 (standard) or
56 (compressed) columns on 80 mm wide thermal paper
Monochrome or two-color print in either 49 (standard) or
62 (compressed) columns on 82.5 mm wide thermal paper
Paper Path 80.0 mm paper path width model or 82.5 mm paper path width model
Print Resolution 8 dots/mm
Speed Up to 180 mm/second throughput (monochrome);up to 100 mm/second
throughput (2-color).
Human Interface Audible tone from speaker (software-driven).Simple commands in configuration
menu issued through paper feed button.Green LED status light,located next to
the paper feed button.Manual DIP switch reset,located on the rear of the printer.
Cash Drawer Driver Connector for one or two cash drawers (use a“Y”cord for two drawers)
Knife Paper cutter standard on all units.
Factory-installedoptions
• 2 MB memory
• Cabinet color with or without Axiohm logos
• Paper low sensor

A795Two-ColorThermal Receipt Printer:User Guide
Chapter 2:About the Printer 11
Add-onoptions
For part numbers and additional ordering information, refer to Chapter 5: Paper
and Supplies.
• Wall mount kit for printer
• Wall mount kit for power supply
• Enhanced spill resistant attachments:
moisture shield and base extension
• Power supply: 55 Watt or 75 Watt
• Power cords: US, SEV, UK AC, and
Australia AC cords
• Communication cables: RS-232C (9-pin or 25-pin)
Printingfeatures
The A795 printer is versatile, with many different available printing options. Text,
graphics, and bar codes can be presented in many different forms and sizes. For
more information on available options and programming the printer to change text,
graphics, or other characteristics, refer to the A795 Programming Supplement.

A795Two-ColorThermal Receipt Printer:User Guide
Chapter 2:About the Printer
12

A795Two-ColorThermal Receipt Printer:User Guide
Chapter 3:Setting up the Printer 13
Setup Guide
(in Plastic Bag)
Power Supply
with Cable
and Cord
(Optional)
Communication
Cable (Optional)
Cardboard
Sleeve
Cardboard
Sleeve
A795 Printer
(in Plastic Bag) with
Starter Paper Roll
inside printer
Foam
Packing
Shipping
Carton
Foam
Packing
Chapter3:SettingupthePrinter
Unpacktheprinter
Checkthepackinglist
Save the packing materials in case you need to repack the printer for shipping or storage. Before installation,
check that all the items on this list have been shipped (printers shipped in bulk may not include all these items):
• Printer (enclosed in a plastic bag with foam pack)
• Starter roll of receipt paper (in paper
compartment), with paper roll supports
• Test printout (in paper compartment)
• Installation quality report card: complete and
return to Axiohm
•A795 ColorPOS™(Two-Color) Thermal
Receipt Printer: Setup Guide
• Power supply with cable and cord (if ordered)
• Printer-host communication cable (if ordered)
To report any missing items or shipping-related
problems, contact your representative or call Axiohm
customer service at (800) 732-8950.

A795Two-ColorThermal Receipt Printer:User Guide
Chapter 3:Setting up the Printer
14
Loador change the receiptpaper
You will later use the same procedure to change the receipt paper as you will to load it
during installation. The minor difference is noted in the directions below.
If you are installing the printer using the wall mount kit, you may find it easier to load
the paper roll after installation.
1Open the receipt cover by pushing up evenly on
each side of the cover until it unsnaps.
Starter Roll
Thermal Paper
Paper Roll
Supports
Test
Printout
2 Installing: Remove the test printout and starter
roll. Slide the supports off the roll.
Changing: Remove the used paper roll.

A795Two-ColorThermal Receipt Printer:User Guide
Chapter 3:Setting up the Printer 15
3Tear a clean edge on the receipt paper, making sure
the tape has been completely removed.
4Place the receipt paper into the paper compartment
so it unrolls from the bottom. Leave a few inches
of paper sticking out of the printer.
5While holding the paper in place, close the receipt
cover. To test that the paper is loaded correctly,
advance the paper with the paper feed button.
Note: if the paper jams, make sure the roll is
inserted correctly. Check the illustration for
proper orientation.
6Tear the excess paper off against the blade in the
cover.

A795Two-ColorThermal Receipt Printer:User Guide
Chapter 3:Setting up the Printer
16
Choosealocation
You can install the printer three ways: sitting horizontally on a counter or other flat
surface; sitting vertically on a counter or other horizontal surface; or mounted vertically
on a wall or other vertical surface using the optional wall mount kit. Always be sure to
leave room to open the receipt cover and access the cables. Try to position the printer
where it is less likely to be knocked or damaged.
If your printer is equipped with the low paper sensor, keep in mind that the sensor
works only when the printer is positioned horizontally. In all vertical installations,
use paper with a colored stripe at the end to indicate that the paper is running low.
Sittingonahorizontalsurface
5.00 in.
1.50 in.
Cable Access Hole
OPEN
Horizontal Vertical
Note: When the unit is installed standing vertically,
it must either be elevated or placed over a hole to
allow cable access. If you need to cut a hole, it
should be 1.50 inches (38.1 mm) high and
5.00 inches (127.0 mm) wide.
BTW BE 0415.638.961
Rek: 230-0026460-96
info@vanmechelen.be
www.vanmechelen.be
Patersstraat 106-108
2300 Turnhout
Tel:014/42.55.99
Fax: 014/42.32.64

A795Two-ColorThermal Receipt Printer:User Guide
Chapter 3:Setting up the Printer 17
Mountedonaverticalsurface(using optional kitA795-K260)
1Select a location that allows adequate support for
the printer and clearance for the receipt cover and
cables. Mount the bracket on the wall using the
instructions provided with the A795 printer wall-
mount kit.
2Carefully remove the four black feet from the base
plate and connector cover. Note that it is easy to
damage the cover when prying them off. Insert the
provided screws into the printer base where
shown, leaving a slight gap (see illustration).
Optional
Mounting
Hole (6)
5.06 in.
(128.52 mm)
2.53 in.
(64.26 mm)
0.79 in.
(20.06 mm)
3.95 in.
(100.58 mm)
5.60 in.
(142.24 mm)
Bracket
Screw (2)Printer
Connector
Cover
Feet (2)
(Connector
Cover)
Feet (2)
(Base
Plate)
Base
Plate
Slot (2)
Screw (2)Printer
Tab (2) Bracket
3Slide the printer onto the bracket, insert the bottom
tabs of the bracket into the slots on the bottom of
the printer. Lower the printer, locking the tabs and
screws on the bracket. The printer should be seated
firmly in the bracket. If the printer does not slide
in place or is too loose, adjust the screws.

A795Two-ColorThermal Receipt Printer:User Guide
Chapter 3:Setting up the Printer
18
Mountingthe55wattpowersupply on averticalsurface
(usingoptionalkitA795-K309)
1Select a location that allows adequate support for
the power supply and reaches an electrical outlet
and the printer. Mount the bracket using the
instructions provided with the A795 power
supply wall-mount kit.
2Set the power supply (K301, available separately)
onto the bracket and secure with the provided tie
wrap.
Caution: do not plug in the power supply until all
the cables are connected, as this may
damage the printer.
Power
Supply
Bracket
Ty-Wrap
Cord
Power
Supply
Ty-Wrap
Bracket Cord
Screws &
Anchors

A795Two-ColorThermal Receipt Printer:User Guide
Chapter 3:Setting up the Printer 19
Connectthecables
Cable connections are made at the back of the printer.
Caution: Connect the cables to the printer before applying power. The host computer
should always be turned off before connecting communication cables.
Connector Cover
(Open Position)
Connector
Interface Panel
Cashdrawercables
Printer
Y-Cable
Cash
Drawer
Cash
Drawer
Printer Connector
(Standard Phone Jack)
The cash drawer cable connects the printer to one or two cash drawers.
To install the cash drawer cable:
1Open the connector cover.
2Plug the cable into the cash drawer connector
located at the right side of the illustration.
3Route the cable up and through the strain relief
clip above the connector and through the opening
in the connector cover when shut.
Note: for two cash drawers, use a Y-cable as shown
in the illustration.
Connector Interface Panel
Cash
Drawer
Connector
Cable
Strain Relief

A795Two-ColorThermal Receipt Printer:User Guide
Chapter 3:Setting up the Printer
20
RS-232Ccable(9-pin and 25-pin)
The communication cable connects the printer to the host computer using either the
9-pin or 25-pin RS-232C interface. Installation is identical for both connectors.
Toinstallthecommunicationcable:
Connector Interface Panel
9-Pin RS-232C
Communication
Connector
1Make sure the host computer is off.
2Open the connector cover at the rear of the printer.
3Attach the communication cable to the
communication connector, shown in the center in
the illustration. Tighten the screws to secure the
cable and ensure a stable connection.
4Connect the cable to the host computer.
Connector Interface Panel
25-Pin RS-232C
Communication
Connector
Communicationcables
According to your printer configuration, the printer has three different
communication connection options. Select and attach either an 9-pin
RS-232C, 25-pin RS-232C, or USB communication cable to the printer
and host computer.
Other manuals for A795
1
Table of contents
Other Axiohm Printer manuals

Axiohm
Axiohm CMBC-XMBC User manual

Axiohm
Axiohm SKGG5xxx Series User manual

Axiohm
Axiohm TPOSS001 User manual

Axiohm
Axiohm TELESTO User manual

Axiohm
Axiohm PCPR Printer User manual

Axiohm
Axiohm A630 User manual

Axiohm
Axiohm APOS PRINTER SERIES User manual

Axiohm
Axiohm A794 User manual

Axiohm
Axiohm A758 User manual

Axiohm
Axiohm 24V User manual

Axiohm
Axiohm A758 User manual

Axiohm
Axiohm A794 User manual

Axiohm
Axiohm 7156 User manual

Axiohm
Axiohm A721 User manual

Axiohm
Axiohm 7193 User manual

Axiohm
Axiohm TPOS PRINTER SERIES User manual

Axiohm
Axiohm A794-D100 User manual

Axiohm
Axiohm Astrium User manual

Axiohm
Axiohm A220 User manual

Axiohm
Axiohm THTN Series User manual