manuals.online logo
Brands
  1. Home
  2. •
  3. Brands
  4. •
  5. HIK VISION
  6. •
  7. Security Camera
  8. •
  9. HIK VISION TurboHD DS-2CE16D0T-WL3 User manual

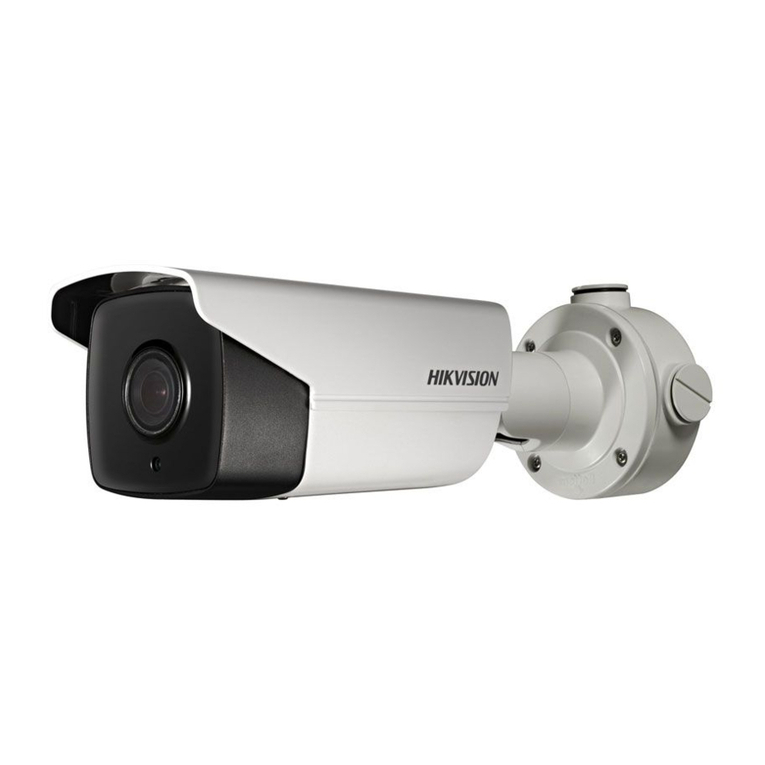
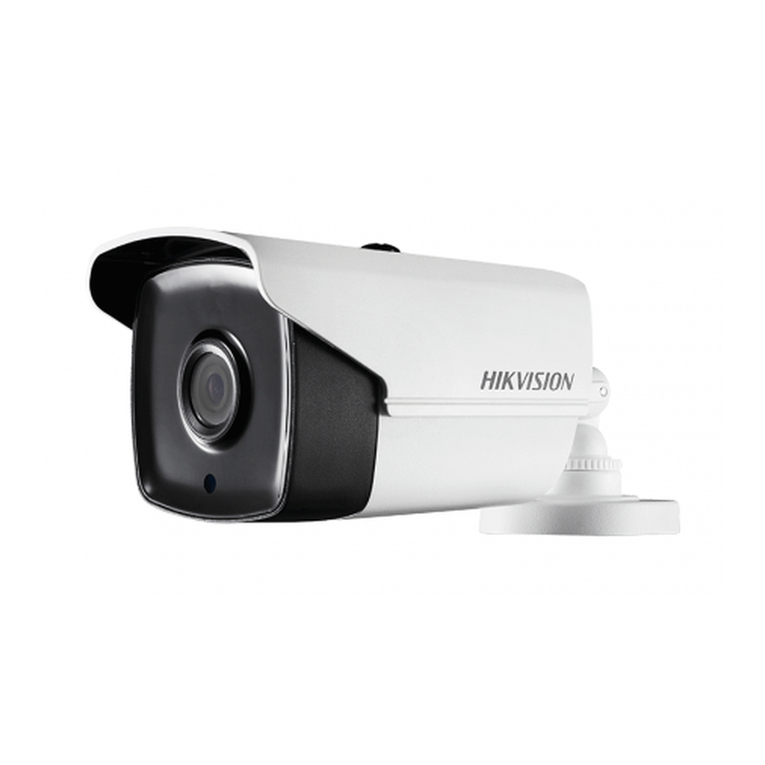
HIK VISION TurboHD DS-2CE16D0T-WL3 User manual

UM DS-2CE16D0T-WL3 061818NA  2018 Hikvision USA Inc.
TurboHD
DS-2CE16D0T-WL3
TVI Bullet Camera
User M nu l
Th nk you for purch sing our product. If there re ny questions, or requests, do
not hesit te to cont ct the de ler.
This m nu l m y cont in sever l technic lly incorrect pl ces or printing errors, nd
the content is subject to ch nge without notice. Upd tes will be dded to new
versions of this m nu l. We will re dily improve or upd te the products or
procedures described in the m nu l.
UM DS-2CE16D0T-WL3 061818NA  2018 Hikvision USA Inc.
Regulatory In ormation
FCC In ormation
FCC Compliance: This equipment h s been tested nd found to comply with the
limits for Cl ss A digit l device, pursu nt to p rt 15 of the FCC Rules. These limits
re designed to provide re son ble protection g inst h rmful interference when
the equipment is oper ted in commerci l environment. This equipment
gener tes, uses, nd c n r di te r dio frequency energy nd, if not inst lled nd
used in ccord nce with the instruction m nu l, m y c use h rmful interference
to r dio communic tions. Oper tion of this equipment in residenti l re is likely
to c use h rmful interference, in which c se the user will be required to correct
the interference t his own expense.
FCC Conditions
This device complies with p rt 15 of the FCC Rules. Oper tion is subject to the
following two conditions:
1. This device m y not c use h rmful interference.
2. This device must ccept ny interference received, including interference th t
m y c use undesired oper tion.
EU Con ormity Statement
This product nd, if pplic ble, the supplied ccessories too re
m rked with “CE” nd comply therefore with the pplic ble
h rmonized Europe n st nd rds listed under the EMC Directive
2014/30/EU, the RoHS Directive 2011/65/EU.
2012/19/EU (WEEE Directive): Products m rked with this symbol
c nnot be disposed of s unsorted municip l w ste in the Europe n
Union. For proper recycling, return this product to your loc l supplier
upon the purch se of equiv lent new equipment, or dispose of it t
design ted collection points. For more inform tion see:
www.recyclethis.info.
Industry Canada ICES-003 Compliance
This device meets the CAN ICES-3 (A)/NMB-3(A) st nd rds requirements.
Sa ety Instruction
These instructions re intended to ensure th t user c n use the product correctly
to void d nger or property loss.
The prec ution me sure is divided into “W rnings” nd “C utions.”
Warnings: Serious injury or de th m y occur if ny of the w rnings re neglected.
Cautions: Injury or equipment d m ge m y occur if ny of the c utions re
neglected.
Warnings Follow Cautions Follow these
these s fegu rds to
prec utions to prevent
prevent serious injury
potenti l injury or
or
de th.
m teri l d m ge.
Warnings
•
In use of the device, you must be in strict compli nce with the electric l s fety
regul tions of the n tion nd region.
•
Input volt ge should meet both the SELV (S fety Extr Low Volt ge) nd the
Limited Power Source with 12 VDC ccording to the IEC60950-1 st nd rd. Refer
to technic l specific tions for det iled inform tion.
•
Do not connect multiple devices to one power d pter to void overhe ting or
fire h z rd c used by overlo d.
•
M ke sure th t the plug is firmly connected to the power socket.
UM DS-2CE16D0T-WL3 061818NA  2018 Hikvision USA Inc.
•
M ke sure th t the device is firmly fixed if w ll mounting or ceiling mounting is
dopted.
•
If smoke, odor, or noise rise from the device, turn off the power t once nd
unplug the power cord, nd then cont ct the service center.
•
Never ttempt to dis ssemble the c mer by unprofession l person l.
Cautions
•
Do not drop the c mer or subject it to physic l shock.
•
Do not touch sensor modules with fingers.
•
If cle ning is necess ry, use cle n cloth with bit of eth nol, nd wipe it gently.
•
Do not im the c mer t the sun or extr bright pl ces.
•
The sensor m y be burned out by l ser be m, so if ny l ser equipment is in
use, m ke sure th t the sensor surf ce is not exposed to the l ser be m.
•
Do not expose the device to high electrom gnetic r di tion or extremely hot,
cold, dusty, or d mp environments.
•
To void he t ccumul tion, good ventil tion is required for the oper ting
environment.
•
Keep the c mer w y from liquid while in use for non-w terproof device.
•
While in delivery, the c mer sh ll be p cked in its origin l p cking or p cking of
the s me texture.
UM DS-2CE16D0T-WL3 061818NA  2018 Hikvision USA Inc.
1. Introduction
1.1 Product Features
The c mer is pplic ble for outdoor conditions, nd the pplic tion
scen rios include ro ds, p rking lots, c mpuses, etc.
The m in fe tures re s follows:
•
High perform nce CMOS sensor
•
1080p resolution
•
Auto white b l nce
•
Auto electronic shutter
•
Auto g in control (AGC)
•
White supplement light
•
Up-the-Co x (HIKVISION-C)
1.2 Overview
1.2.1 Camera Overview
Figure 1, C mer Overview
1.3 Installation Preparation
Be ore you start:
•
M ke sure th t the device in the p ck ge is in good condition nd ll
the ssembly p rts re included.
•
M ke sure th t ll the rel ted equipment is powered-off during the
inst ll tion.
•
Check the specific tion of the products for the inst ll tion
environment.
•
Check whether the power supply m tches your power output to
void d m ge.
•
M ke sure the w ll is strong enough to withst nd three times the
weight of the c mer nd the br cket.
•
If the w ll is cement, insert exp nsion bolts before you inst ll the
c mer . If the w ll is wood, use self-t pping screws to secure the
c mer .
•
If the product does not function properly, cont ct your de ler or the
ne rest service center. Do NOT dis ssemble the c mer for rep ir or
m inten nce yourself.
1.4 Wall Mounting
Be ore you start:
The p ck ge cont ins the w ll mounting br cket.
Steps:
1. Att ch the br cket to the w ll.
2. M rk the screw holes on the w ll ccording to the holes on the
br cket.
UM DS-2CE16D0T-WL3 061818NA  2018 Hikvision USA Inc.
3. Drill the screw holes.
4. Att ch the br cket to the w ll nd secure the c mer with supplied
screws.
Figure 2, Secure the c mer to the w ll
Note:
•
The supplied screw p ck ge cont ins both self-t pping screws nd exp nsion
bolts.
•
If the w ll is cement, exp nsion bolts re required to fix the c mer . If the w ll
is wood, self-t pping screws re required.
5. Align the c mer to the pedest l, nd secure the c mer on the
pedest l with supplied screws.
Figure 3, Secure the C mer on the Br cket
6. Route the c bles nd connect the corresponding power cord nd
video c ble.
7. Power on the c mer to check whether the im ge on the monitor is
t n optimum ngle. If not, djust the c mer ccording to the
figure below to get n optimum ngle.
1). Loosen the horizont l djusting screw to djust the p n
position (0° to 360°).
2). Tighten the horizont l djusting screw.
3). Loosen the vertic l djusting screw to djust the tilt
position (0° to 90°)
4). Tighten the vertic l djusting screw.
Figure 4, Angle Adjustment
UM DS-2CE16D0T-WL3 061818NA  2018 Hikvision USA Inc.
1.5 Pendant Mounting
Be ore you start:
You must purch se pend nt br cket.
Steps:
1. Att ch the br cket to the ceiling.
2. M rk the screw holes on the ceiling ccording to the holes on the
br cket.
3. Drill the screw holes.
4. Att ch the br cket to the ceiling nd secure the c mer with
supplied screws.
Figure 5, Fix the Br cket on the Ceiling
Note:
•
The supplied screw p ck ge cont ins both self-t pping screws nd exp nsion
bolts.
•
If the w ll is cement, exp nsion bolts re required to fix the c mer . If the w ll is
wood, self-t pping screws re required.
5. Remove the screw on the top of the c mer to expose the screw
hole.
Figure 6, Remove the Screw
6. Align the screw hole on the top of the c mer with the pend nt
mounting br cket nd rot te the c mer to fix it.
UM DS-2CE16D0T-WL3 061818NA  2018 Hikvision USA Inc.
Figure 7, Fix the C mer to the Br cket
7. Route the c bles nd connect the corresponding power cord nd
video c ble.
8. Power on the c mer to check whether the im ge on the monitor is
t n optimum ngle. If not, djust the c mer ccording to the
figure below to get n optimum ngle.
1). Loosen the djusting knob to djust the p n position (0°
to 360°) nd tilt position (0° to 90°)
2). Tighten the djusting knob.
Figure 8, Angle Adjustment

Other HIK VISION Security Camera manuals

HIK VISION DS-2DP1636Z-D User manual

HIK VISION

HIK VISION DS-2DP1636Z-D User manual

HIK VISION DS-2CE16C2T-IRP User manual

HIK VISION

HIK VISION DS-2CE16C2T-IRP User manual

HIK VISION DS-2CD7133-E User manual

HIK VISION

HIK VISION DS-2CD7133-E User manual

HIK VISION UD07275B User manual

HIK VISION

HIK VISION UD07275B User manual

HIK VISION 4 Inch High Speed Dome User manual

HIK VISION

HIK VISION 4 Inch High Speed Dome User manual

HIK VISION DS-2CE15F5P(N)-VFIR User manual

HIK VISION

HIK VISION DS-2CE15F5P(N)-VFIR User manual

HIK VISION IPC-T1**-I User manual

HIK VISION

HIK VISION IPC-T1**-I User manual

HIK VISION I092000 User manual

HIK VISION

HIK VISION I092000 User manual

HIK VISION DS-2CD853F-E series User manual

HIK VISION

HIK VISION DS-2CD853F-E series User manual

HIK VISION DS-2CC102PN-IRA User manual

HIK VISION

HIK VISION DS-2CC102PN-IRA User manual

HIK VISION DS-2CS54C8T-PH User manual

HIK VISION

HIK VISION DS-2CS54C8T-PH User manual

HIK VISION DS-2AE714 User manual

HIK VISION

HIK VISION DS-2AE714 User manual

HIK VISION DS-2CC12D5S-IT3 User manual

HIK VISION

HIK VISION DS-2CC12D5S-IT3 User manual

HIK VISION D3T Series User manual

HIK VISION

HIK VISION D3T Series User manual

HIK VISION DS-2CD5165G0-IZS User manual

HIK VISION

HIK VISION DS-2CD5165G0-IZS User manual

HIK VISION DS-2CD852F Series User manual

HIK VISION

HIK VISION DS-2CD852F Series User manual

HIK VISION PanoVu PT Series User manual

HIK VISION

HIK VISION PanoVu PT Series User manual

HIK VISION DS-2CD63C5G0-IS User manual

HIK VISION

HIK VISION DS-2CD63C5G0-IS User manual

HIK VISION DS-2CD8153F-E User manual

HIK VISION

HIK VISION DS-2CD8153F-E User manual

HIK VISION DS-2TD6567T-50H4LX/W User manual

HIK VISION

HIK VISION DS-2TD6567T-50H4LX/W User manual

HIK VISION US-5 Inch Speed Dome User manual

HIK VISION

HIK VISION US-5 Inch Speed Dome User manual

HIK VISION DS-2CD2763G0-IZS User manual

HIK VISION

HIK VISION DS-2CD2763G0-IZS User manual

HIK VISION DS-2AF1-401 User manual

HIK VISION

HIK VISION DS-2AF1-401 User manual

HIK VISION DS-2CD726F-PT series User manual

HIK VISION

HIK VISION DS-2CD726F-PT series User manual

Popular Security Camera manuals by other brands

Motorola FOCUS66-B Quick start up guide

Motorola

Motorola FOCUS66-B Quick start up guide

Asoni CAM662H user manual

Asoni

Asoni CAM662H user manual

KT&C KPC-HDV122 Operation manual

KT&C

KT&C KPC-HDV122 Operation manual

Speco O5MDP1 owner's manual

Speco

Speco O5MDP1 owner's manual

Lorex LBV8541X series quick start guide

Lorex

Lorex LBV8541X series quick start guide

Speco O8FB1M quick start guide

Speco

Speco O8FB1M quick start guide

ZOSI V6.W.0 quick start guide

ZOSI

ZOSI V6.W.0 quick start guide

SV3C Cloud Series Quick installation guide

SV3C

SV3C Cloud Series Quick installation guide

Uniden GNC 701 quick start guide

Uniden

Uniden GNC 701 quick start guide

SUNBA P636 V2-Performance Series user guide

SUNBA

SUNBA P636 V2-Performance Series user guide

D-Link DCS-3420 Quick install guide

D-Link

D-Link DCS-3420 Quick install guide

Lorex SG7518 instruction manual

Lorex

Lorex SG7518 instruction manual

Eickemeyer Swiftcam X Operation manual service manual

Eickemeyer

Eickemeyer Swiftcam X Operation manual service manual

TP-Link TL-SC3230 user guide

TP-Link

TP-Link TL-SC3230 user guide

D-Link DCS-7517 user manual

D-Link

D-Link DCS-7517 user manual

Axis Q6055-C user manual

Axis

Axis Q6055-C user manual

ALIBI ALI-TS1112R Quick installation guide

ALIBI

ALIBI ALI-TS1112R Quick installation guide

Lorex LNC100 Series user guide

Lorex

Lorex LNC100 Series user guide

manuals.online logo
manuals.online logoBrands
  • About & Mission
  • Contact us
  • Privacy Policy
  • Terms and Conditions

Copyright 2025 Manuals.Online. All Rights Reserved.