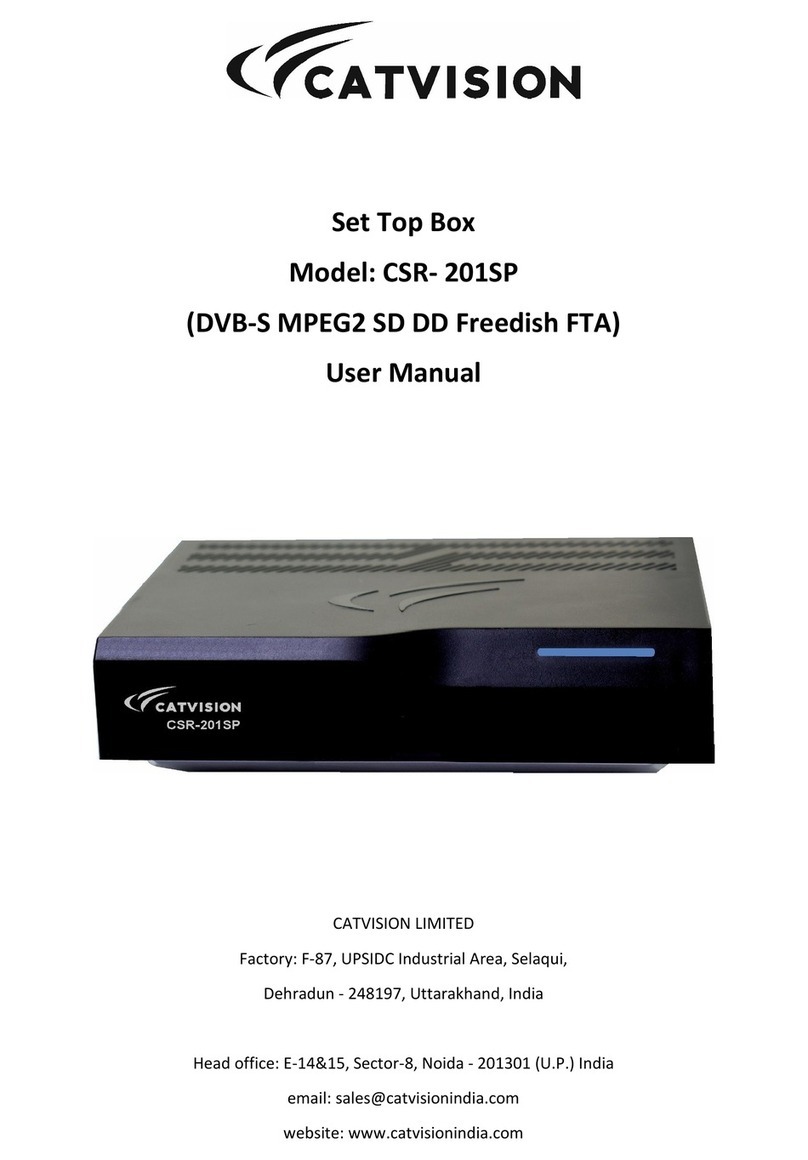
Hills HD94003G User manual


1
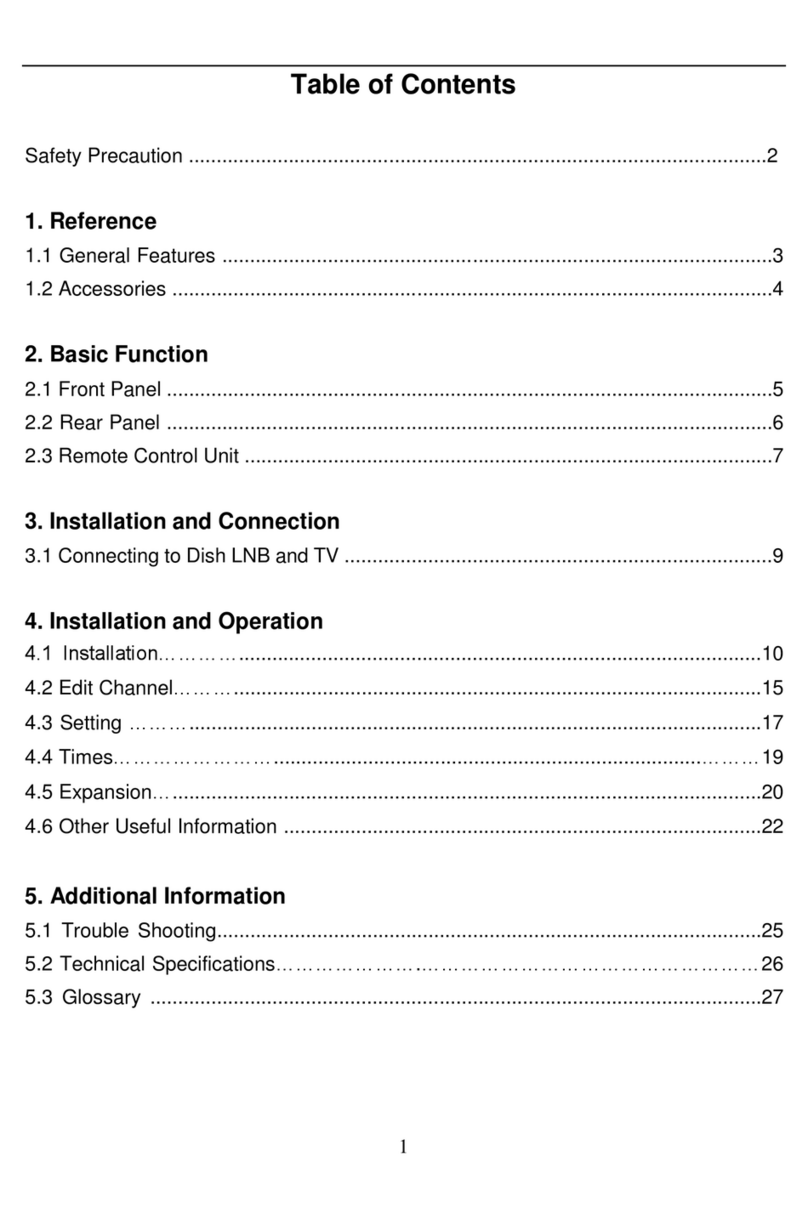
INDEX
INDEX.........................................................................................................................1
SAFETY AND INSTRUCTIONS ..................................................................................2
ASSEMBLY AND PARTS LIST...................................................................................3
Parts List..................................................................................................................3
Front Panel ..............................................................................................................4
Rear Panel...............................................................................................................5
Remote Control Unit ................................................................................................6
Learning Remote instruction.................................................................................7
Battery Low Function............................................................................................7
Remote Control Beep...........................................................................................8
GETTING STARTED...................................................................................................9
Installing the batteries in the remote control .............................................................9
Connecting to Equipment.......................................................................................10
Turning the set top box on and off..........................................................................12
Turning the set top box on..................................................................................12
Turning the set top box off ..................................................................................14
PRODUCT FEATURES.............................................................................................15
Basic operation ......................................................................................................15
Commonly used features....................................................................................15
Programme Guide (EPG) ...................................................................................17
On screen help pages ........................................................................................18
Single button functions...........................................................................................18
Fav.....................................................................................................................18
TF (talking features) ...........................................................................................18
AD (audio description)........................................................................................18
CC (subtitles) .....................................................................................................19
Training ..............................................................................................................19
? (Information/where am I) .................................................................................19
Advanced features.................................................................................................20
Main Menu.............................................................................................................20
Preferences........................................................................................................20
Speaker and headphone output..........................................................................24
Favourites ..........................................................................................................24
Reminders list ....................................................................................................25
Parental control ..................................................................................................25
MHEG-5 settings................................................................................................28
Technical settings...............................................................................................28
Set time..............................................................................................................31
Software upgrade ...............................................................................................31
Over-The-Air update...........................................................................................31
Select HD Resolution .........................................................................................32
Help manual.......................................................................................................32
Remote Control Training Mode...........................................................................33
Manufacturer information....................................................................................33
FAQ ..........................................................................................................................34
TROUBLE SHOOTING .............................................................................................35
SPECIFICATION.......................................................................................................36

2
SAFETY AND INSTRUCTIONS
CAUTION: TO PREVENT ELECTRICAL SHOCK, DO NOT REMOVE THE COVER.
THERE ARE NO USER SERVICEABLE PARTS INSIDE. REFER
SERVICING TO QUALIFIED SERVICE PERSONNEL.
SAFETY
.Never place the unit in hot, humid or excessively dusty places.
.Do not install the unit where it may be exposed to mechanical vibrations.
.This product should be operated only from the type of power source indicated on the
rear of the unit.
.Do not touch the power cord with wet hands or continue to use a damaged power
cord. It may cause an electric shock.
.Never open the cover. High voltage in the unit may result in electrocution.
.Disconnect the power cord to the unit before connecting any cables.
CAUTION
.To prevent fire or electrical shock do not expose the appliance to water.
.Ensure that objects filled with liquids, such as vases, are not placed on the
apparatus.
.If an object or liquid gets into the unit, disconnect the plug and ask an approved
technician to check the unit.
.Never place the unit in a confined space such as a bookcase or built-in cabinet
unless proper ventilation is provided. Leave a 10cm gap around the unit.
.The recommended operating temperature is from 0 ~ 40
℃℃and humidity should be
under 95%.
.For your own safety, do not touch any part of the unit, power lead or aerial lead
during a lightning storm.
.Use a damp cloth to clean the unit.
.Do not use liquid cleaners, solvent or abrasive products, etc.
This symbol indicates that high voltage is present inside. It is dangerous to
make contact with any part inside the case.
This symbol alerts you of important information concerning operation and
maintenance of this product.

3
ASSEMBLY AND PARTS LIST
Parts List
Please make sure the following accessories are supplied with the STB.
1. High Definition Digital Set Top Box
2. Remote Control
3. RCA Video/Audio Cable
4. YPbPr Component Video Cable
5. Batteries (AAA Size)
6. User Manual
7. Quick Set Up Guide

4
ASSEMBLY AND PARTS LIST
Front Panel
1. STANDBY Button ( )
Press to switch between operation and standby mode.
2. Menu Button (MENU)
Press to display the Main Menu or to exit from the menu.
3. OK
Press to select the item in the menu or to view a list the TV/Radio channels.
4. Volume VOL+/VOL- Button (VOL+/VOL-)
Moves the cursor left/right when in the menu or adjust the volume level in the normal
state.
5. CH Up/Down Button (CH+/CH-)
Moves the cursor up/down when in the menu or changes the current program to the
previous/next channel in the normal state.
6. Front Panel Display
Front panel window displays information concerning current operation such as the
channel number. The red LED illuminates when power is on and turns yellow when
the unit is in Standby. The green LED illuminates when the channel is locked in.
7. Earphone Output
Used to connect earphones using a 3.5mm jack.

5
ASSEMBLY AND PARTS LIST
Rear Panel
1. ANT IN
Used to connect the antenna.
2. ANT OUT
Used to loop to another analogue or digital device.
3. LAN
Connect to internet.
4. DIGITAL AUDIO (S/PDIF / Optical)
Connect to an External Audio Amplifier with S/PDIF /Optical Digital Audio (optional).
5. USB
USB port is used for viewing JPEG files or playing MP3 files on a memory stick, and
for possible software upgrades. (Only to be advised by service technician.)
6. HDMI Connector
Connect High-Definition Multimedia output to HD Monitors (HDMI Type). Provides
both digital video and digital audio connection in one cable.
7. YPbPr
Connect component video to HD Monitors (YPbPr Type). This is a video only
connection, you will need to use Red and White RCA for Left and Right audio or
Digital Audio output connection.
8. VIDEO (Yellow RCA)
Connect to a TV with yellow video input to obtain picture.
9. AUDIO L/R (White / Red RCA)
Connect to a TV audio input, HD Monitors audio input or an External Audio Amplifier
to obtain audio.
10. RF OUT
Can be connected to a television with no AV inputs.
11. RS232 Serial Port
For firmware update, serial communication port (RS-232).

6
ASSEMBLY AND PARTS LIST
Remote Control Unit
All features of the STB can be controlled with the remote control.
1. POWER: Press to switch between operation
and standby mode.
2. TV: Used to set this remote control to turn your
TV ON or OFF.
3. NUMERIC KEYS: Press to input Channel
Numbers, Passwords or Letters.
4. MUTE: Press to mute the TV audio (does not
mute TF).
5. ASPECT RATIO: Press to select aspect ratio
mode.
6. VOL-/+: Adjusts the volume.
7. CH▲/▼:Changes the channel.
8. GUIDE: Displays the Electronic Program
Guide.
9. MENU: Press to display the Main Menu.
10. Left◄/Right►/Up▲/Down▼:Moves the
cursor in the menu.
11. OK: Press to select the item in the menu or to
display the TV/Radio channel List.
12. EXIT: Press to exit from the current mode.
13. RECALL: Press to return the previous
channel.
14. BACK: Press to return to the previous menu
or to exit from the current mode.
15. INFO: Displays the information of the NOW &
NEXT program on the current channel.
16. SCAN: Auto Scan for digital channels.
17. FAV: Press to display Favorite Channel List.
18. TRAINING: Places the remote control in
training mode.
19. TF: Turn Talking Function ON or OFF.
20. TV/RADIO: Switch between TV or RADIO mode.
21. RED / GREEN / YELLOW / BLUE: Special keys in the menu, please refer to the
on screen prompts.
22. TEXT: Displays Teletext information (where available).
23. CC: Press to view subtitles (Closed Captioning).
24. AD: Activates Audio Description (AD) where available from the broadcaster.

7
ASSEMBLY AND PARTS LIST
25. Where Am I?: When TF is ON, press this key for a verbal description of where
you are in the menu.
HELP: Displays the help menu. 6:Mutes Talking TV.
?: This is the where am I key, explains to the user where they are in the menu.
Learning Remote instruction
The Set Top Box Remote Control can be set to switch your TV OFF and ON. Follow
these simple instructions to program your Set Top Box remote Control.
1. You will need both the Set Top Box Remote Control and the TV Remote Control,
make sure both have operational batteries installed.
2. To place the Set Top Box Remote Control into Learning Mode press and hold
down the HD94003G SET button for around 3 seconds, the indicator light will
illuminate brightly. Once illuminated you can let go of the SET button. (NOTE: If
another key is not pressed within 15 seconds the Set Top Box Remote Control will
exit Learning Mode.)
3. Lay both the HD94003G Remote Control and the TV Remote control on a flat
surface. Orientate both remotes so that the infrared receivers are facing one
another within a distance of 1cm to 4cms. Press the blue power key on the
HD94003G remote control until the red light is blinking. Press and hold down the
POWER button of the TV Remote Control until the indicator light on the Set Top Box
Remote Control until the red light on the HD94003G remote is solid, then release
the TV POWER button on the TV Remote Control.
Battery Low Function
The remote control is equipped with a Battery Low Function, when the batteries in
the remote control are running low the system will warn you that the Power is low
and prompt you to change the batteries in the remote. This prompt will be both
visual and spoken (if the Talking Features is turned ON).

8
ASSEMBLY AND PARTS LIST
Remote Control Beep
This remote control is equipped with an audible beep function that provides audible
feedback with each button press. This feature can be turned off by:
1. Press and hold down the MUTE button on the remote control
2. While still holding down the MUTE button press and hold down the
ASPECT RATIO button.
3. Hold both buttons down until a “beep” is heard, release the two buttons,
the beep is now turned off.
To turn the beep feature back on follow the above procedure.
You are now ready to use the Set Top Box remote Control to turn the TV ON and
OFF by pressing the power button in the TV section of the Set Top Box remote
control on the top right corner of the remote.

9
GETTING STARTED
Installing the batteries in the remote control
1. Place your finger or thumb under the holding catch and gently press upward and
forward to release the cover.
2. Insert two AAA batteries into the recess.
3. Replace the lid over the recess and gently push down on the lid until it snaps firmly
into place.
Caution
1. Keep batteries out of children’s reach.
2. Don’t attempt to recharge, short-circuit, disassemble, heat or throw the batteries
into the fire.
3. Always replace both batteries at the same time. Never mix new and old batteries
or batteries of a different type.
4. If you don’t intend to use the remote control for an extended period, remove the
batteries to prevent possible leakage and corrosion.
5. Do not drop, apply shock or step on the remote control.
6. Do not spill water on the remote control.
Note: If the receiver does not respond when operating the remote control from a
close range, you will need to replace the batteries.
Using the Remote Control
1. To use the remote control, point it towards the front of the HD94003G.
2. The remote control has a range of up to 7 metres from the set top box at an angle
of up to 60 degrees.
3. The remote control will not operate if its path is blocked.
Note: Sunlight or very bright light will decrease the sensitivity of the remote
control.

10
GETTING STARTED
Connecting to Equipment
1. Connect your TV antenna cable to the “ANT IN” jack on the back of the
HD94003G using coaxial RF cable.
Option 1- YPbPr connection (High Definition connection)
2. Connect the YPbPr output connectors (green, blue and red cable) and AUDIO
L/R output connectors (white and red cable) on the back of the HD94003G to the
COMPONENT input (green, blue and red) and audio input (white and red) on your
television using RCA-type cables.
Option 2- HDMI (High Definition connection)
3. Connect the HDMI output connector on the HD94003G to the HDTV using HDMI
cable. This cable carries both digital video and audio in the one cable from your
HD94003G to your TV.

11
GETTING STARTED
Option 3- COMPOSITE VIDEO (For all Standard Televisions)
4. Connect the yellow video lead and AUDIO L/R (white and red lead) output
connectors on the HD94003G to the AV input on the back of the TV. Optional:
Instead of the audio Left and Right cables you may connect Optical S/PDIF output
connector on the HD94003G to an Audio-Amplifier using optical cable.
Option 4- RF connection (Standard Definition connection)
5. Connect the RF out connectors on the back of the HD94003G to the RF IN on
your television using RF-cable. Using this connection you will need to tune your
TV to the correct channel to receive signal from the Set Top Box.
Note: Please ensure that your TV is set to the correct input channel depending
on your connection type.

12
GETTING STARTED
Turning the set top box on and off
Turning the set top box on
When you have connected the HD94003G to your TV and any DVD/VCR players,
you are ready to start watching digital TV.
Switch your TV on.
Turn your TV to the input channel you have connected the HD94003G to (AV1 for
example).
Turn the HD94003G on using the power button on the remote control (button
labelled )
When using the HD94003G for the first
time, a first time installation screen will
appear on you TV.
Ensure the antenna is connected.
Talking Function is set to ON. Use the
◄/►keys on the remote control to
select audio prompts for set up to
either On or Off. Press OK to continue
to the next menu item in the set up
process.
The next section in the Set up process is
Set up: Technical settings, use the
▲/▼keys on the remote control to select
one of the menu options 1. Set Aspect
ratio, 2. Set Aspect conversion and 3.
Set State. Use the ◄/►keys on the
remote control to toggle through the
selection items for each of the rows
once they are highlighted. Press OK to
continue to the next level in the set up
menu.

13
GETTING STARTED
The next section in the Set up process is
Set up: Preferences, use the ▲/▼keys
on the remote control to select one of
the eight menu options. Use the
◄/►keys on the remote control to
toggle through the selection items for
each of the rows once they are
highlighted. Press OK to continue to the
next level in the set up menu.
The next section is Set up: Set
frequency bandwidth, use
the◄/►keys on the remote control to
change from 7MHz to 8MHz frequency
bandwidth. The default setting for
Australia at the time of publication is
7MHz. Press OK to continue to the
Automatic tuning window.
A scanning window will open and the
HD94003G will automatically begin to
search for TV and radio channels in your
region.
Progress will be shown by a yellow bar
along the bottom of the screen and will
be announced if the Talking Features
function is turned ON. As channels are
found, they will appear on the list on
screen.
When automatic scanning has finished, the number of channels found will be
displayed on screen and spoken.

14
GETTING STARTED
Set up: Tuning complete, use the
▲/▼keys on the remote control to select
one of the menu options 1. Go to TV, 2.
View channel summary and 3. Retune
channels. Press OK to select the
highlighted item. To watch TV select 1.
Go to TV and press OK.
An information banner will appear along the bottom of the picture for a short time
which gives basic details about the TV channel you are watching.
If you experience problems in installing channels as described above, try the
following:
Check that all connections between the HD94003G and TV are fitted securely and
in the correct sockets.
Try the installation again using the instructions above.
Turning the set top box off
If you watch TV regularly, it is recommended that you leave the HD94003G
connected to the mains, and turn to standby mode when you wish to turn it off.
You will only need to disconnect from the mains when you are away or do not wish
to use the TV for a long period of time, one month for example.
The HD94003G will automatically update the stored channels whilst it is in standby
mode. It can also receive updates to the operating software during this time. It
cannot receive new channels or updates if the HD94003G is disconnected from the
mains or the antenna is disconnected.
To turn the HD94003G to standby mode, press the set top box power button on
the remote control (button labelled )
The HD94003G is now in standby mode and the TV picture will turn off.
The next time you turn the HD94003G on from standby mode, the TV will display
the last channel you were watching before it was turned off.

15
PRODUCT FEATURES
Product features
When you use your HD94003G STB for the first time, the talking feature will be
activate as a part of the set up procedure. All on screen information, including
program guides and menus, will be read out to you using synthetic speech. It is
possible to turn this function off if it is not needed, press the TF button on the remote
control at any time to turn this function ON or OFF.
Basic operation
Commonly used features
As with most electrical goods, there are features which you will use everyday and
others that you will only need to use occasionally.
The everyday features included in this section will help you to get the HD94003G up
and running as quickly as possible. Details about further functions are available in
the section titled 'Advanced features'.
Many of the functions will require the use of the navigation buttons, which are in the
centre of the remote control, please see remote control section for a description of
the layout of these buttons or refer to the remote control diagram on your Quick
Start Guide.
Changing the volume
When you want to change the volume of the set top box, use the volume control
button on the remote control. This is a vertically orientated rectangle key two thirds
of the way down on the left side of the remote that is RED in colour.
A volume level indicator bar will appear on the screen. Please note that this will not
change the volume of the TV.
Mute
To turn the TV volume off momentarily, press the mute button on the remote control.
This action will not mute the Talking Features function. To turn Talking Features
only off momentarily press the key on the bottom right of the remote control. This
button is indicated by a speech bubble with a cross through it.
To turn the talking features back on again, press the same button again.

16
PRODUCT FEATURES
Changing channel
There are several ways in which you can change channel
Using the 'channel up and down’ buttons
This is a vertically orientated rectangular YELLOW key positioned two thirds the
way down the right side of the remote control. Press ▲/▼buttons on the channel
scroll button to go up or down through the channel list. If the Talking Function is
activated each channel will be spoken as you scroll through. Keep repeating until
you find the channel you want.
Using the number keypad
Use the number keypad on the remote control to enter the number of the channel
you wish to watch. If the Talking Function is activated the numbers you have
entered will be spoken and the desired channel will also be spoken when selected.
Using the favourites list
First of all you must program your favourites list. (see section titled ‘favourites’ for
details on how to programme favourite channels).
Press the FAV button on the remote control. Your favourite channel list will be
displayed. Use the ▲/▼/◄/►buttons to scroll up or down through the list. Press
OK to select the channel you wish to watch.
Your selected channel will be displayed.
Using the channel list
Press the OK or the TV/Radio button on your remote control. A list of all channels
will be displayed on the screen. Press ▲/▼to move to the channel you wish to
select, and press the OK button to select. The channel will be displayed on the
screen and also be spoken if the Talking TV function is activated. You can press the
TV/Radio button to scroll through the list options. ALL includes both TV and Radio
channels, TV includes TV channels only and RADIO includes only the radio
channels.
Parental Guidance
When you try and switch to a channel playing a programme with a parental
guidance rating that you have blocked in the Parental Control menu the locked
channel PIN code entry box will appear. Enter the PIN code to watch the blocked
programme.
For further information on how to activate and edit parental controls, please see
section titled 'Parental control'.

17
PRODUCT FEATURES
Programme Guide (EPG)
The programme guide allows you to view details of TV programmes for the next 7
days, and also set reminders for programmes you wish to watch.
When a programme is set with a reminder, just before the programme reaches
broadcast time, a message will be shown on the screen, saying that the program is
about to start. The message will also be spoken if the Talking Function is set to ON.
To see the programme guide, press the Guide button on the remote control. When
the guide appears it will be in grid layout. Press the Guide button a second time to
see the Guide in List form. In grid layout, the programmes for the channel you are
currently watching will be displayed on the screen, in order of time (earliest at the
top, latest at the bottom).
To view the programme guide for other channels, use the ◄/►buttons to move to
the next or previous channel. Keep pressing it until the channel you want is
displayed and also spoken if the Talking TV function is active.
If you wish to permanently set one layout, this can be done by using the menu
function which is described later in this user guide.
To see information about a programme, press the Info button. A programme
information window will appear on the screen and will also be spoken.
You can also display programmes for the next day by pressing the blue button on
the remote control. This button can be found towards the bottom of the remote. To
go back to the current day's programmes, press the yellow button.
How to set a program reminder
Open the programme guide as described above. Use the ▲/▼/◄/►buttons to find
the programme you wish to set a reminder for.
When you have found the channel and programme you want, press the OK button.
This will set a reminder, and will then appear in the reminders list, which can be
found by using the menu function (described later in this user guide)
To close the programmes guide, press the exit button on the remote control.

18
PRODUCT FEATURES
On screen help pages
There are nine help pages available which will display information on screen for
various topics that you can call up at any time.
To access the help pages, press the Help button on the remote control.
The help contents list will be displayed. Use the ▲/▼buttons to scroll to the topic
you are interested in and press OK to enter the sub menu page.
To exit the help pages, press Exit on the remote control.
Single button functions
You can carry out many operations by using a single button on the remote control,
such as changing volume. This section will describe the single button functions.
Fav
This button will display your pre programmed favourite channels.
Press the Fav button to display the channels. Use the ▲/▼buttons to choose the
channel you wish to watch, and press OK to select it.
NOTE
In order to use this button, you must first set your favourite channels. Please refer to
the section titled 'Favourite' for information on how to do this.
TF (talking features)
This button allows you to hear spoken actions on your system. With talking features
turned on, the system will speak any visual displays out to you.
For example, when you are in the programme guide, as you scroll through the
programmes, anything that is highlighted will be spoken to you.
When scrolling through channels, the channel selected will be spoken.
To turn the talking features off or on, press the TF button. If you turn talking feature
off, and turn the set top box to standby, when you next turn the set top box on,
talking features will still be turned off, and will need to be turned on again if you wish
to hear them.
To turn the talking features back on again, press the TF button.
AD (audio description)
Audio description is a spoken narration that describes important information about a
TV programme, such as body language, facial expressions, scenery, action,
costumes or anything that helps to explain the plot of the story, event or image.
Table of contents

