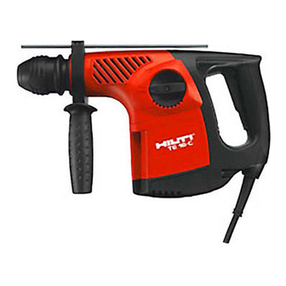
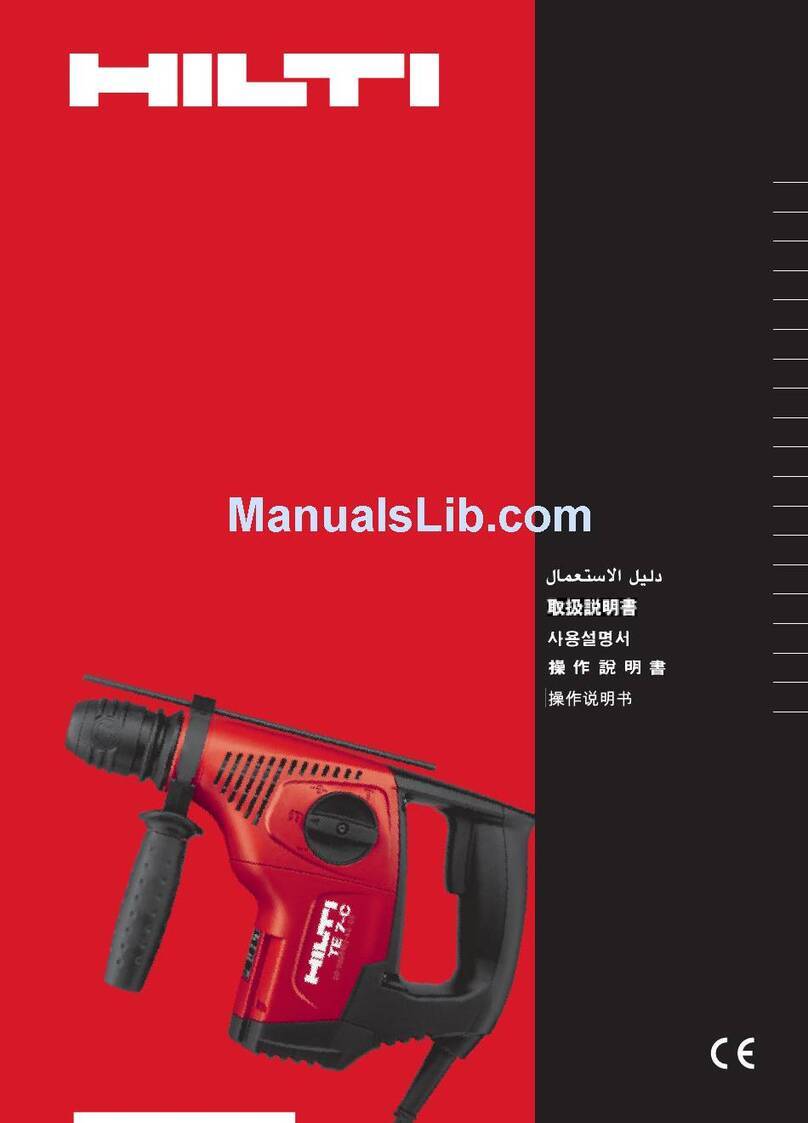
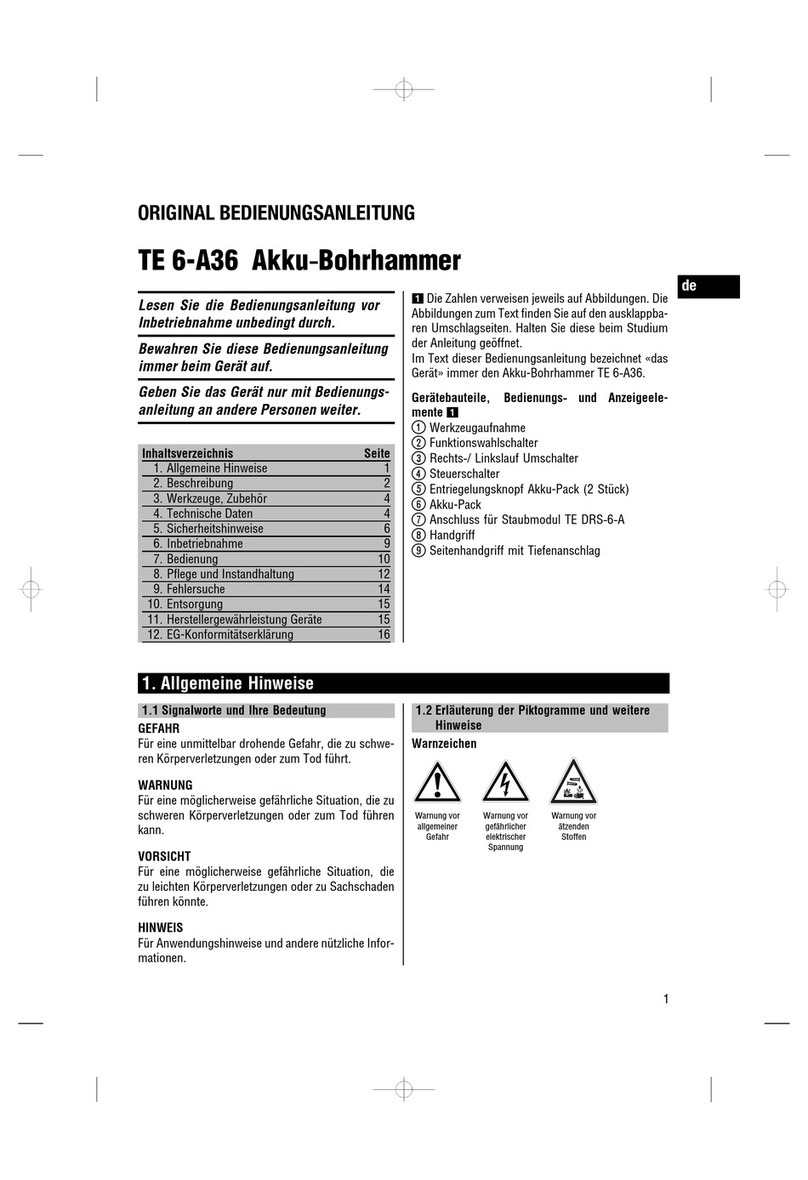
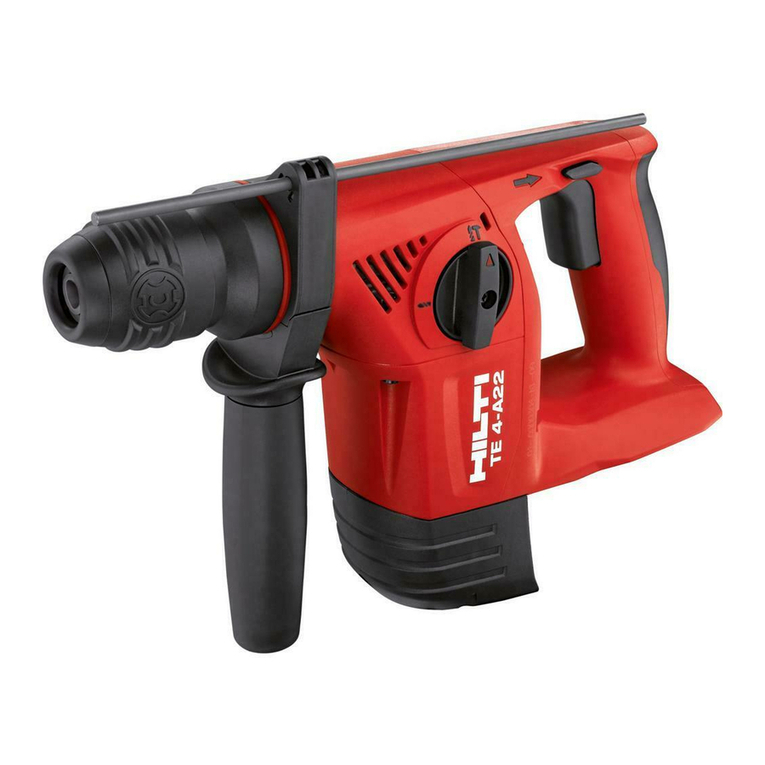
Hilti te6-a User manual

TE6-A
Operatinginstructions 1– 7
Moded’emploi 9–15
Manualdeinstrucciones 17–23
Manualdeinstruções 25–31
*332016*
332016
USA
CDN
P
E

1
ThisProductisListed
Ceproduitesthomologué
Productohomologadopor
Esteprodutoestáregistrado
CUS

STOP
L
R
2
3
4
5


6
10
9
8
7
11
12

1
General information
In these operating instructions, this symbol indi-
catespointsofparticularimportancetosafety.The
instructionsatthese pointsmust alwaysbe observed in
orderto avoid the risk ofseriousinjury.
Electrical (CAUTION)
Thissymbol warns of hazards as a resultofthe electri-
cal current when using the tool. It marks a dangerous
situation.The illustratedbehavior following thissymbol
mustalways beobservedin orderto avoid seriousinjury
or damages to property.
The numbers refer to the illustrations. The illustra-
tions can be found on the fold-out cover pages. Keep
thesepages openwhile you readthe operatinginstruc-
tions.
Inthese operating instructions, the TE6-Awith battery
is referred to as “the tool”.
The following conditions must always be observed
when the tool is in use:
–The tool is for hand-held use only.
–Donot usethe tool inplaces wherethesurrounding
conditions may present a risk of explosion.
It is essential that the operating
instructions are read before the
tool is operated for the first time.
Always keep these operating
instructions together with the tool.
Ensure that the operating instruc-
tions are with the tool when it is
given to other persons.
Contents Page
General information 1
Technical data 2
General safety rules 3
Specific safety rules and Symbols 4
Functional description 4
Assembly 5
Operation 5
Maintenance 6
Accessoires 6
Warranty 7
Diposal 7
Operating controls
Chuck
Side handle with depth gauge
Selector switch for hammering action / rotary only
Forwards / reverse switch and transport lock
Battery (accessory, not supplied with the tool)
Control switch
TE6-A cordless rotary hammer

2
Technical data
Power input 375 W
Voltage 36 V
Current input 12 A
Weight of machine including BP 6-86 battery 10.4 lbs
Dimensions (L×H×W) 13″×8.9″×3.9″
Speed 890 r.p.m.
Hammering speed 5,000 blows/min.
Single impact energy 1.1 ft lbs
Chuck TE-C
Drill bit dia. range in concrete up to 5/8″
Drill bit dia. range in wood up to 3/4″
Drill bit dia. range in metal up to 3/8″
Dust-tight encapsulation and permanent lubrication (maintenance-free)
Technical data for the BP 6-86 battery (accessory)
Voltage 36 V
Battery capacity 36 V ×2.4 Ah = 86 Wh
Weight 4.6 lbs
Temperature monitoring NTC
Deep discharge prevention
Right of technical changes reserved

3
General safety rules
Warning!
Read and understand all instructions.
Failureto followall instructions listedbelow,mayresult
in electric shock, fire and/or serious personal injury.
SAVE THESE INSTRUCTIONS.
Work Area
Keep your work area clean and well lit.
Cluttered benches and dark areas invite accidents.
Do not operate power tools in explosive atmospheres,
such as in the presence of flammable liquids, gases,
or dust.
Powertools createsparks which mayignite thedustor
fumes.
Keep bystanders, children, and visitors away while
operating a power tool.
Distractions can cause you to lose control.
Electrical safety
Do not abuse the cord. Never use the cord to carry the
tool. Keep cord away from heat, oil, sharp edges, or
moving parts. Replace damaged cords immediately.
Damaged cords may create a fire.
A battery operated tool with integral batteries or a sep-
arate battery pack must be recharged only with the
specified charger for the battery.
A charger that may be suitable for one type of battery
maycreate arisk of firewhen usedwithanother battery.
Use battery operated tool only with specifically des-
ignated battery pack.
Use of any other batteries may create a risk of fire.
Personal safety
Stay alert, watch what you are doing, and use com-
mon sense when operating a power tool. Do not use
tool while tired or under the influence of drugs, alco-
hol, or medication.
A moment of inattention while operating power tools
may result in serious personal injury.
Dress properly. Do not wear loose clothing or jewel-
ry. Contain long hair. Keep your hair, clothing, and
gloves away from moving parts.
Loose clothes, jewelry, or long hair can be caught in
moving parts.
Avoid accidental starting. Be sure switch is in the
locked or off position before inserting battery pack.
Carrying tools with your finger on the switch or insert-
ingthe batterypackinto atool with theswitch oninvites
accidents.
Remove adjusting keys or wrenches before turning
the tool on.
Awrenchor a key that is left attached to a rotating part
of the tool may result in personal injury.
Do not overreach. Keep proper footing and balance at
all times.
Properfooting and balance enablebetter control of the
tool in unexpected situations.
Use safety equipment. Always wear eye protection.
Dustmask, non-skidsafety shoes, hardhat, orhearing
protection must be used for appropriate conditions.
Tool Use and Care
Use clamps or other practical way to secure and sup-
port the workpiece to a stable platform.
Holdingthe workby hand oragainst yourbodyis unsta-
ble and may lead to loss of control.
Do not force tool. Use the correct tool for your appli-
cation.
The correct tool will do the job better and safer at the
rate for which it is designed.
Do not use tool if switch does not turn it on or off.
A tool that cannot be controlled with the switch is dan-
gerous and must be repaired.
Disconnect battery pack from tool or place the switch
in the locked off position before making any adjust-
ments, changing accessories, or storing the tool.
Suchpreventive safetymeasures reduce therisk ofstart-
ing the tool accidentally.
Store idle tools out of reach of children and untrained
persons.
Tools are dangerous in the hands of untrained users.
When battery pack is not in use, keep it away from
other metal objects like: paper clips, coins, keys, nails,
screws, or other small objects that can make a con-
nection from one terminal to another.
Shortingthe batteryterminalstogether maycause sparks,
burns, or a fire.
Alwayswearsafetyglasses

4
Maintain tools with care. Keep cutting tools sharp and
clean.
Properly maintained tools with sharp cutting edge are
less likely to bind and are easier to control.
Check for misalignment or binding of moving parts,
breakage of parts, and any other condition that may
affect the tool’s operation. If damaged, have the tool
serviced before using.
Manyaccidents arecaused by poorlymaintained tools.
Use only accessories that are recommended by the
manufacturer for your model.
Accessories that may be suitable for one tool may cre-
ate a risk of injury when used on another tool.
Service
Tool service must be performed only be qualified repair
personnel.
Service or maintenance performed by unqualified per-
sonnel may result in a risk of injury.
When servicing a tool, use only identical replacement
parts. Follow instructions in the Maintenance section
of this manual.
Use of unauthorized parts or failure to follow Mainte-
nanceInstructions maycreate a riskof shockorinjury.
Specific Safety Rules and Symbols
Hold tool by insulated gripping surfaces when per-
forming an operation where the cutting tool may con-
tact hidden wiring.
Contactwith a“live” wire willmake exposedmetalparts
of the tool “live” and shock the operator.
Wear ear protectors when using the tool for extended
periods.
Prolonged exposure to high intensity noise can cause
hearing loss.
V volts
direct current
nono load speed
…/min revolutions or reciprocation per minute
The tool is designed for the following uses:
Use
Drilling in concrete, masonry and
natural stone
Setting anchors
Drilling in wood and metal
Using hole saws in wood, plastic,
tiles and masonry
Required insert tool
Drill bit with TE-C connection end
Anchor setting tool with TE-C
connection end
Quick-release chuck or key-type
chuck
Quick-release chuck or key-type
chuck
Diameter range
Drilling in concrete: up to 5/8″dia.
All Hilti anchors with TE-C setting
tools
Wood drill bits up to 3/4″dia.
TE-HS hole saws 1″up to 45/16″dia.
Functional description
TheTE6-A is a cordless,battery-powered, rotaryhammer drill with pneumatic hammering mechanism designed
for professional use.

5
Assembly
Itis essentialthat the safetyprecautions print-
edin theseoperating instructions areread andobserved
before the tool is used.
TheTE6-Amay be usedonly withthe BP 6-86bat-
tery.
Before it is used for the first time, it is essential
that a new battery is charged for 24 hours in normal
charging mode or for 10 hours using the conditioning
charging mode, thus permitting “forming” of the bat-
tery cells to take place.
Atlow temperatures:Batteryperformancedrops atlow
temperatures. Store the battery at room temperature
when not in use.
At high temperatures: Do not store a battery where it
may be subjected to high temperatures (e.g. exposed
tothe sun, at a window,behindacar windscreen or on
a radiator).
Operation
Inserting the drill bit or insert tool
a) Use the transport lock to prevent unintention-
al starting .
b)Check that the connection end of the insert tool is
cleanand lightlygreased. Clean itand greaseitif nec-
essary. Checkthatthe sealinglip of thedust shieldis
clean. Wipe it off if necessary. Take care to ensure
that no drilling dust finds its way into the interior of
the chuck. The dust shield must be replaced when
thesealing lipis damaged. Pleaserefer tothesection
on care and maintenance.
c) Turn thechuck sleeve towardsthe
()
symbol,insert
the drill bit or insert tool and rotate it until it can be
pushed in all the way. Lock the chuck by turning the
sleeve towards the
()
symbol. Check that the insert
tool has engaged correctly by pulling on it .
Removing the insert tool
a) Use the transport lock to prevent unintention-
al starting.
b)Turn the chuck sleeve towards the
()
symbol and
pull out the insert tool.
Theinsert toolmay become very hot after
long periods of use.
Installing the battery
Installthe batteryto thetool by inserting itin the dove-
tailguide andpushing it inas farasit willgo. Two clicks
must be heard as the battery engages (secured at two
points).Only the Hilti BP 6-86 batterymay be used .
Removing the battery
Pressthe releasebuttons at thesides ofthebatteryand
pull it out of the dovetail guide .
Charging the battery
Onlythe HiltiTCU 7/36 chargermay beusedfor charg-
ing.Please referto the TCU7/36 operatinginstructions
for information on the charging procedure .
Hammer drilling
a)When workingwith the machine,it mustbeheld with
twohands. Always makesure that youhave a stable
stance/ foothold. Adjust sidehandleto proper posi-
tion and tighten.
b)Use TE-C hammer drill bits (for concrete, masonry
and natural stone) .
c) Move the selector lever to the hammer drilling posi-
tion (hammer symbol) .
d)Bringthe tipof the drillbit intocontact with thework-
piece at the position where the hole is to be drilled
andpress thecontrol switch slowly.Drill atlowspeed
until the drill bit centres itself in the hole.
e) Pressthe controlswitch fully andcontinue drillingat
fullpower.When drillinga throughhole, reduce drilling
speedshortly beforethe drill bitbreaks through.This
will reduce spalling around the hole.
f) Donot exertexcessive pressure asthis willnotincrease
hammeringpower.Lower contact pressure increas-
es the life of the drill bit.
Drilling using the depth gauge
Always use the TE6-A with the side handle.
Theside handleis adjustable andcan beclampedin any
desired position. Release the side handle by unscrew-
ing the grip a few turns, bring the depth gauge to the
desireddrilling depth and retighten the side handle .
Note: Use of the depth gauge increases the number of
holesdrilled perbatterycharge byavoiding drilling holes
to excessive depth.
Drilling in wood and steel without hammering action
Bring the selector lever to the drilling position (drill bit
symbol) .
Whenthe leveris in thisposition, onlytherotaryaction
is transmitted to the insert tool.
Reverse rotation
Thedesired directionof rotation canbe selectedsimply
by moving the switch .

6
Maintenance
Care of the tool
Theouter casingof the toolis madefromimpact-resis-
tantplastic. Sectionsof the gripand dustshieldare made
from an elastomer material.
Cleanthe outsideof the toolat regularinter-
vals using a slightly damp cloth. Do not use a spray,
steam pressure cleaning equipment or running water
for cleaning. This may negatively affect the electrical
safety of the tool. Always keep the grip surfaces of the
toolfree fromoil and grease.Do notusecleaning agents
which contain silicone.
Never operate the tool when the ventilation slots
are blocked. Clean the ventilation slots carefully using
a dry brush. Do not permit foreign objects to enter the
interior of the tool.
Clean the dust shield on the chuck at regular intervals
using a clean, dry cloth. Carefully wipe the sealing lip
andgrease it with alittleHilti grease. It is essentialthat
thedust shield is replaced when the sealinglipis dam-
aged. Proceed as follows: Insert a screwdriver at the
edgeof thedust shield andpryit outin aforwarddirec-
tion. Clean the contact surface and insert a new dust
shield. Press it in firmly until it engages.
Take care of your insert tools. Clean off dirt and dust
deposits. Always keep the connection end clean and
lightly greased.
Maintenance
Checkall externalparts of thetool fordamageand check
that all controls operate faultlessly. Do not operate the
tool when parts are damaged or when the controls do
not function faultlessly. When necessary, your electric
tool should be repaired at a Hilti service centre.
Accessories
TE-C chuck, keyless chuck or key-type chuck
Changing the chuck
Pull the chuck sleeve forward and remove the chuck
completely. When fitting the chuck, pull the sleeve for-
ward, hold it in this position and then push the chuck
onto the tool as far as it will go before releasing the
sleeve.Rotate thechuck until thesleeve snapsbackinto
position.
Note: The hammering action is de-activated automati-
cally when the key-type chuck or keyless chuck are fit-
ted (for drilling without hammering action).
Whenusing insert toolswithsmooth shanks, openthe
key-type chuck to the necessary diameter, push in the
insert tool as far as it will go and use the key to tighten
the chuck. Check your insert tools at regular intervals
andreplace themin good time.A damagedorbadly worn
connectionend mayresult in damageto theelectrictool.
Drillbits withchipped, broken carbideor worntipsmay
nolonger drillholes of thespecified diameter, thus influ-
encing their suitability for anchor fastenings.
BP 6-86 battery
Use only the BP 6-86 battery.
Note: The BP 6-86 is equipped with a deep discharge
prevention device.
–This prevents damage to the cells caused by exces-
sively deep discharge.
–It also protects the entire system when subjected to
extreme loads (stalling of the spindle).
Only the TCU 7/36 charger may be used to charge the
BP 6-86 battery.
Special insert tools program
Shouldyou requireinsert tools notincluded inthestan-
dardprogram, pleasecontact the Hilticustomer service
department or your Hilti representative. Hilti offers a
comprehensive range of special insert tools in profes-
sional quality.

7
Warranty
Hiltiwarrantsthatthetoolsuppliedisfreeof defects in
material and workmanship. This warranty is valid so
longas thetool is operatedand handledcorrectly,cleaned
and serviced properly and in accordance with the Hilti
Operating Instructions, all warranty claims are made
within12 monthsfrom the dateof thesale(invoice date),
andthe technicalsystem is maintained.This meansthat
onlyoriginal Hilticonsumables, components andspare
parts may be used in the tool. This warranty provides
the free-of-charge repair or replacement of defective
parts only. Parts requiring repair or replacement as a
result of normal wear and tear are not covered by this
warranty.
Under no circumstances will Hilti be obligated for
direct, indirect, incidental or consequential damages,
losses or expenses in connection with, or by reason
of, the use of, or inability to use the tool for any pur-
pose. Hilti specifically excludes the implied warranties
of merchantability and fitness for a particular purpose.
Forrepair orreplacement, send tooland/or relatedparts
immediatelyupon discoveryofthe defectto the address
of the local Hilti marketing organization provided.
This constitutes Hilti’s entire obligation with regard to
warrantyand supersedesall prior orcontemporaneous
comments and oral or written agreements concerning
warranties.
Disposal
Batteries
Hilti batteries contain nickel and cadmium.
Dispose of batteries in accordance with national regulations.

8

Hilti = registered trademark of Hilti Corp., Schaan W 2301 1102 20-Pos. 3 1 Printed in Liechtenstein © 2002
Right of technical and programme changes reserved S. E. & O.
332016/C
*332016*
USA
Hilti, Inc.
5400 South 122nd East Avenue
Tulsa, Oklahoma 74146
Telephone (918) 252-6000
CANADA
Hilti (Canada) Limited / Limitée
6790 Century Avenue, Suite 300
CDN - Mississauga, Ontario L5N2V8
Telphone (905) 8139200
LATIN AMERICA
Hilti Latin America, Ltd.
5400 South 122nd East Avenue
P. O. Box 21148
Tulsa, Oklahoma 74146
Telephone (918) 252-6595
Other manuals for te6-a
1
Table of contents
Other Hilti Rotary Hammer manuals

Hilti
Hilti TE 4-A18 User manual

Hilti
Hilti TE 70-AVR User manual

Hilti
Hilti TE 60-A36 User manual

Hilti
Hilti TE 7 User manual

Hilti
Hilti TE 7-C User manual

Hilti
Hilti TE 4-A22 User manual

Hilti
Hilti TE 70-D User manual

Hilti
Hilti TE 6-A22 User manual

Hilti
Hilti TE 6-A22 User manual

Hilti
Hilti TE 6-A Li User manual